So what was on your wishlist this Christmas?
Way up high on my wishlist was “making a vacuum forming machine with my Dad”. And since my parents are just the best, my wishes were granted…
The only problem was: we only had one day to build this thing. Since Christmas is a holiday in Germany and no shops were opened, it could only be the 27th of December for us to buy materials and build the vacuum forming machine of my dreams. One day is a pretty tight schedule and I really can’t suggest it to anyone to try and make it in one day.
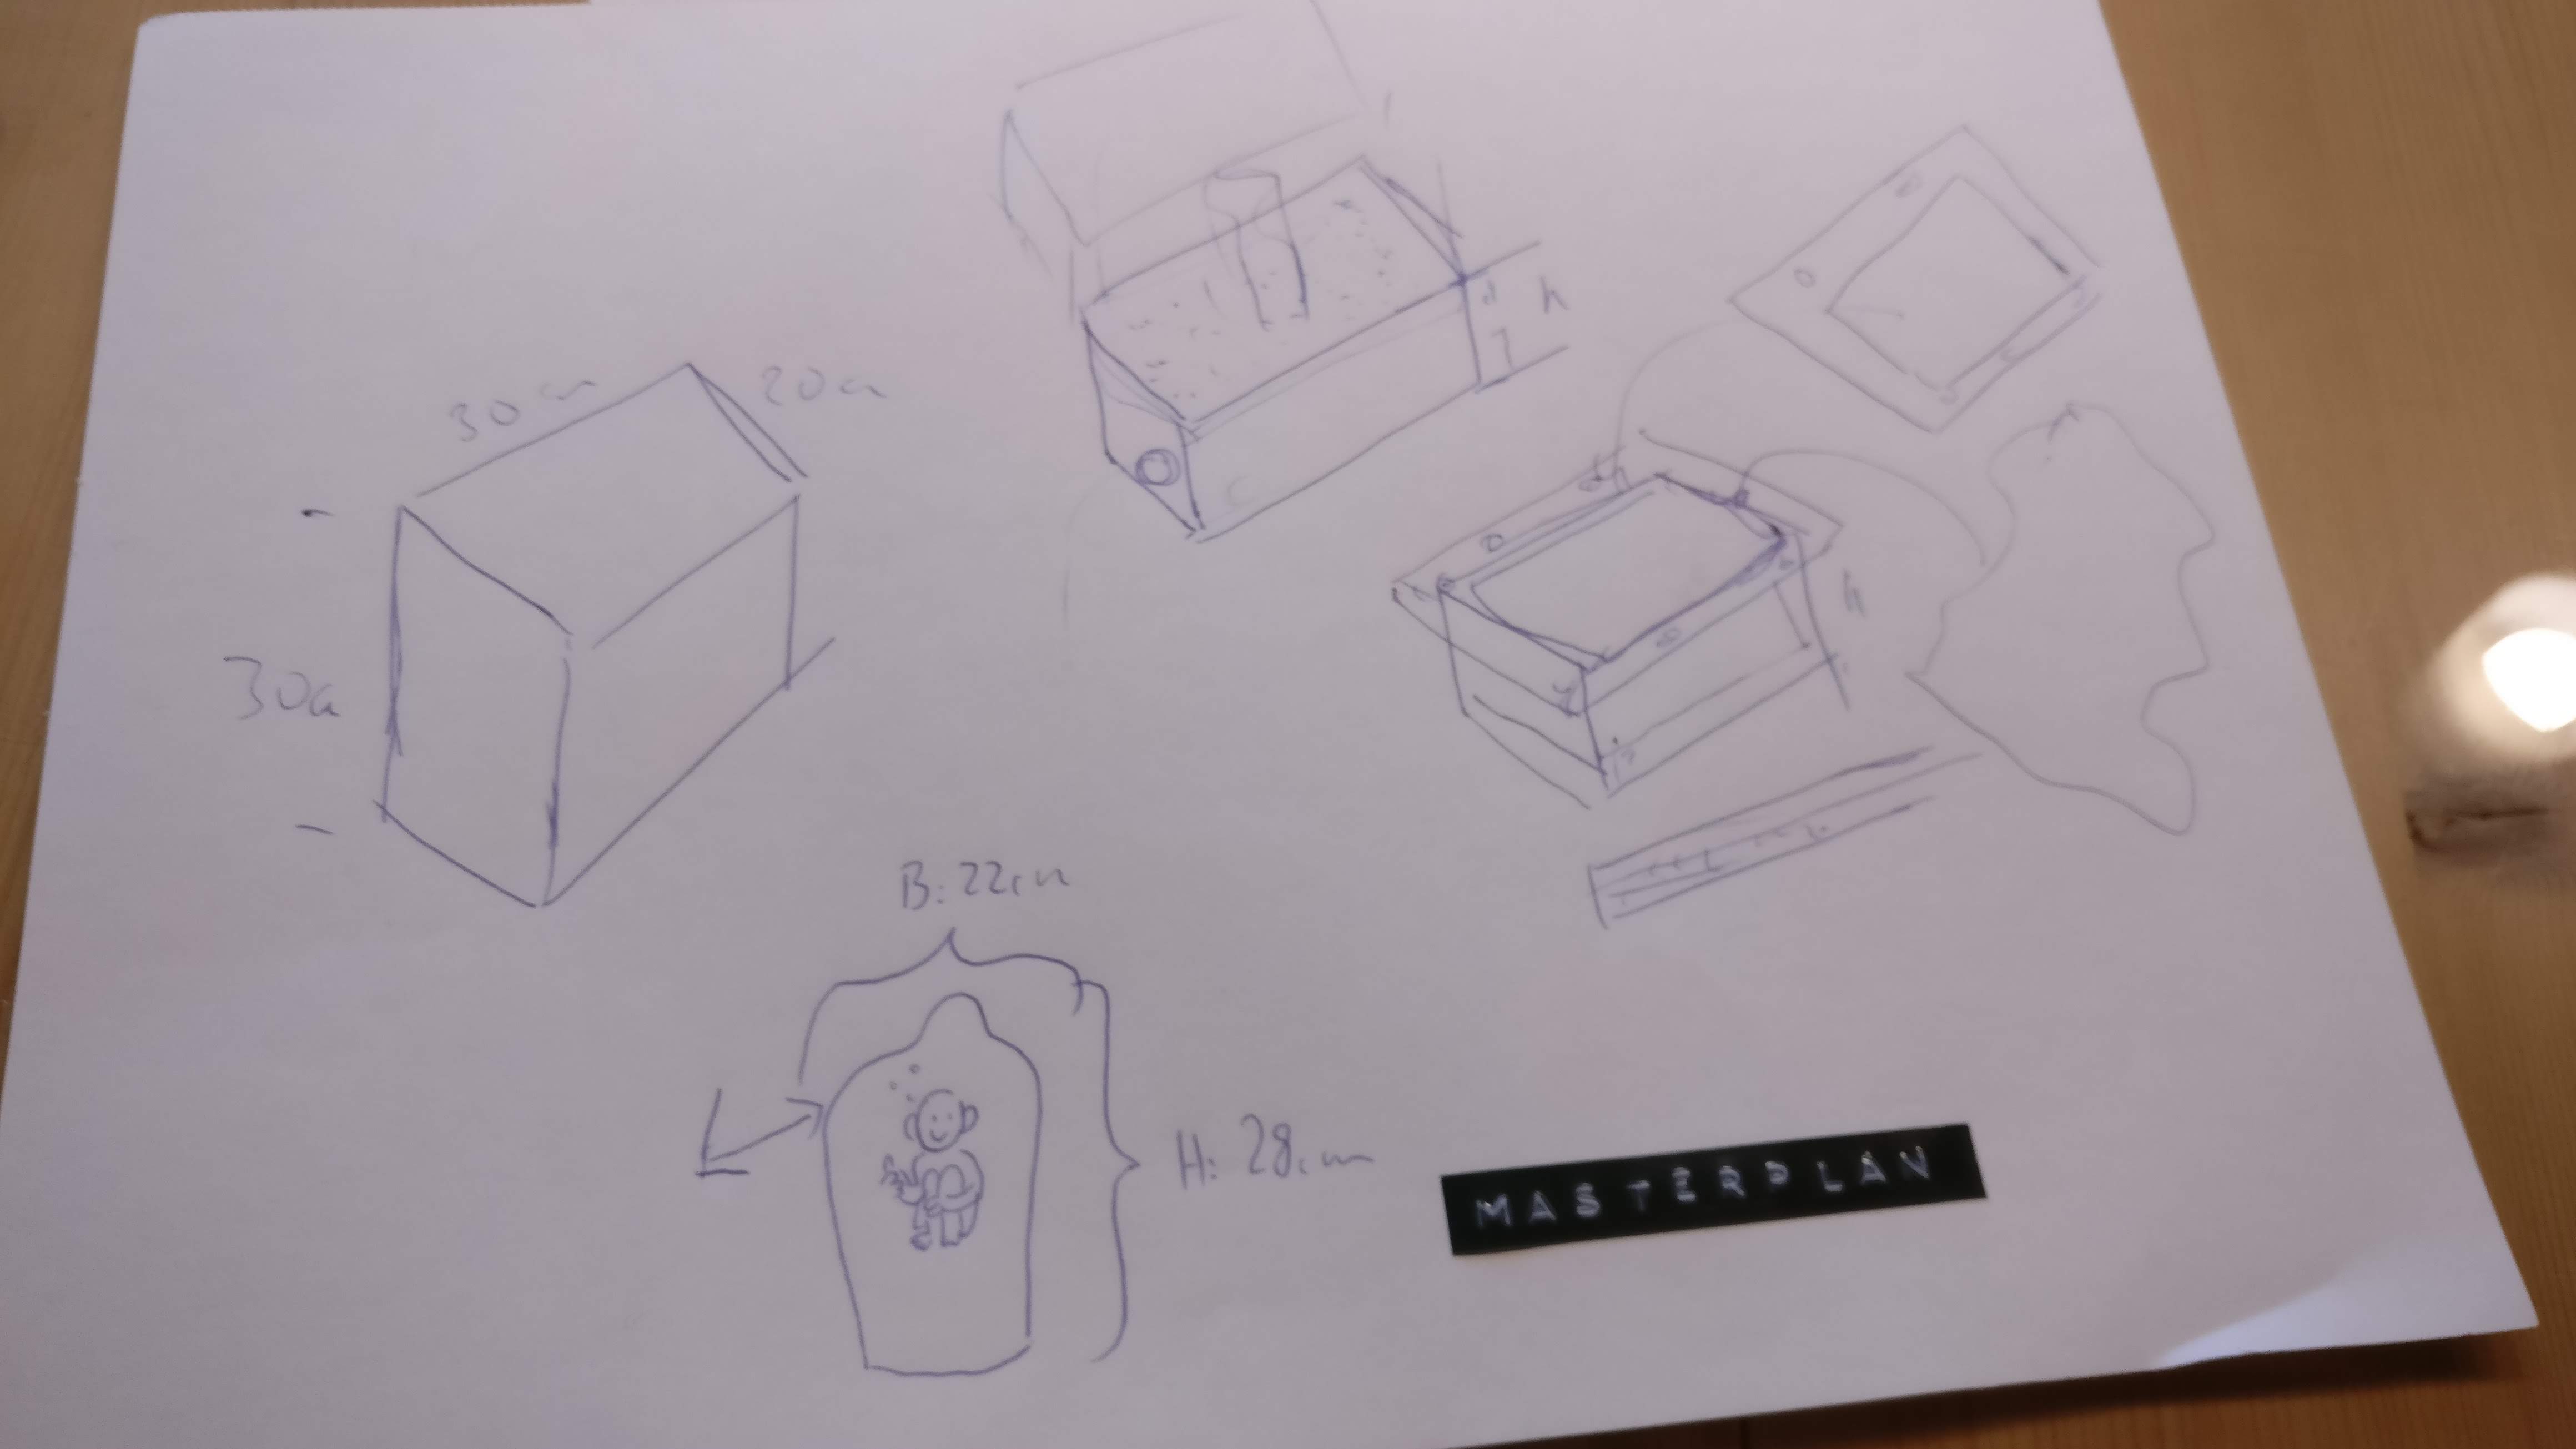
We started off with “the Masterplan” which we drew at breakfast. Since my dad is an engineer, he already had a very special idea about how our vacuumformer should be built.
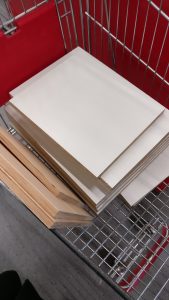
Soon after that we went to the local hardware store and got ourselves the wood we needed. We had it cut in the store and I can only suggest everyone who wants to make such a build to do the same thing – because they cut it super accurate and you don’t have the dust in your own home. The only things we still had to cut were the frame and the hole for the vacuum cleaner.

While my dad was so kind to pre-drill the holes for the two boxes, I drilled the holes for the vacuum box lid.
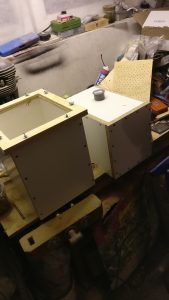
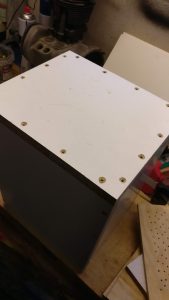
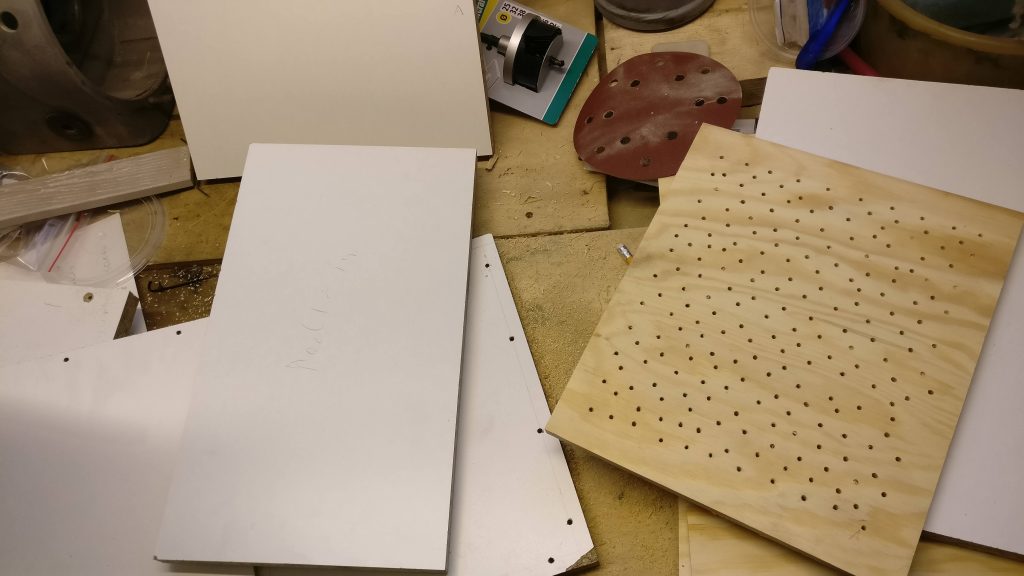 Here are the pieces with the pre-drilled holes.
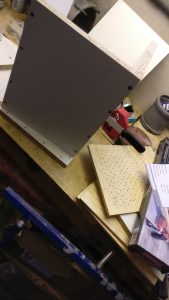 Next up, the two boxes were assembled.
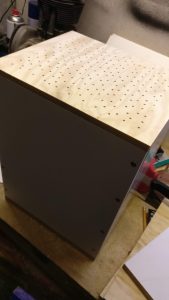 Our inside box is where the vacuum is created and the mold is placed on top of it. To ensure an even descent for our ridiculously high prop, we build an outside box as well. The outside box was designed to fit snugly over our inside box, so that a vacuum between those two would be created. Therefore it was crucial to the success of this build to have the outside box be just 2mm wider than the inside box. Due to this, you have to cut the panels for the boxes with millimeter precision. This can hardly be done with a household jigsaw, hence the advice to let the folks in the hardware store cut the panels for you!
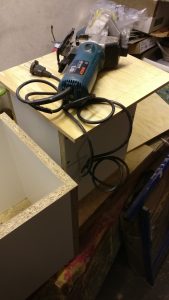
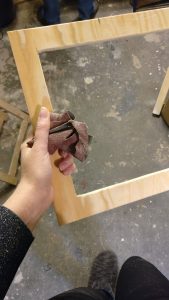
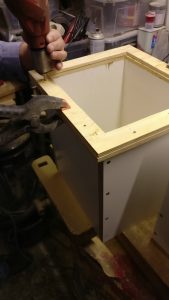 What could be achieved with a household saw however was the frame which would hold our PETG plastic. We used a rectangular wood panel and cut it out with a jigsaw. Actually we cut two of those frames. Those frames needed to be sanded, so there would be no splinters or hard edges! Because the frames should be put together with screws, we had to take care that the holes fit together so my dad drilled them in one move.
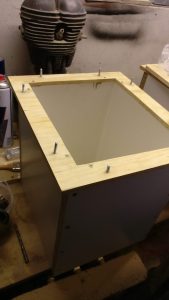
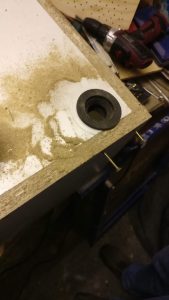 We made the holes a tight fit so the screws wouldn’t just fall down. To attach the frames, we used flat washers and wing nuts. Wing nuts are awesome for everything you want to assemble fast. To create a vacuum, we need to attach the hose of a vacuum cleaner. For this, we drilled a hole with a hole cutter and added a seal which would ensure the hose fit just right.
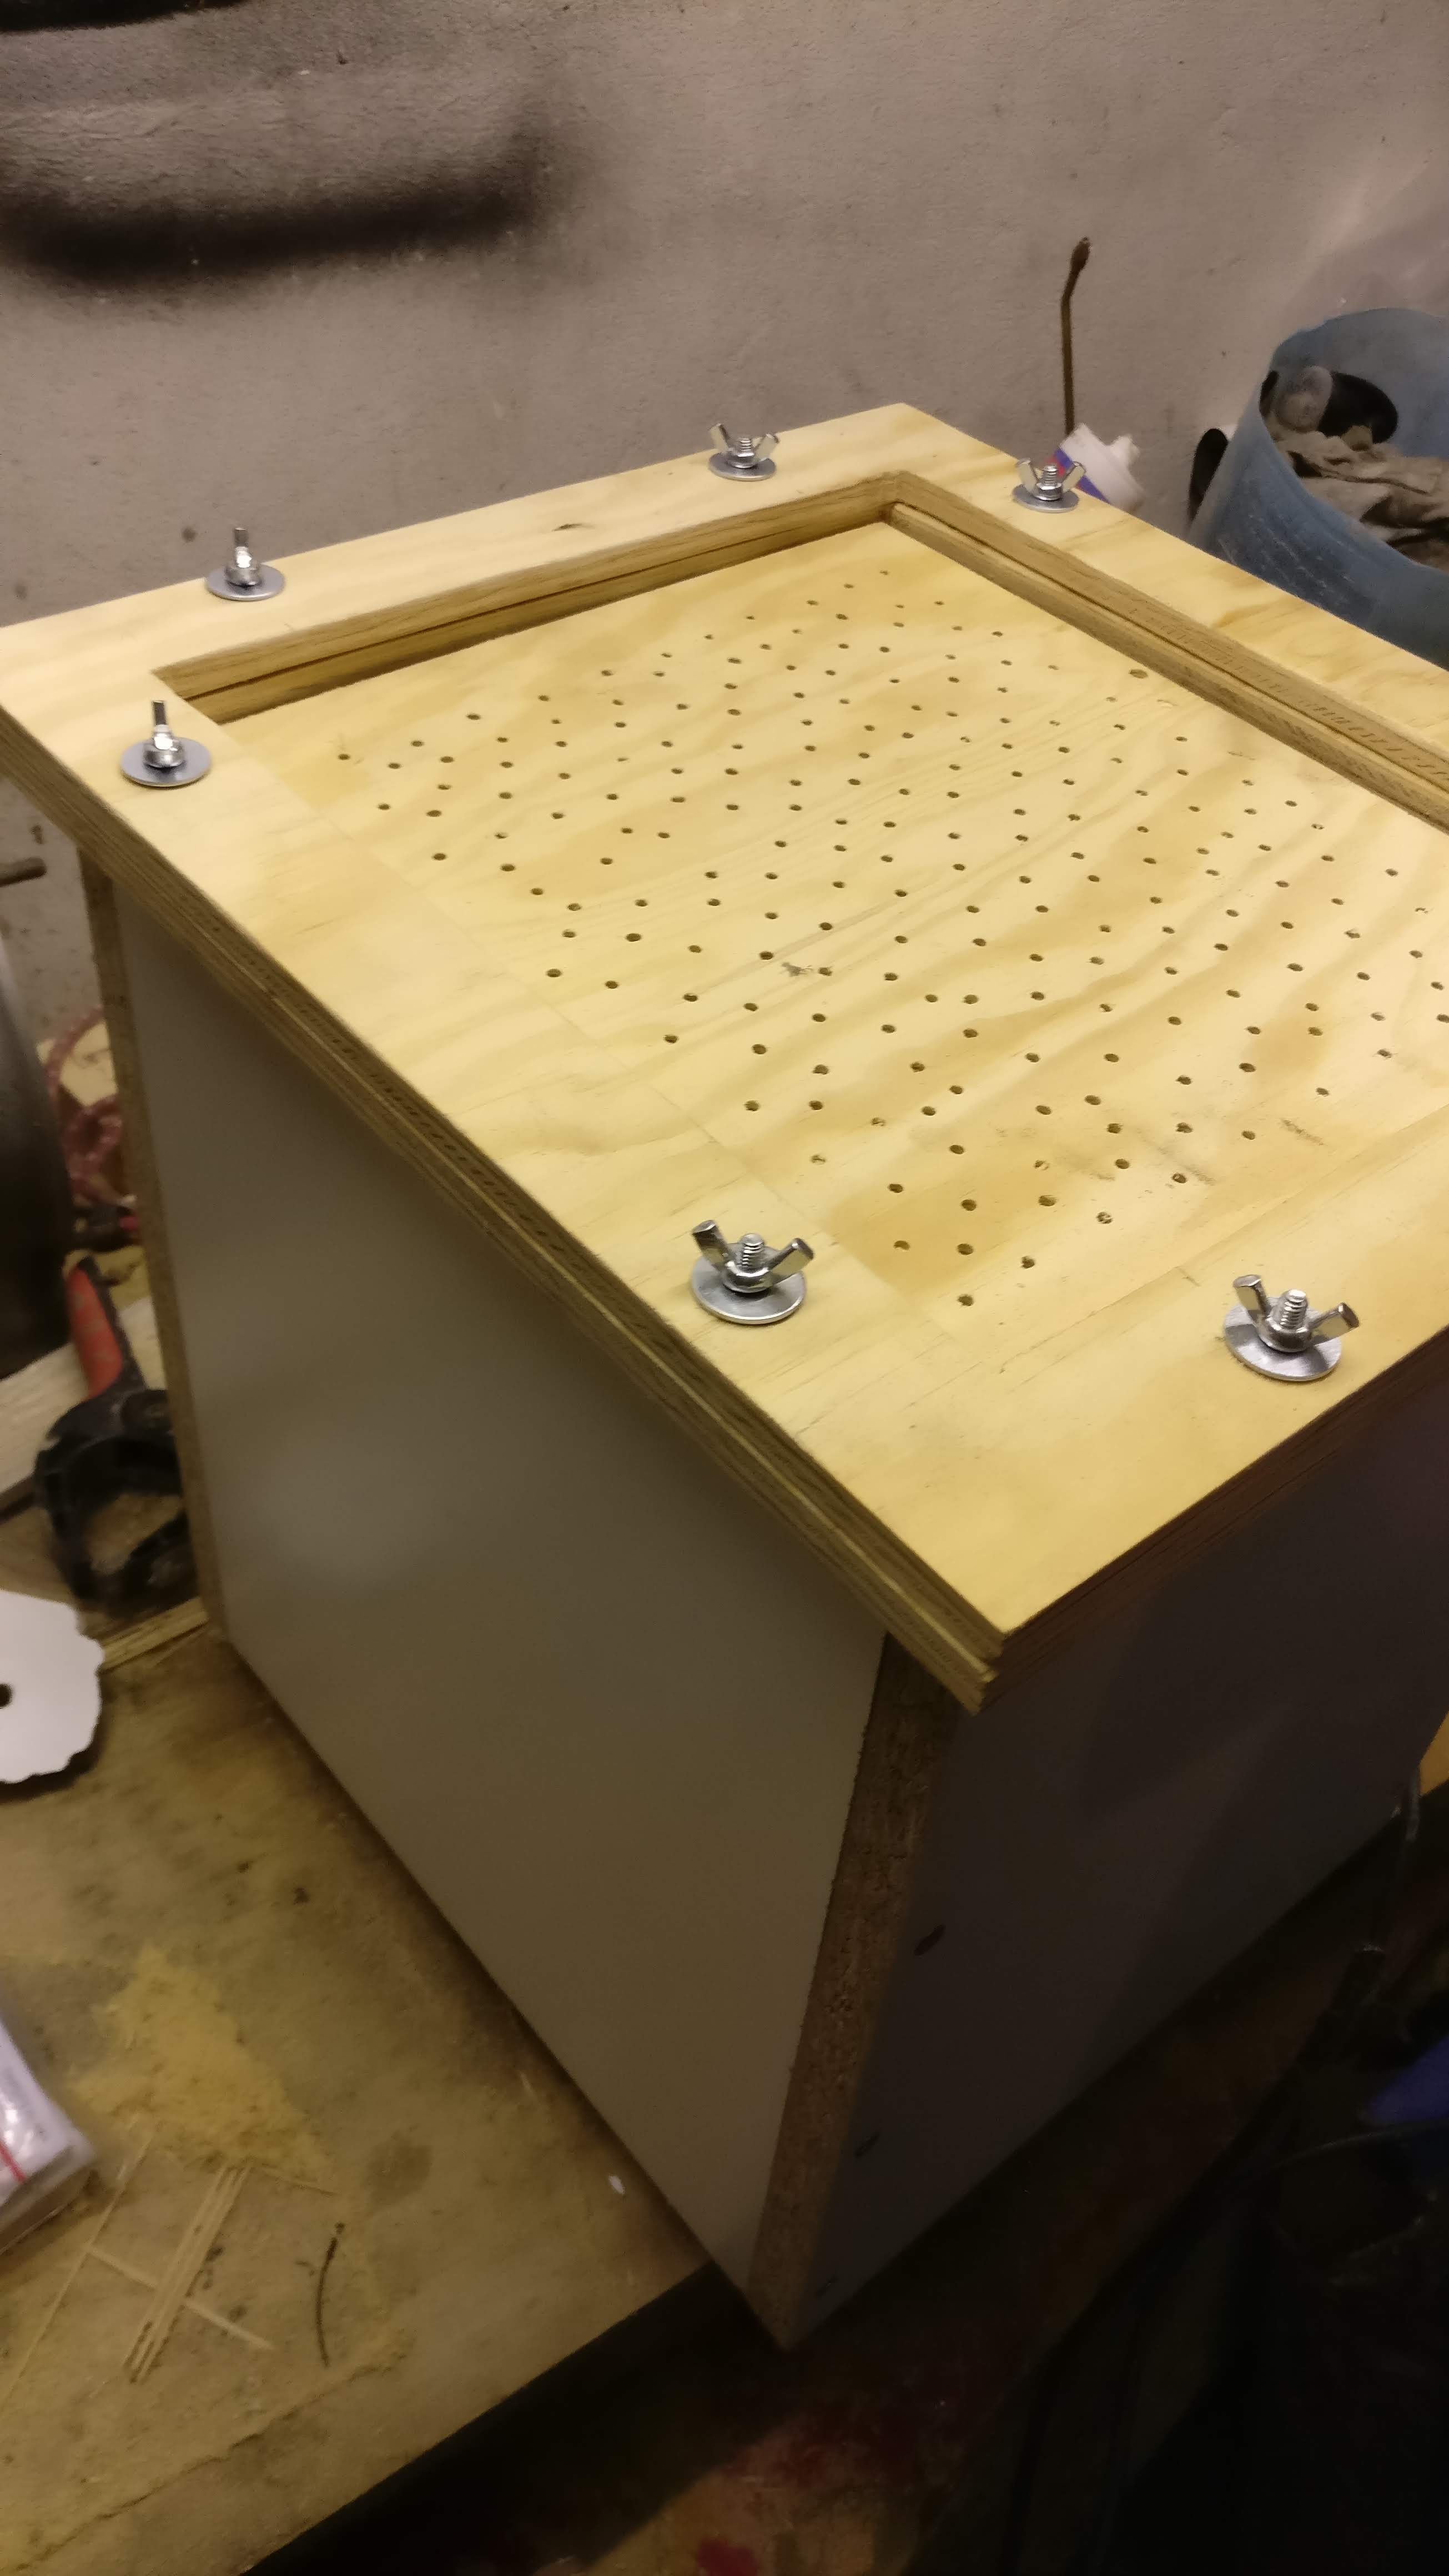
Aaaand it’s done! This is both boxes stacked together!
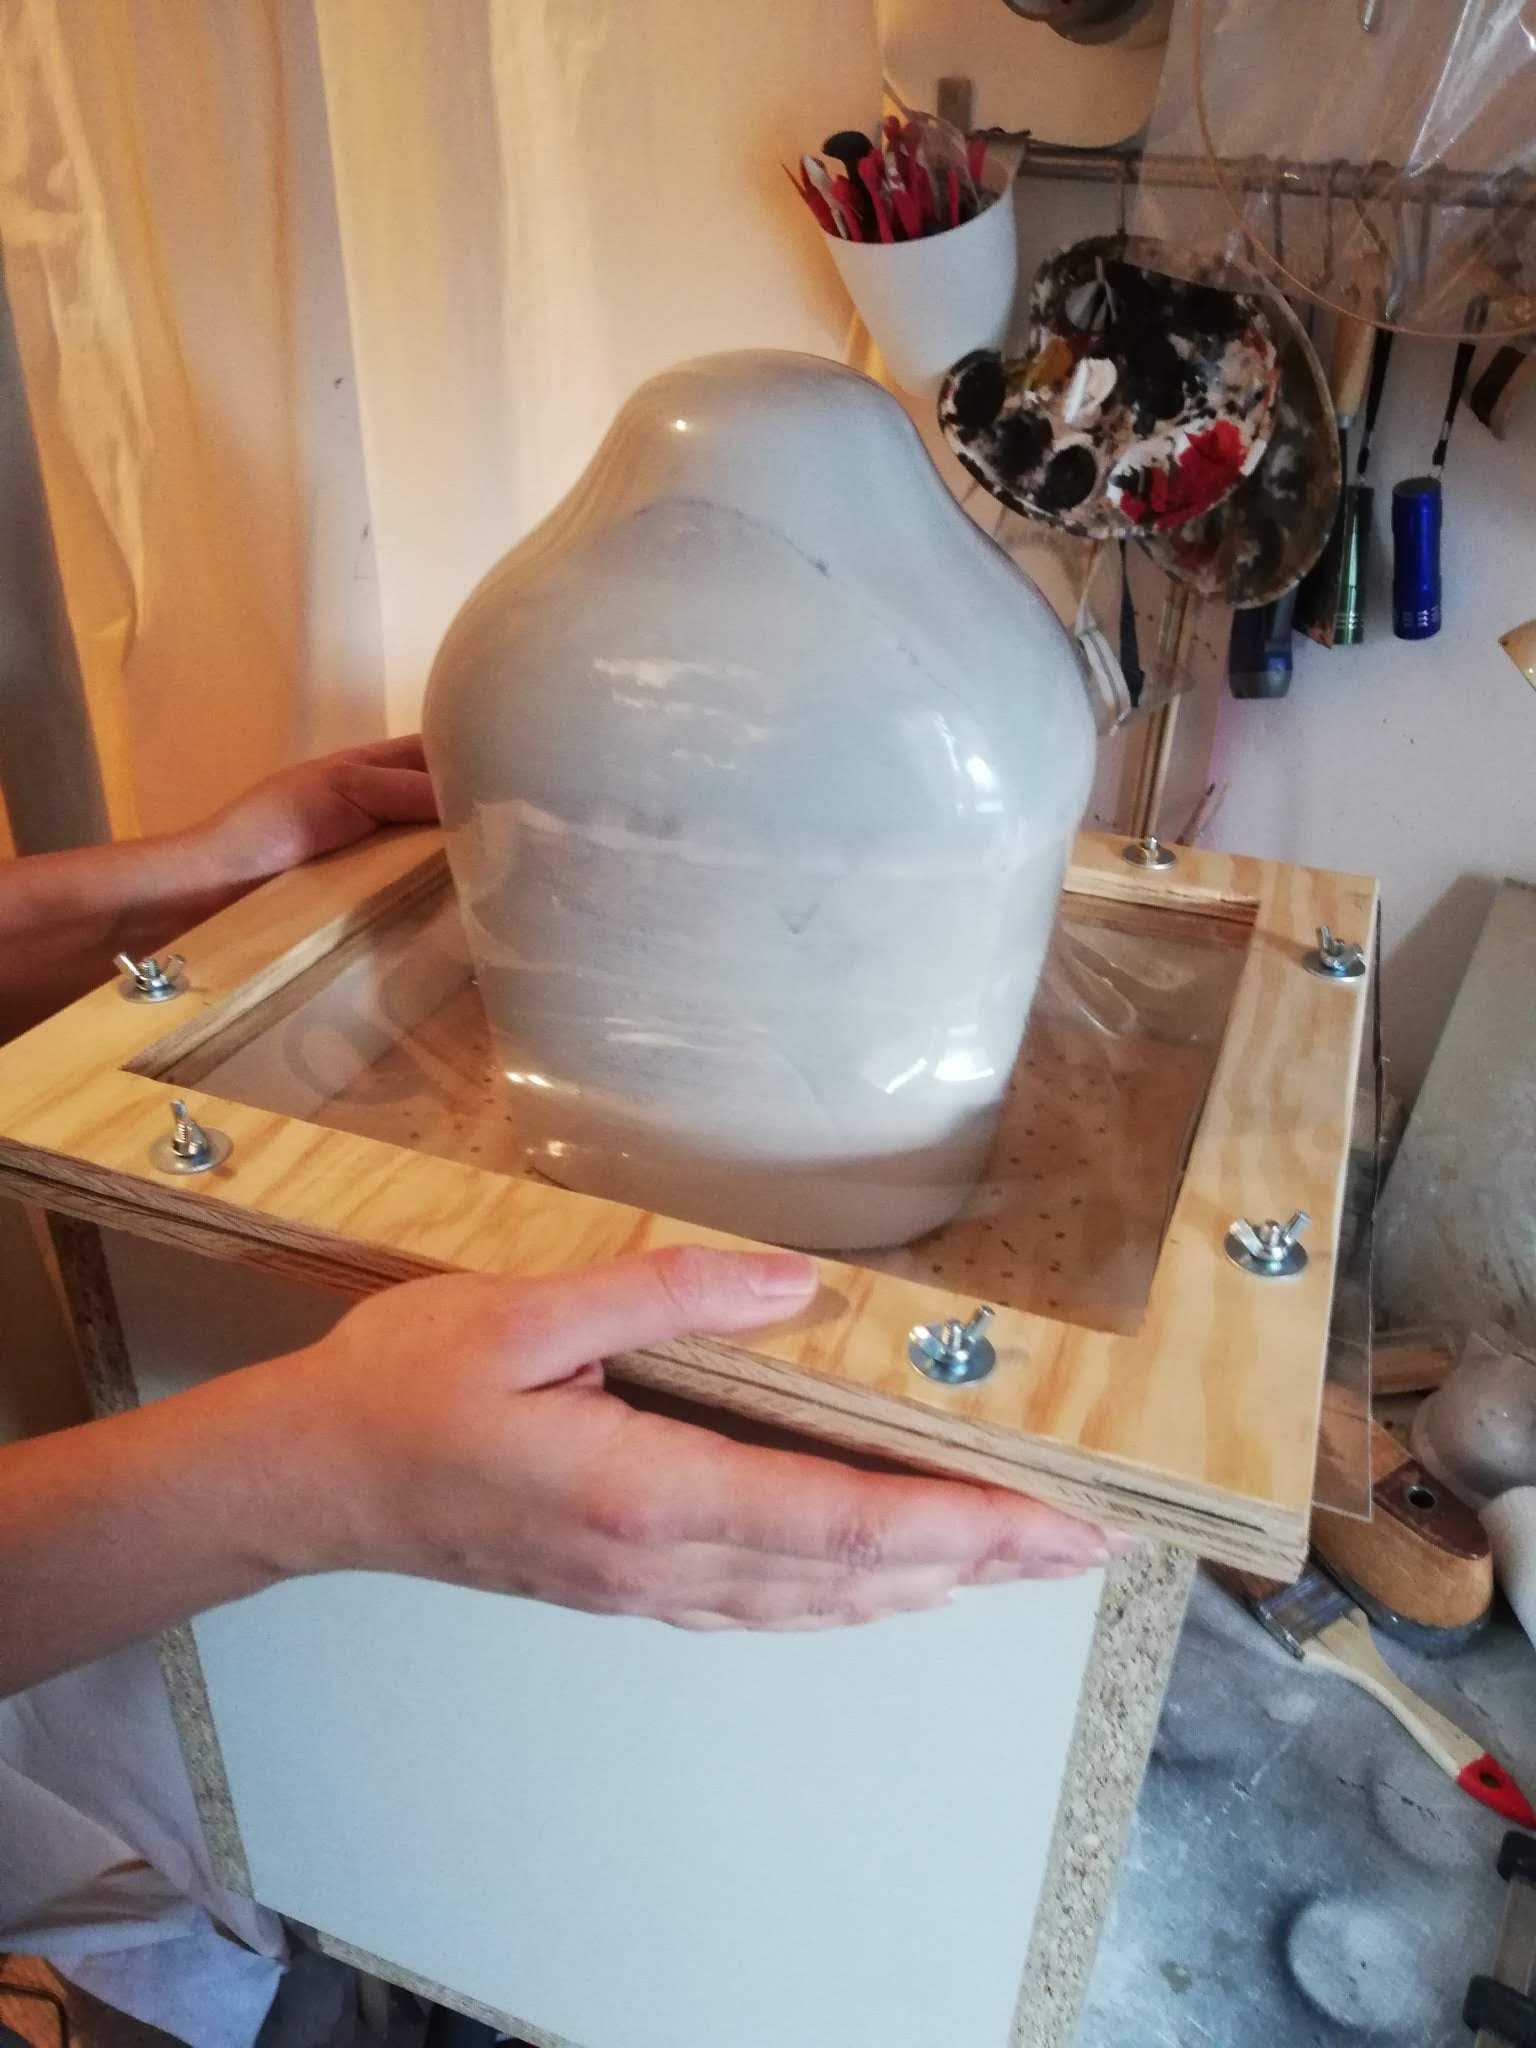 And this is what it looks like in action! It pulls the material down perfectly and steadily, creating a tight fit around the mold. Our only problem is that the BB capsule is really really huge and its not easy to heat the material up evenly and prevent it from cooling down too fast. But apart from this fairly advanced project, the vacuum former is amazing for vacuumforming things!
Also I might add that it is always a blessing to spend time on a project with my dad 🙂
So – win/win!
What do you think of vacuumforming? Do you have a vacuum former? Want to build one too? And which project would you use it for? Leave us a comment if you like 🙂


No responses yet