Disclaimer: This blog article contains sponsored content – Knipex were kind and send us a few pliers from their huge range of tools and we were happy to try them out and use them for this project!
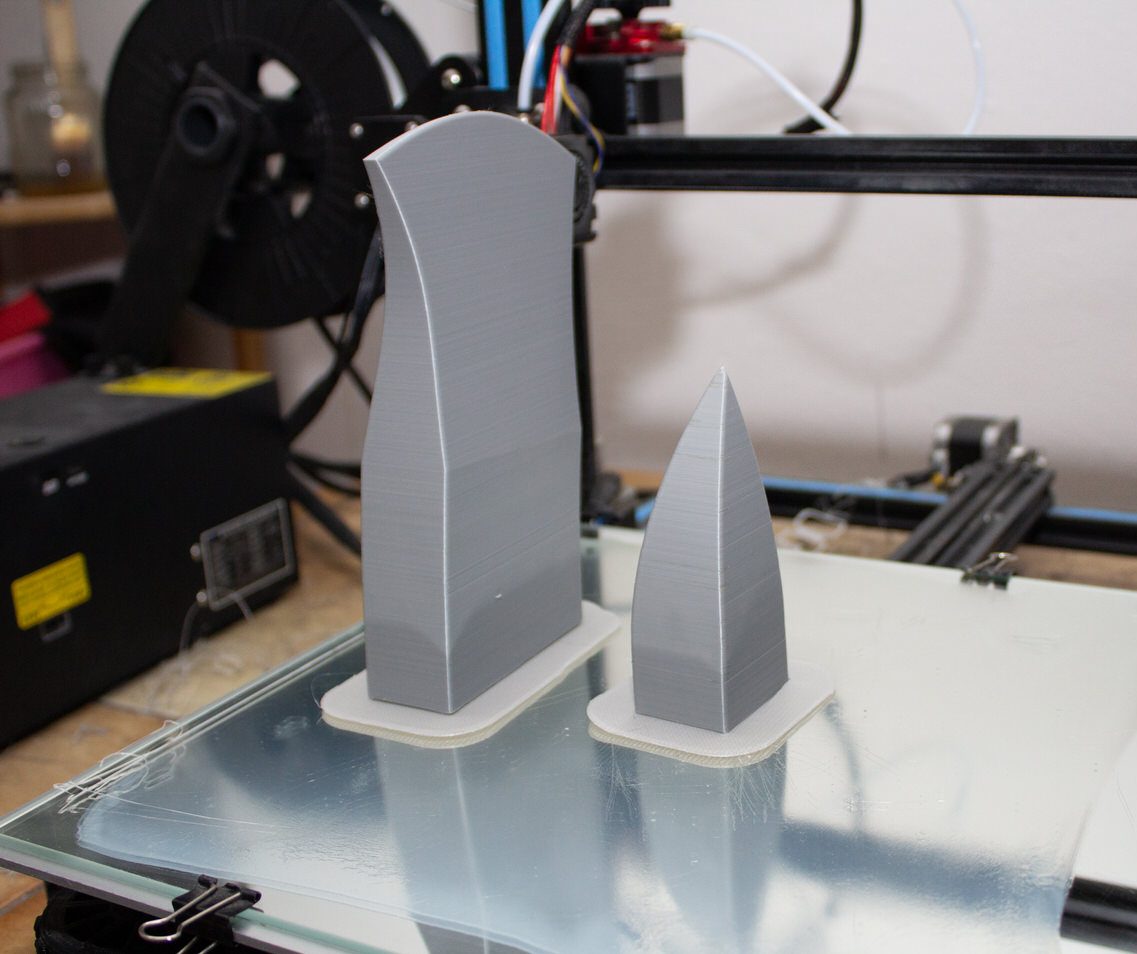
Welcome to part 3 of our 3D-printing for cosplay blog articles. In this final part, we’ll get physical – if you get what we mean. In case that you don’t: our two previous articles about this topic were rather theoretical and digital, but now we’re finally holding our raw 3D-print in our hands. So what now?

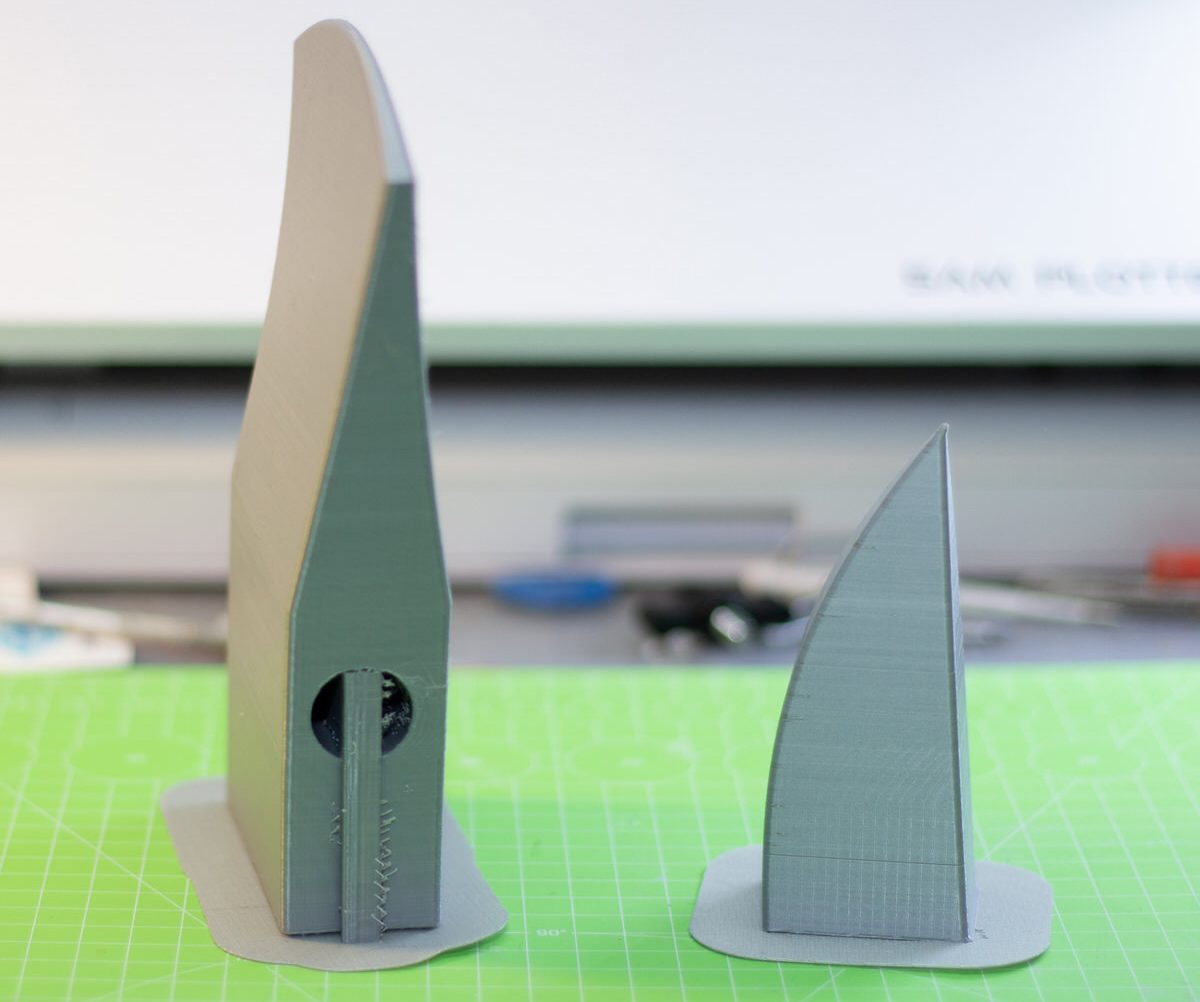
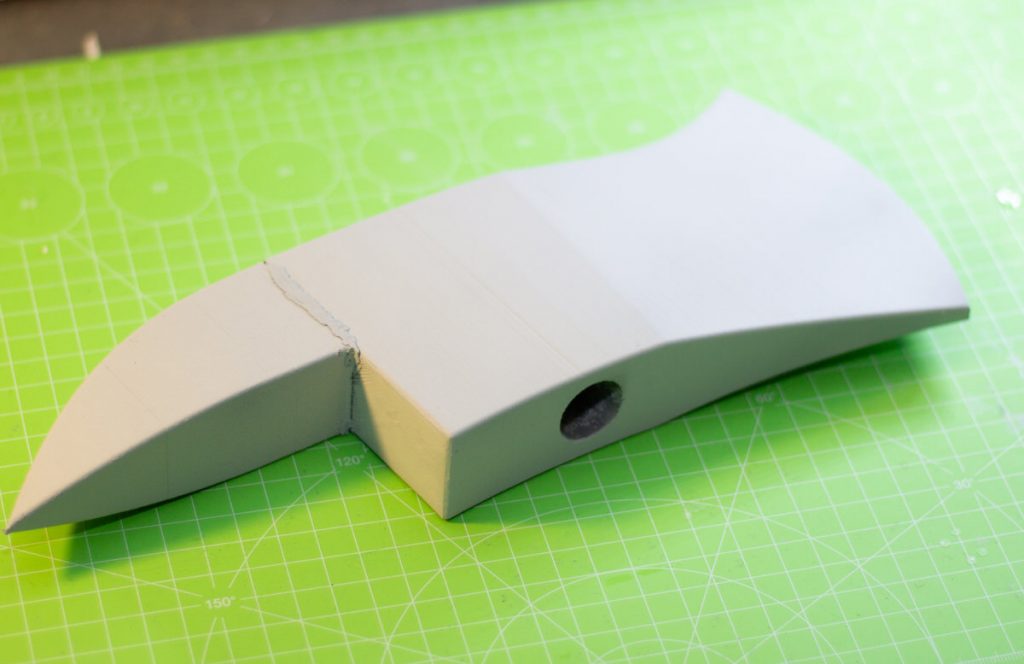
For our late Umbrella Academy photoshoot in August, we needed an axe for Number Five to be a good little assassin and so we drew a quick axe design up in Fusion360. While drawing the axe was quite easy, getting it ready for 3D-printing was giving us a headache, since there were no flat surfaces on the axe head. That’s why we decided to split the design for easier printing and added some holes in the design, so that we could later fit in some PVC pipes for a safe and strong assembly.
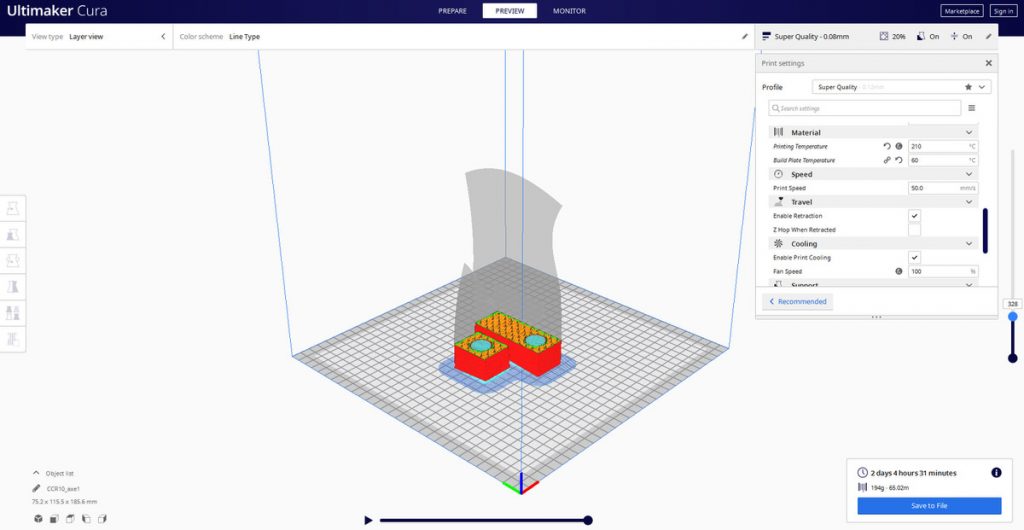
Finishing 3D-prints actually starts in your slicer settings – for example, for this print we used a layer height of 0.08mm and checked “iron surface” to get some high quality prints. Of course these took quite long to print – over 30 hours for the axe head alone – but it really pays off when you start to sand your print.
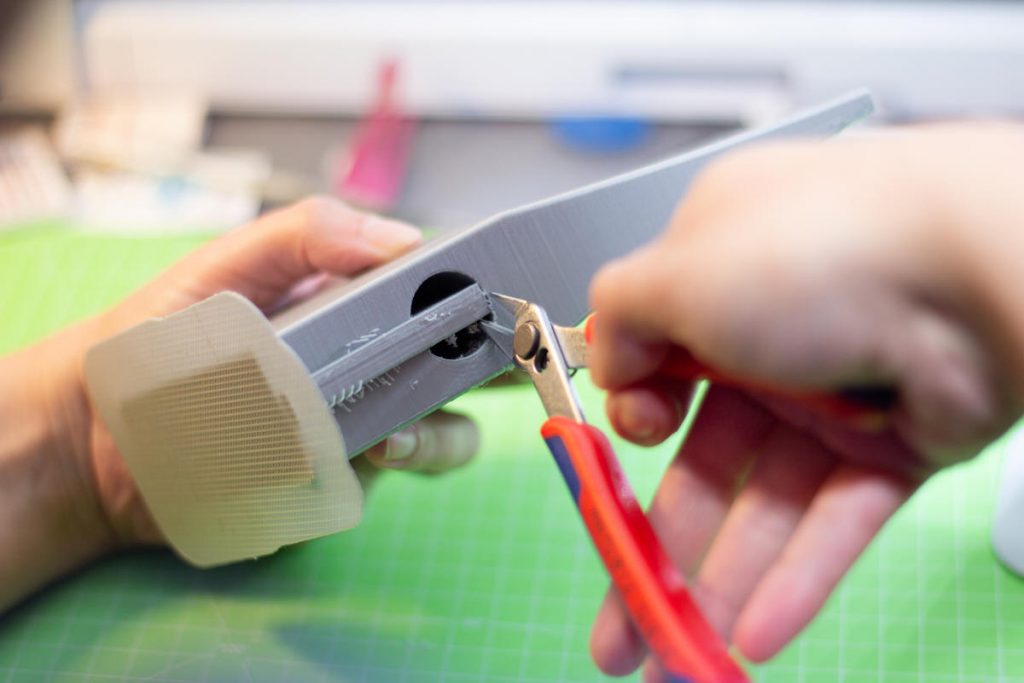
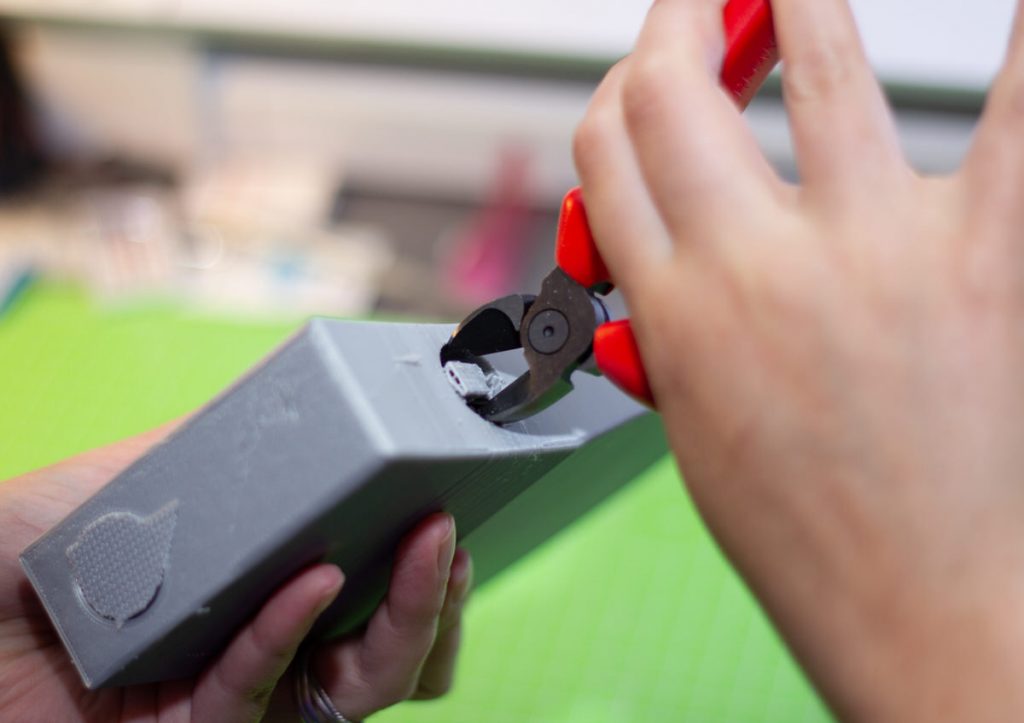
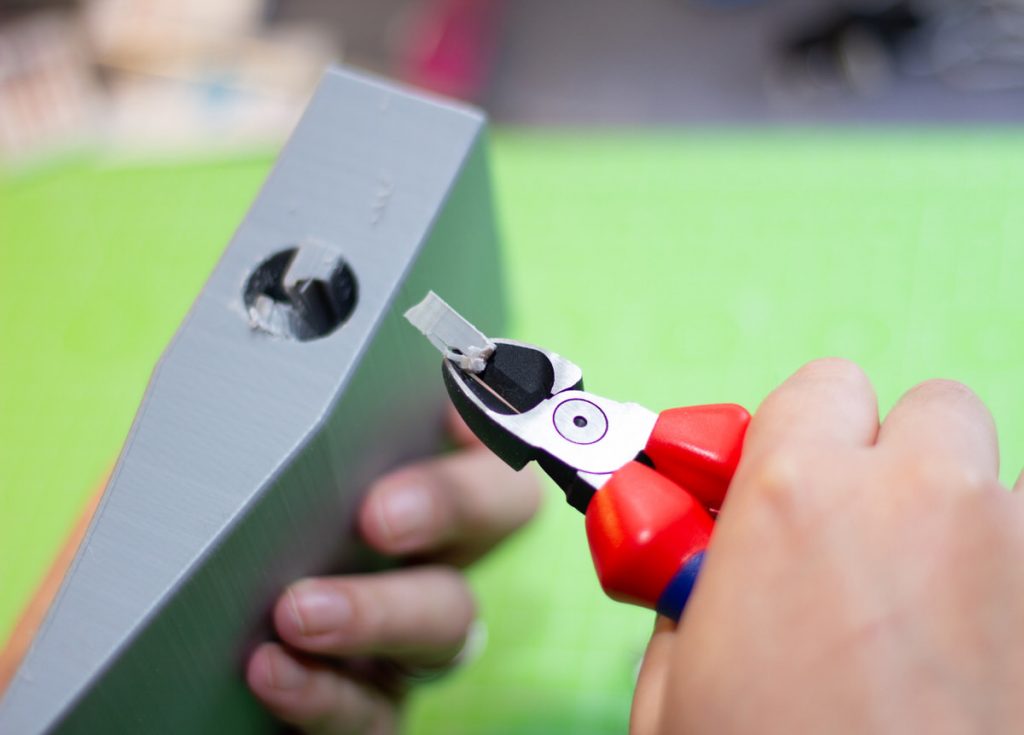
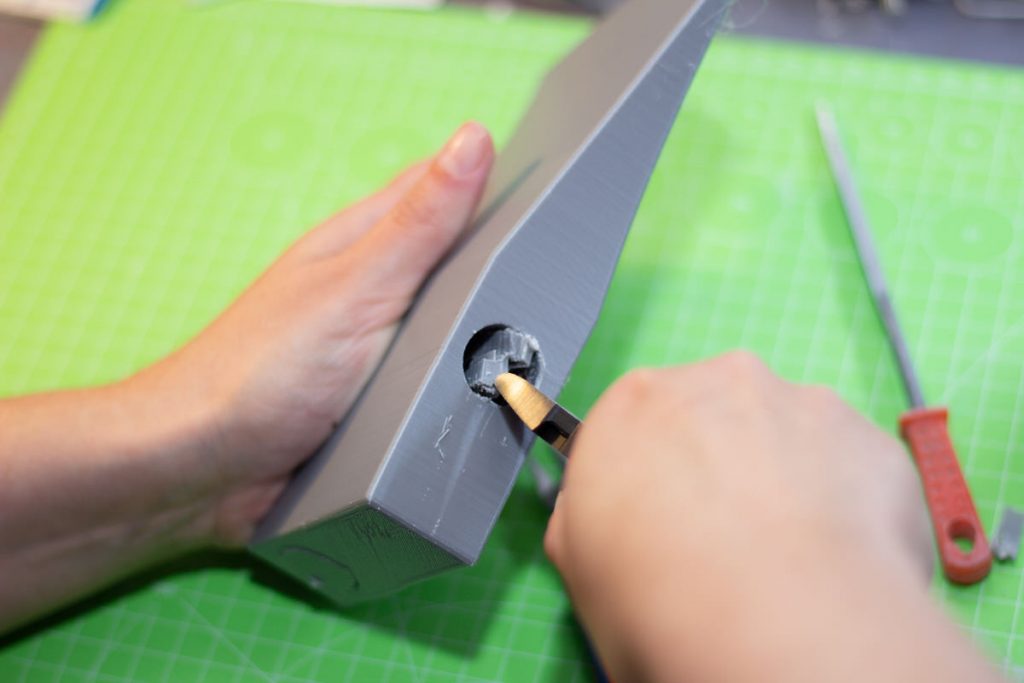
First of all, we need to remove the support and raft material from our prints. For that, we love to use our pliers, like the KNIPEX Electronic Super Knips® and KNIPEX Diagonal Cutter (140mm), especially to remove support material in places that are harder to reach.
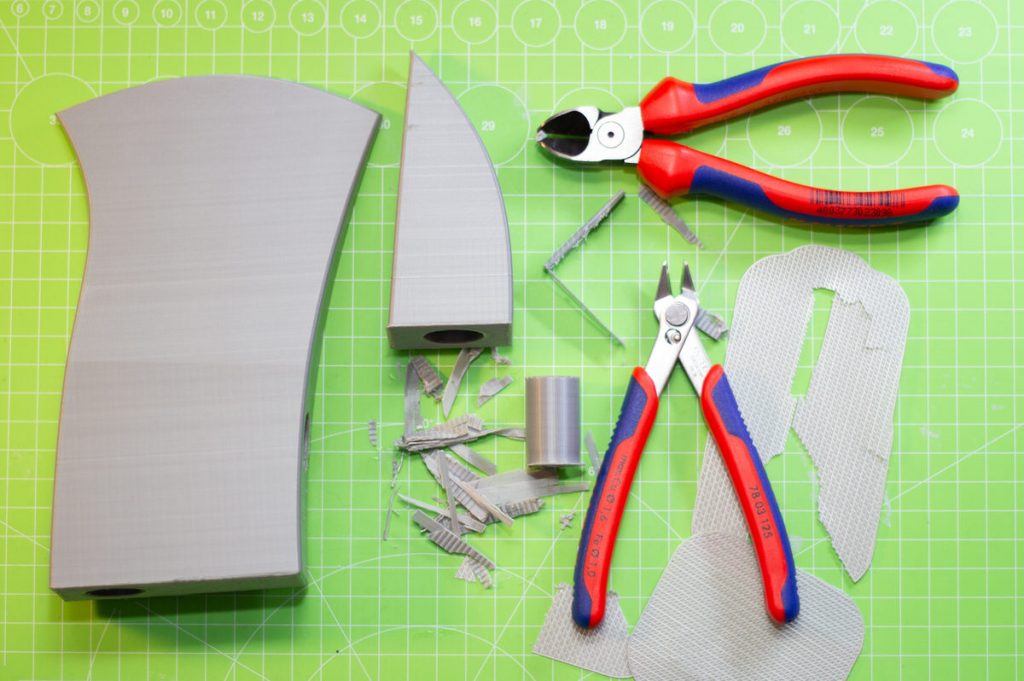
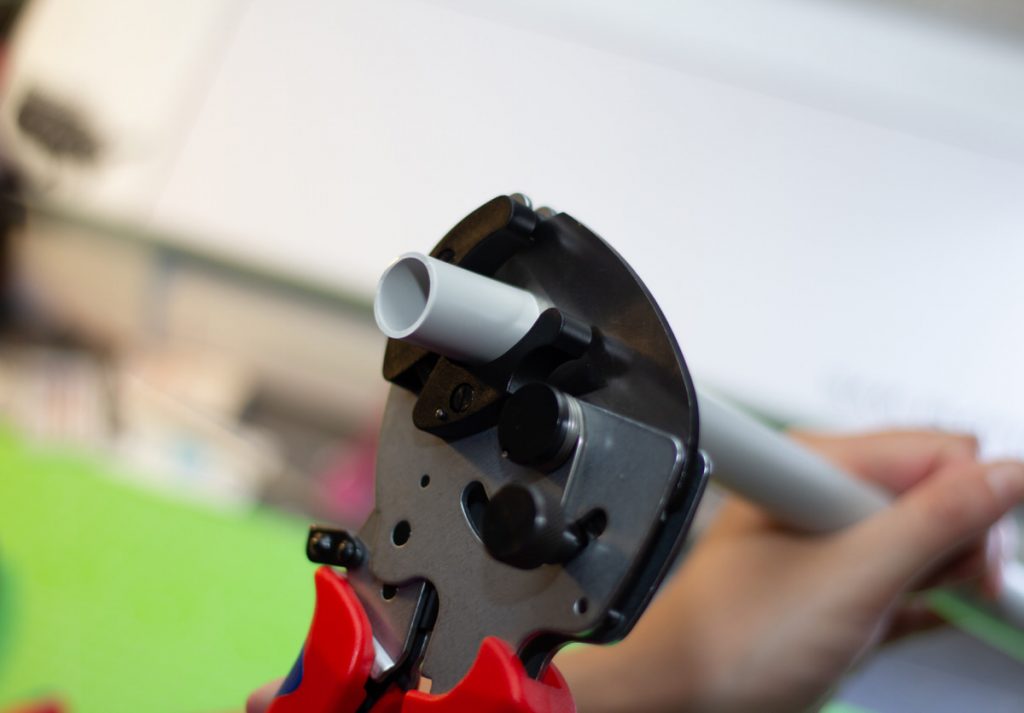
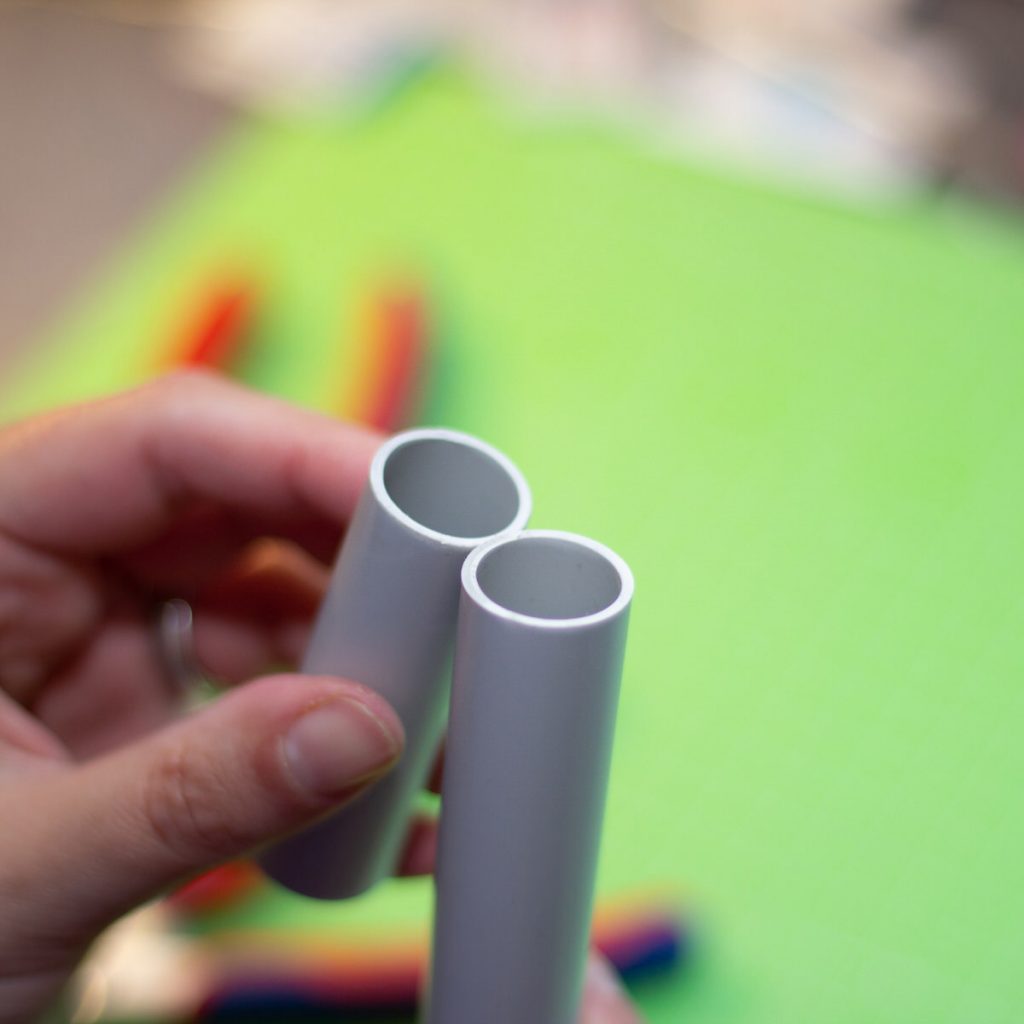
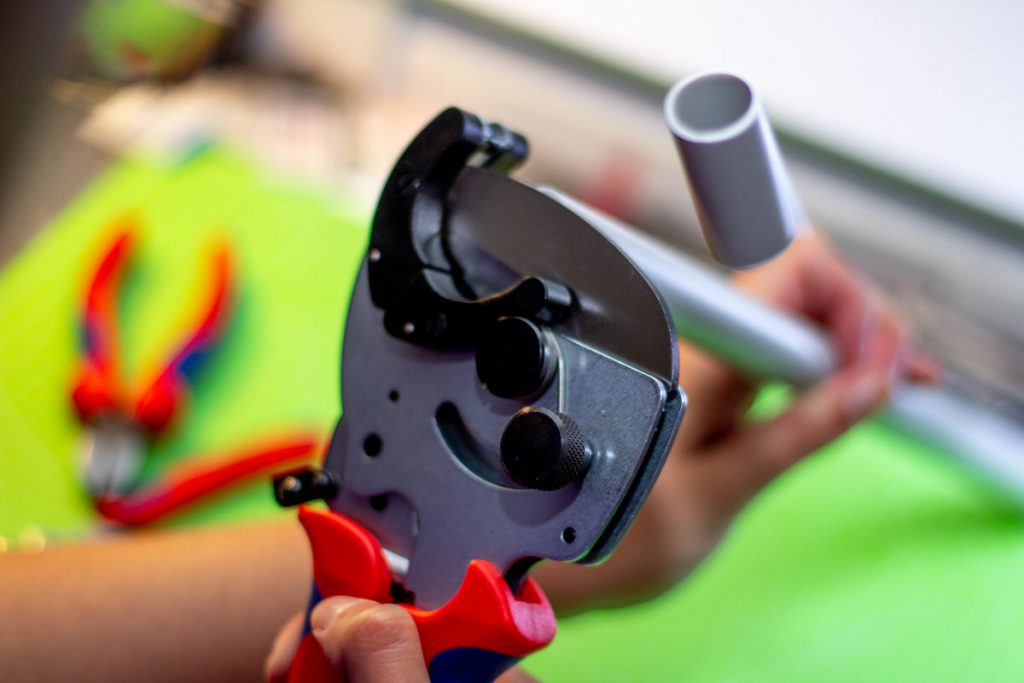
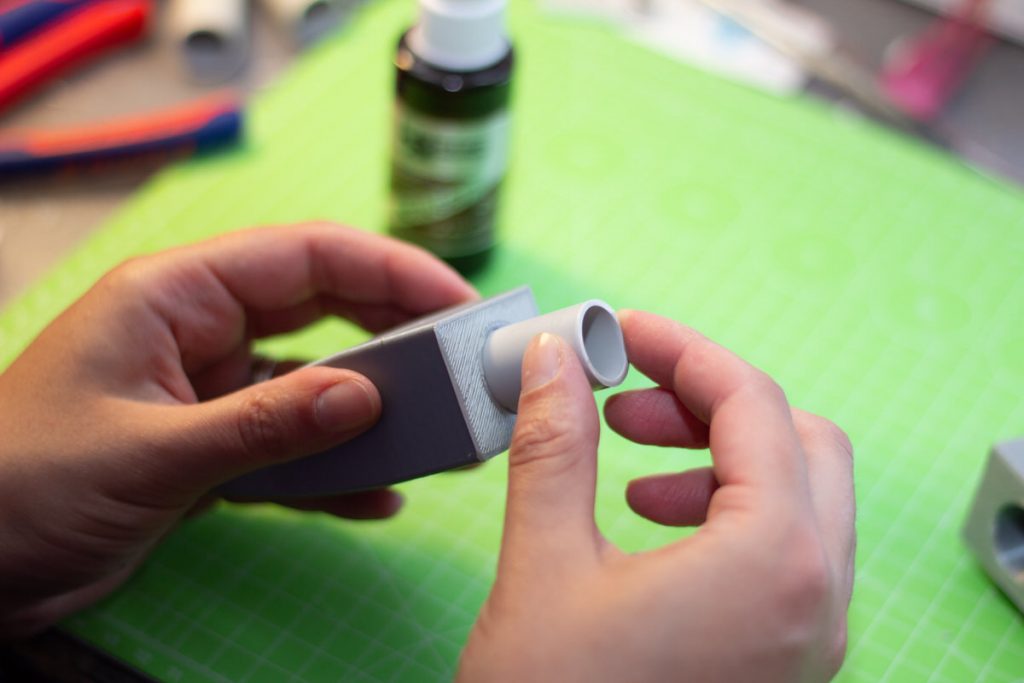
Before we started with the sanding, we wanted to connect the two parts of the axe head. Since we left holes for the PVC pipes to fit into, we first measured out how long our pipes need to be and then got to cut them, using the KNIPEX Pipe Cutter!
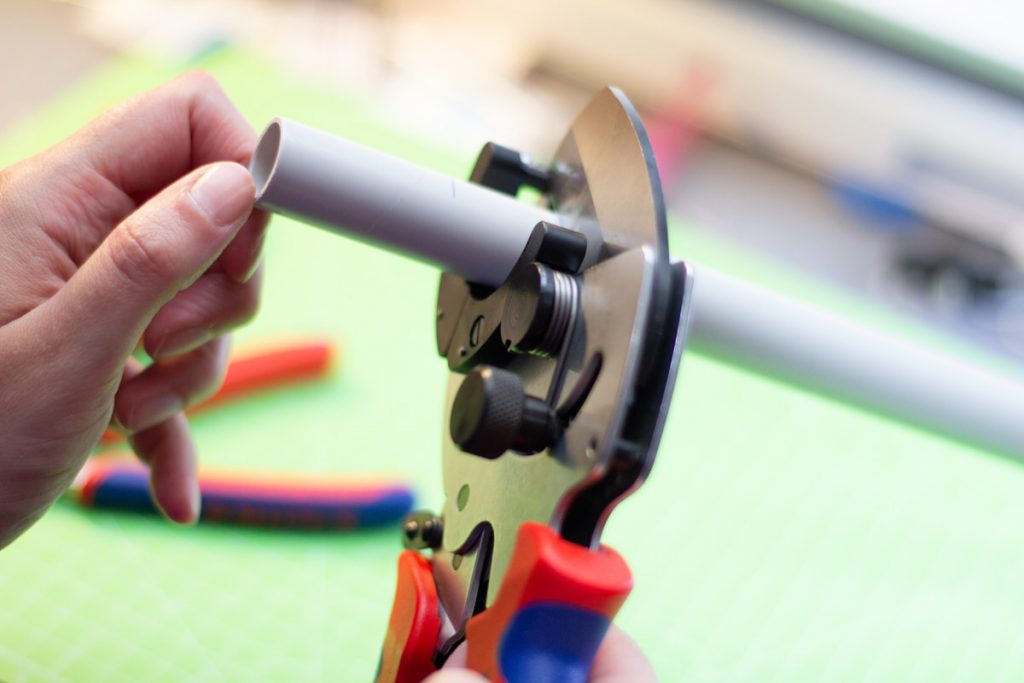
On a little side-note, before we knew pipe cutters existed, we always cut them using a normal saw, which resulted in messy edges and sawdust.
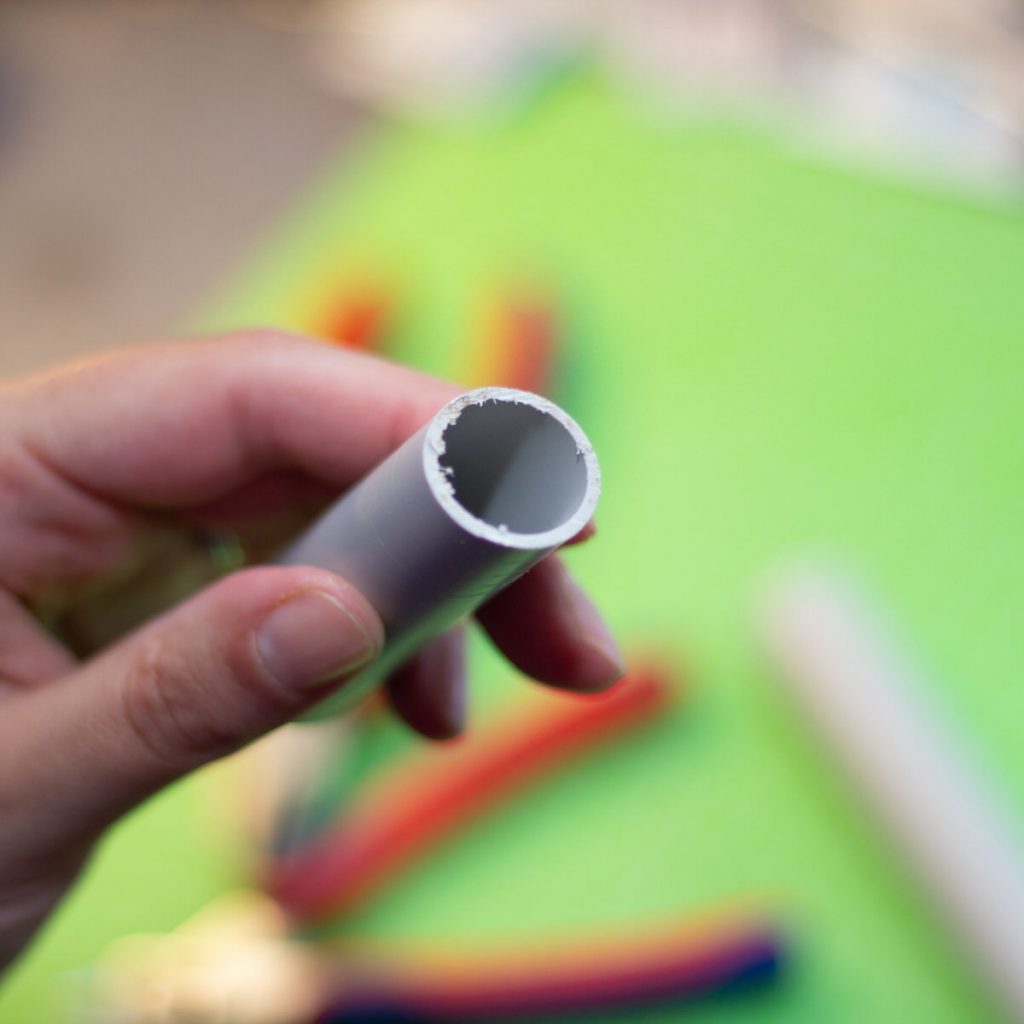
We were blown away by the new tool we got here – and it’s also very satisfying to use the pipe cutter – it was hard to stop cutting pipes actually!
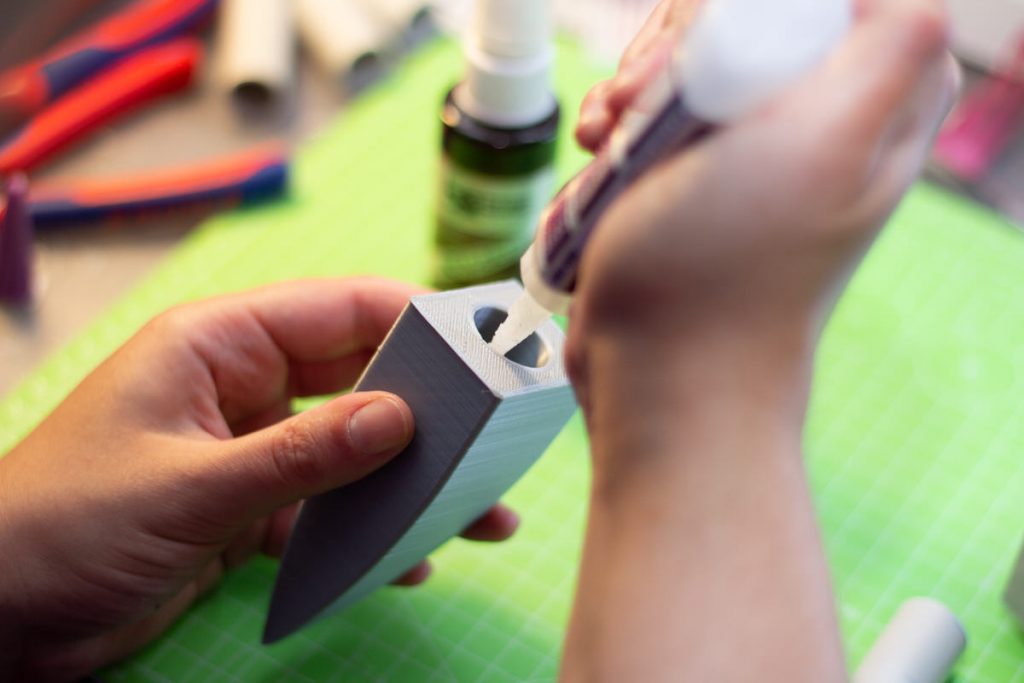
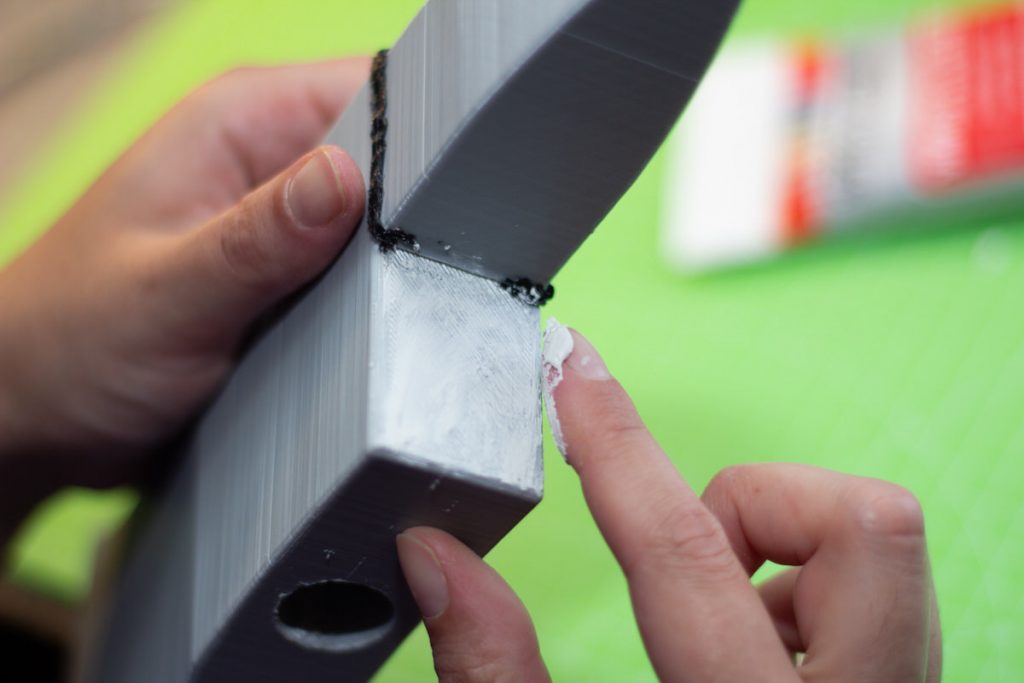
To glue the two parts of the axe together, we used super glue. Sometimes, it comes in handy to use an Activator for the super glue as well.
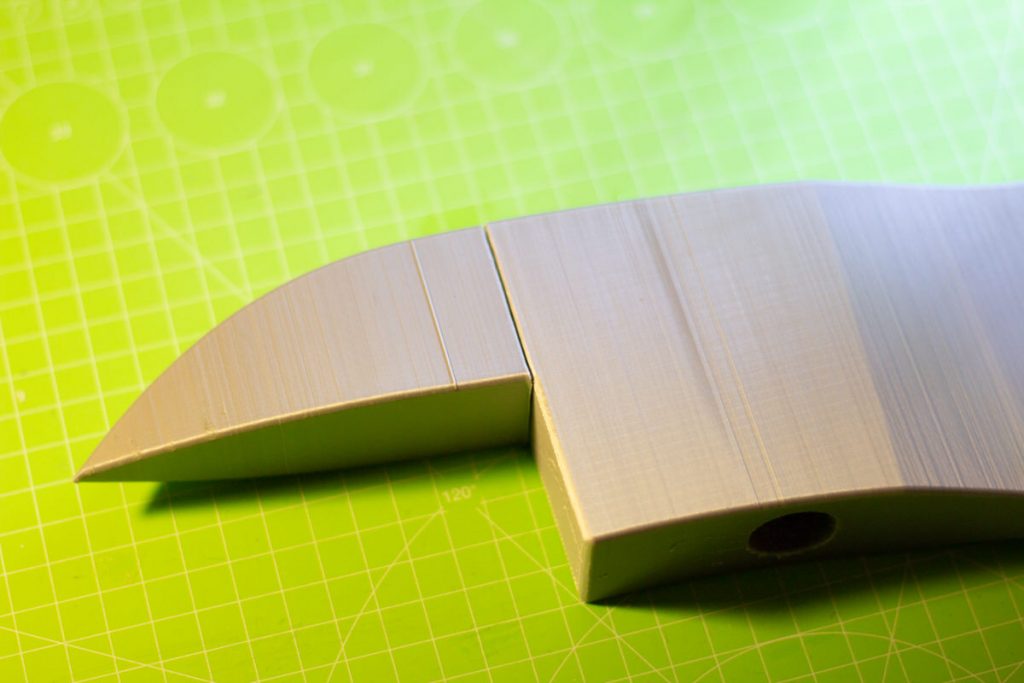
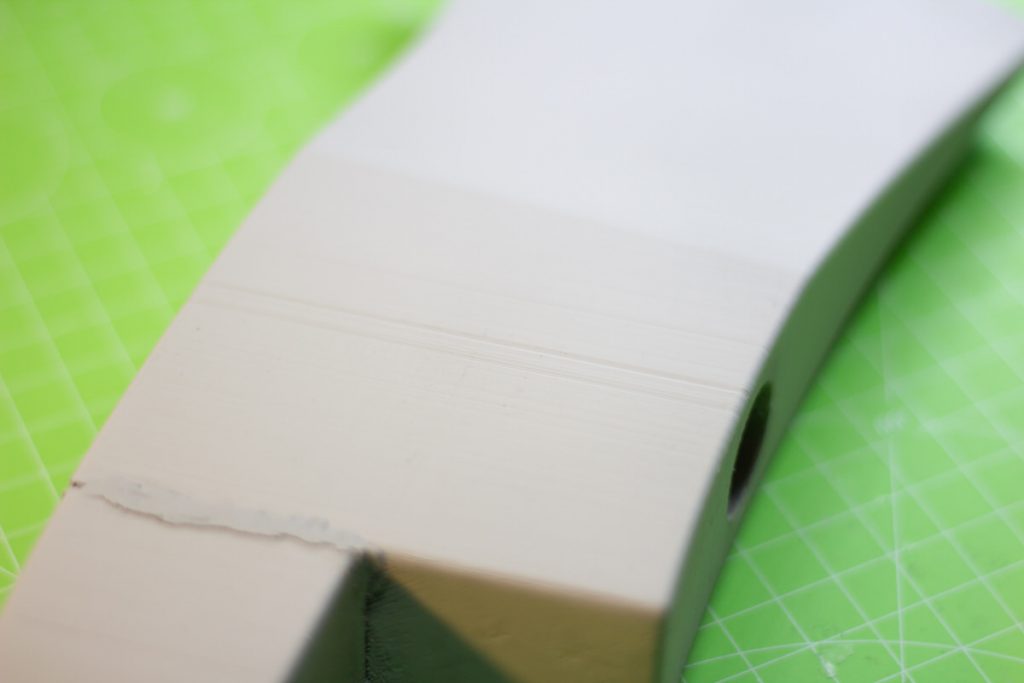
There is a small gap between the parts left. There’s a huge variety of options to fill this gap. We like to use filler, green stuff, apoxie sculpt or even PLA filament. We decided to go with the latter. For that, we took some left-over PLA filament and a soldering iron and heated the material, before pressing it into the seam.

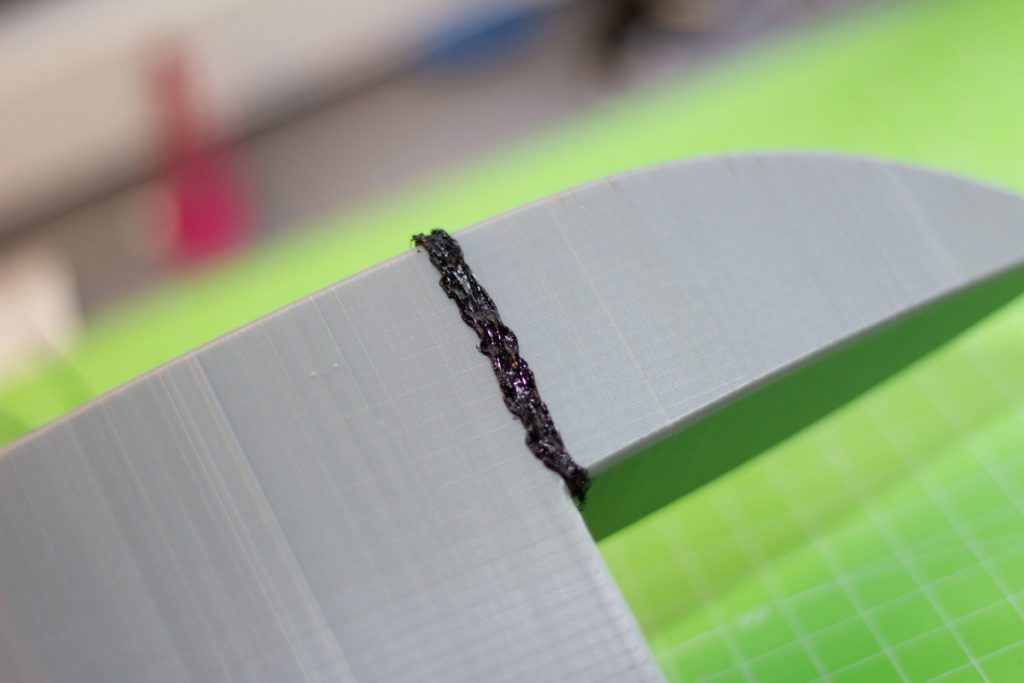
That way, we created an extra strong bond between the two parts and filled the gap as well. This seam can be sanded down in the next step.
Ugly edges that can’t be saved by just sanding can also be filled with some filler and sanded smooth later.
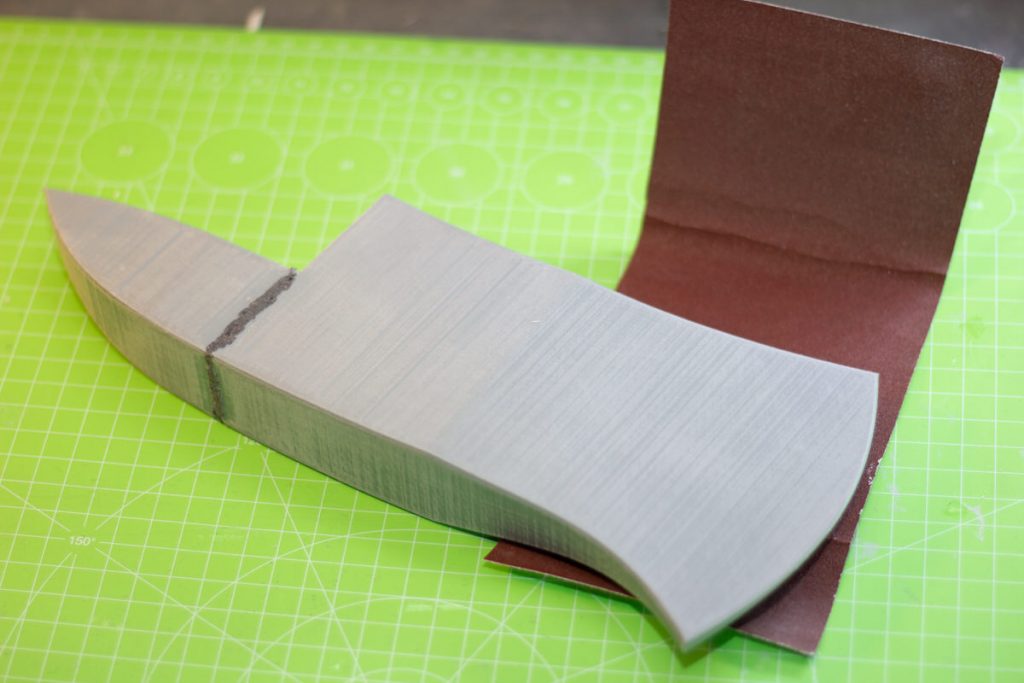
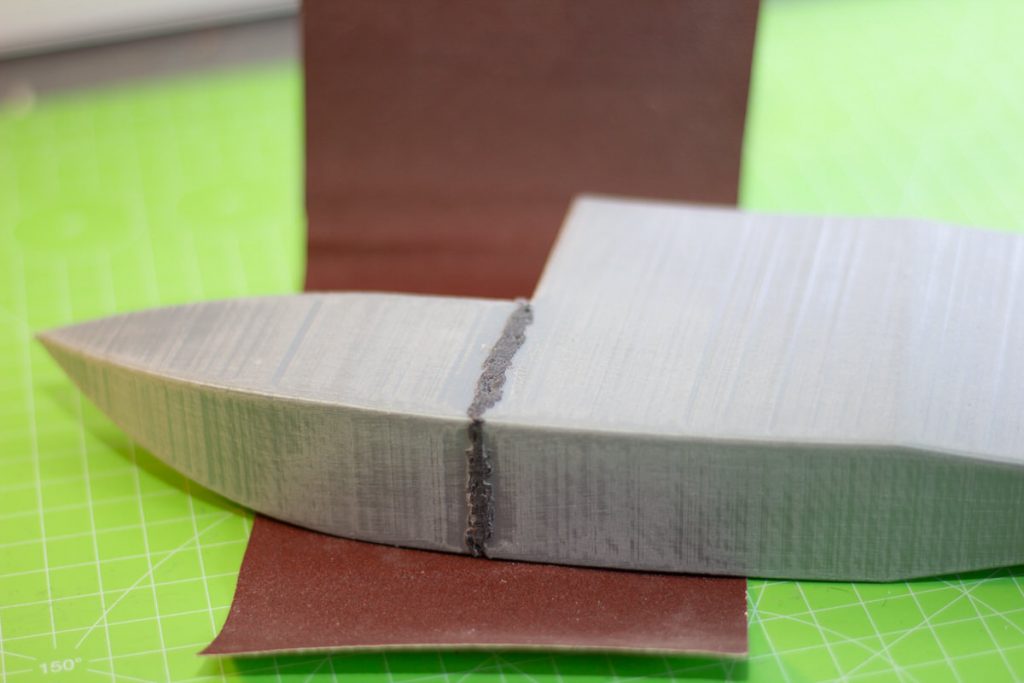
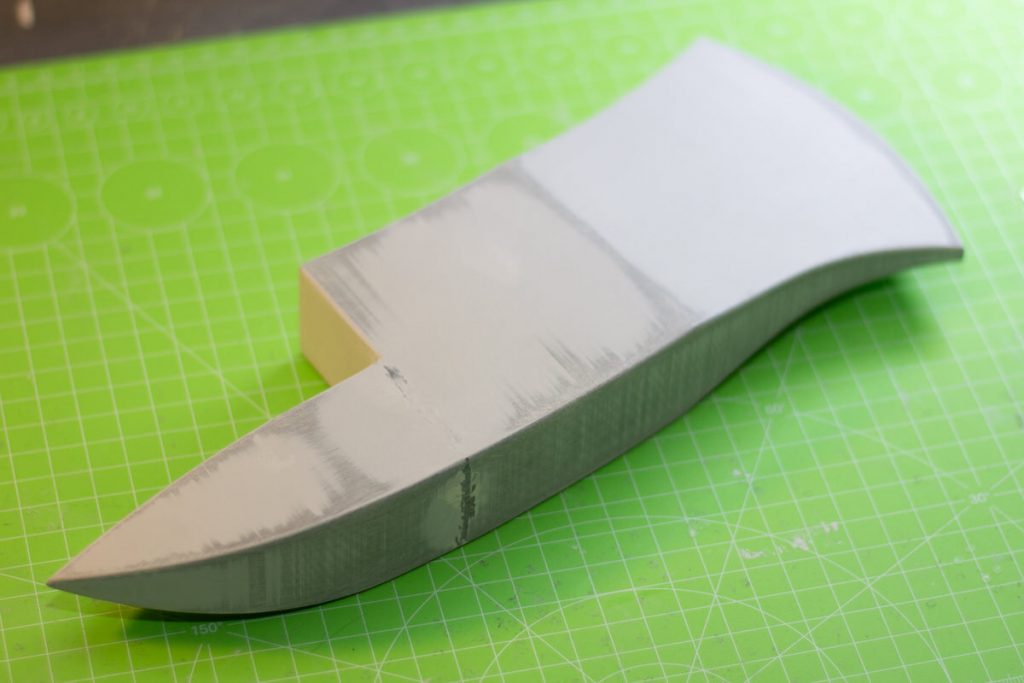
And that’s where the sanding begins! Sadly, even with really good slicer settings, you’ll always notice the layer lines when printing with your FDM printer. And that’s not something we want to see on our finished props – so it needs to be sanded. While obvious things like the seam or the ugly edges need to be sanded down first, we also like to give the entire surface a quick sanding over. For that, we use rough sanding paper – 120 grid should be fine for this design. Sometimes, when the 3D-print is too delicate and has too many details, we like to skip the step of rough sanding though.
Next up, we’re using some spray filler to fill some lines and to see where the print required more sanding.
This step needs to be repeated a few times. We usually give our props about 2-3 rounds of sanding and spray-filling and use a finer grid of sand-paper every time, usually working up all the way to 600 grid. Of course, you can always go higher for smoother results! Wet sanding is also great – we usually start adding a little water to the sanding process at about 400 grid. Just remember to use sandpaper for wet sanding once you plan on adding water!
Now that we have a smooth prop, we only need to paint it! Thankfully, 3D-printed surfaces are hard and sturdy, so you can basically use any common kind of paint to give it some color. We usually just use the spray-filler as our primer, since it works with most spray-paints we have worked with. For the axe, we went with color varnish from the craftstore – the one that’s also used for cars, since we wanted a strong and sturdy finish in case the axe needed to go chop chop.
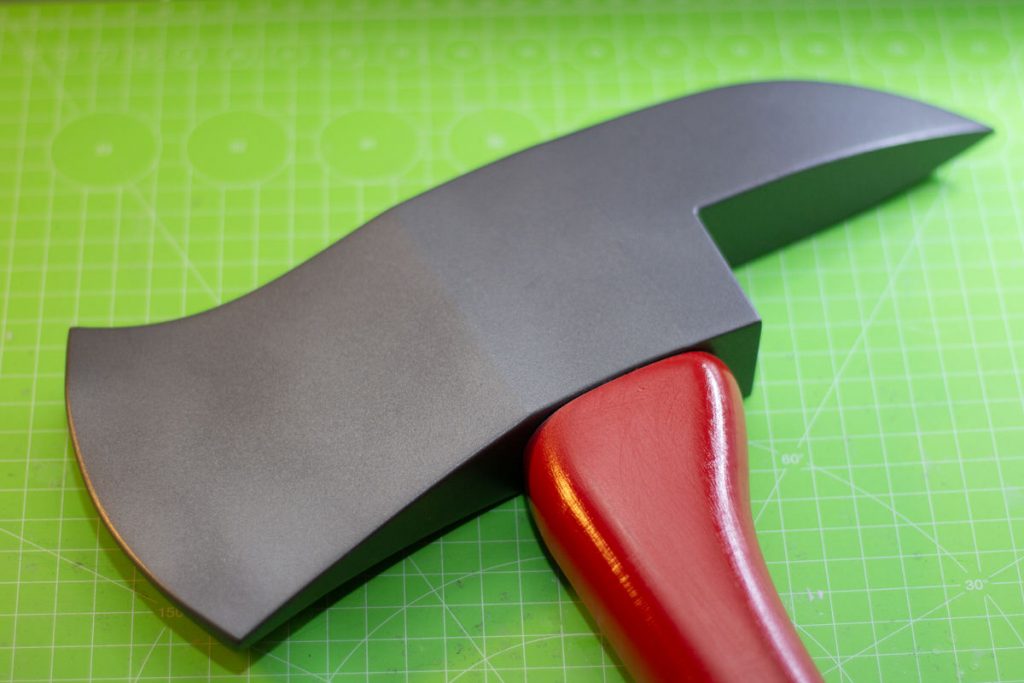
And here it is, in all its glory!
So thank you everyone for reading our blog article! We really hope you enjoyed it – if you have any questions, feel free to leave a comment down below. Stay tuned for a fourth part of this blog series about 3D-printing for cosplay – as we may purchase a resin printer soon. :>
Cheers,
