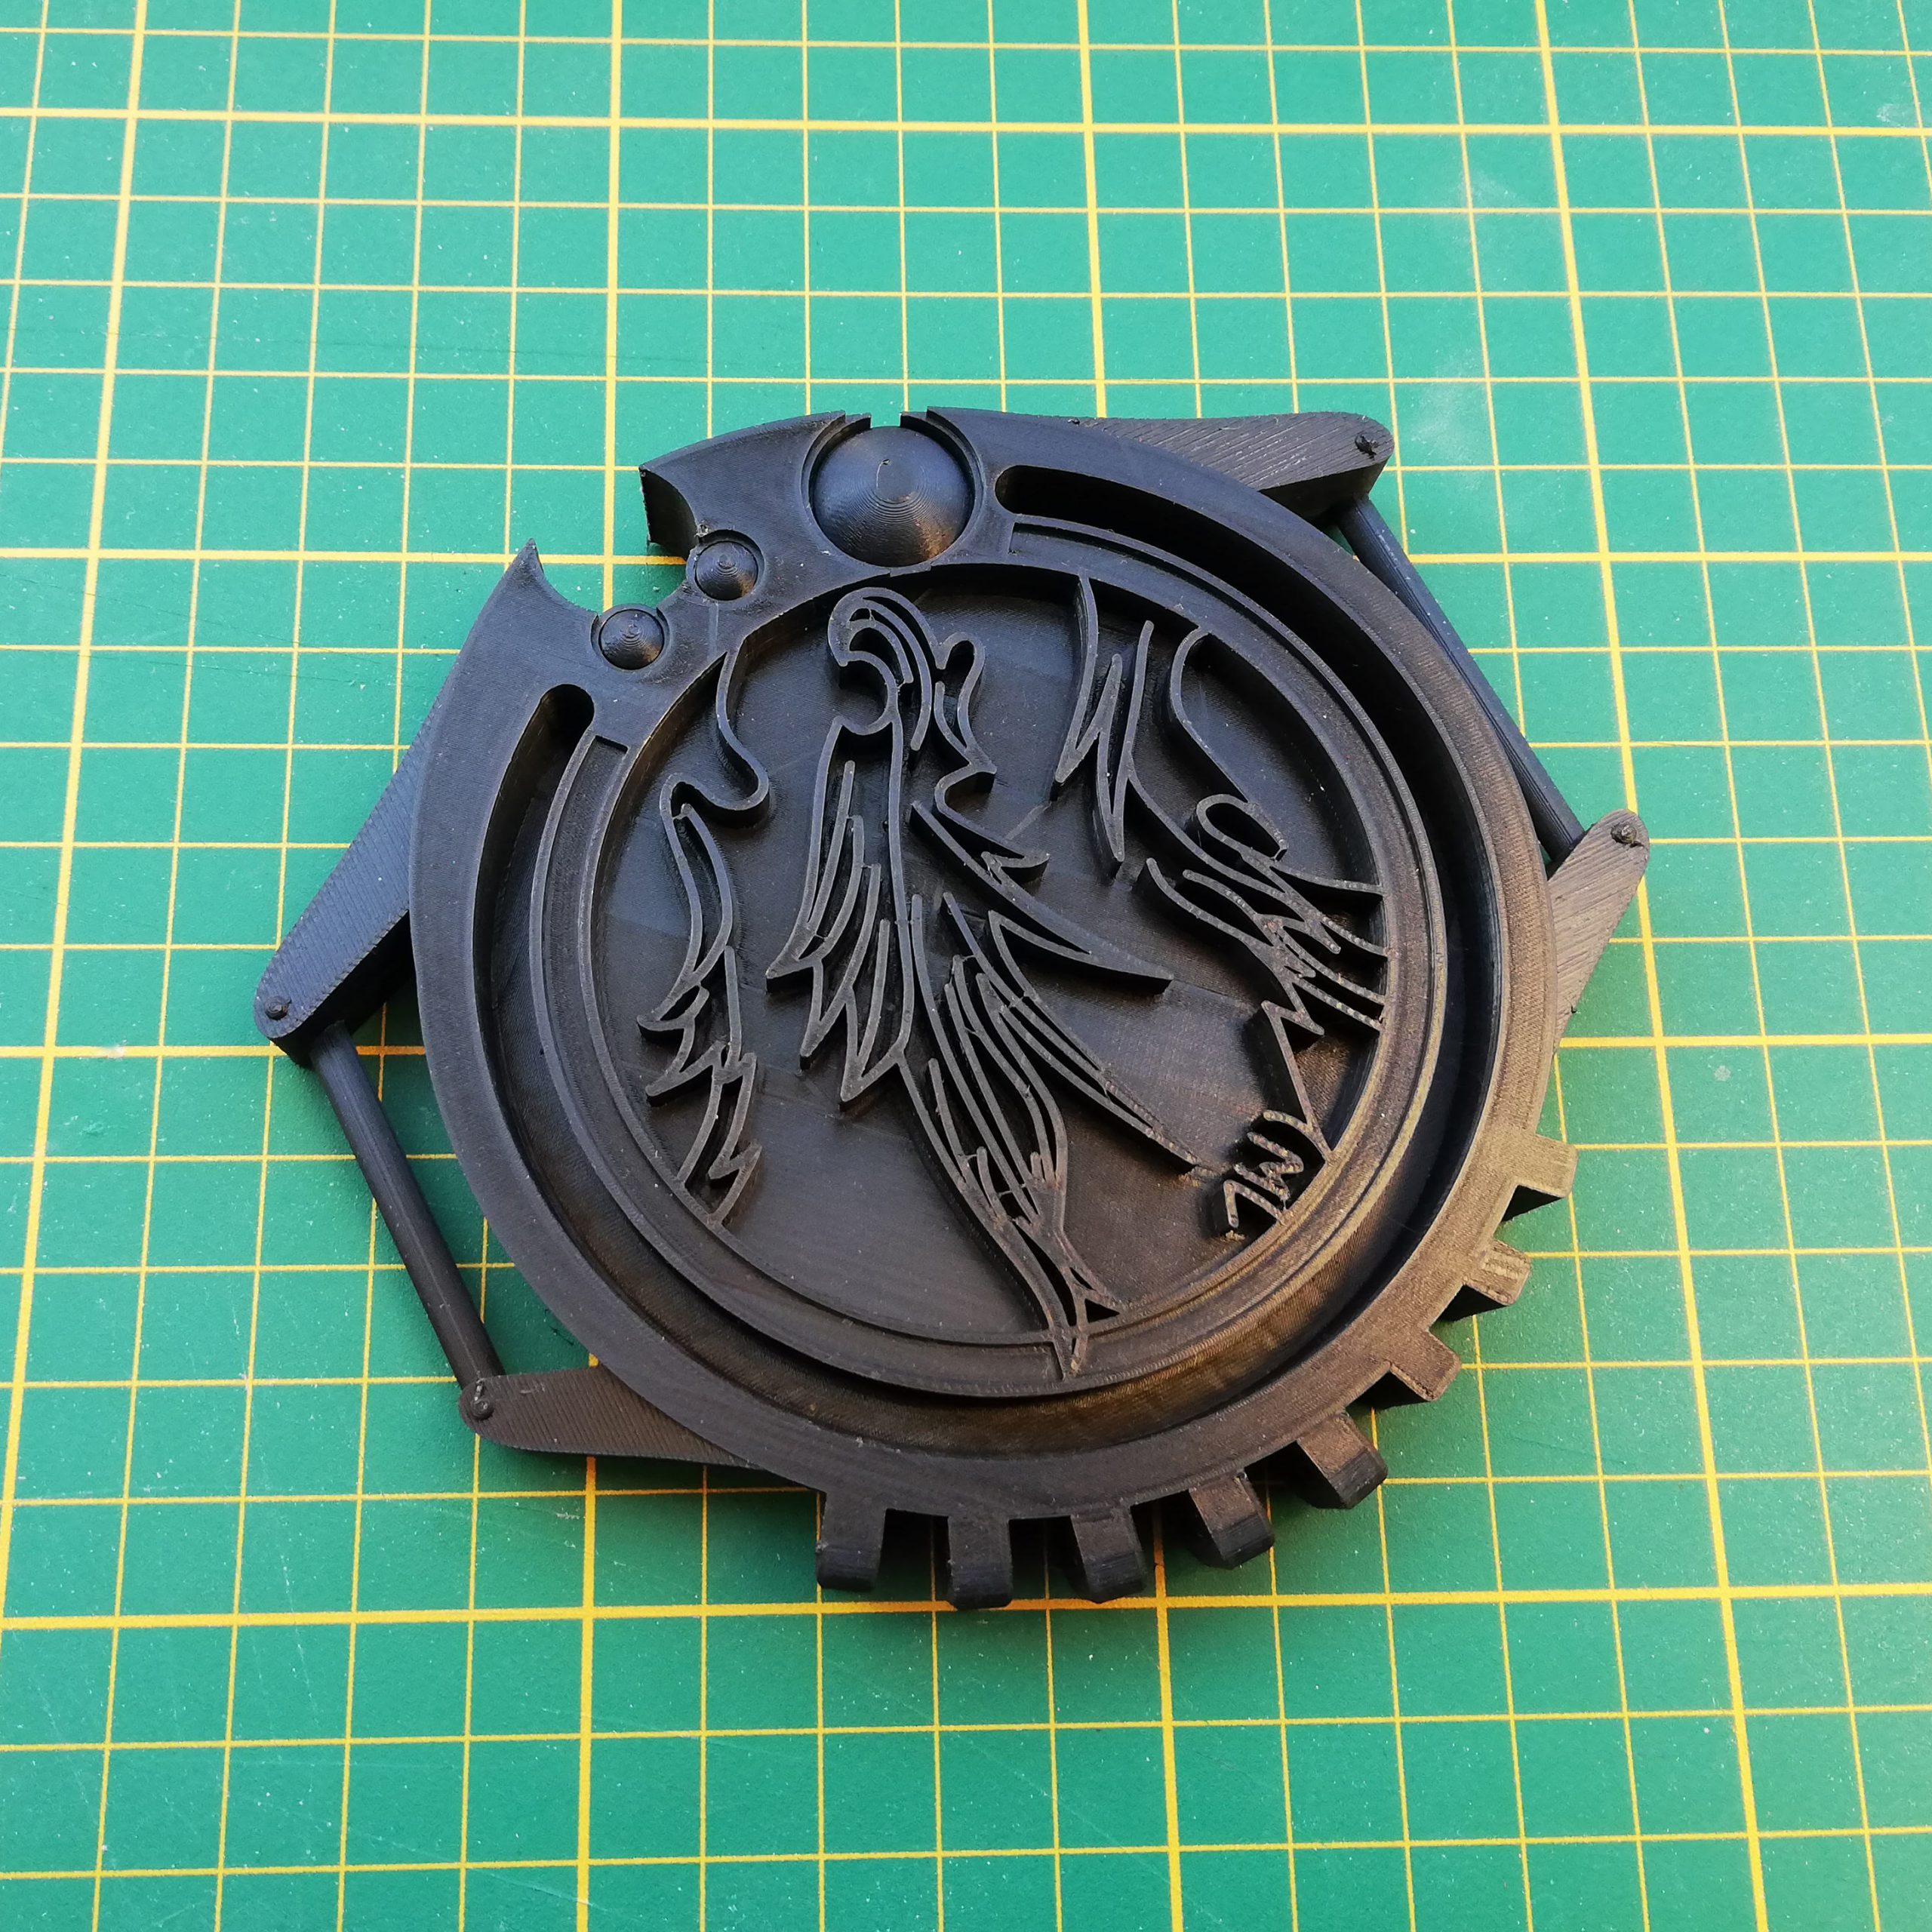
If you read our blog post about which 3D-printer you should get for cosplay, you’re probably curious about which software we use. We’re making a lot of our 3D models ourselves, and even though we have no professional background in 3D modeling or CAD files, we learned a lot over the past three years and are able to make our own files. Like this, we are no longer dependand upon someone else uploading files to free sharing sites for 3D-files.
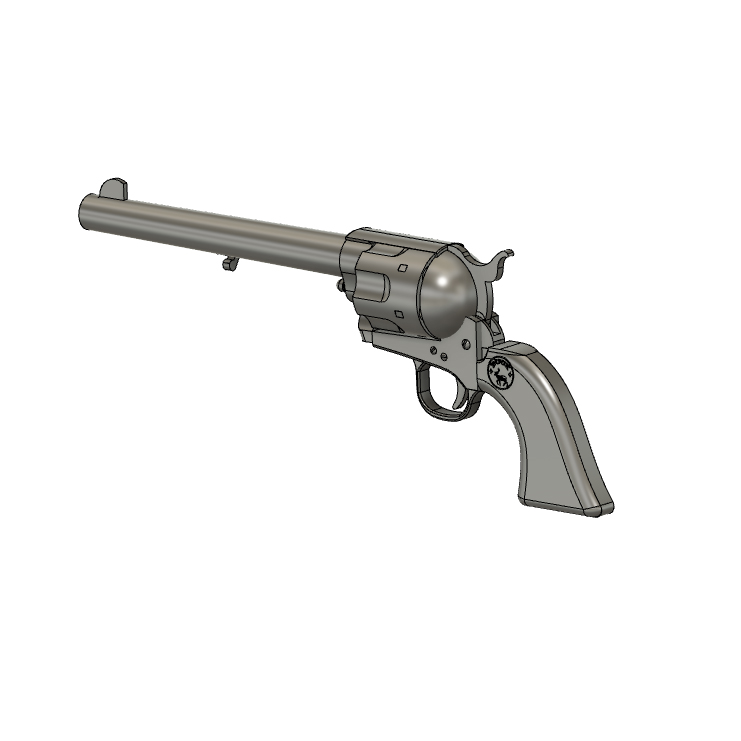
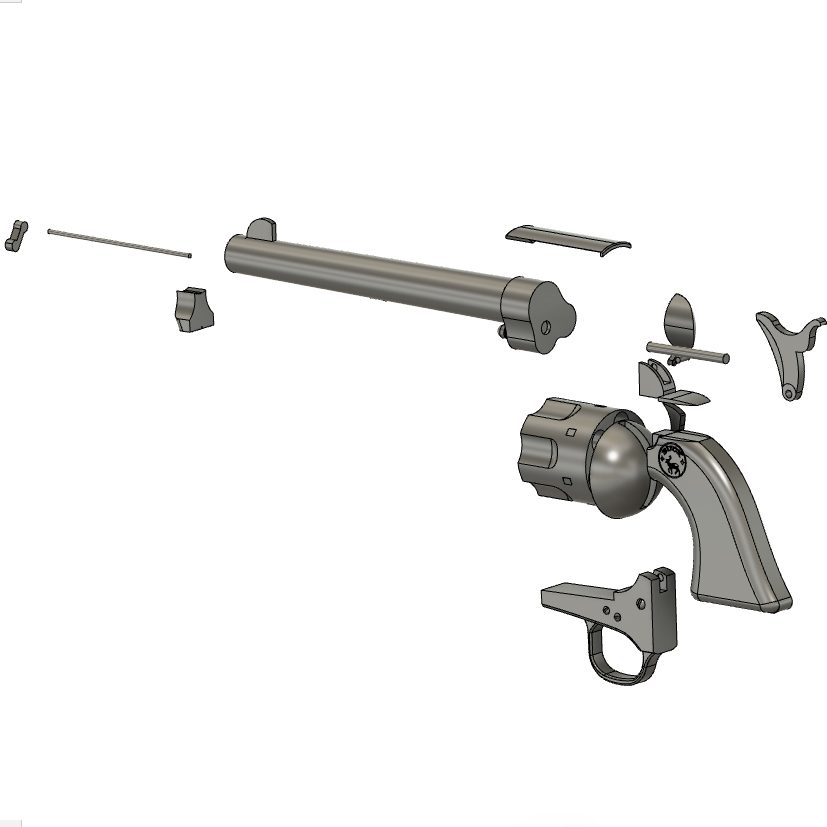
The barrel of the Cattleman Revolver me made is actually able to roll. You can also pull the hammer, which looked kinda cool in our cosplay music video. We were able to make this file in our second year of self-taught 3D-modeling, so with a little bit of experience, it’s super easy to create cool stuff!
Can I also buy or download free files for 3D-printing?
Well yes of course! Some of the most common websites for free 3D files are Thingiverse, MyMinifactory or Yeggi. While Yeggi mostly serves as a search engine especially made for 3D-files, the others offer plenty of cool 3D-files for you to download.
Of course, there are also a lot of 3D-files for sale, especially for cosplay purposes. You can find 3D-files for sale at CGTrader or Etsy.
How did you learn to model 3D-files for cosplay? Where do you start?
Seriously, just download a CAD program of your liking and start trying to model something. There are tons of (free) programs that you can try out. There’s even in-browser applications for you to tinker around with.
Personally, we started with Autodesk Fusion360. It’s free for students and private users and one of the easiest to understand CAD programs for beginners. There are tons of good basic tutorials on YouTube that help you understand the very basics. We even made two video tutorials of our own!
This one is in German, we originally made this for our 3D-printing in cosplay workshop attendees to watch at home.
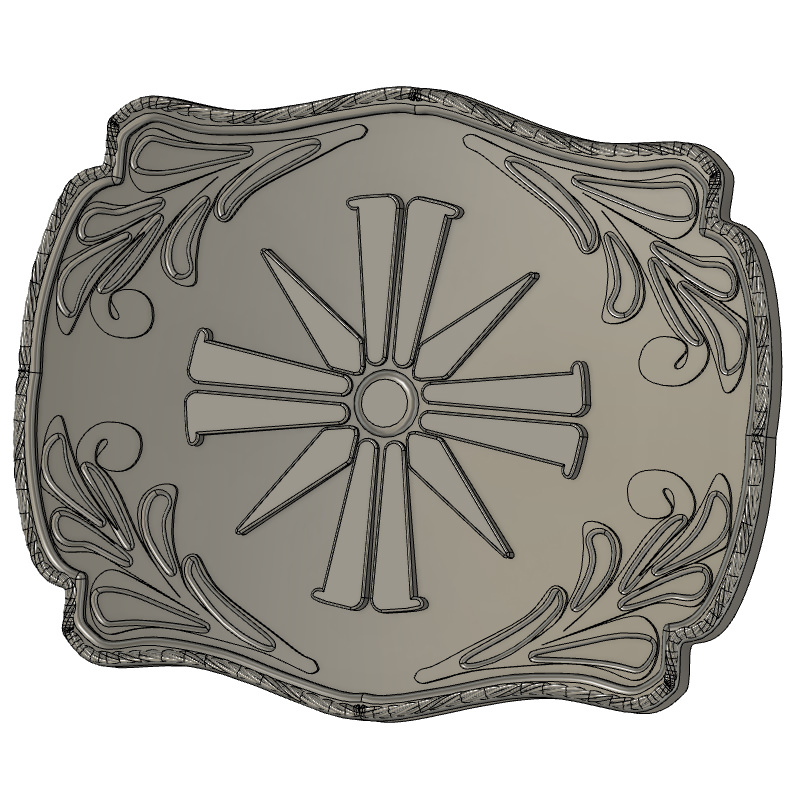
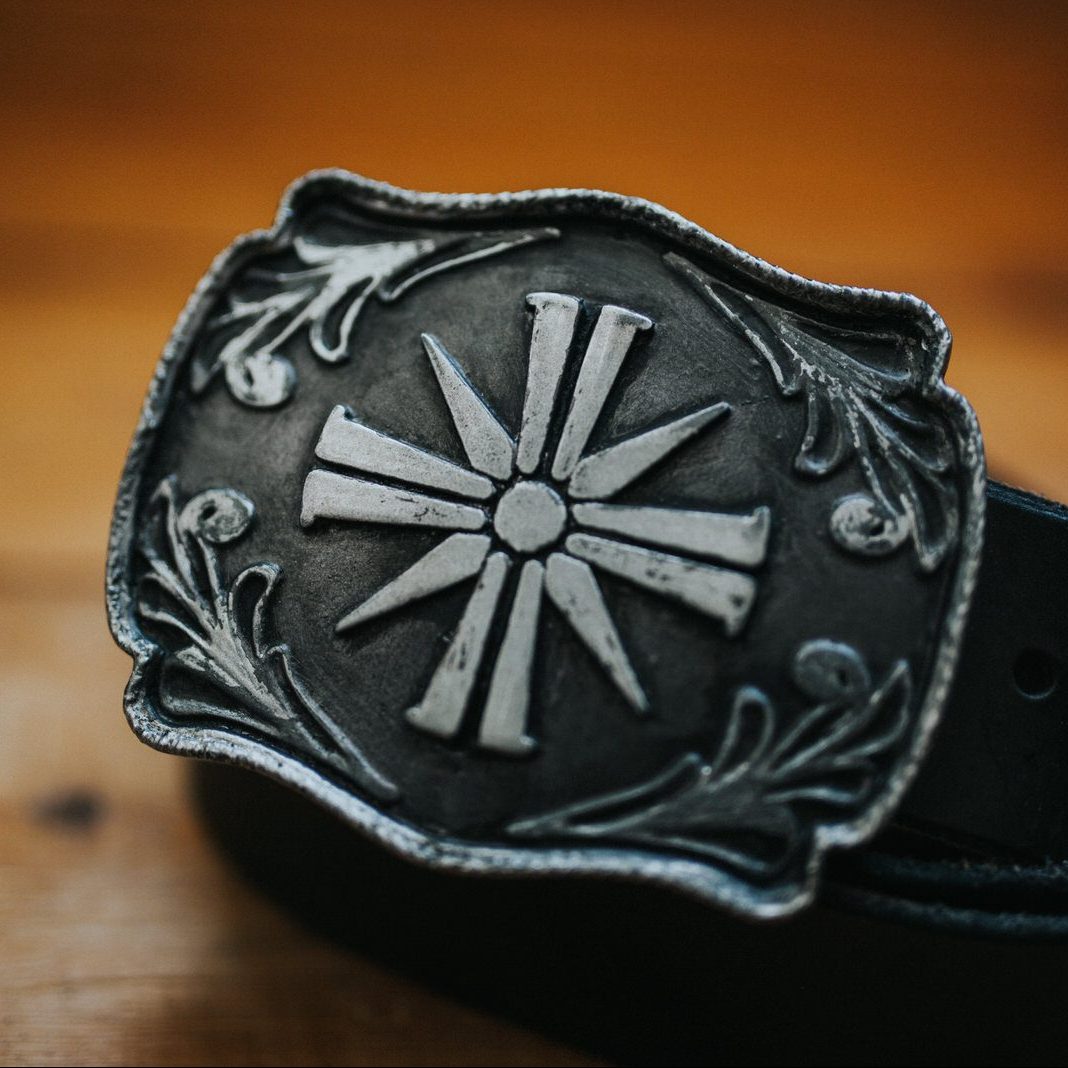
This one is kind of a timelapse video of the 3D-modeling of Nathan Drake’s belt buckle.
However, you can probably just download Autodesk Fusion 360, get familiar with the program’s function and start 3D-modeling. It’s that easy!

One thing that is amazing about Fusion360 is that it saves all of your models online, so you have them available at all times. It also saves every step of your modeling, meaning that you can jump back in the timeline and modify any step that you’ve done previously. This comes in super handy, especially when you notice that you need to rescale certain parts of your model. It’s amazing and helps you learn how to improve your 3D-modeling for the next time that you use it.

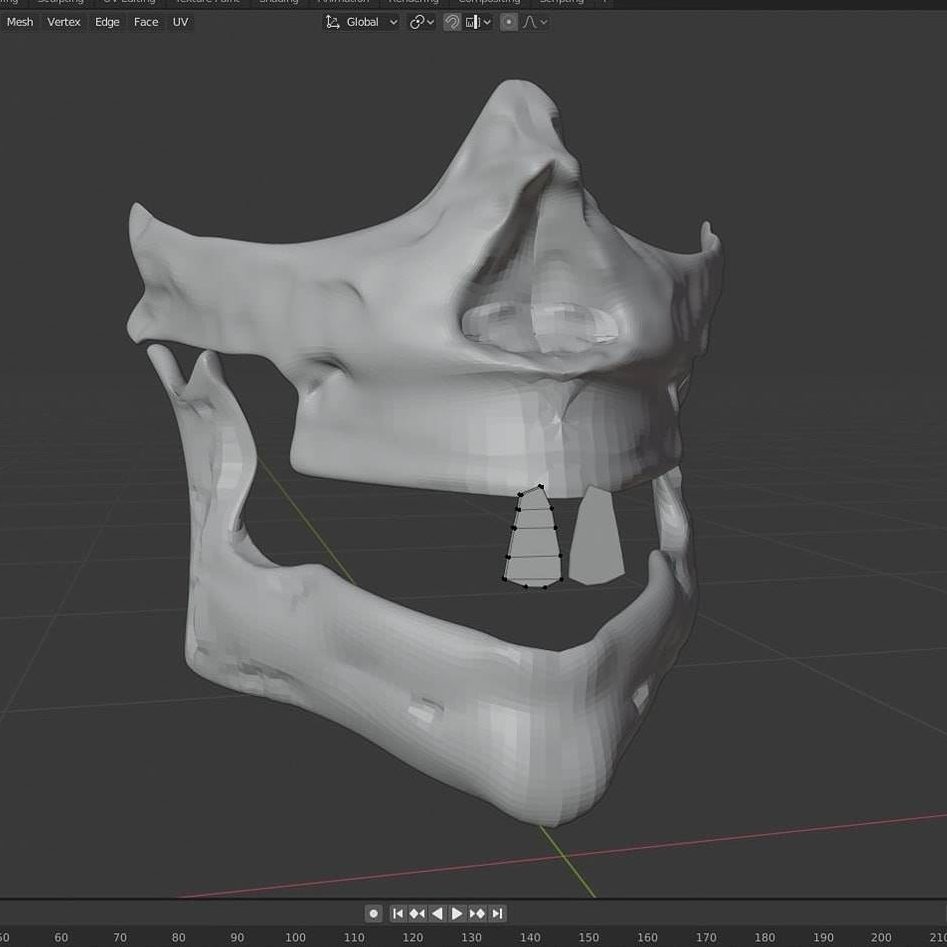
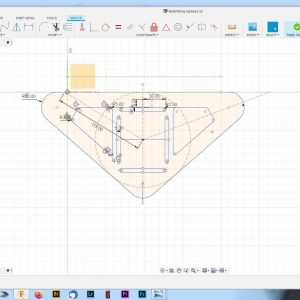 Fusion 360 is amazing, if you want to build somewhat inorganic forms and mechanical parts. Since you’re extruding your files from technical sketches most of the time, it’s super easy to work precisely, mirror your sketches and get a perfectly symmetric file. This works super well for a lot of props, but as soon as you start using round surfaces, it gets a little harder to control.
We once tried to sculpt in Fusion 360, but to be honest, it isn’t very intuitive. There are different ways to do it, using the sculpt option or surface sculpting, and there are a bunch of tutorials on YouTube, but we never got too comfortable with sculpting in Fusion 360.
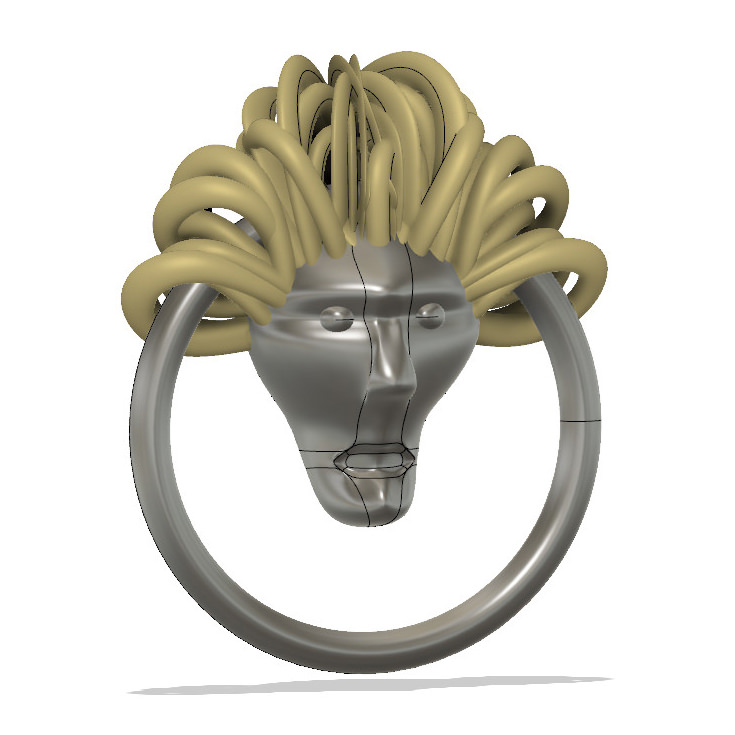

We figured that we could try using another 3D-modeling program for it. Luckily around that time, Kamui Cosplay and her husband Benni released a YouTube video just on that topic! This 3D-modeling tutorial is super helpful and was just what we needed. We later used it as a tutorial to sculpt Higgs golden skull mask from Death Stranding.
For this, we used a free program called Blender. In our opinion, it’s not as beginner friendly as Fusion 360, you really need to know a few shortkeys and stuff to sculpt, but luckily there are tutorials available for that. We only really used Blender once, so there is probably a lot more to learn on that for us!
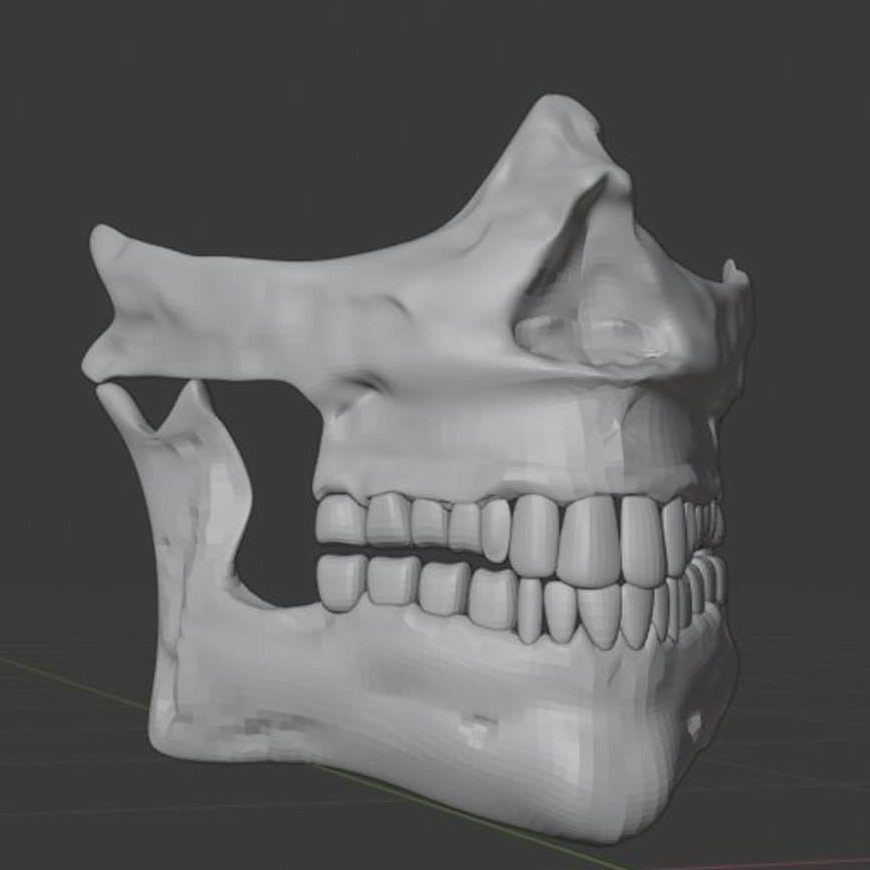
So, you see, our learning curve was increasing super fast and it was a lot of fun figuring out how to build our own files. It didn’t even stop at cosplay related files, we could print a new handle for our fridge, cookie cutters, and even cute planters to improve our home! If you’re able to think it, you’re literally able to print it and bring it to real life at this point. So, investing a little bit of time to learn how to 3D-model really paid off, and it’s especially rewarding if you can print it right away.
But how do I print my 3D-model?
In order to tell your 3D-printer how to print your model, you will need another program. This program is called a slicer and when you purchase your printer, they sometimes come with their own slicer software. Our CR-10 did not come with a slicer software and we tried a few programs, but settled with Ultimaker Cura. Cura lets you import settings for almost all FDM printers, which is important so it knows the size and volume of your build plate, so you can easily use it for your own 3D-printer no matter the brand.
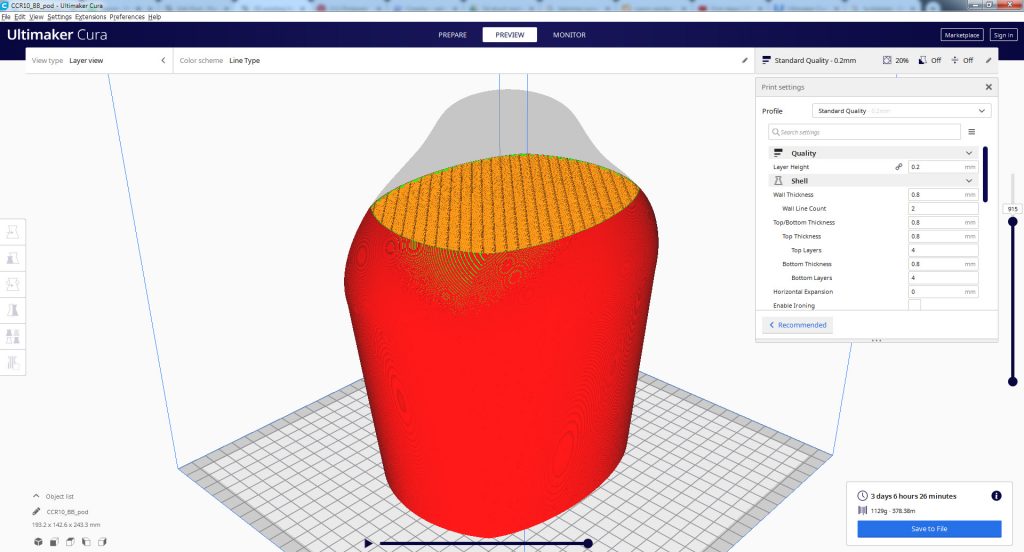
Your Slicer tells the 3D-printer how it should print the 3D-model. You can adjust settings like the layer height and speed, which directly affects the quality of your print. You can also adjust the thickness of the shell, the infill of your print and whether or not you want to have support structure while printing. There are literally hundreds of adjustments that you can make and while it takes a while to get to know them all, Cura offers really nice standard profiles (standard settings) for almost all of the usual filament types in different kinds of qualities. Once you’re done slicing your 3D-model, you can either save the sliced file to a SD card or send it to your printer directly via USB if it’s connected to your computer.
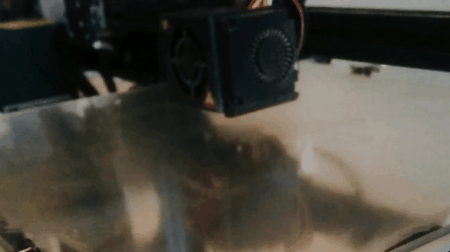
And that’s it, you have your raw 3D-printed prop ready for the next steps!
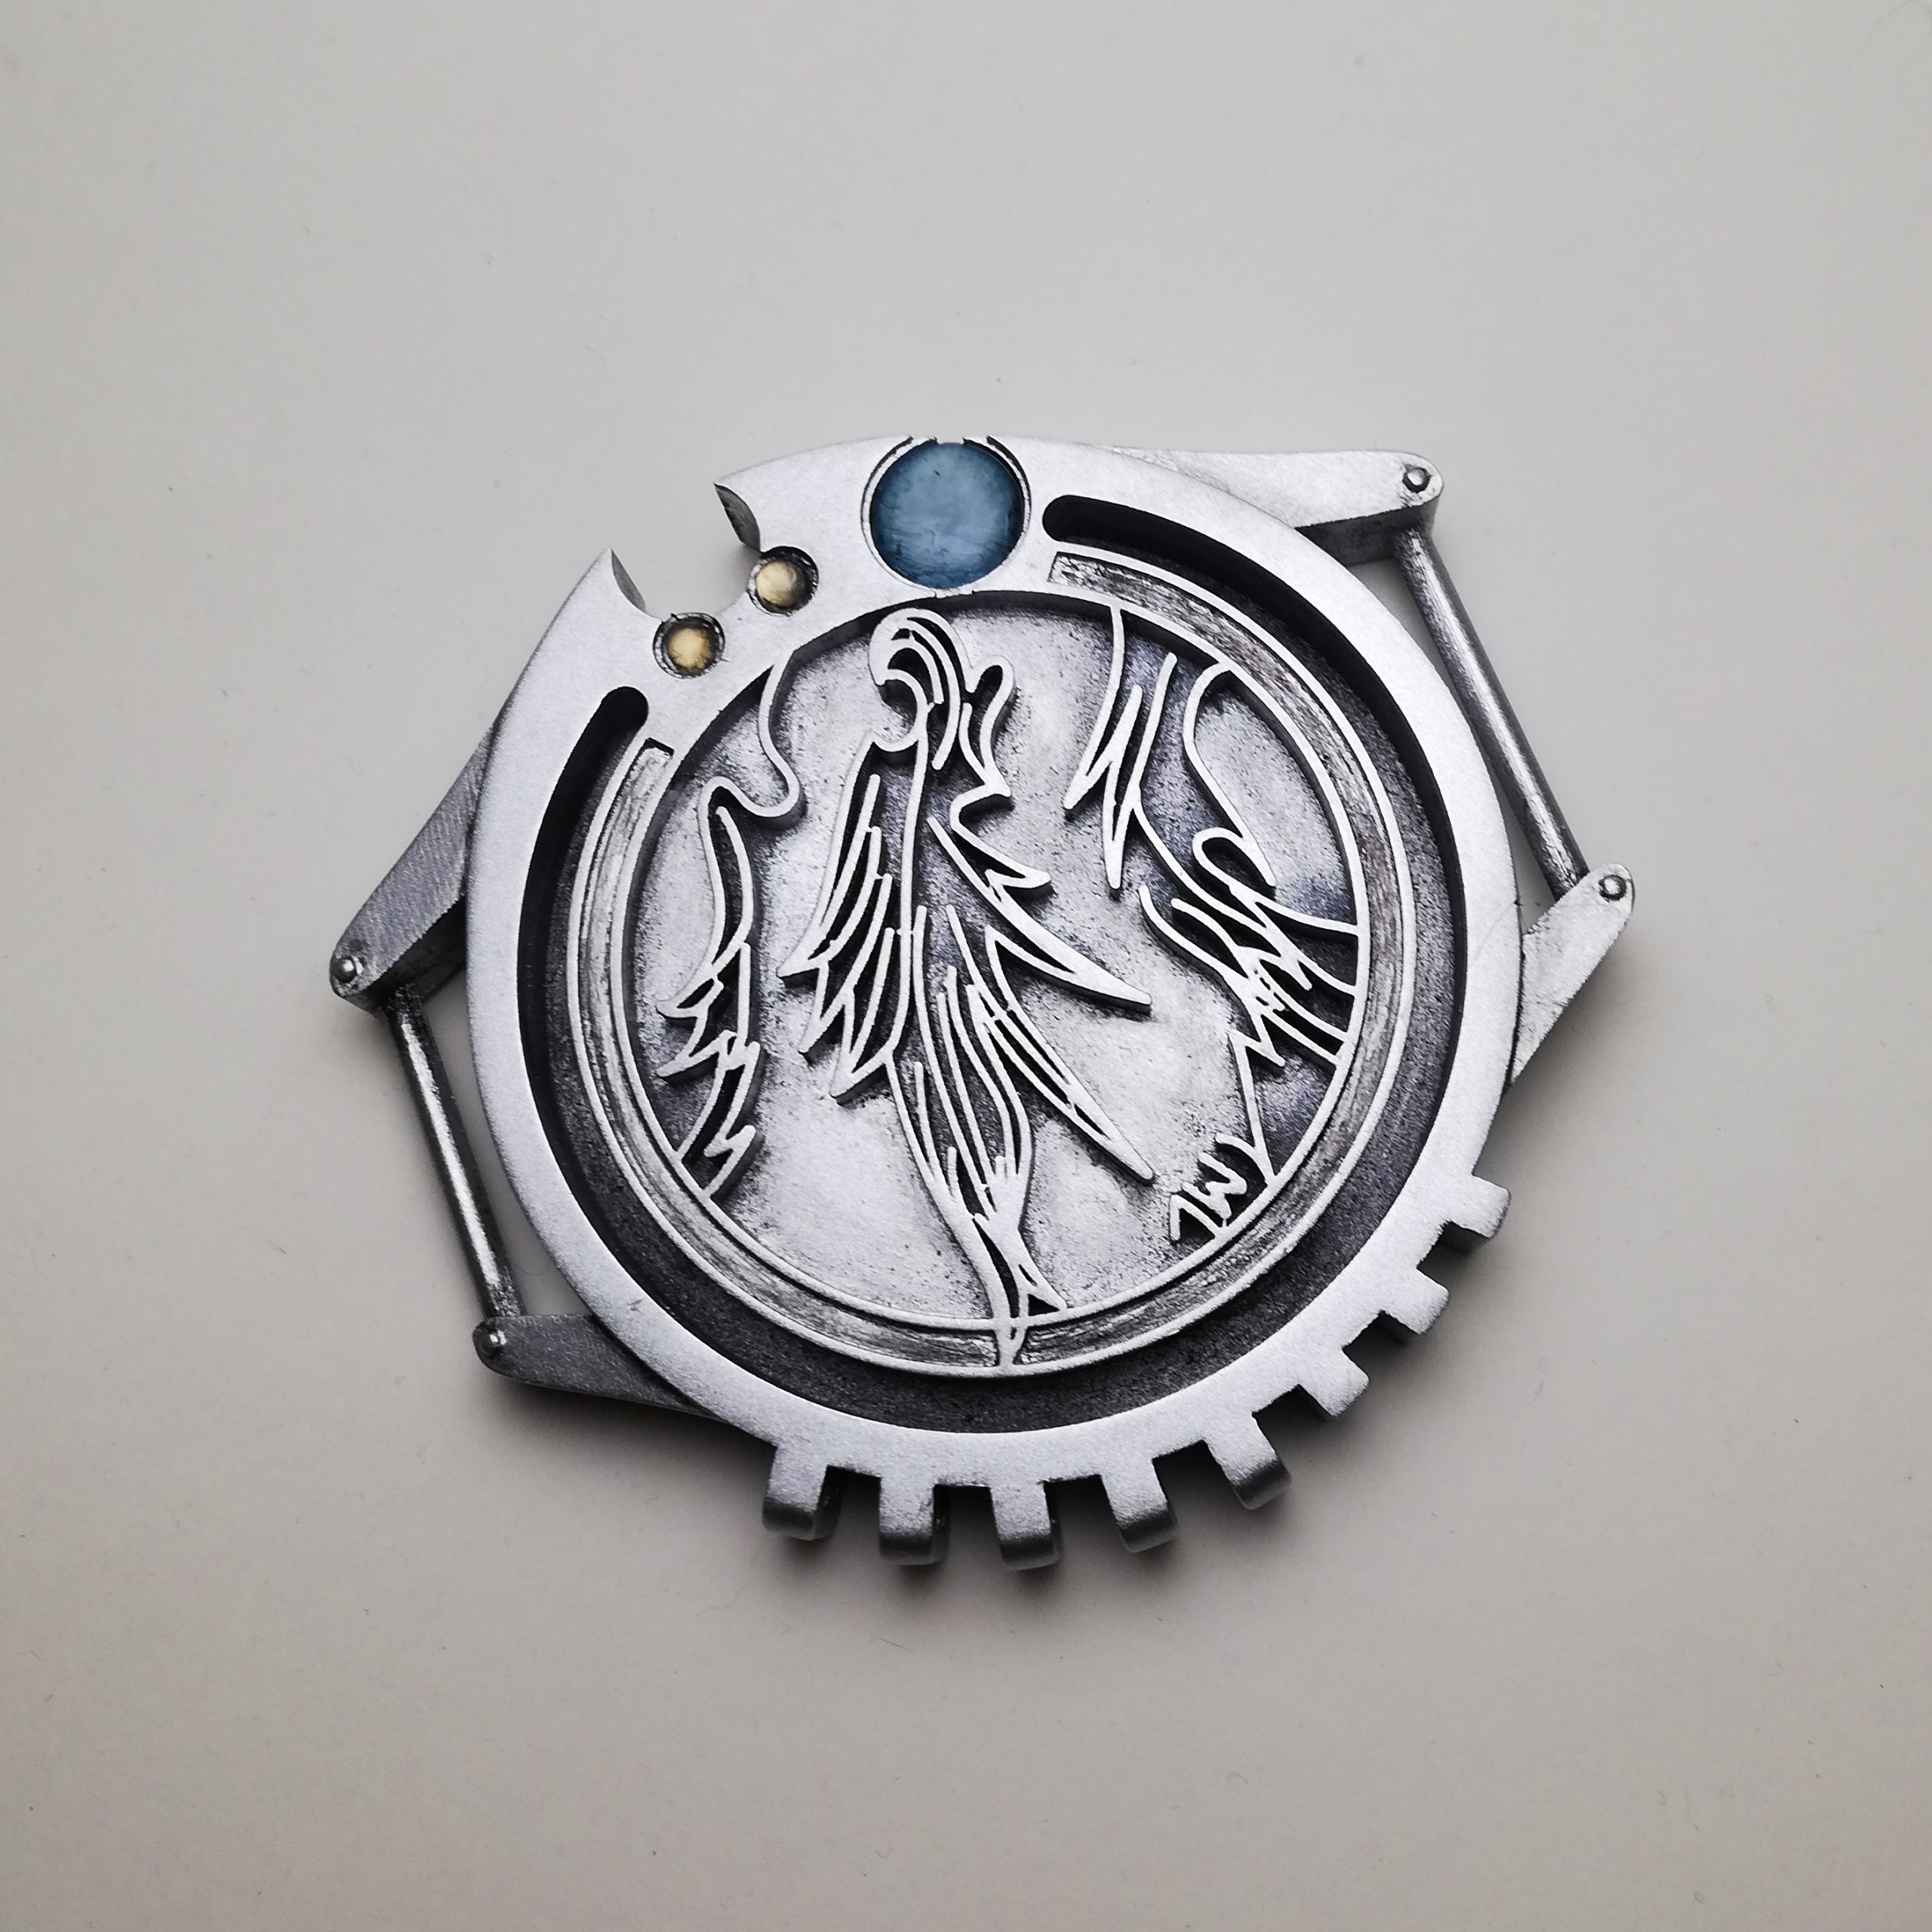
How you can finish your 3D-print to get it all shiny and realistic looking for your cosplay is what we’ll discuss in the next and final part of this series about 3D-printing in cosplay. Stay tuned!
Cheers,