We’re trying to showcase our entire progress of the build of Pasta’s Sam Porter Bridges costume on here. As these posts are usually scattered all over our Social Medias when we post them, we’re trying to set them in order and maybe explain a thing or two about what we did and why we did it. Enjoy!
BB
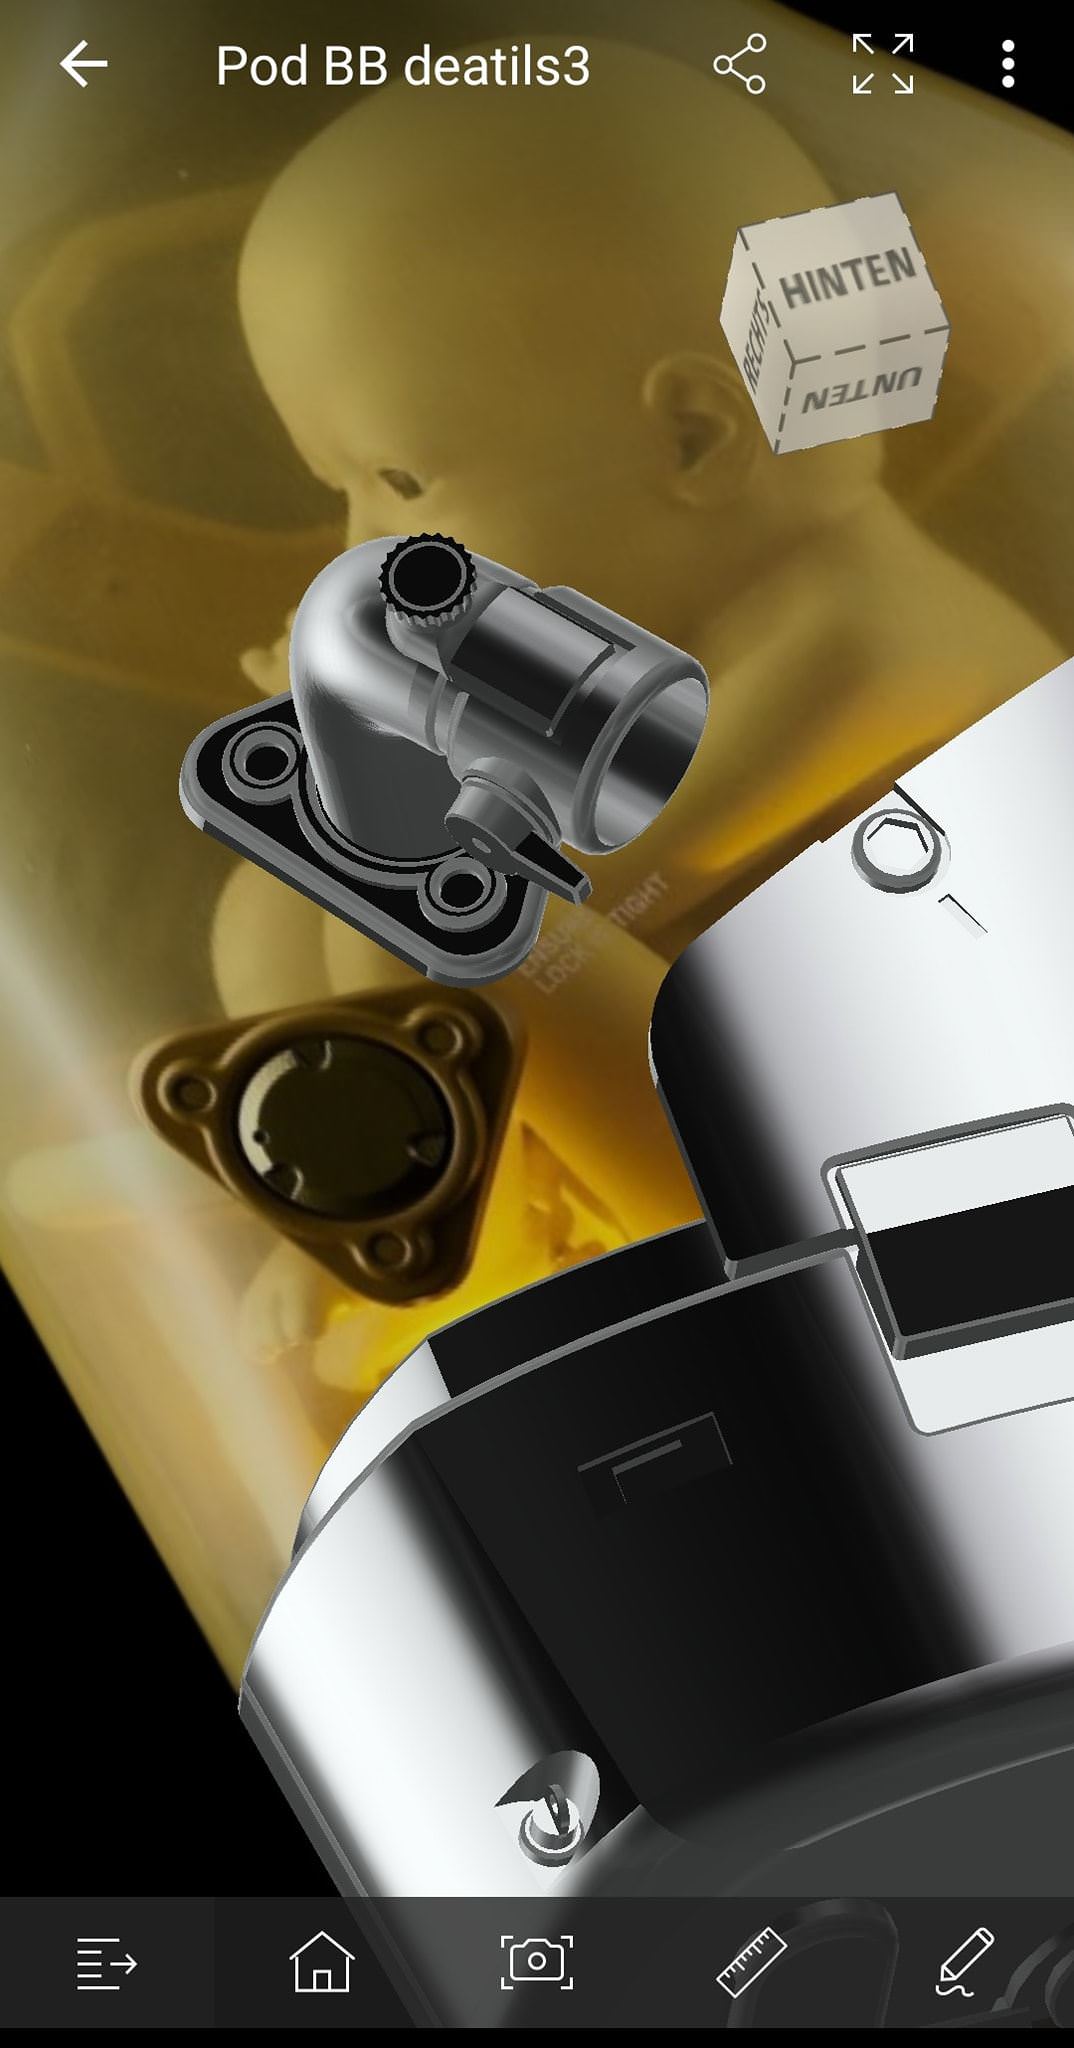


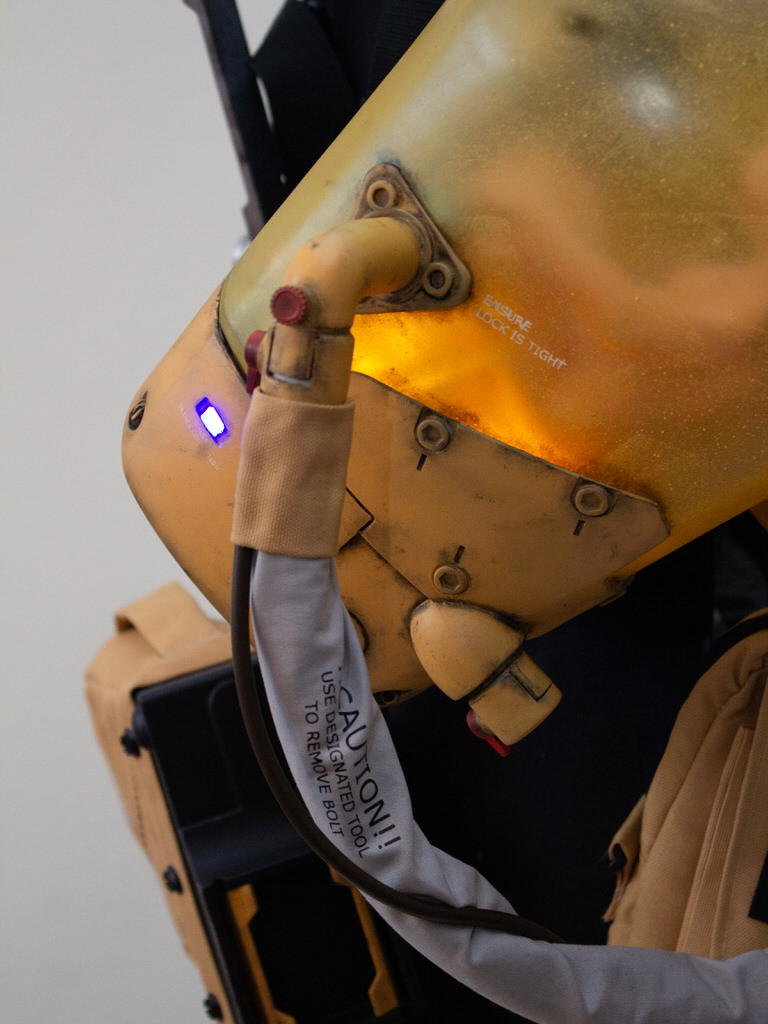
Let’s start with the most interesting – and probably most disturbing part of the costume – the BB pod! We had a few ideas in mind on how we would tackle such a weird “cosplay prop” and we were looking forward to working on that one the most. It combined a lot of different techniques like 3D-modeling & printing, lights and weirdly attached umbilical cords – what’s not to love on this one?
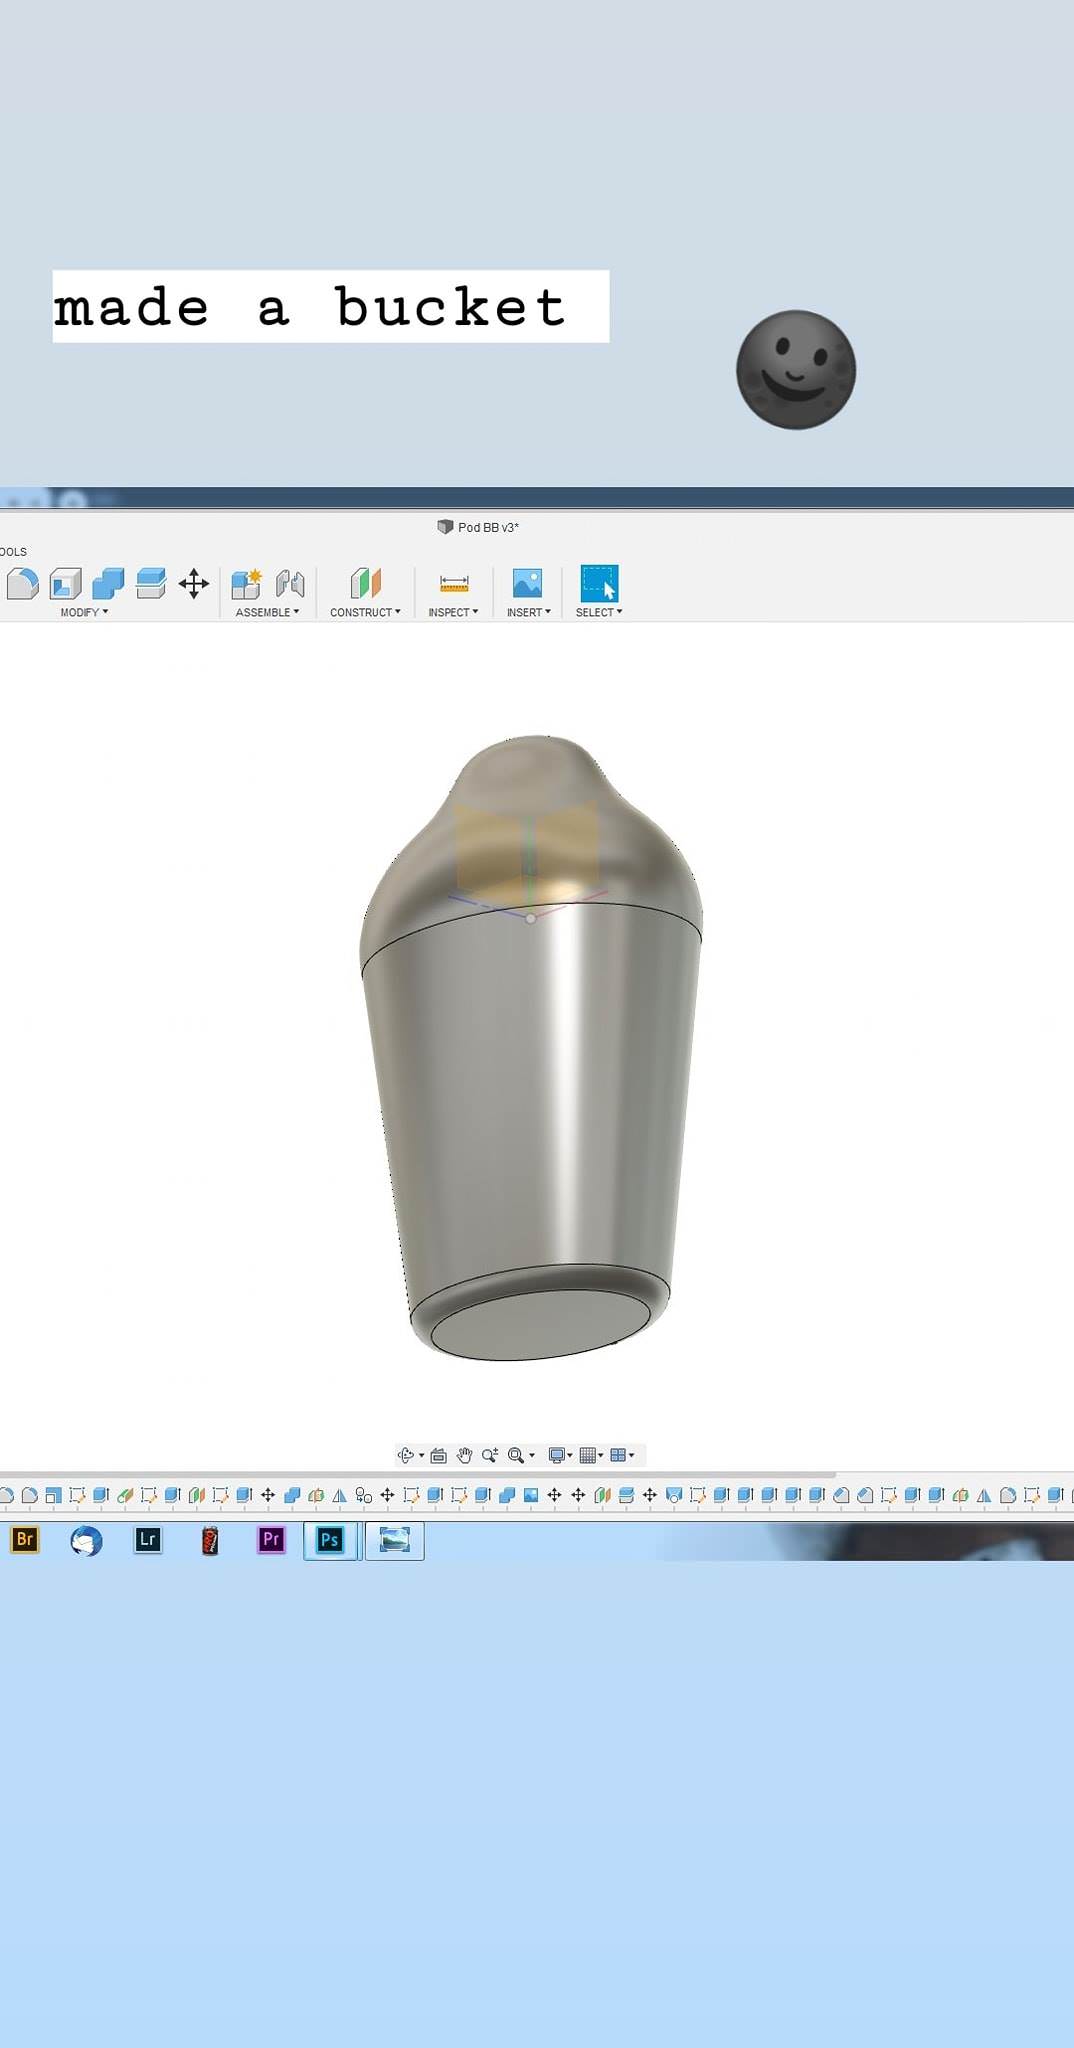
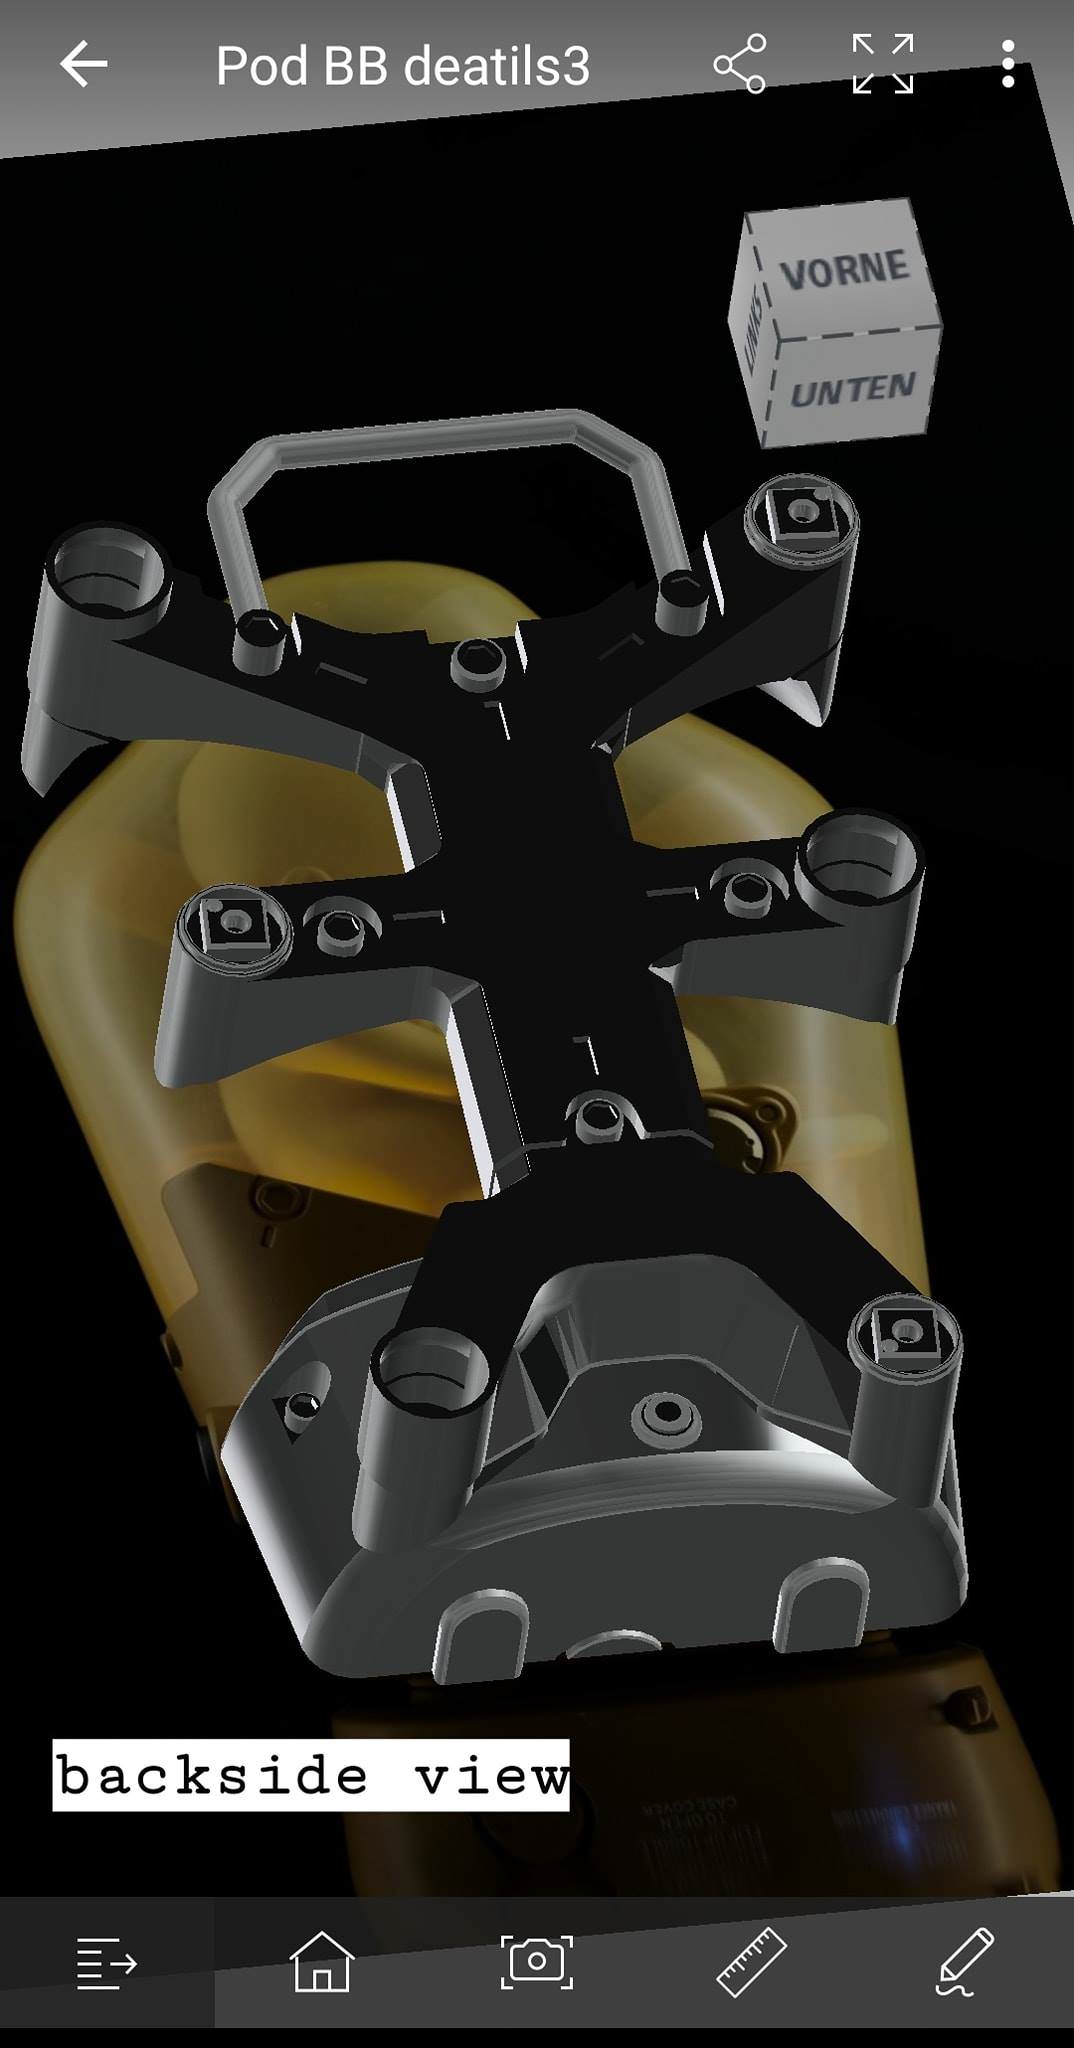
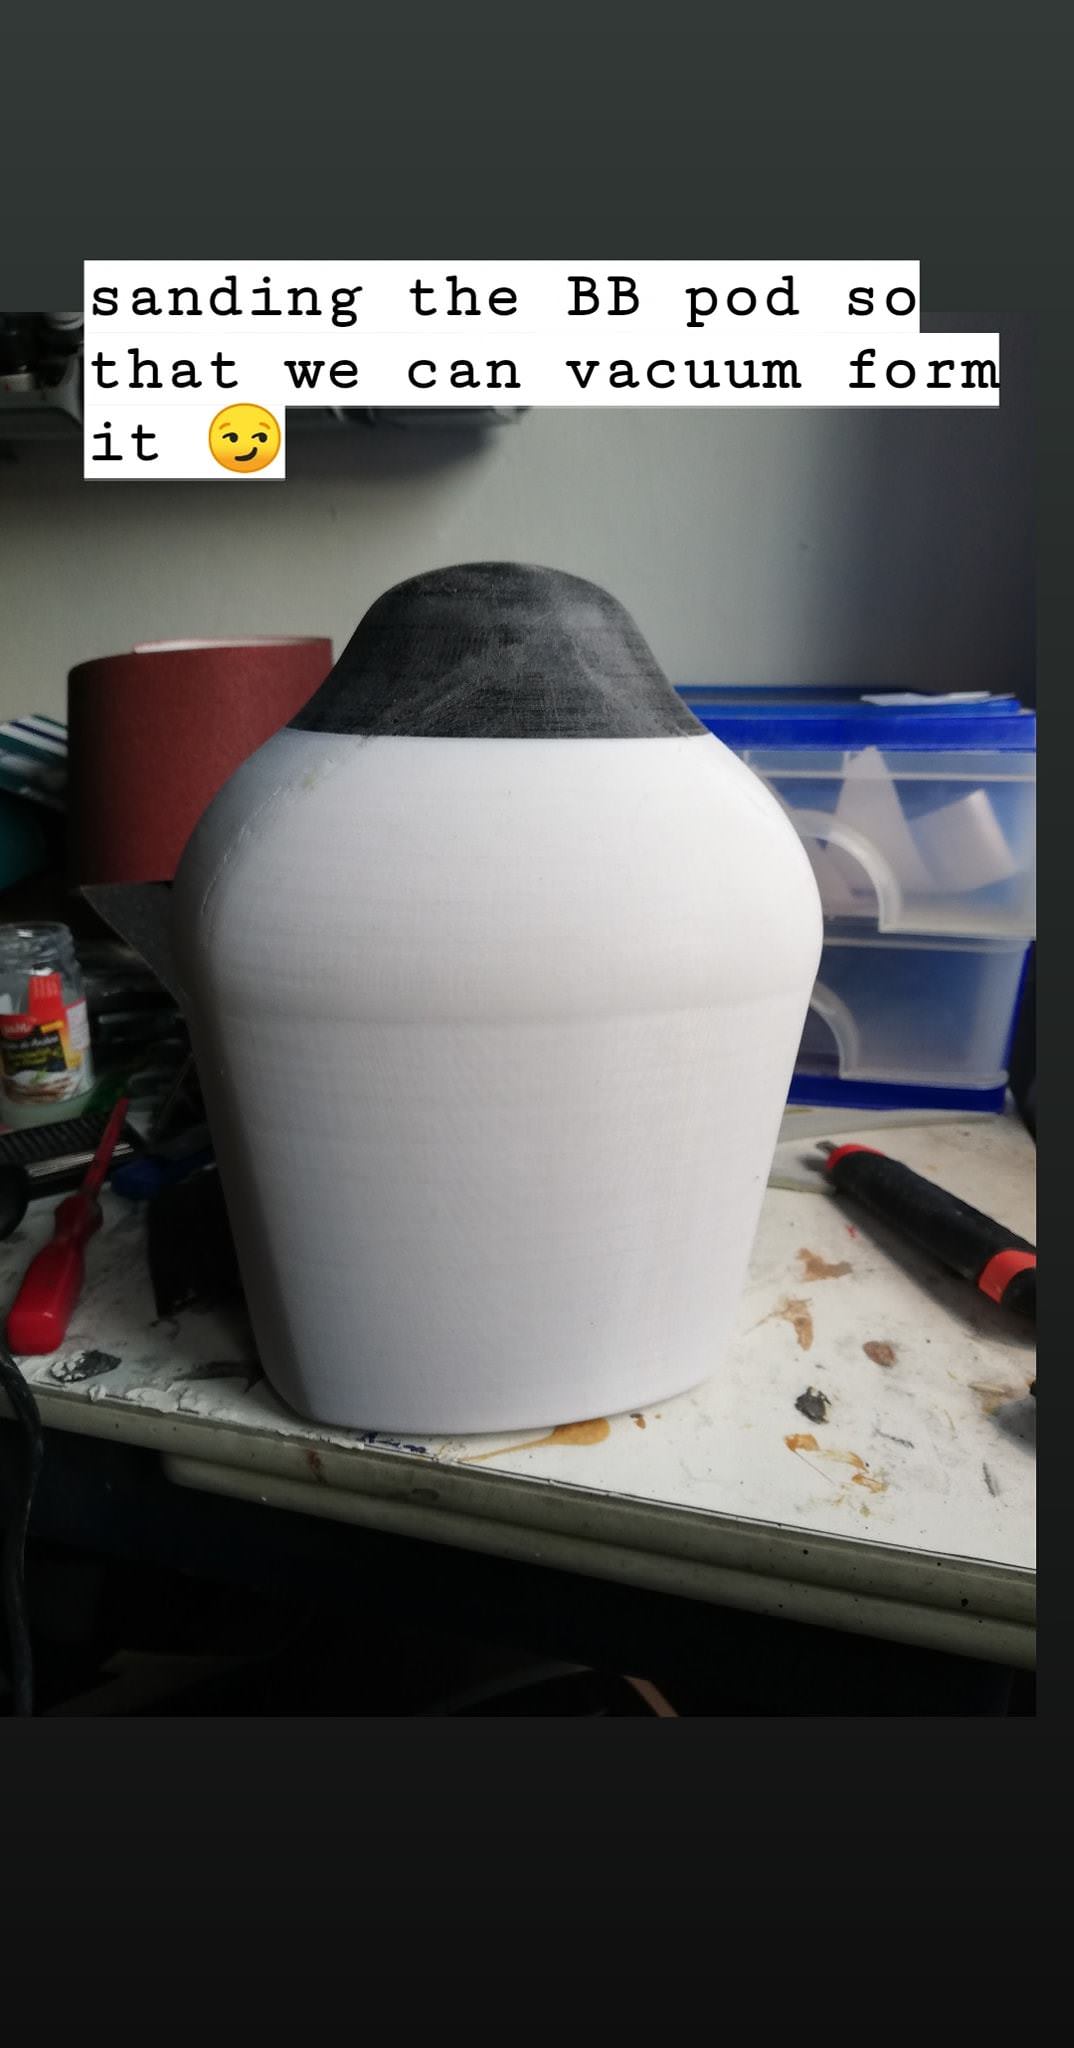
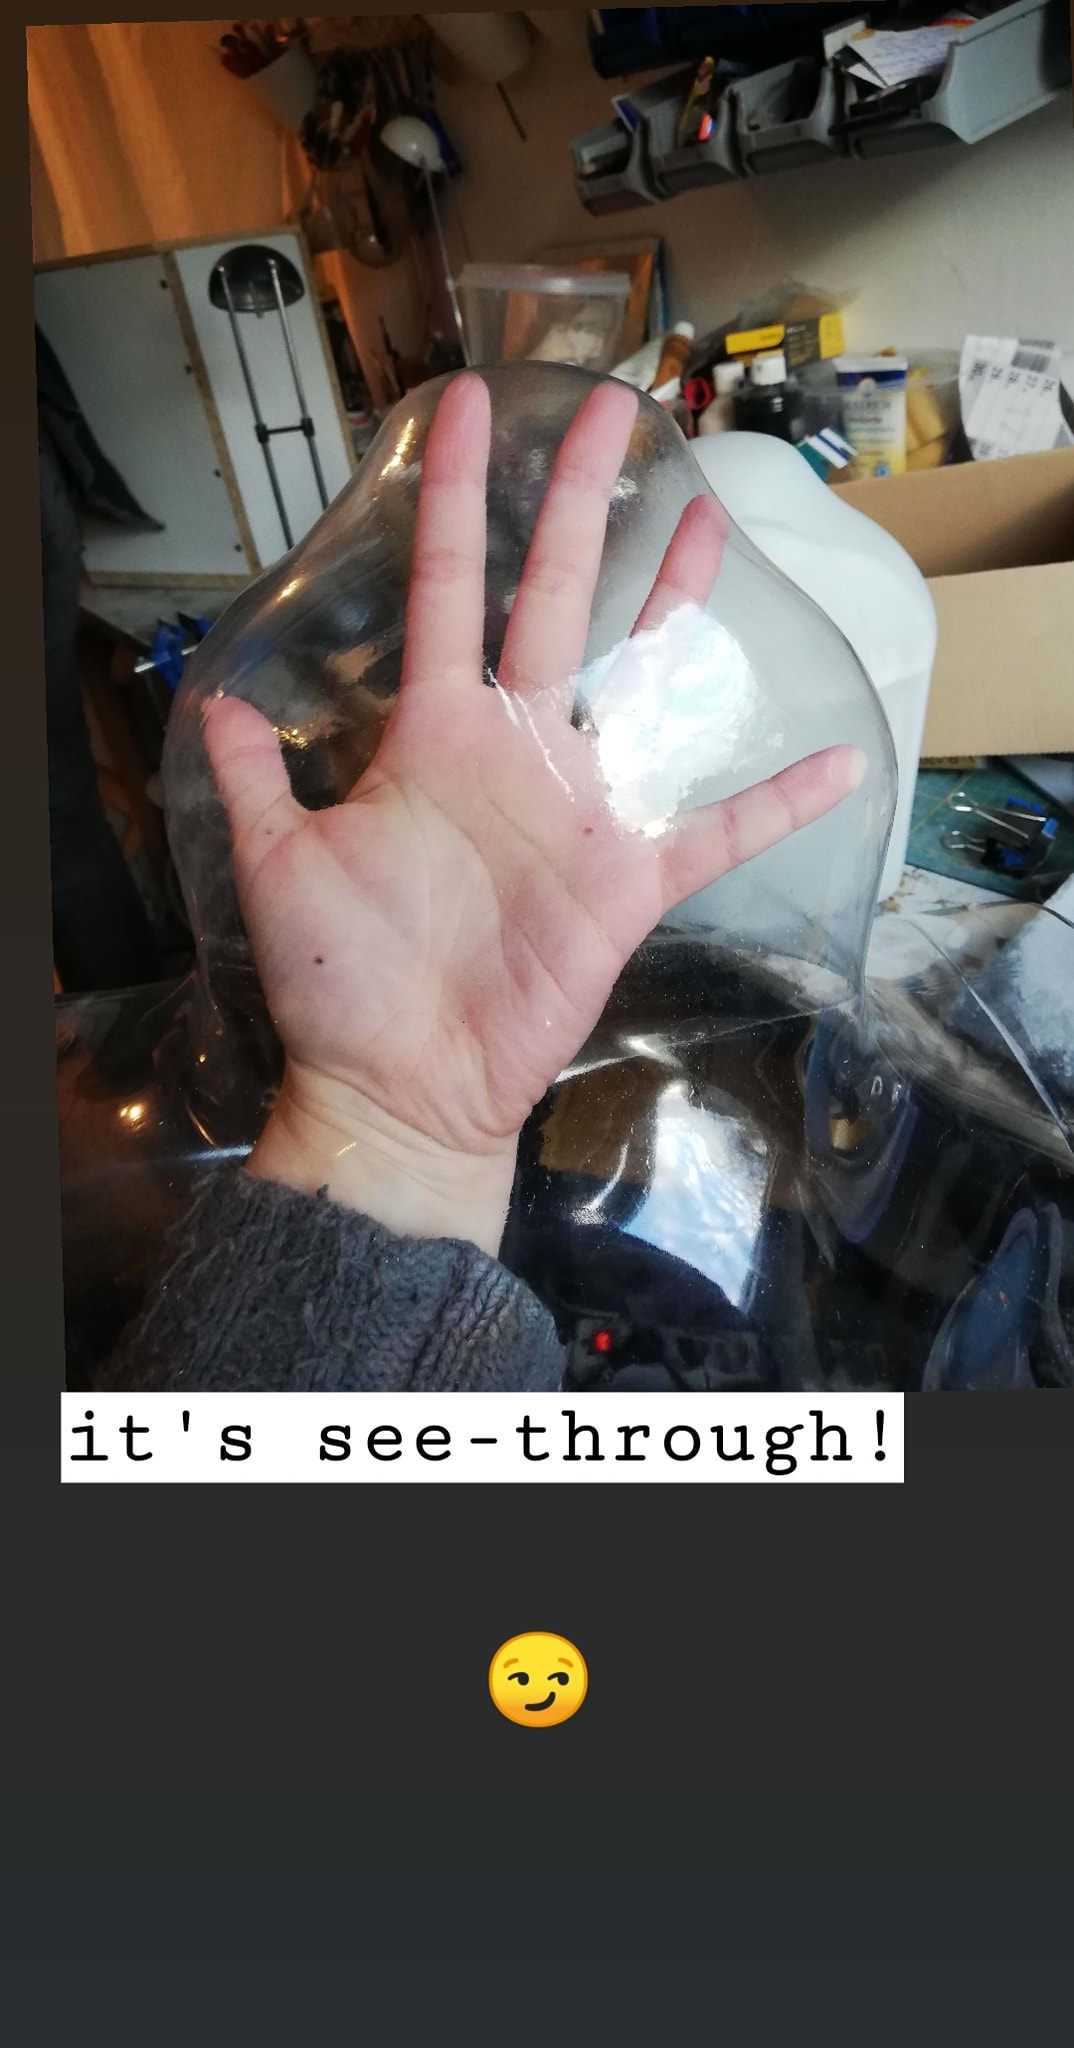
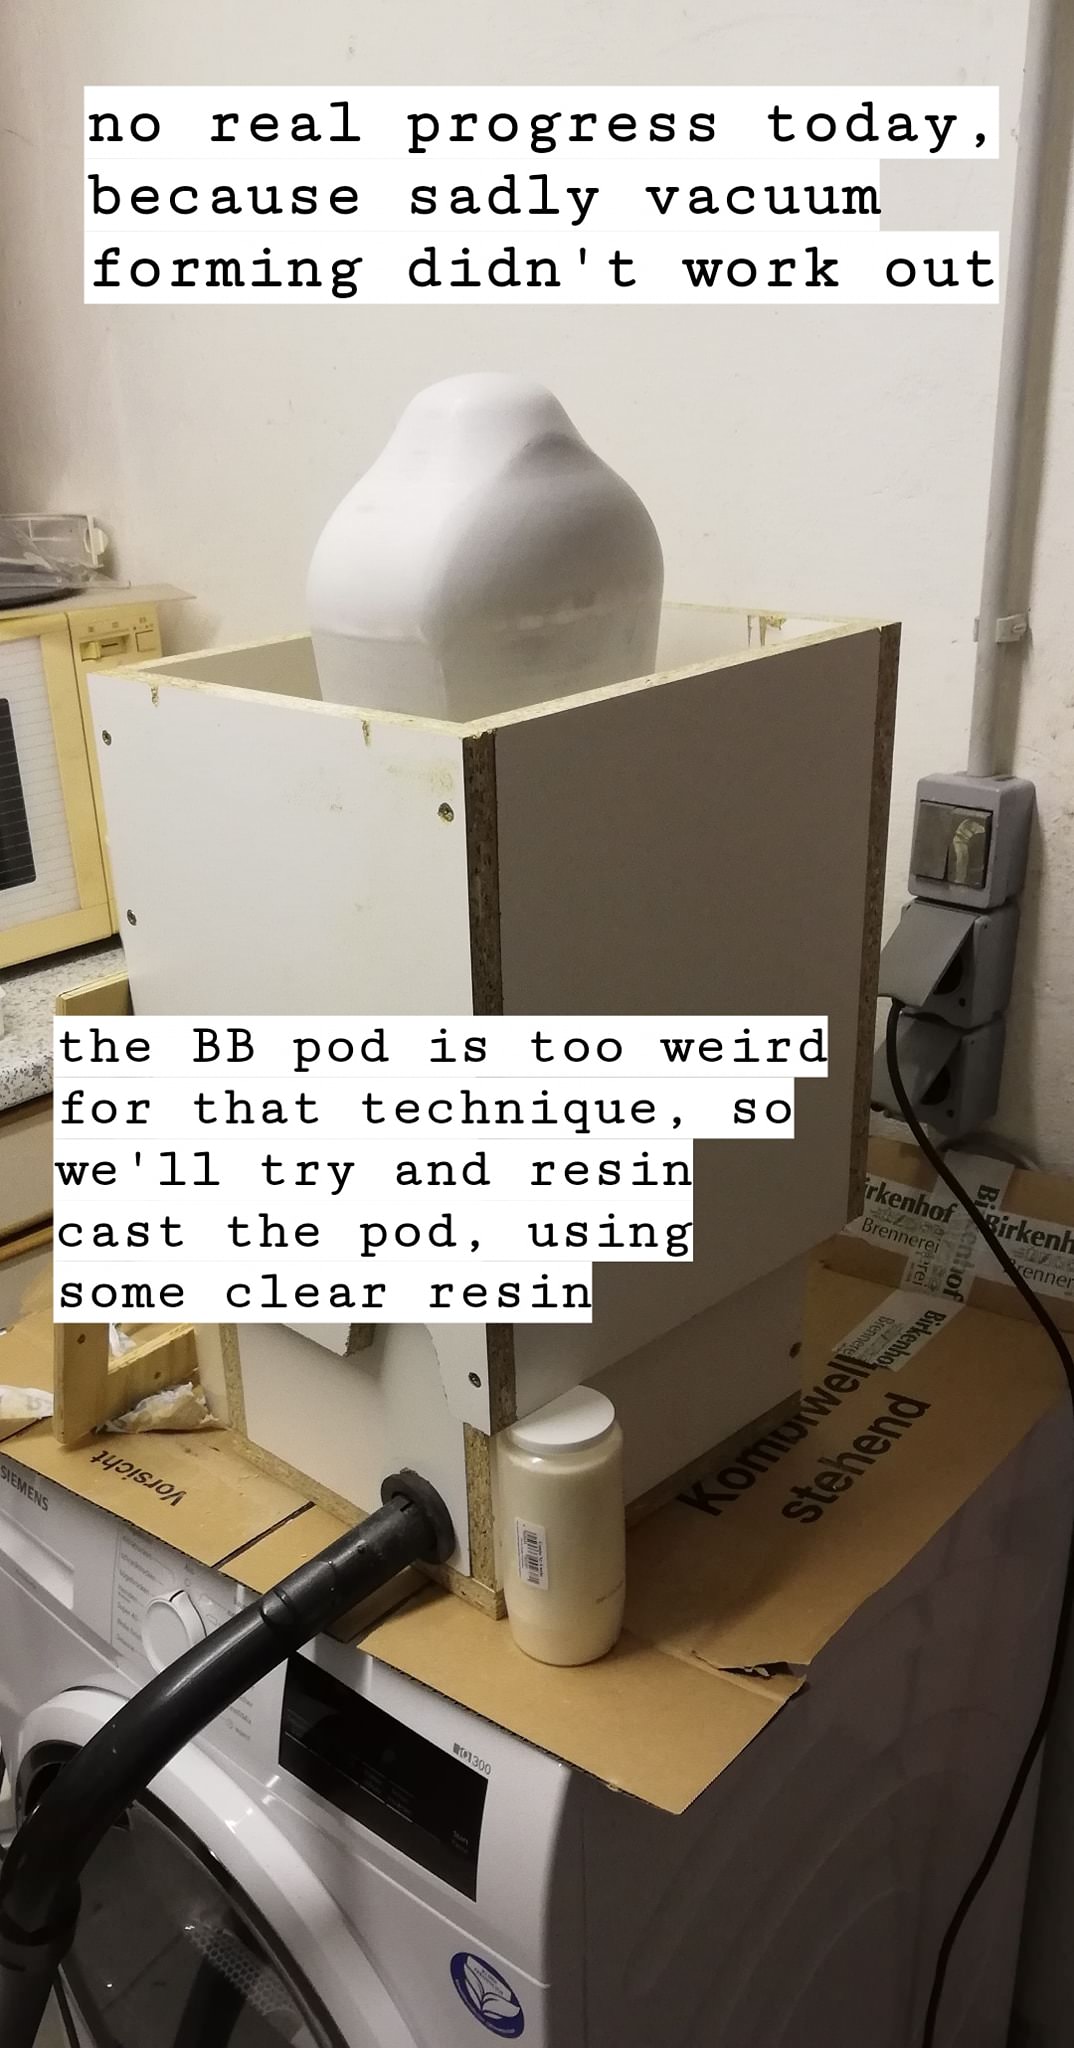
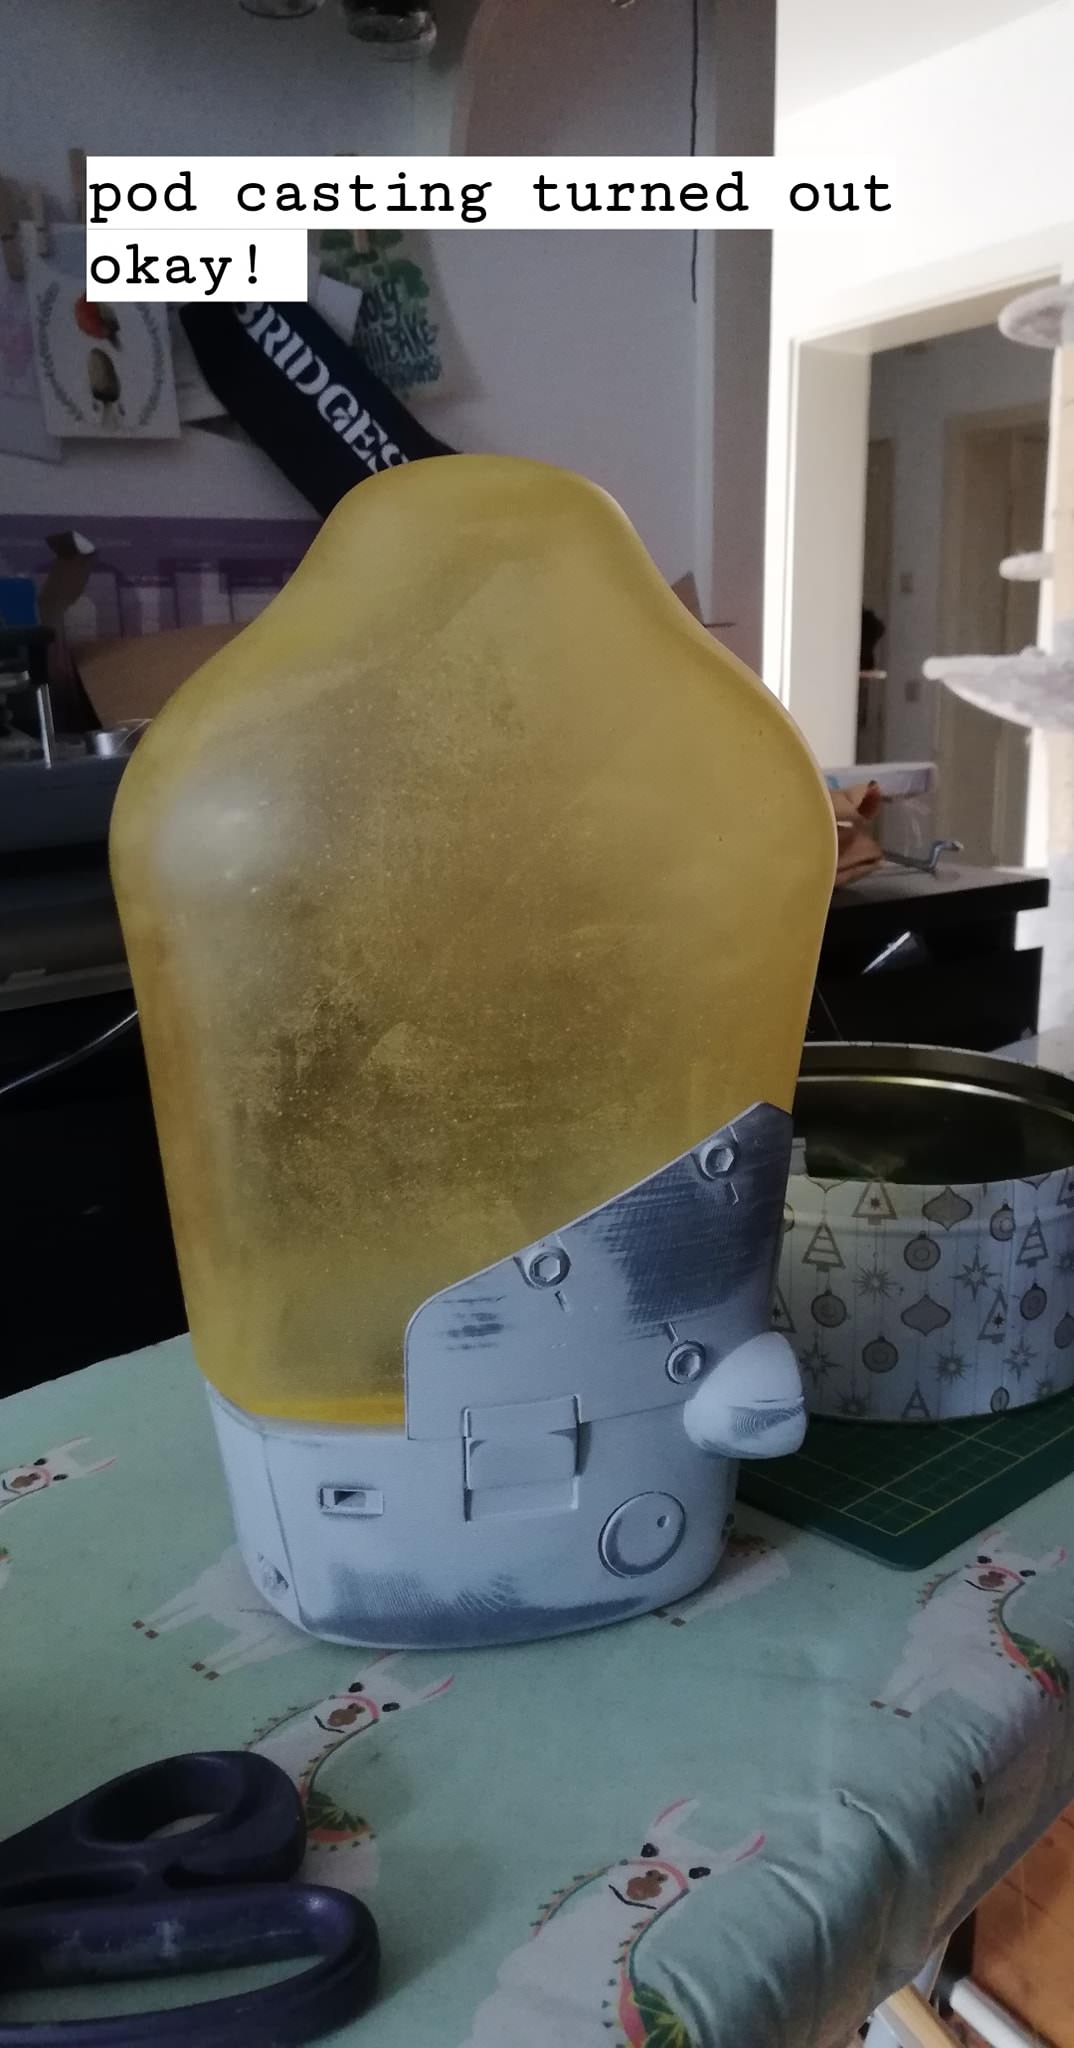
So, the first thing we did was making the 3D-model in Fusion360. Luckily, there were a lot of good reference images of the Collector’s edition BB-pod, so we could see all of the details. The glass part of the pod needed to be see-through, so we thought about vacuum-forming it over the 3D-printed master. Aby and her dad even built a vacuum forming machine for that! However, the form of the pod made us realize that vacuum-forming wouldn’t work.
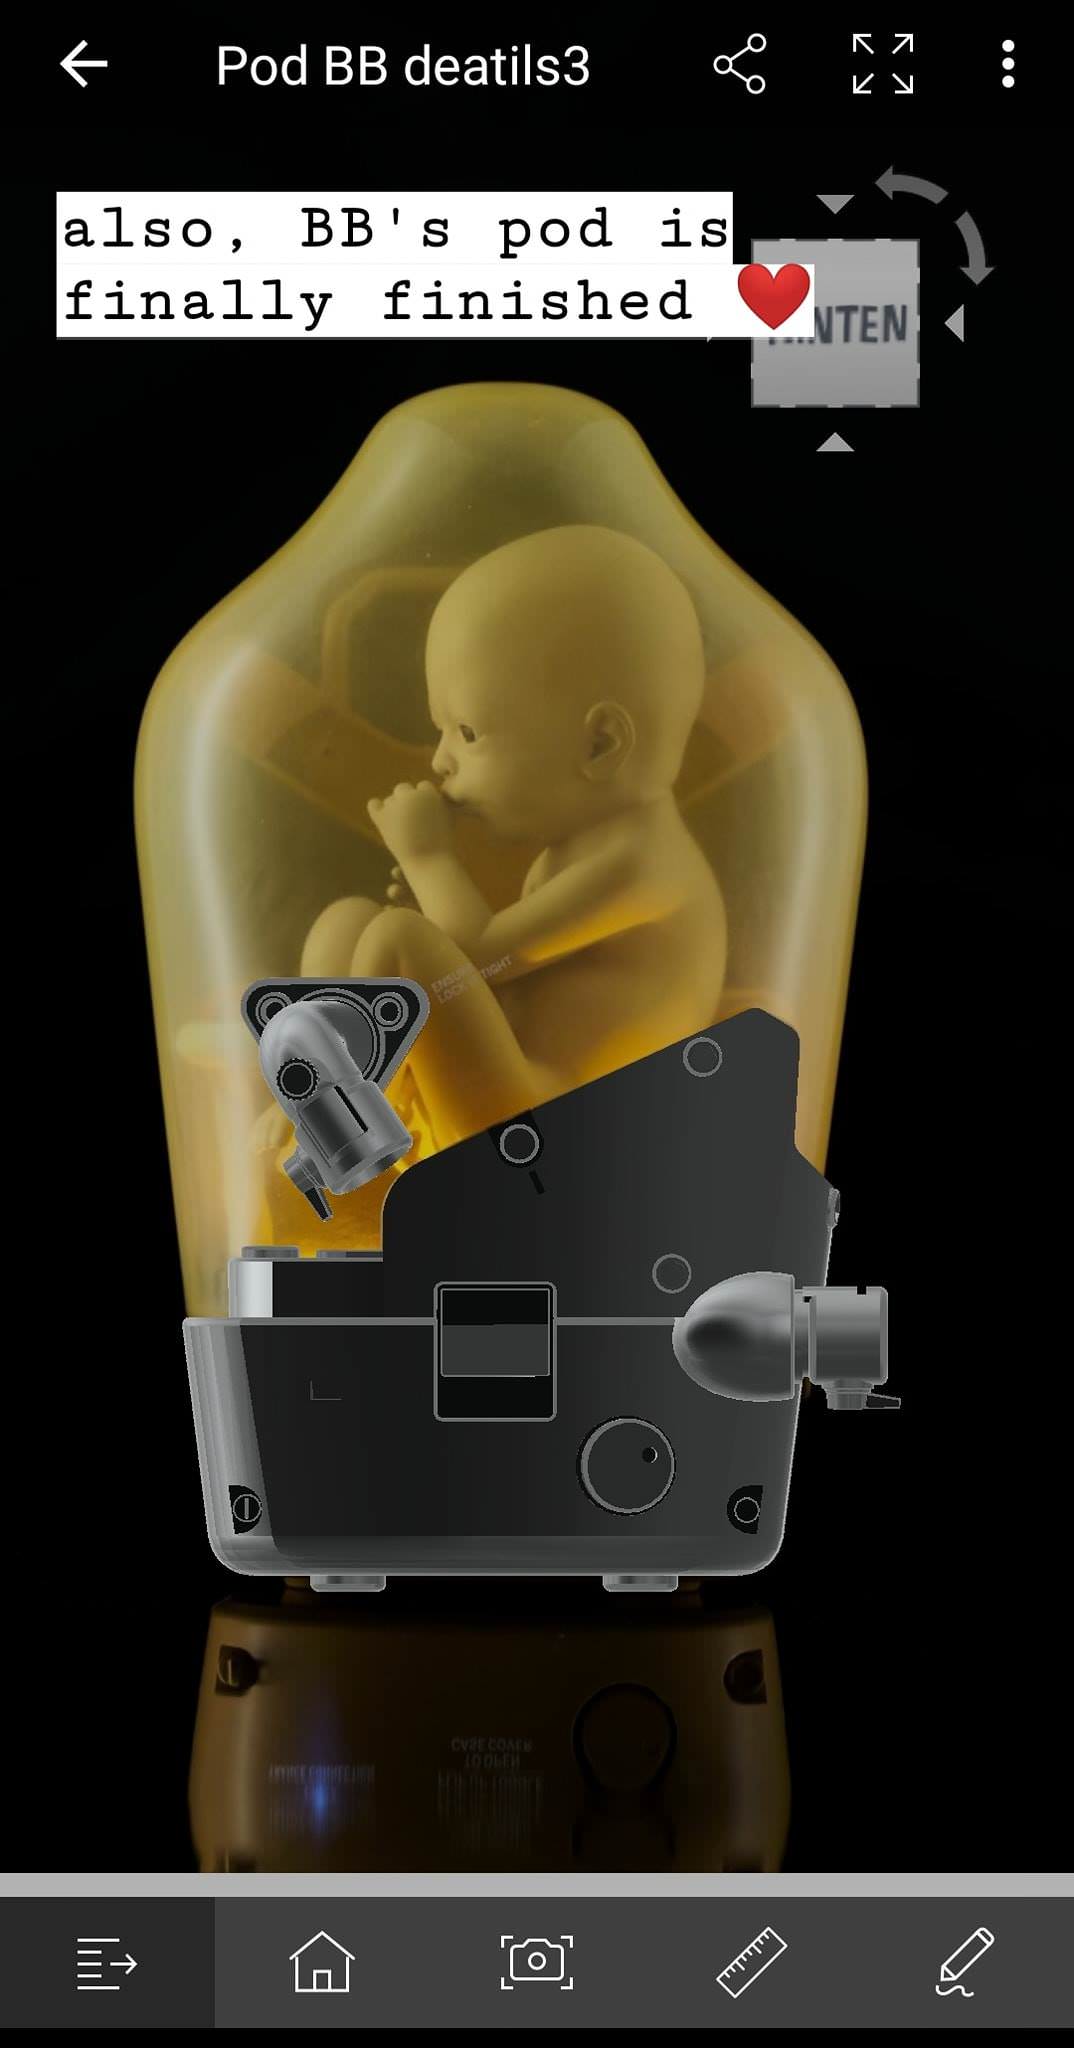
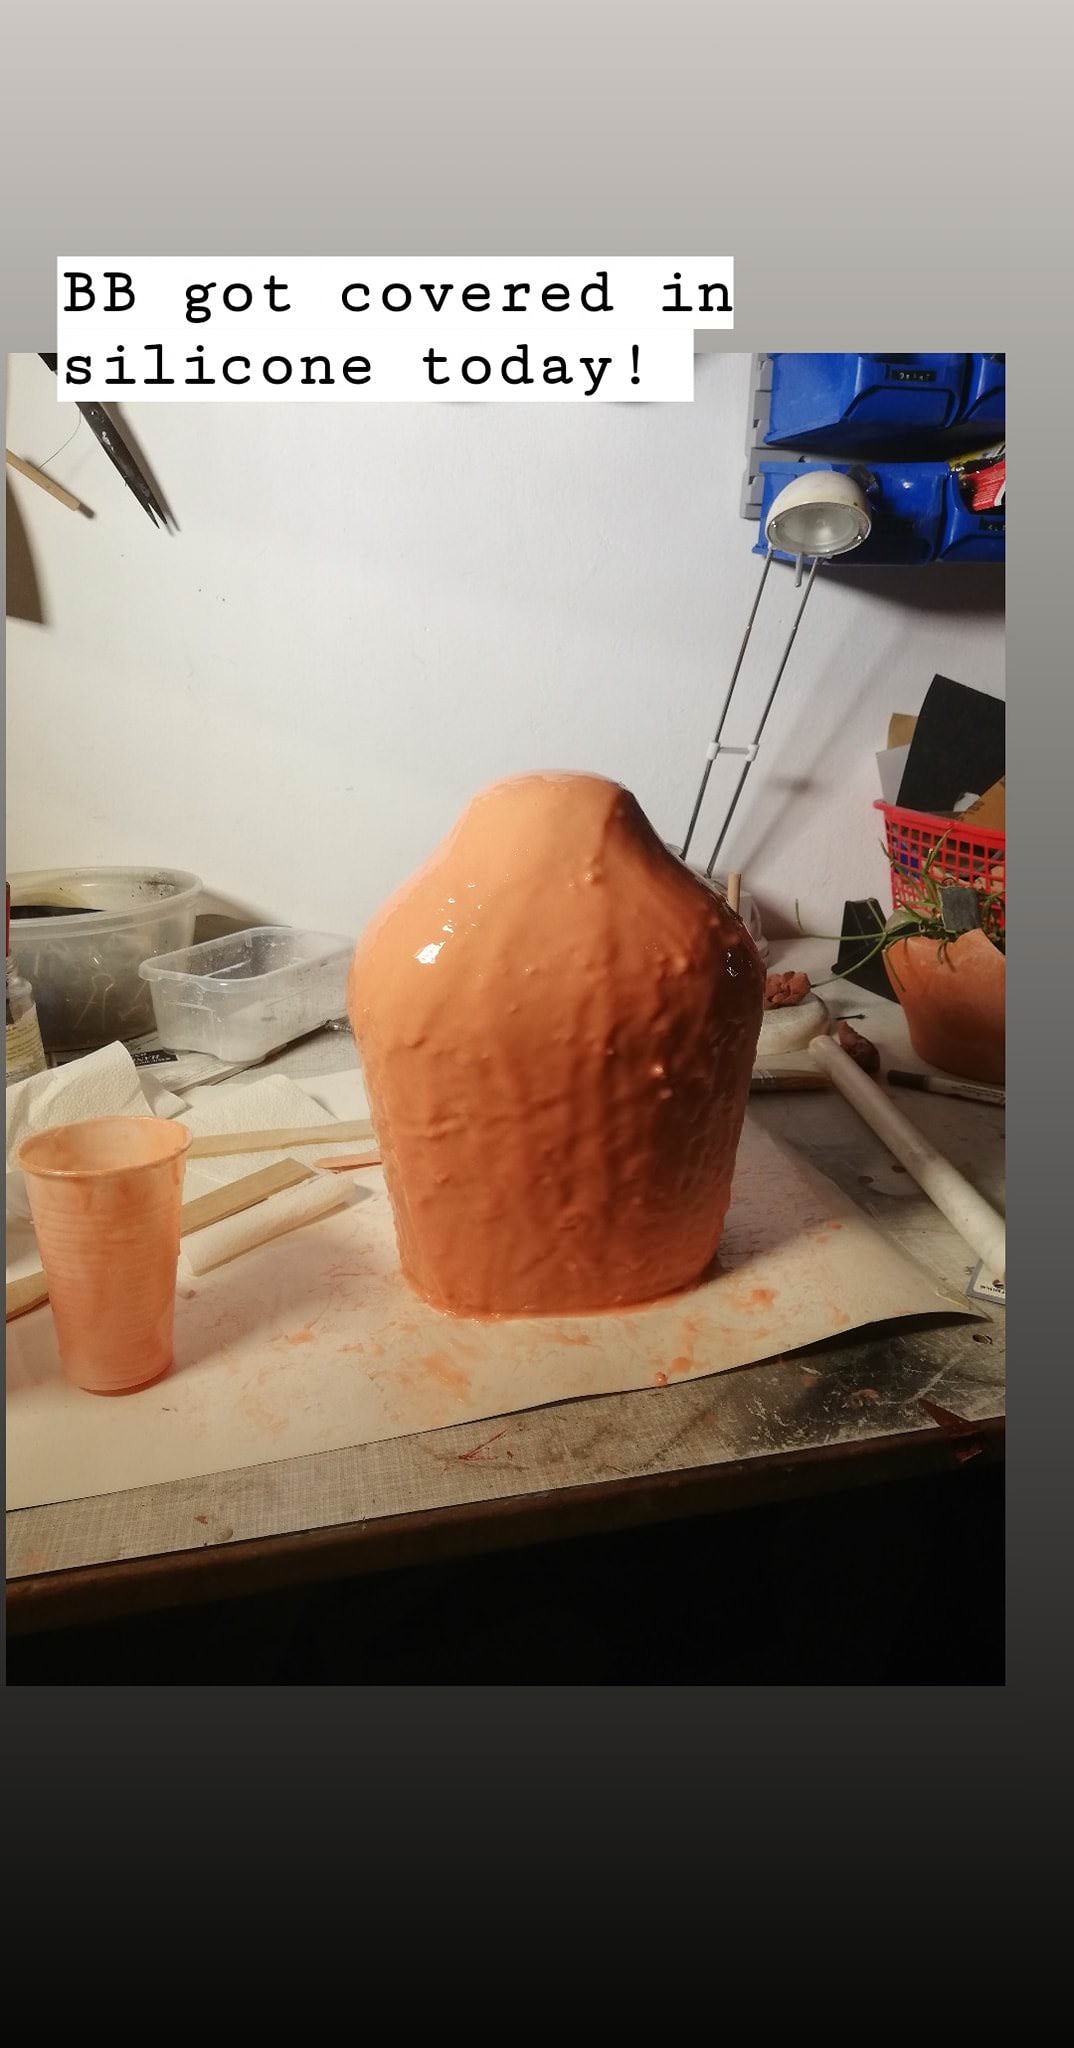
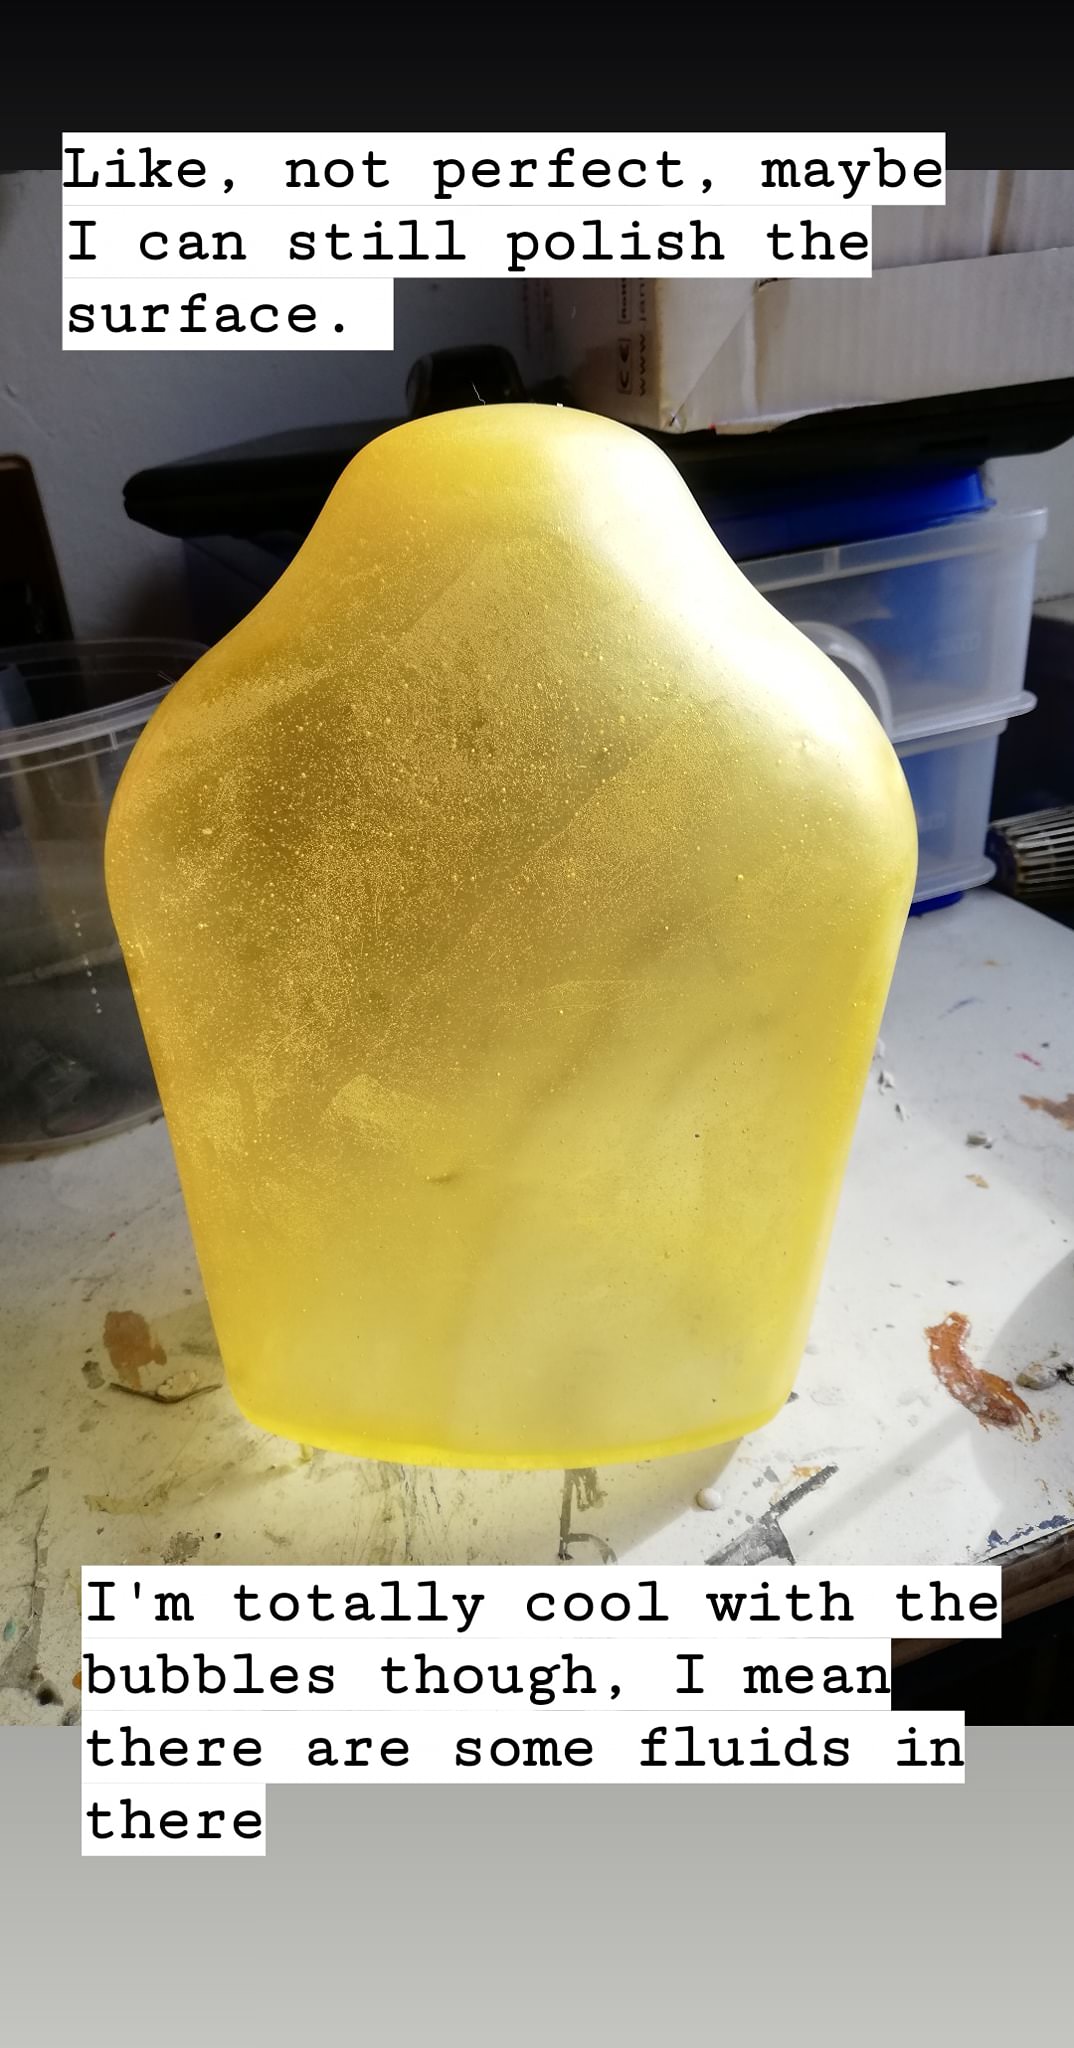
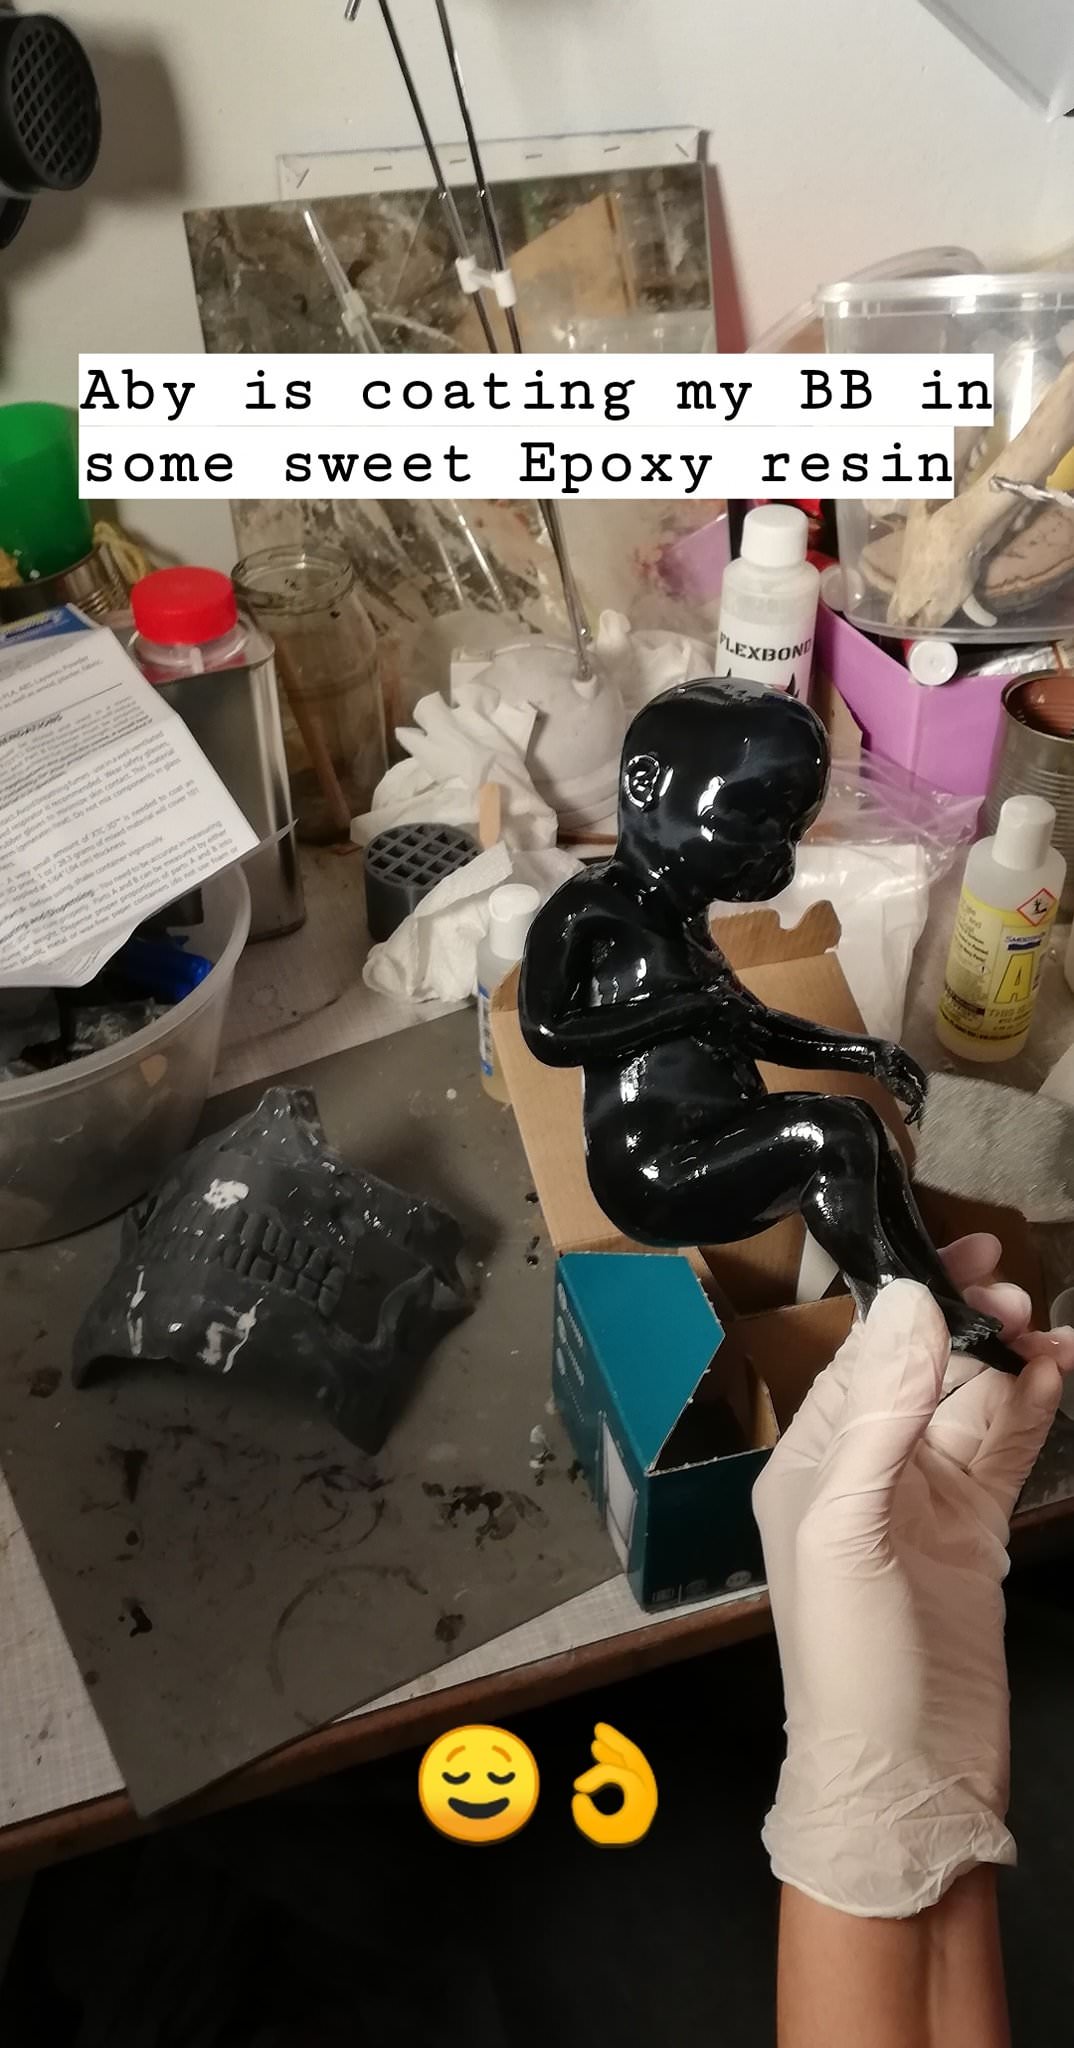
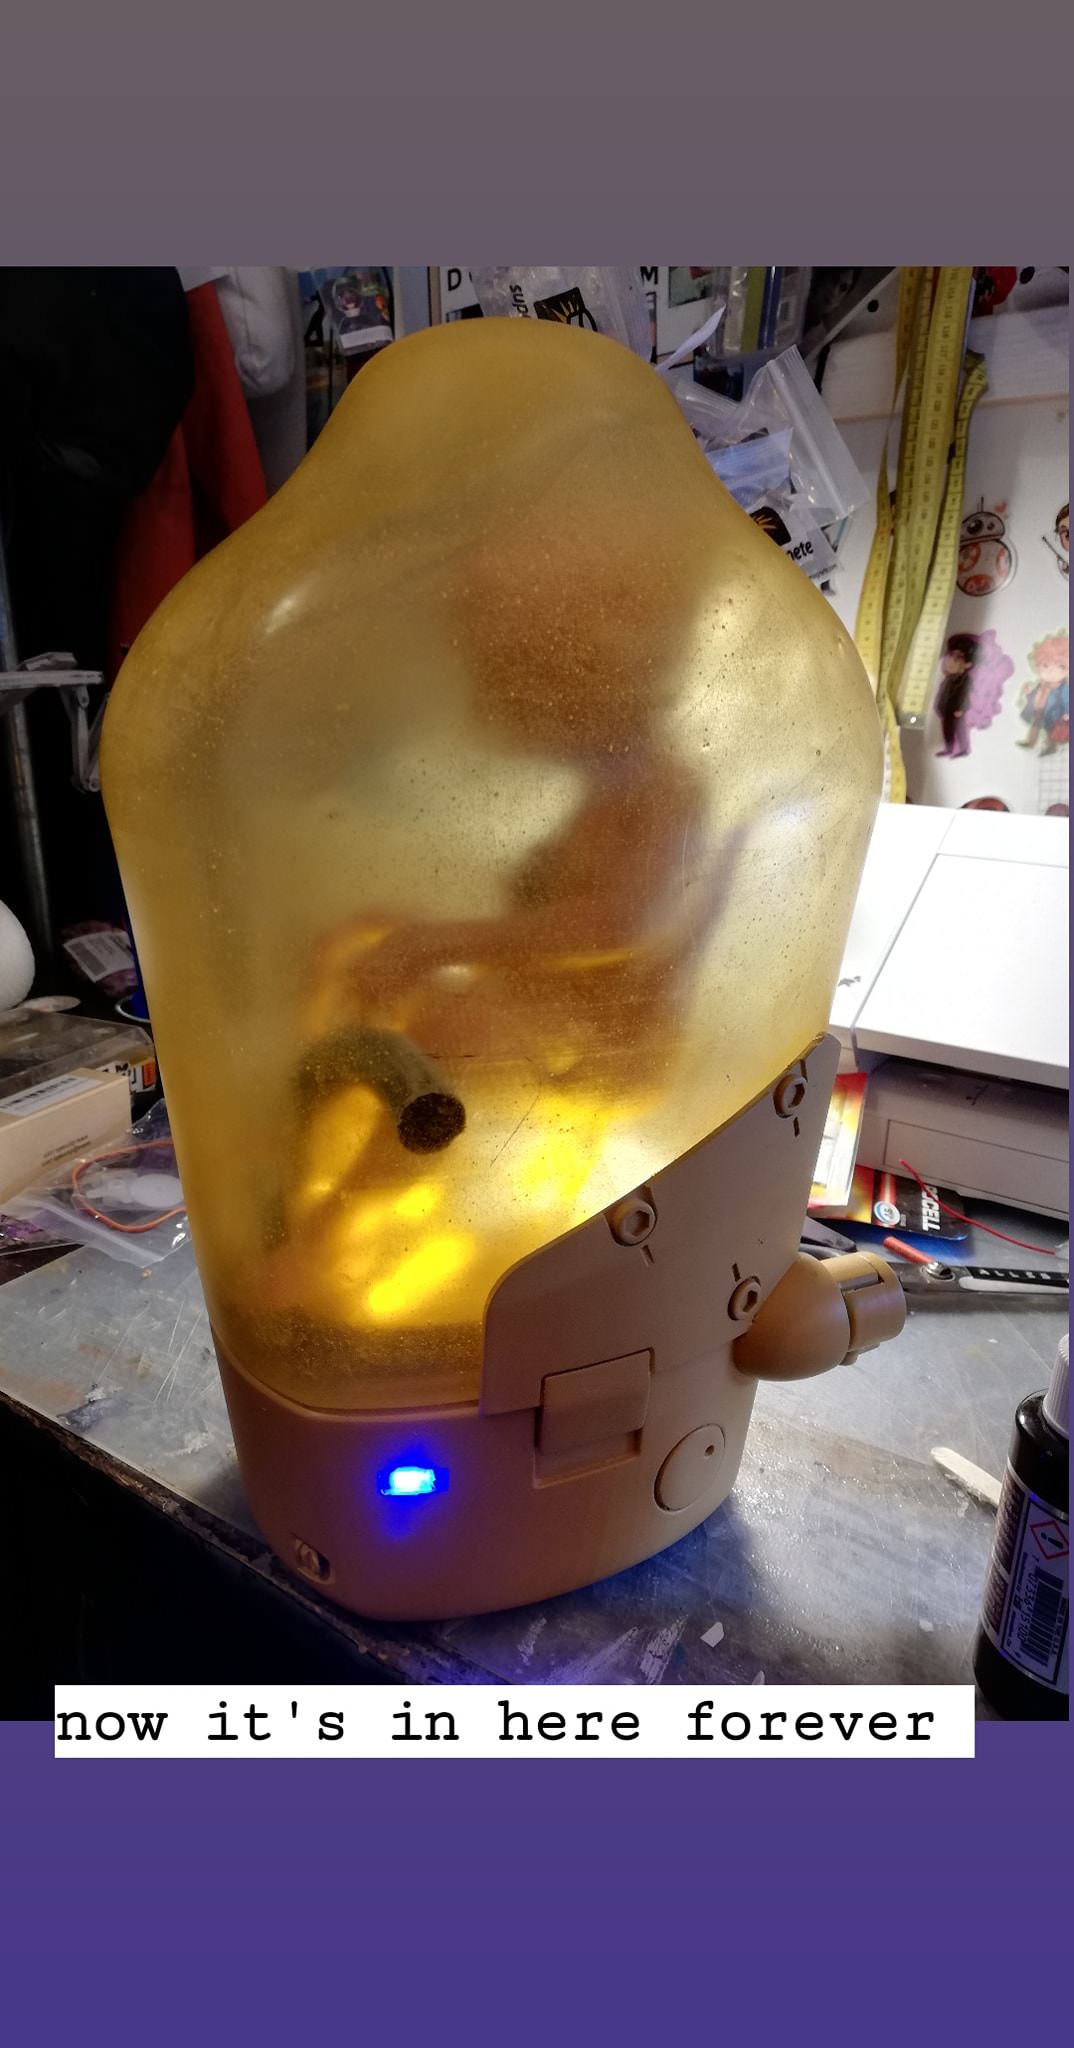
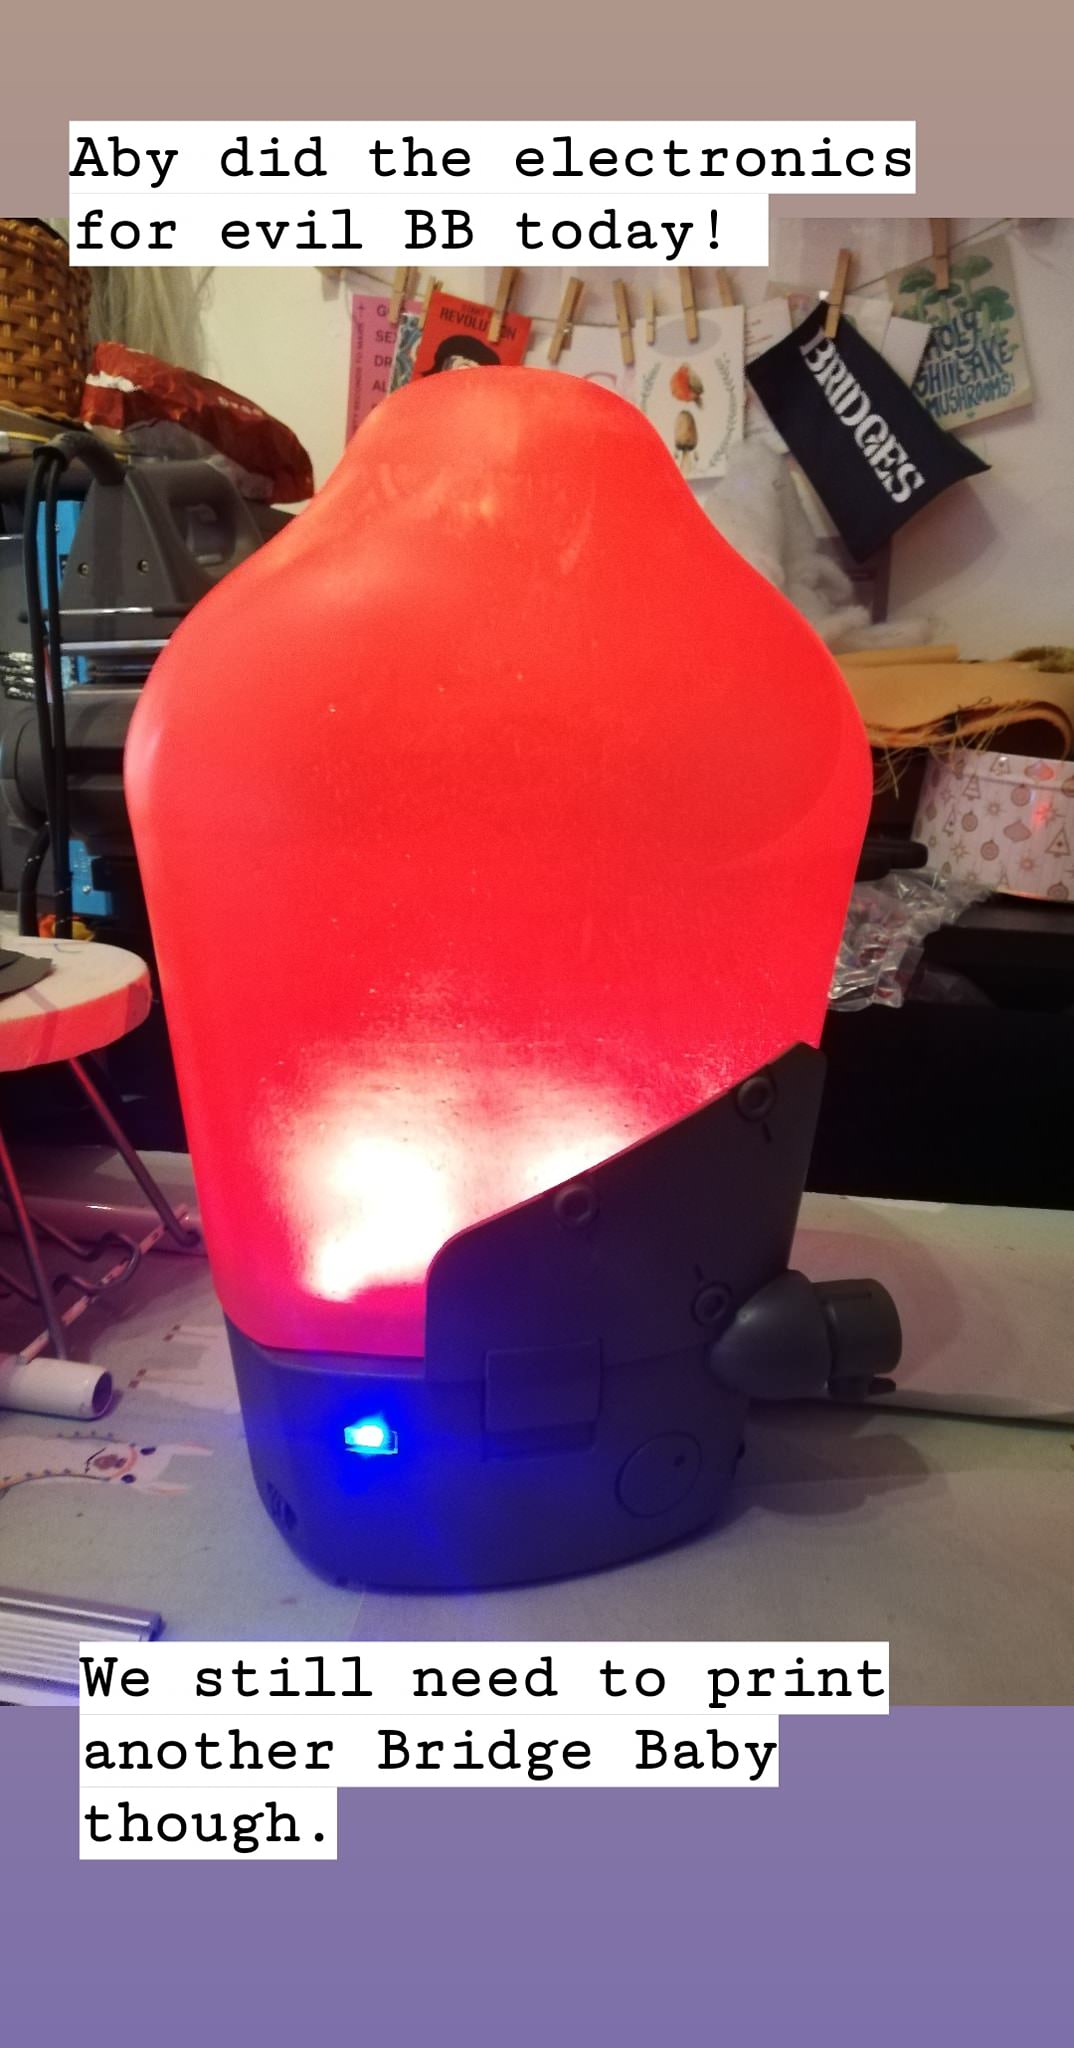
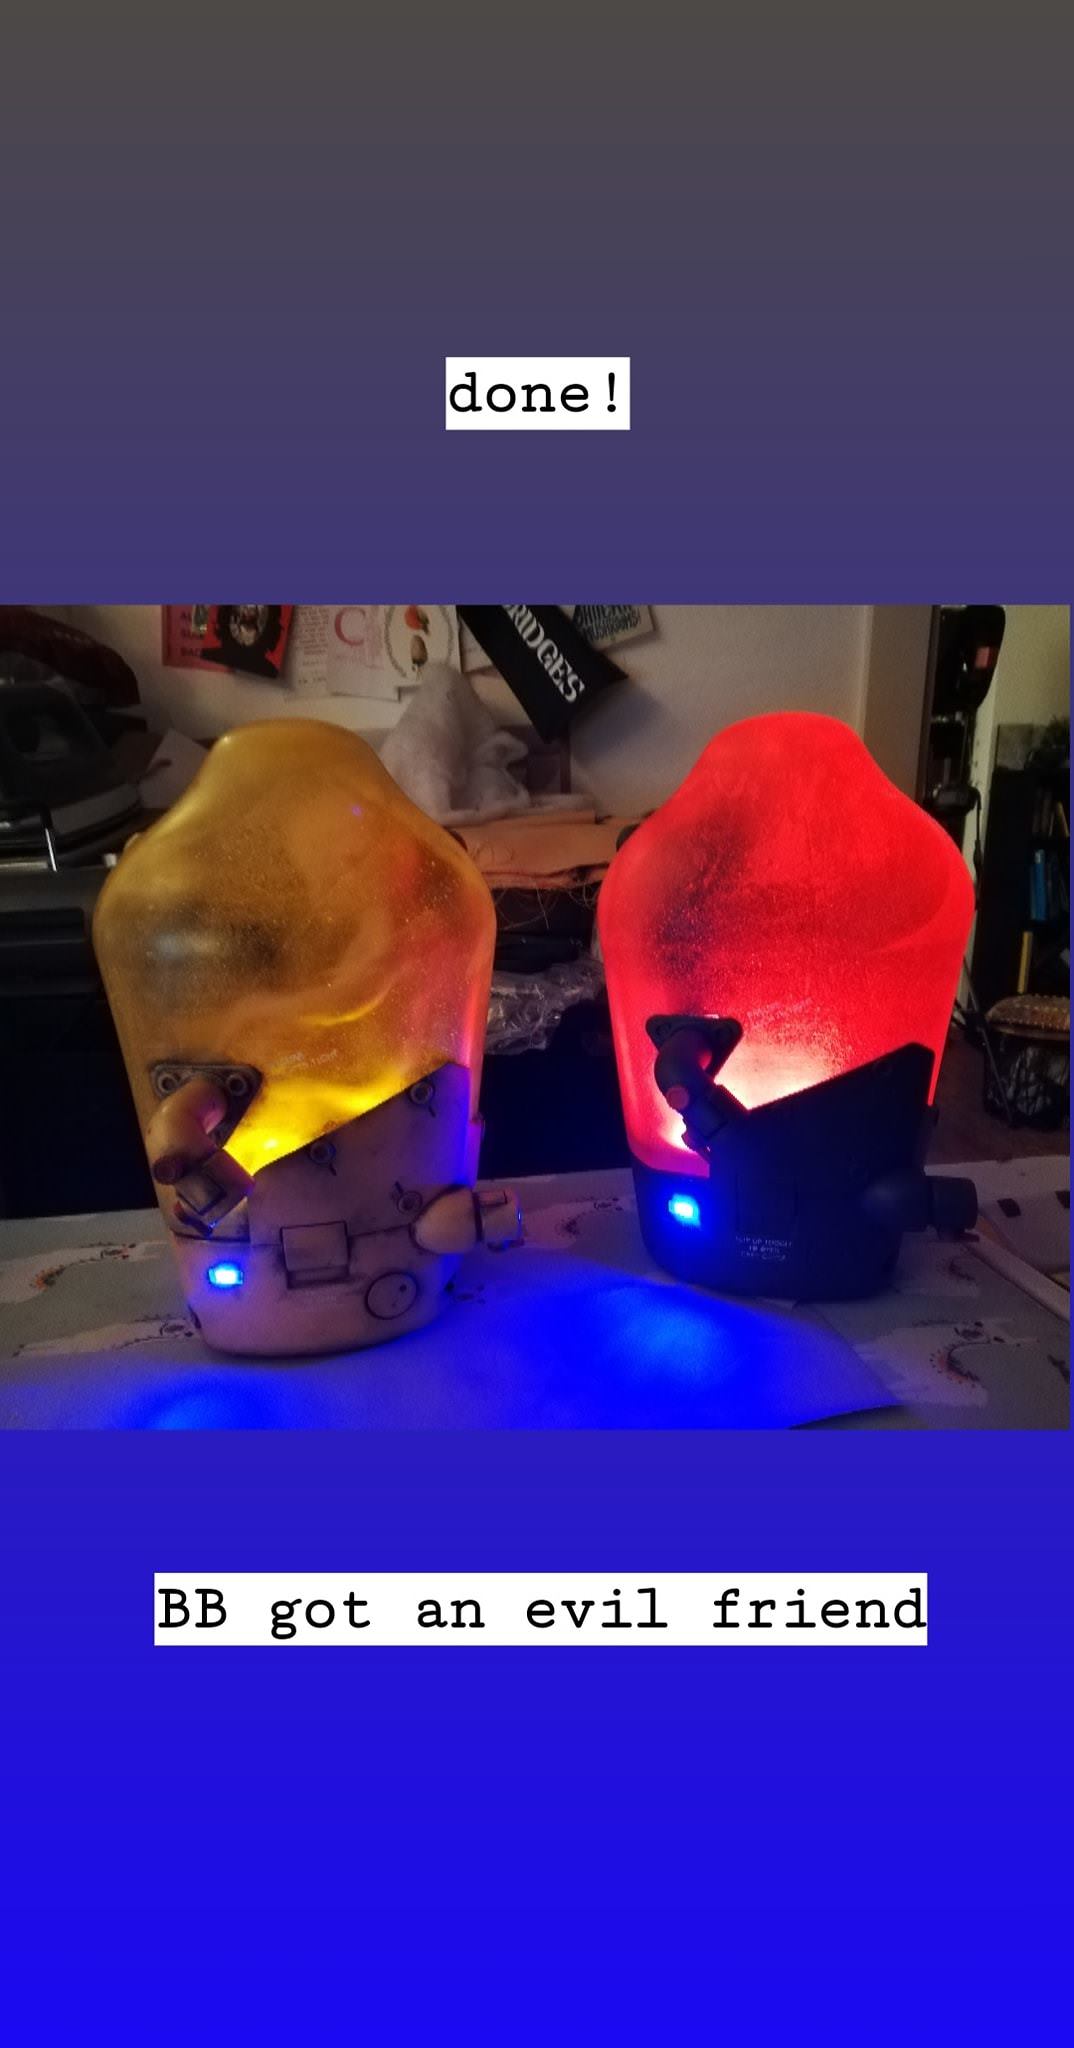
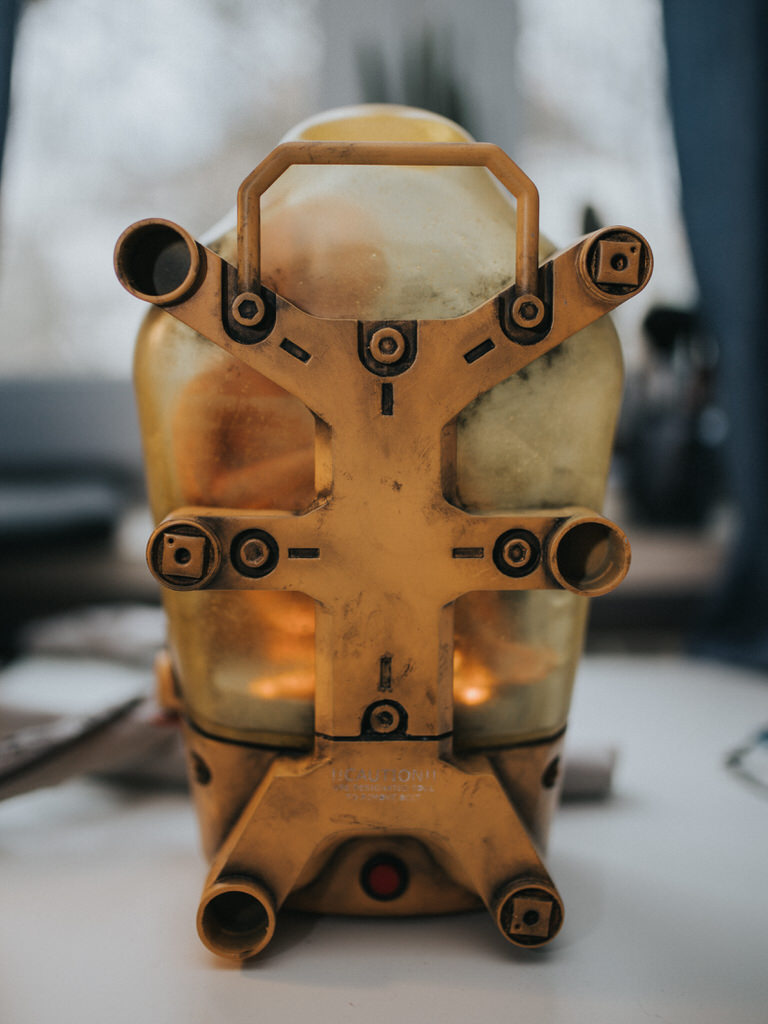
We decided to slush-cast the “glass” parts of the pod instead. Making a mold of the master would come in handy to make Higgs red-glowing pod later anyway. The master was covered in Smooth On Rebound 40, and later slush-casted in tinted Smooth Cast 325 as it would dry to be slightly transparent. The result wasn’t entirely bubble-free, but then again, BB is supposed to be swimming in some kind of liquid and pee, probably, so we thought it would be alright.
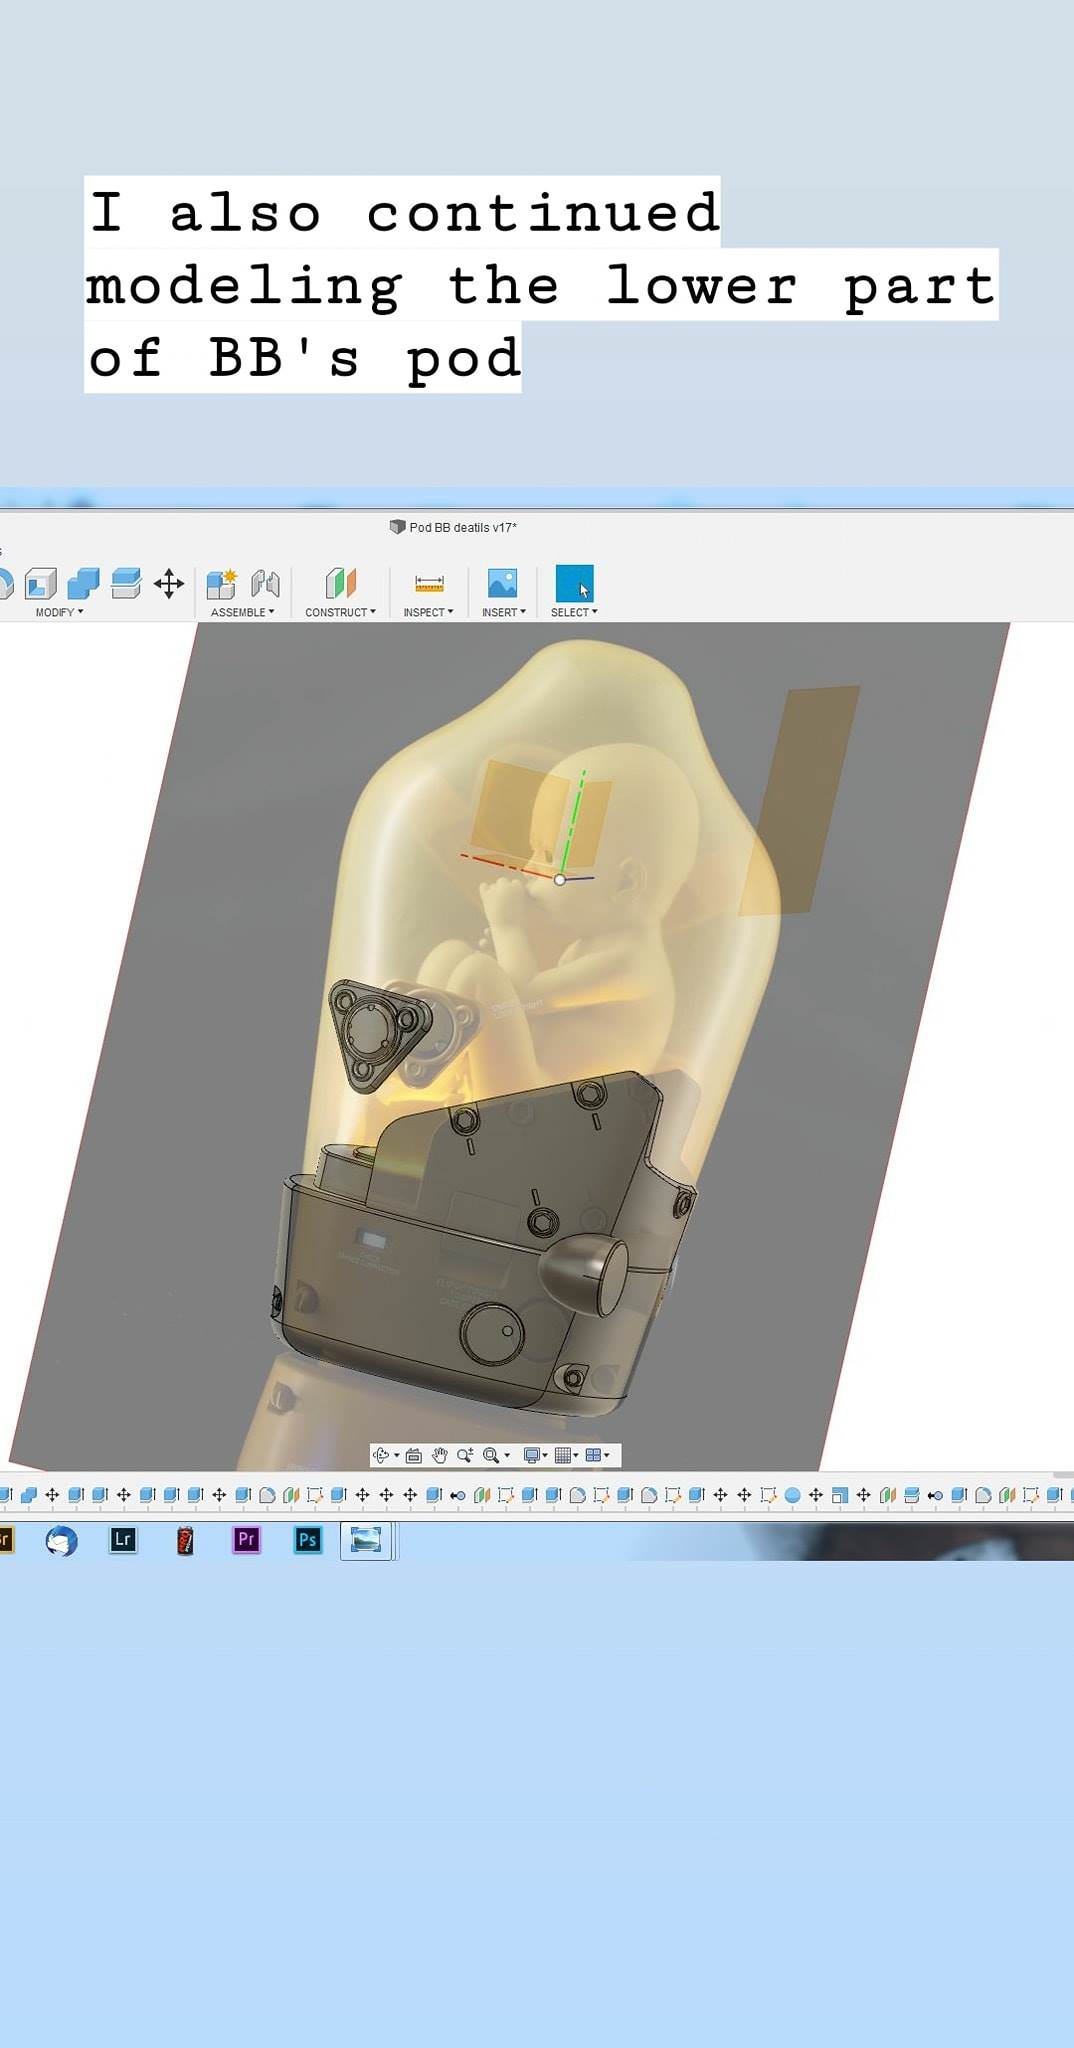
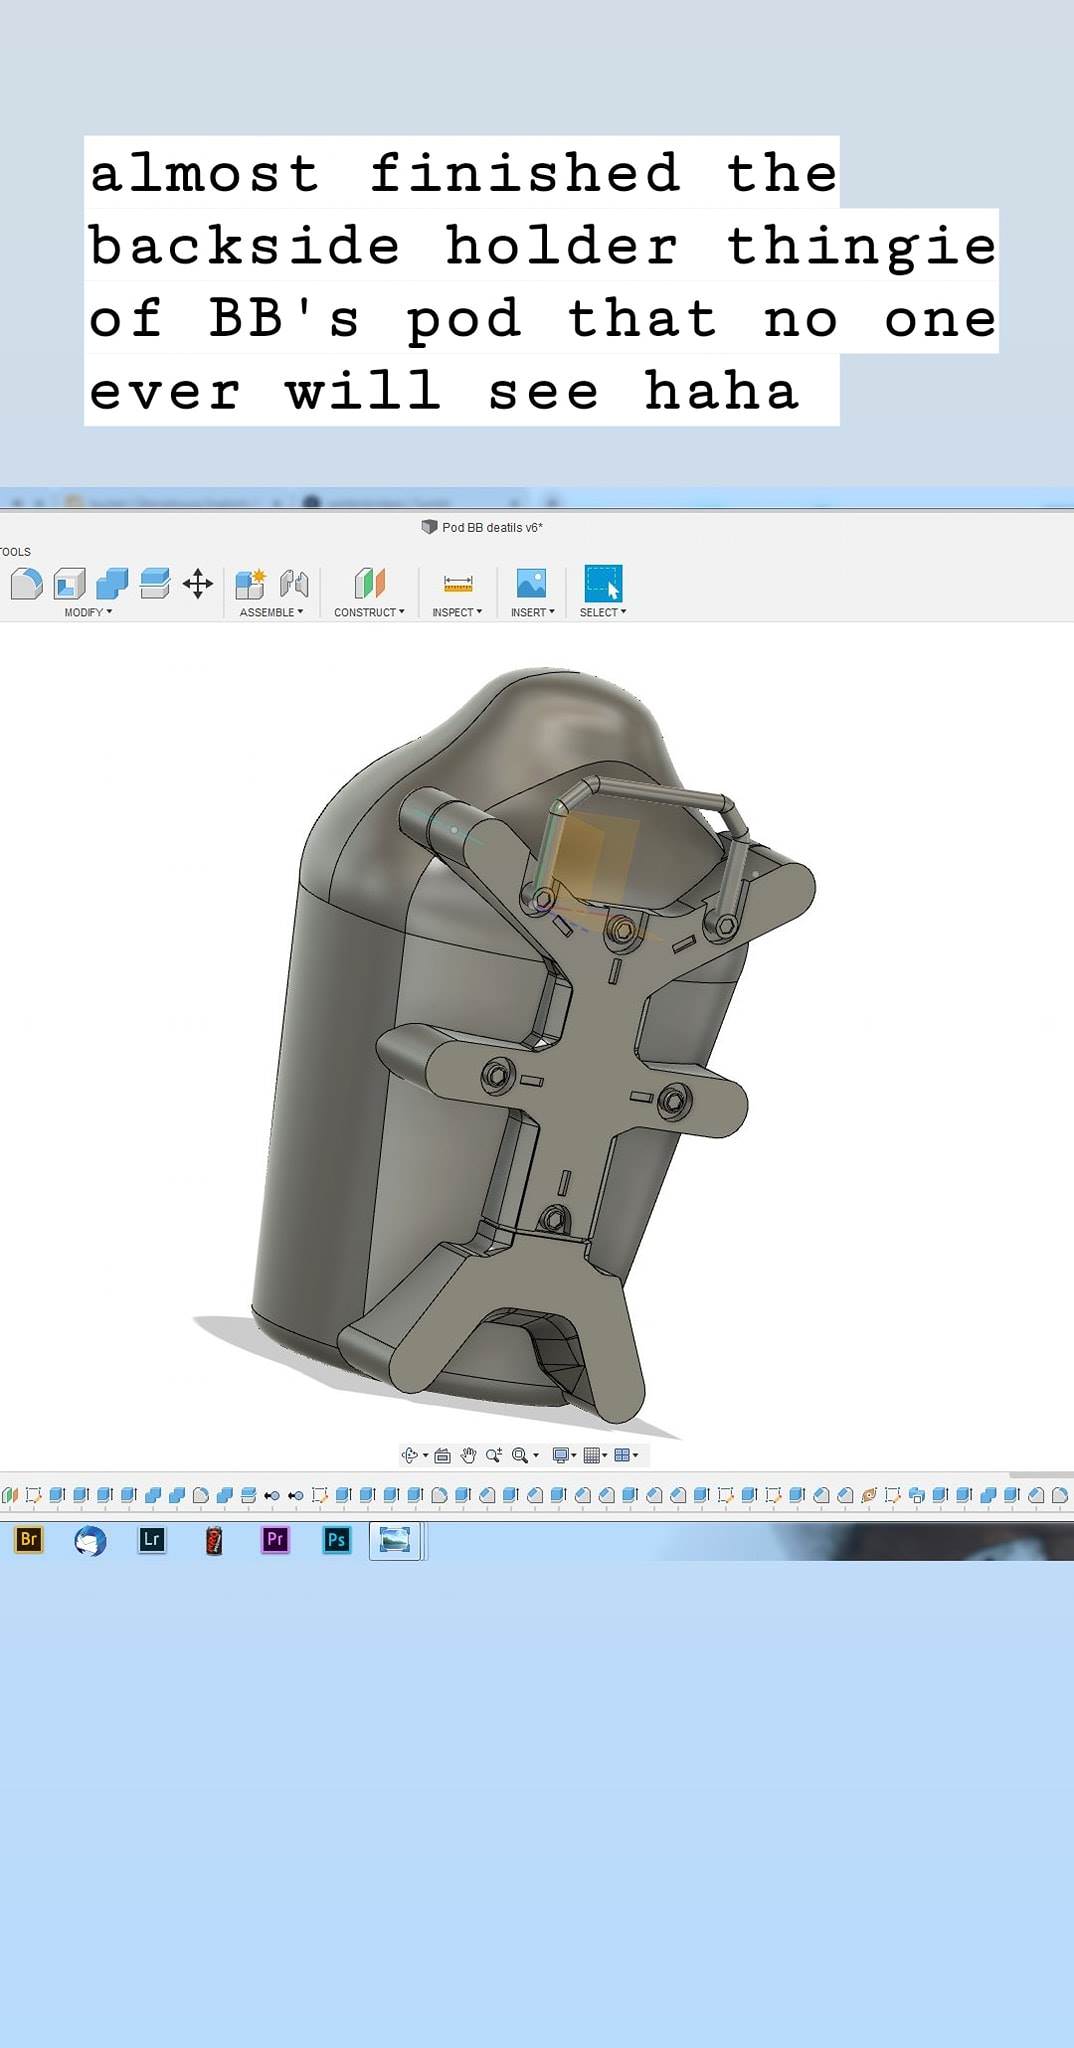
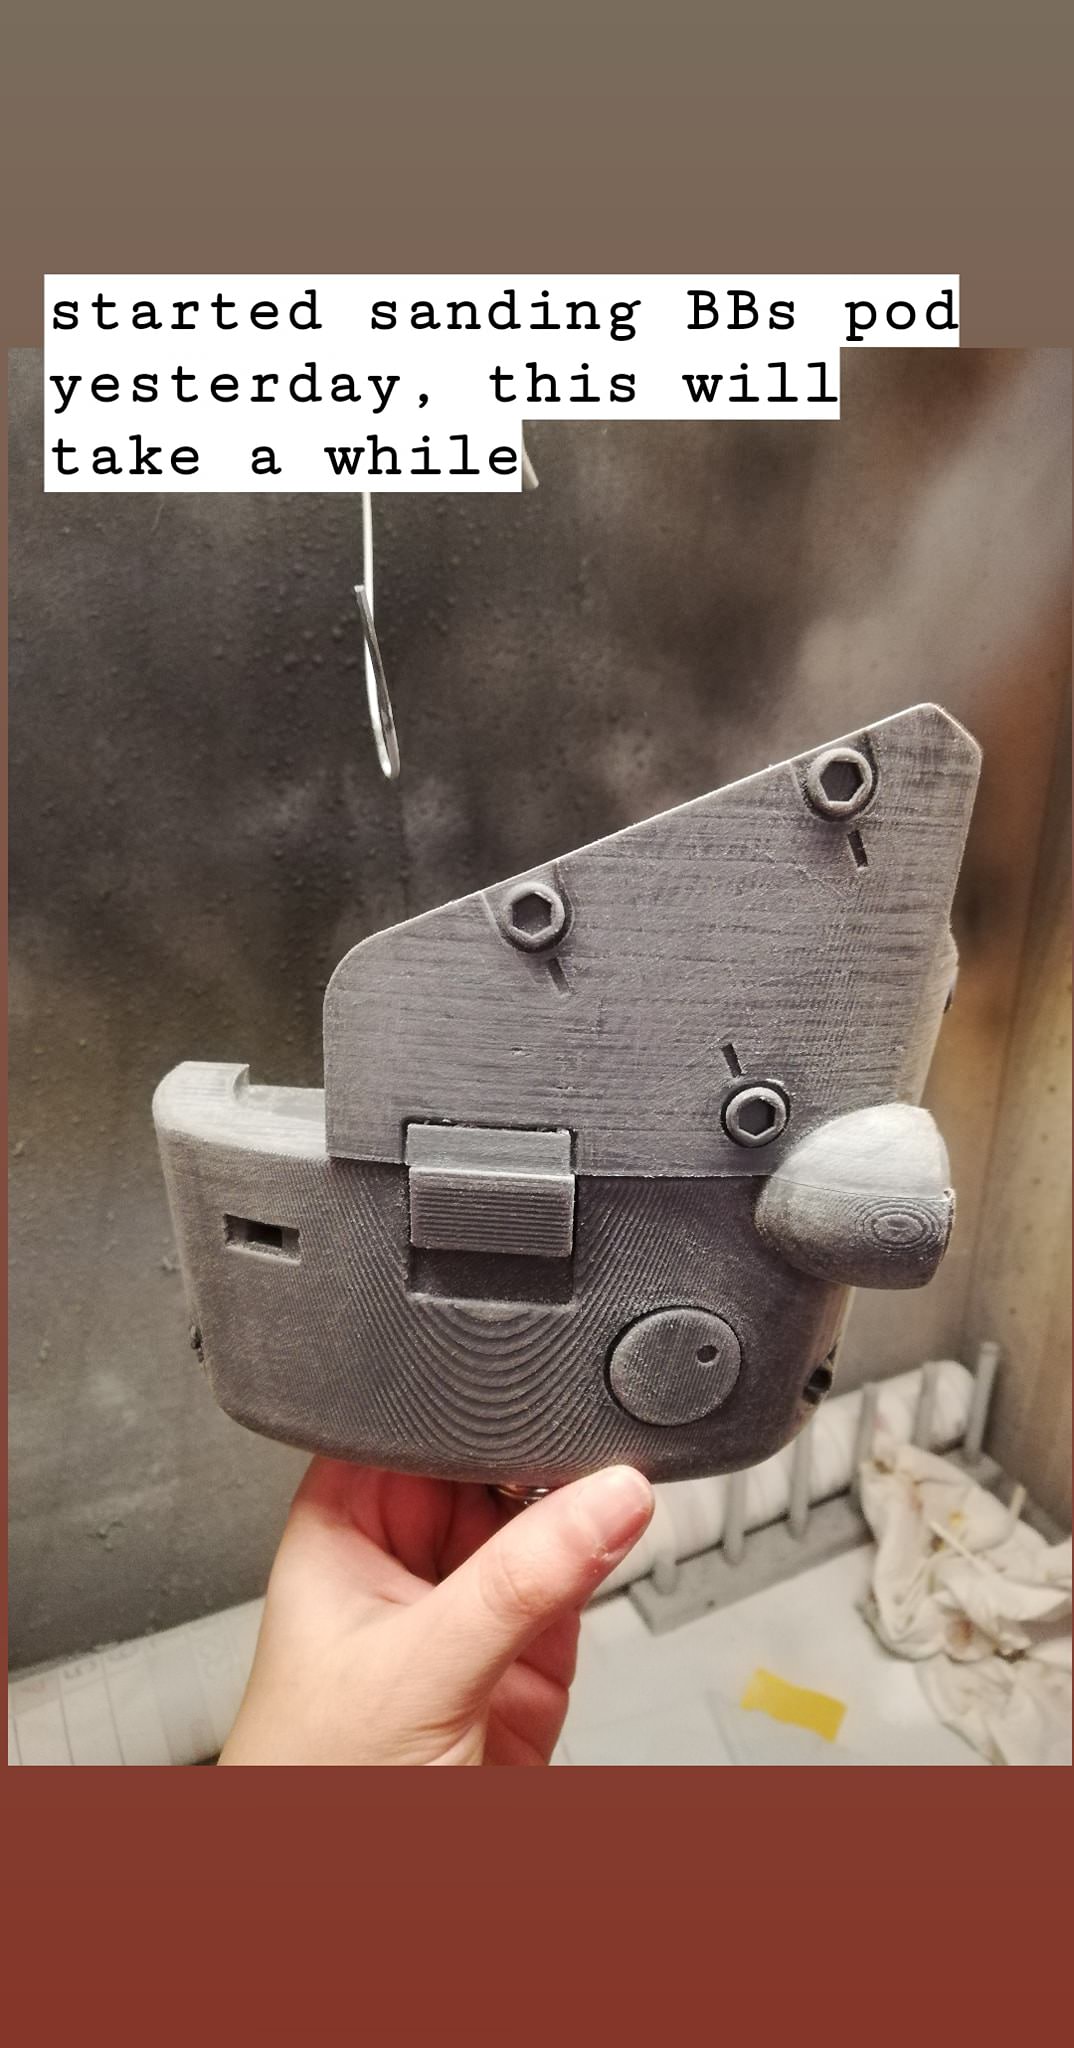
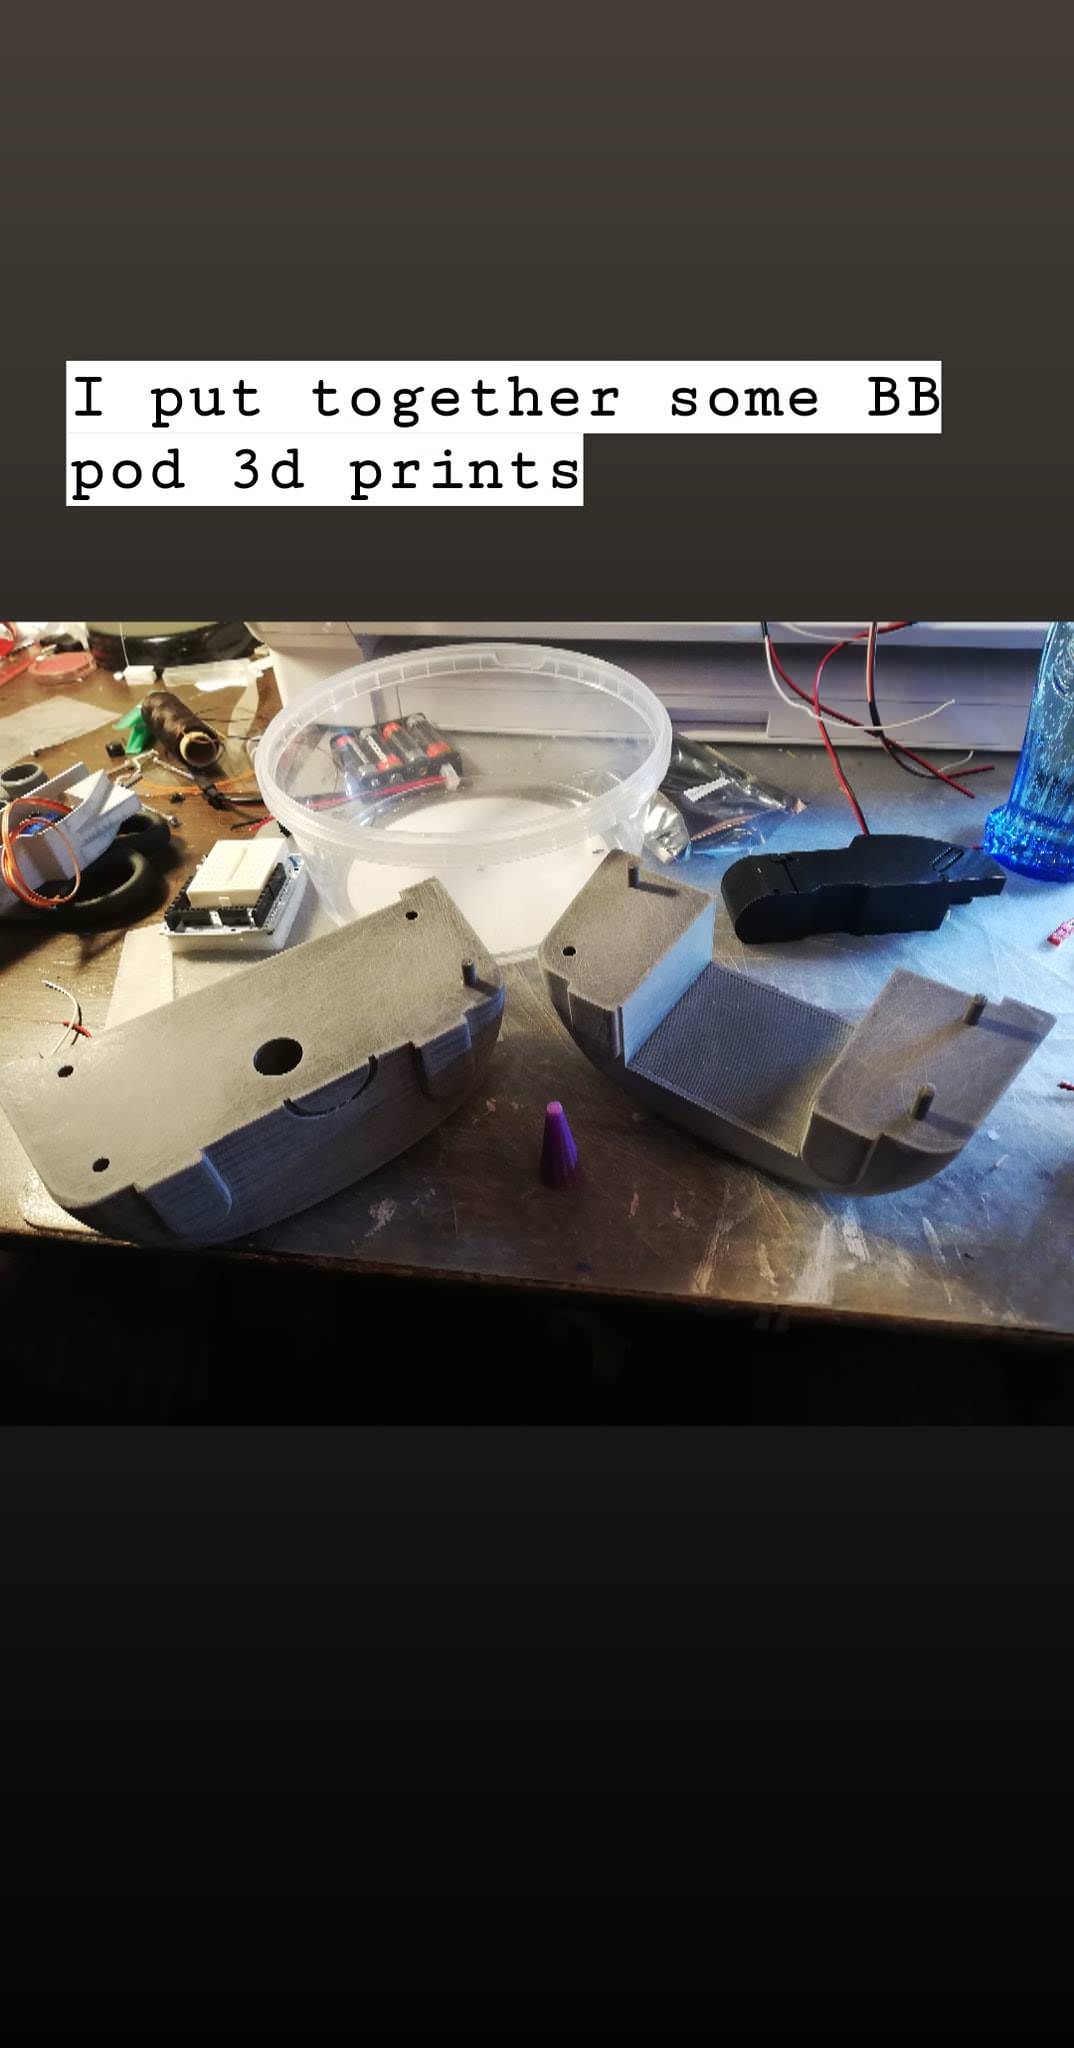
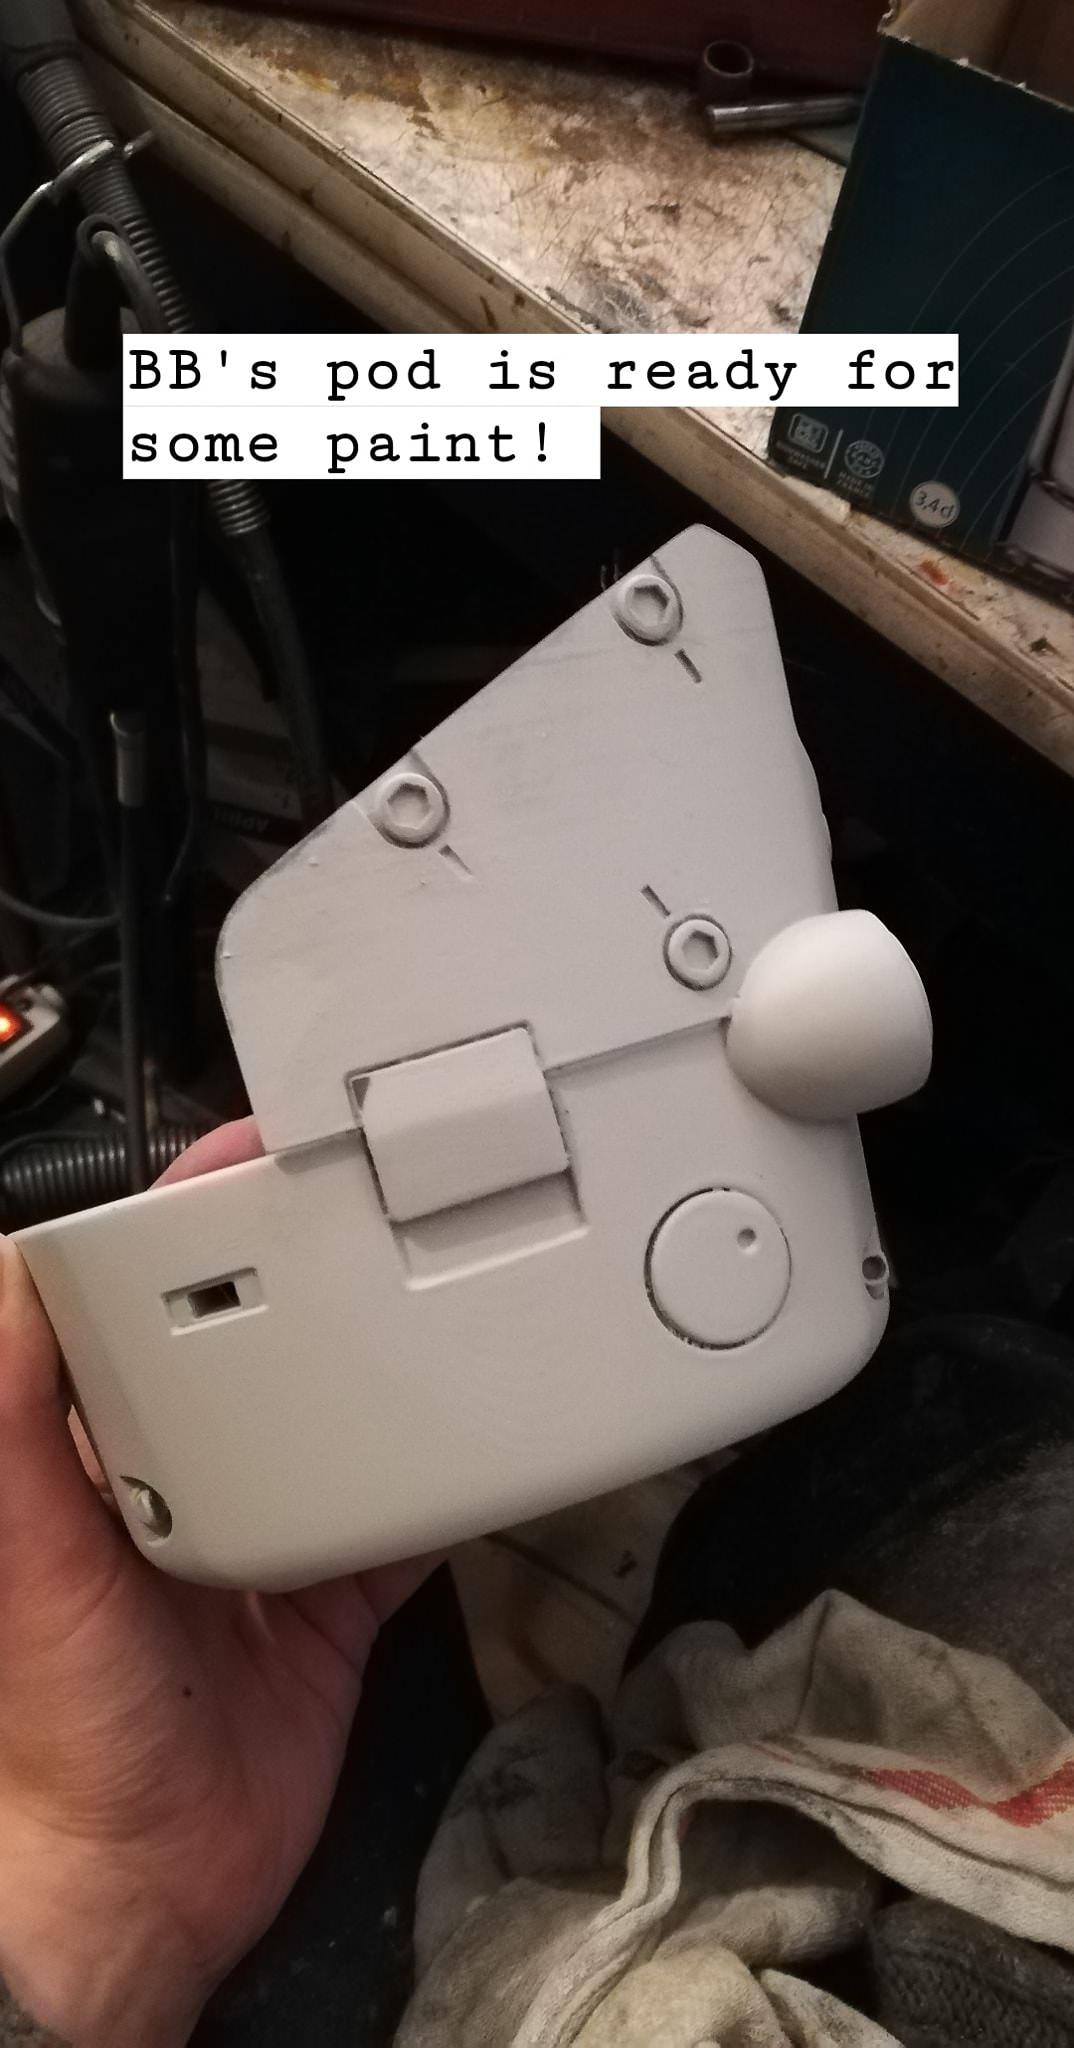
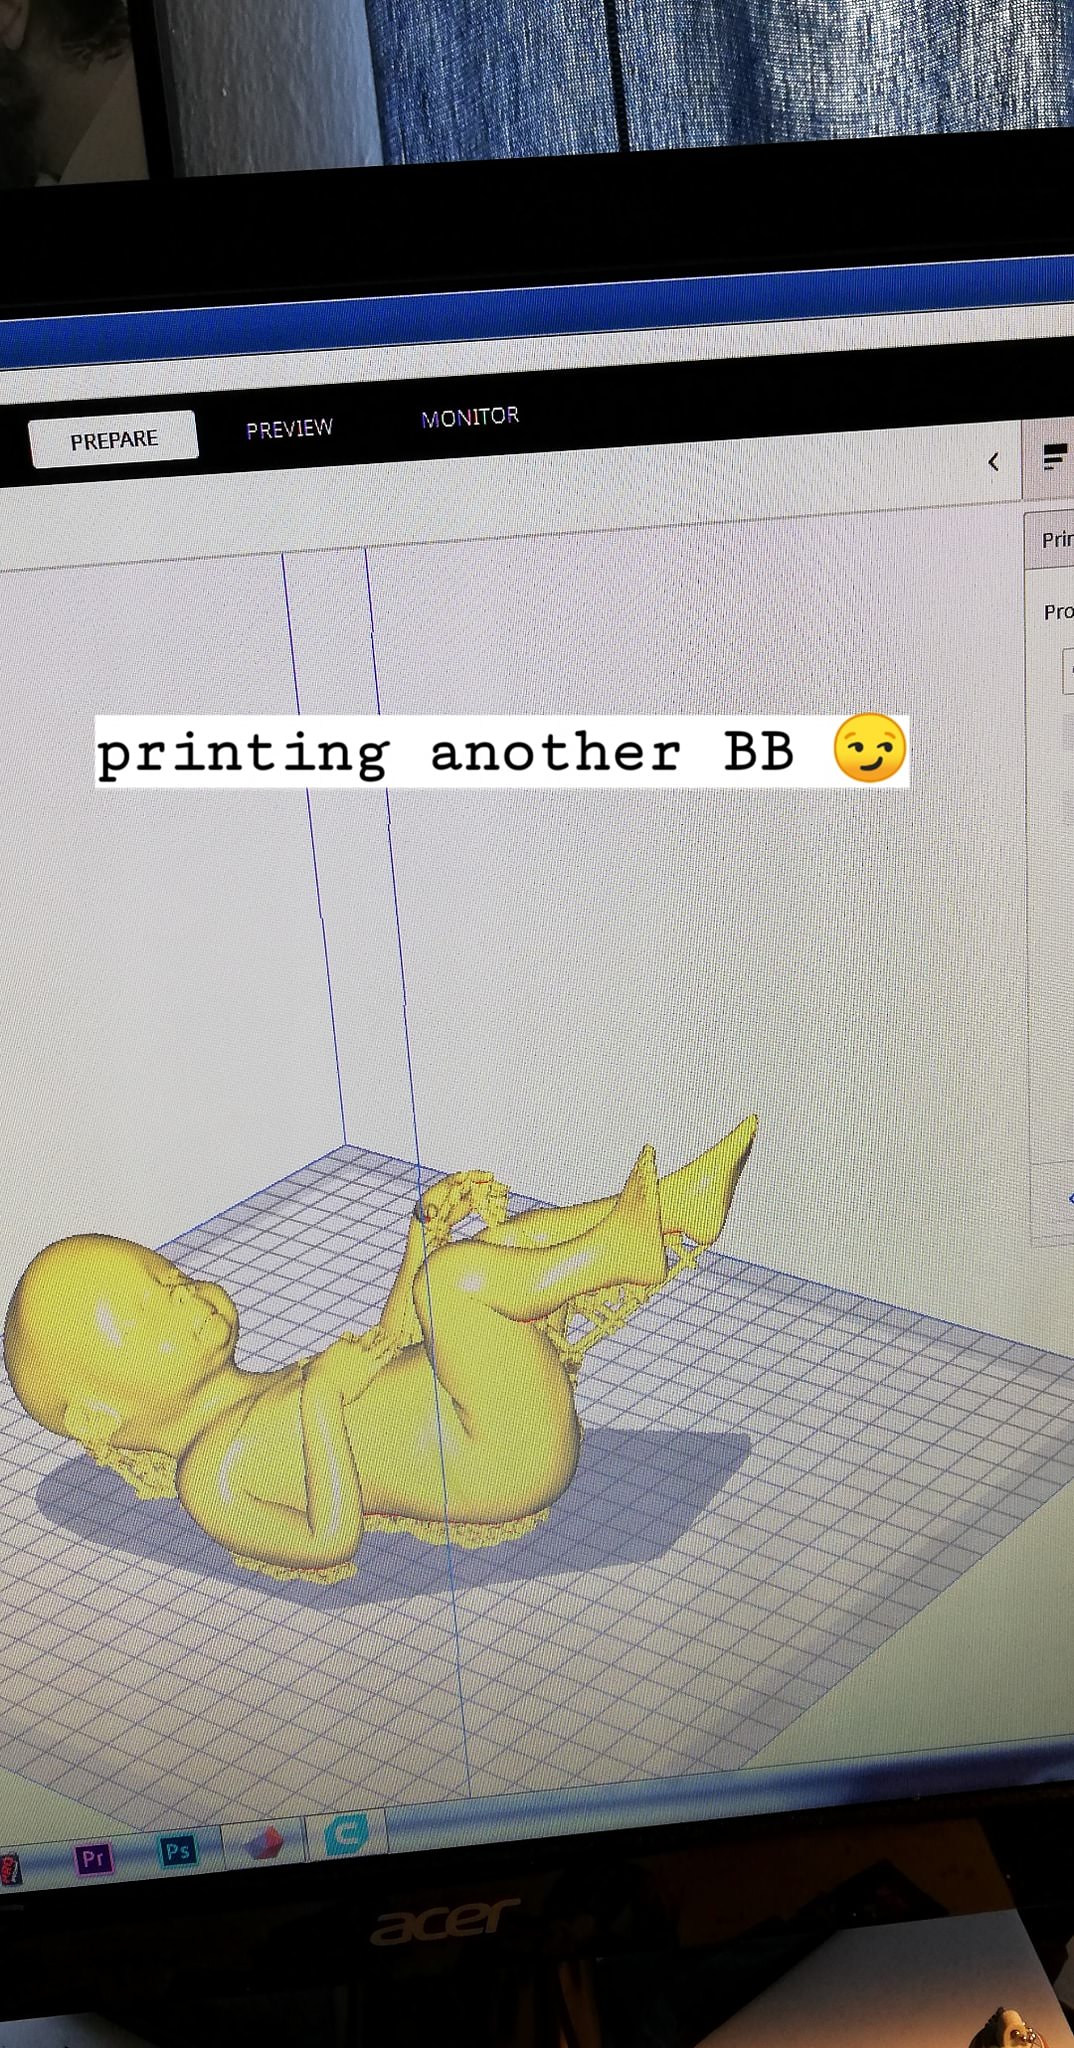
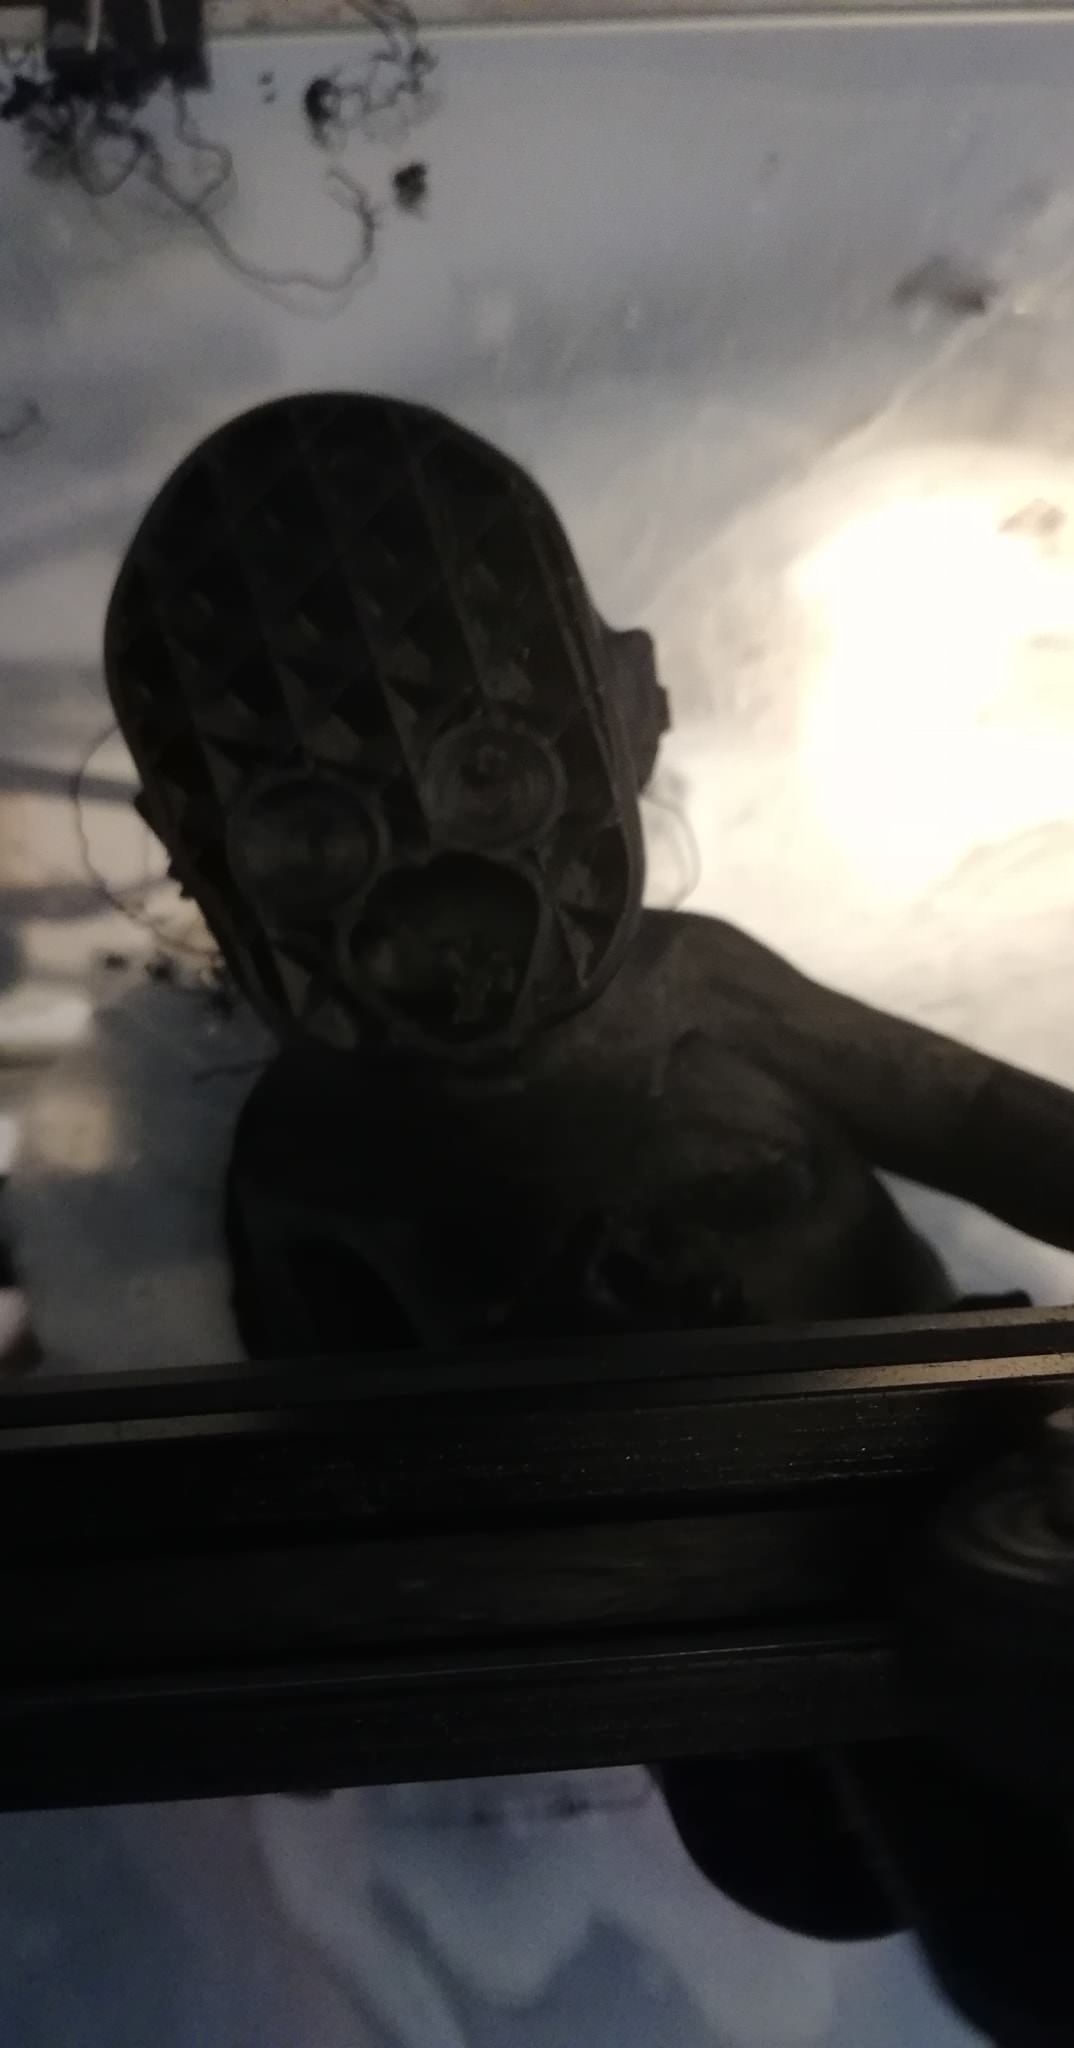
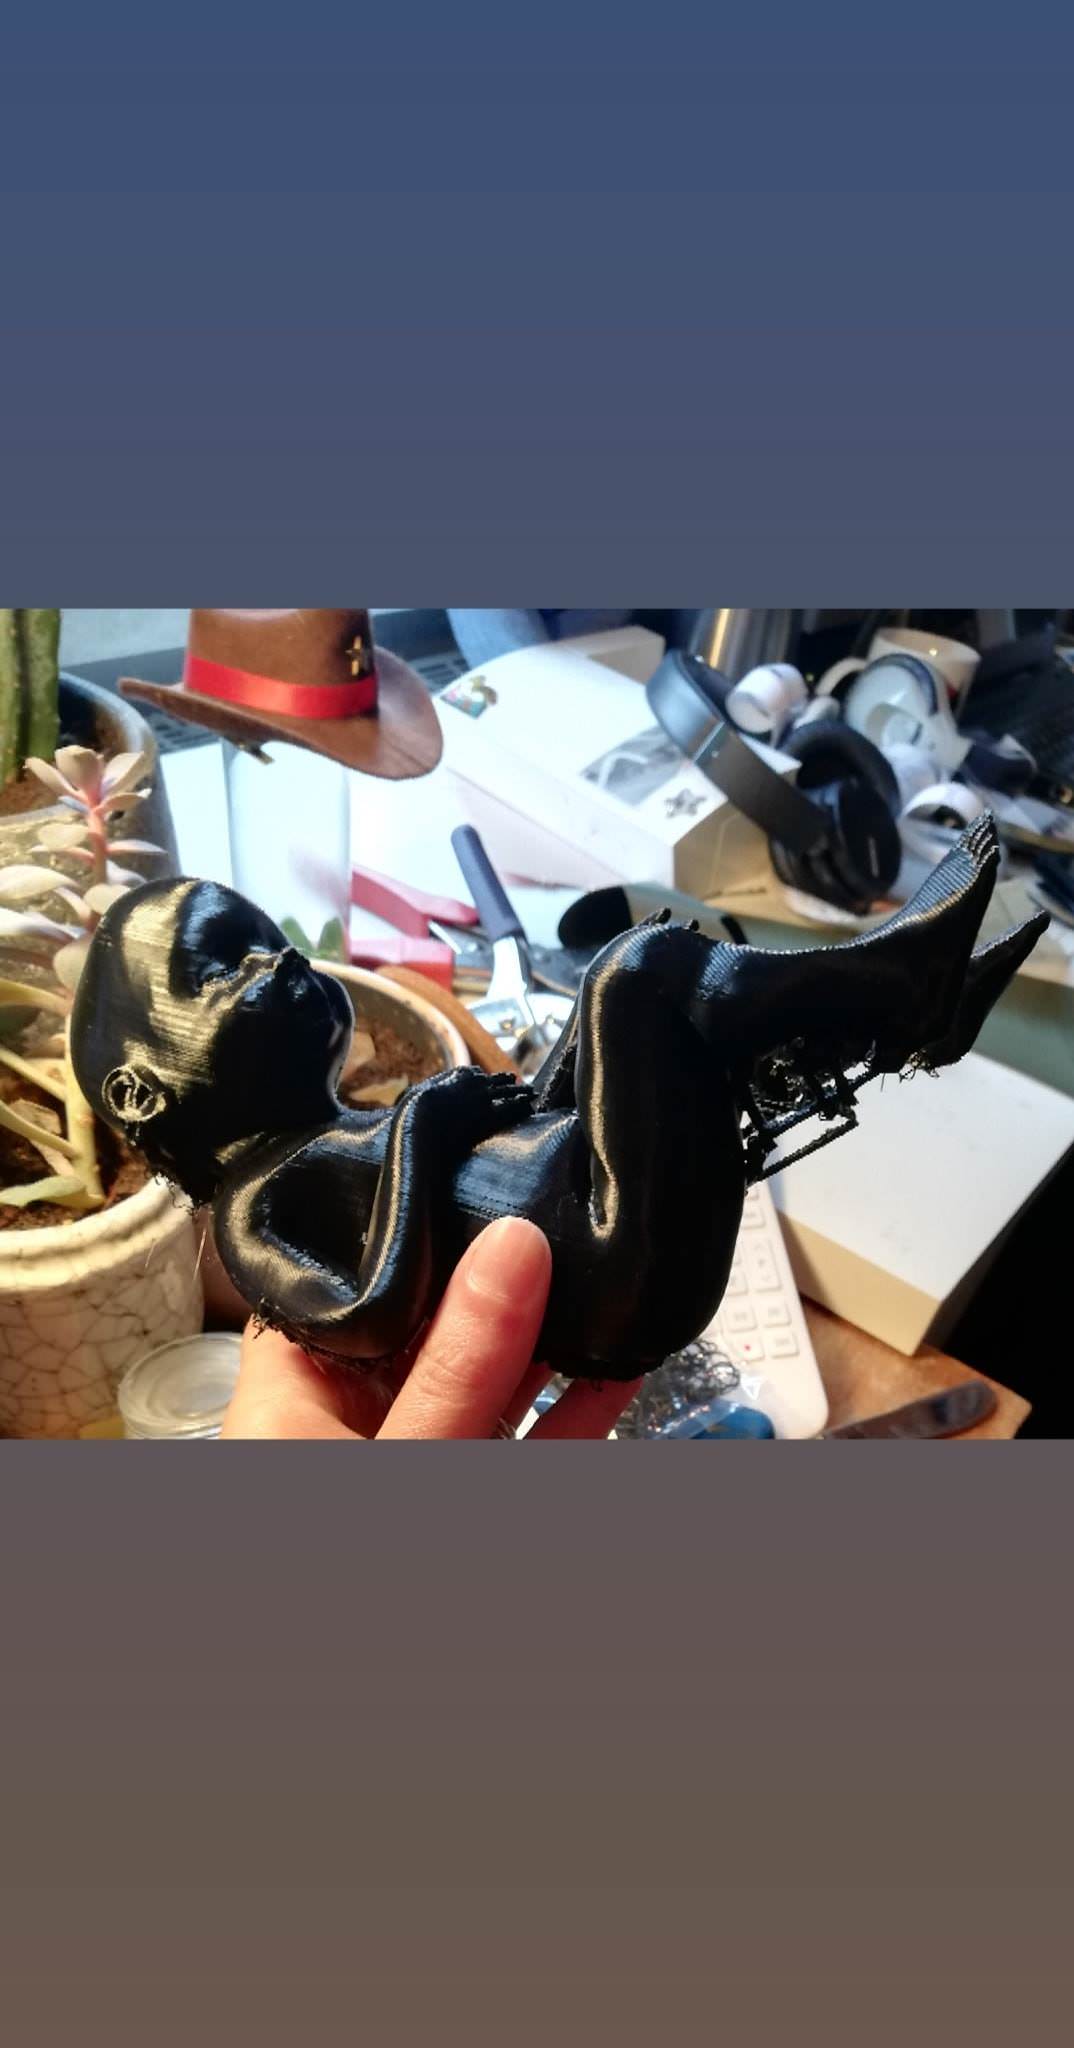
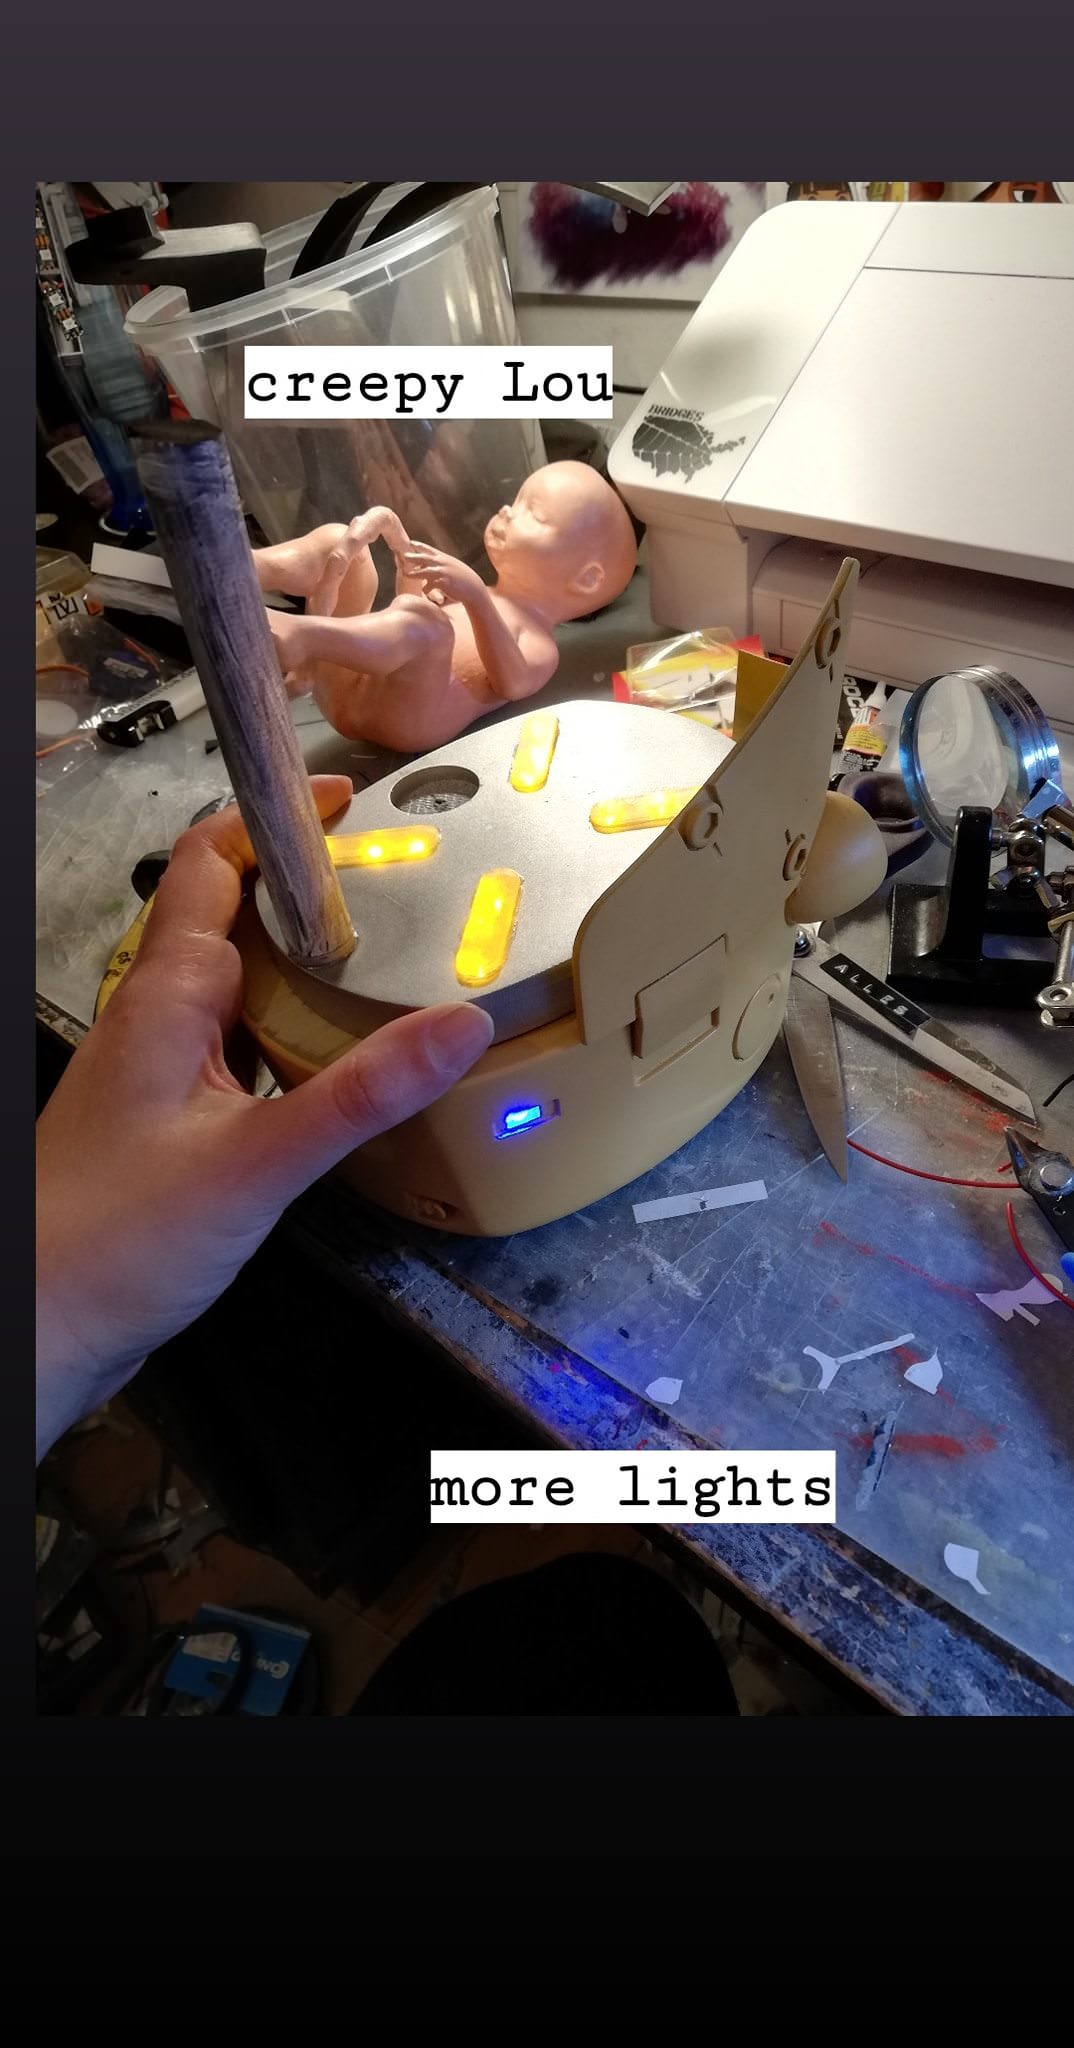
The rest of the pod was printed, sanded for what felt like five years at least (kidding, but I think we spent sanding all parts of our Death Stranding costumes for at least one to two months straight) and put together with superglue. The file of the actual BB isn’t self-made, we found a 3D-file of a human fetus on Thingiverse You wouldn’t download a baby, eh? and scaled it, before printing. The hell child was then sanded, making it look even creepier, before we painted it and put it into its see-through prison for the rest of its days.
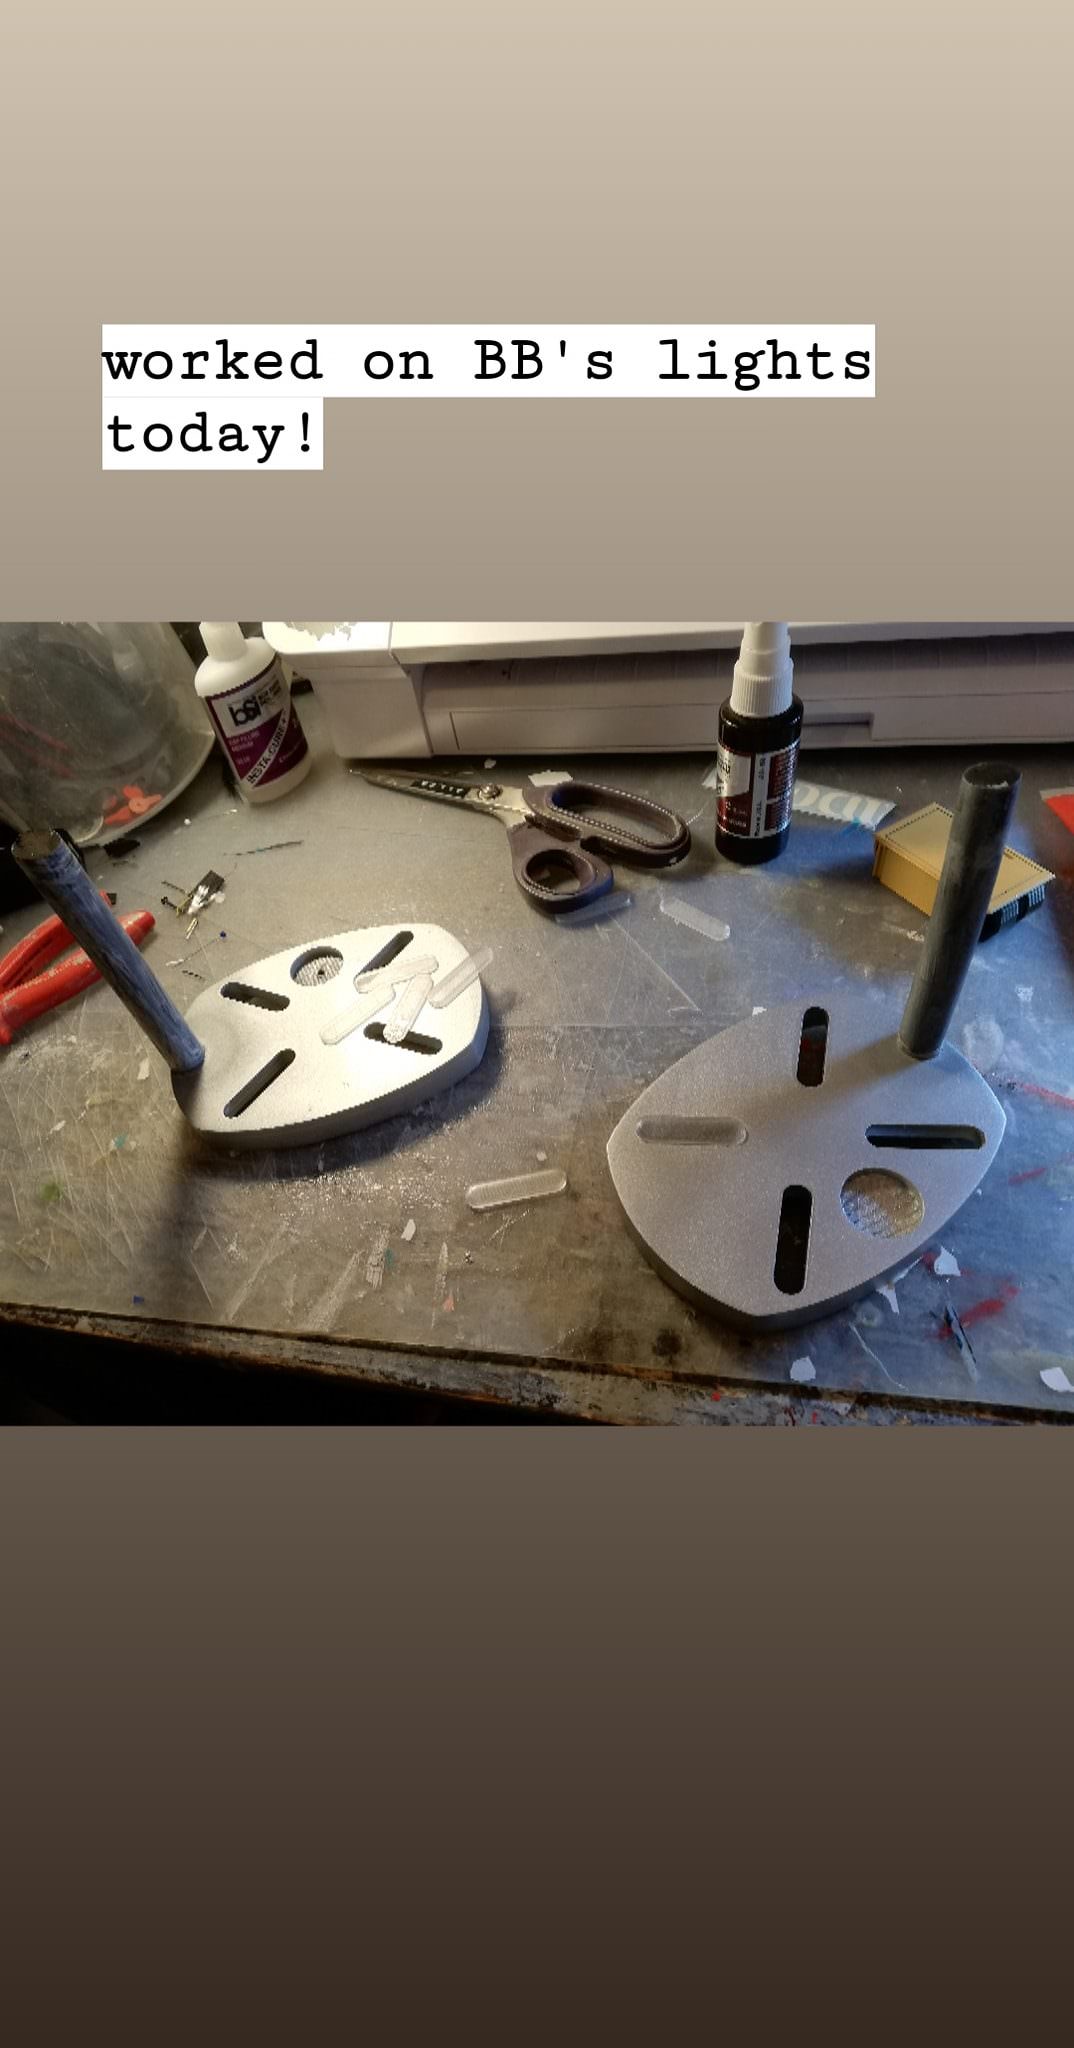
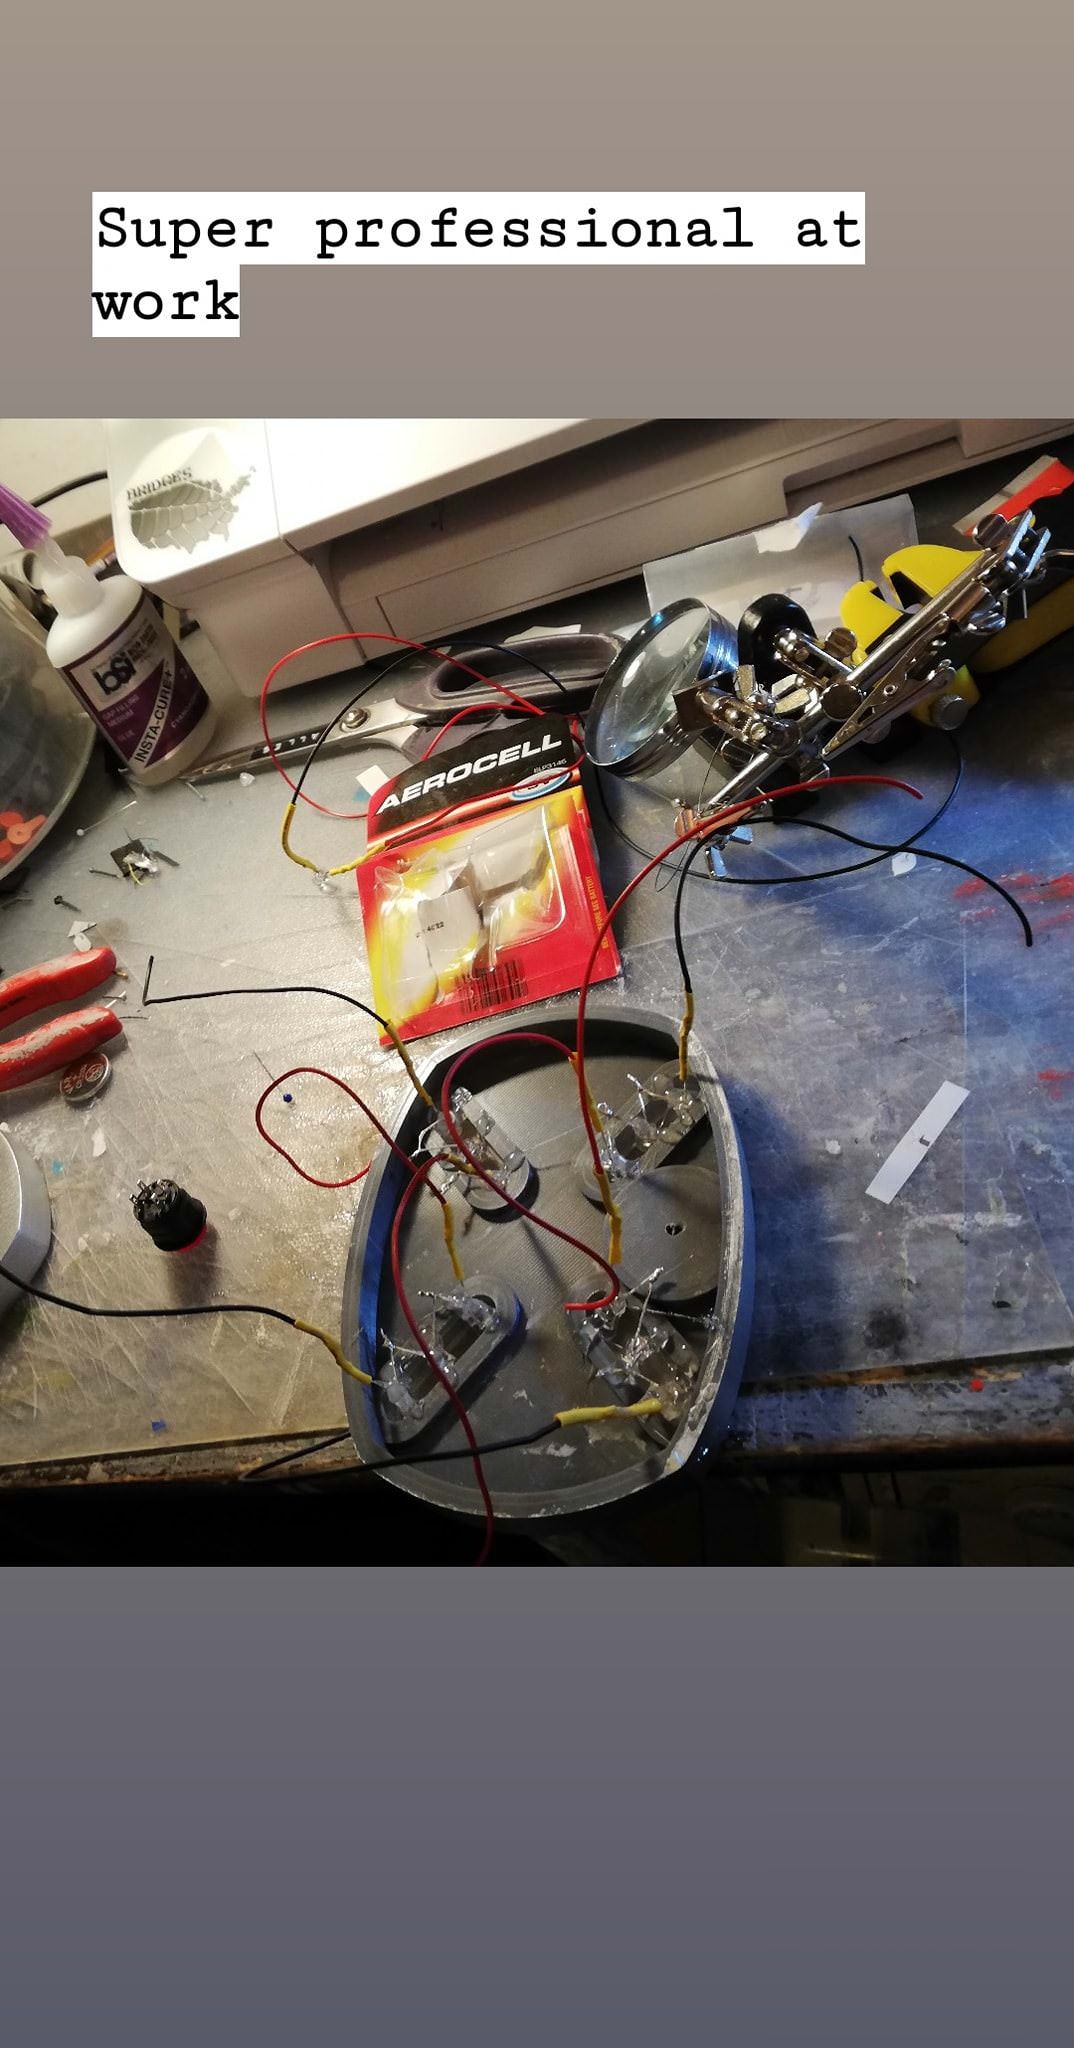
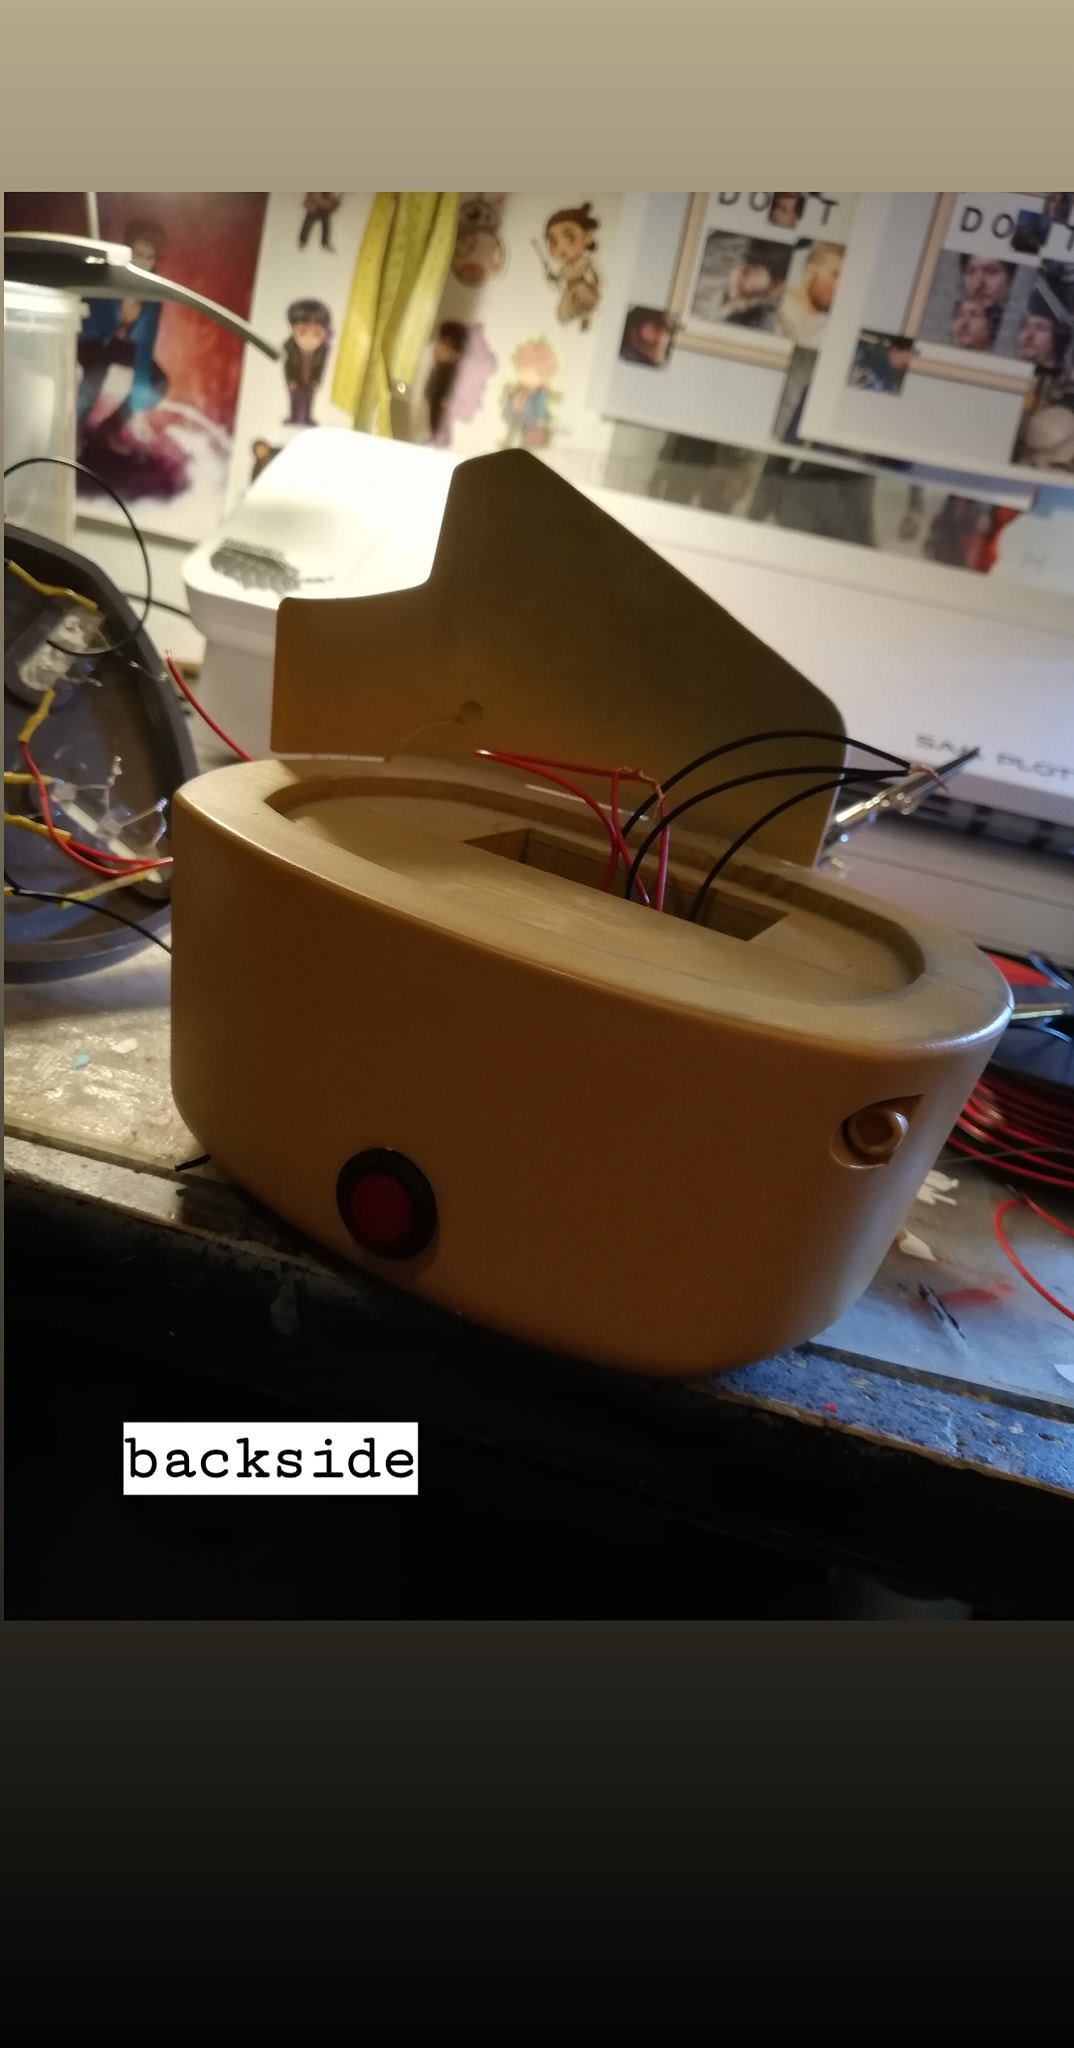
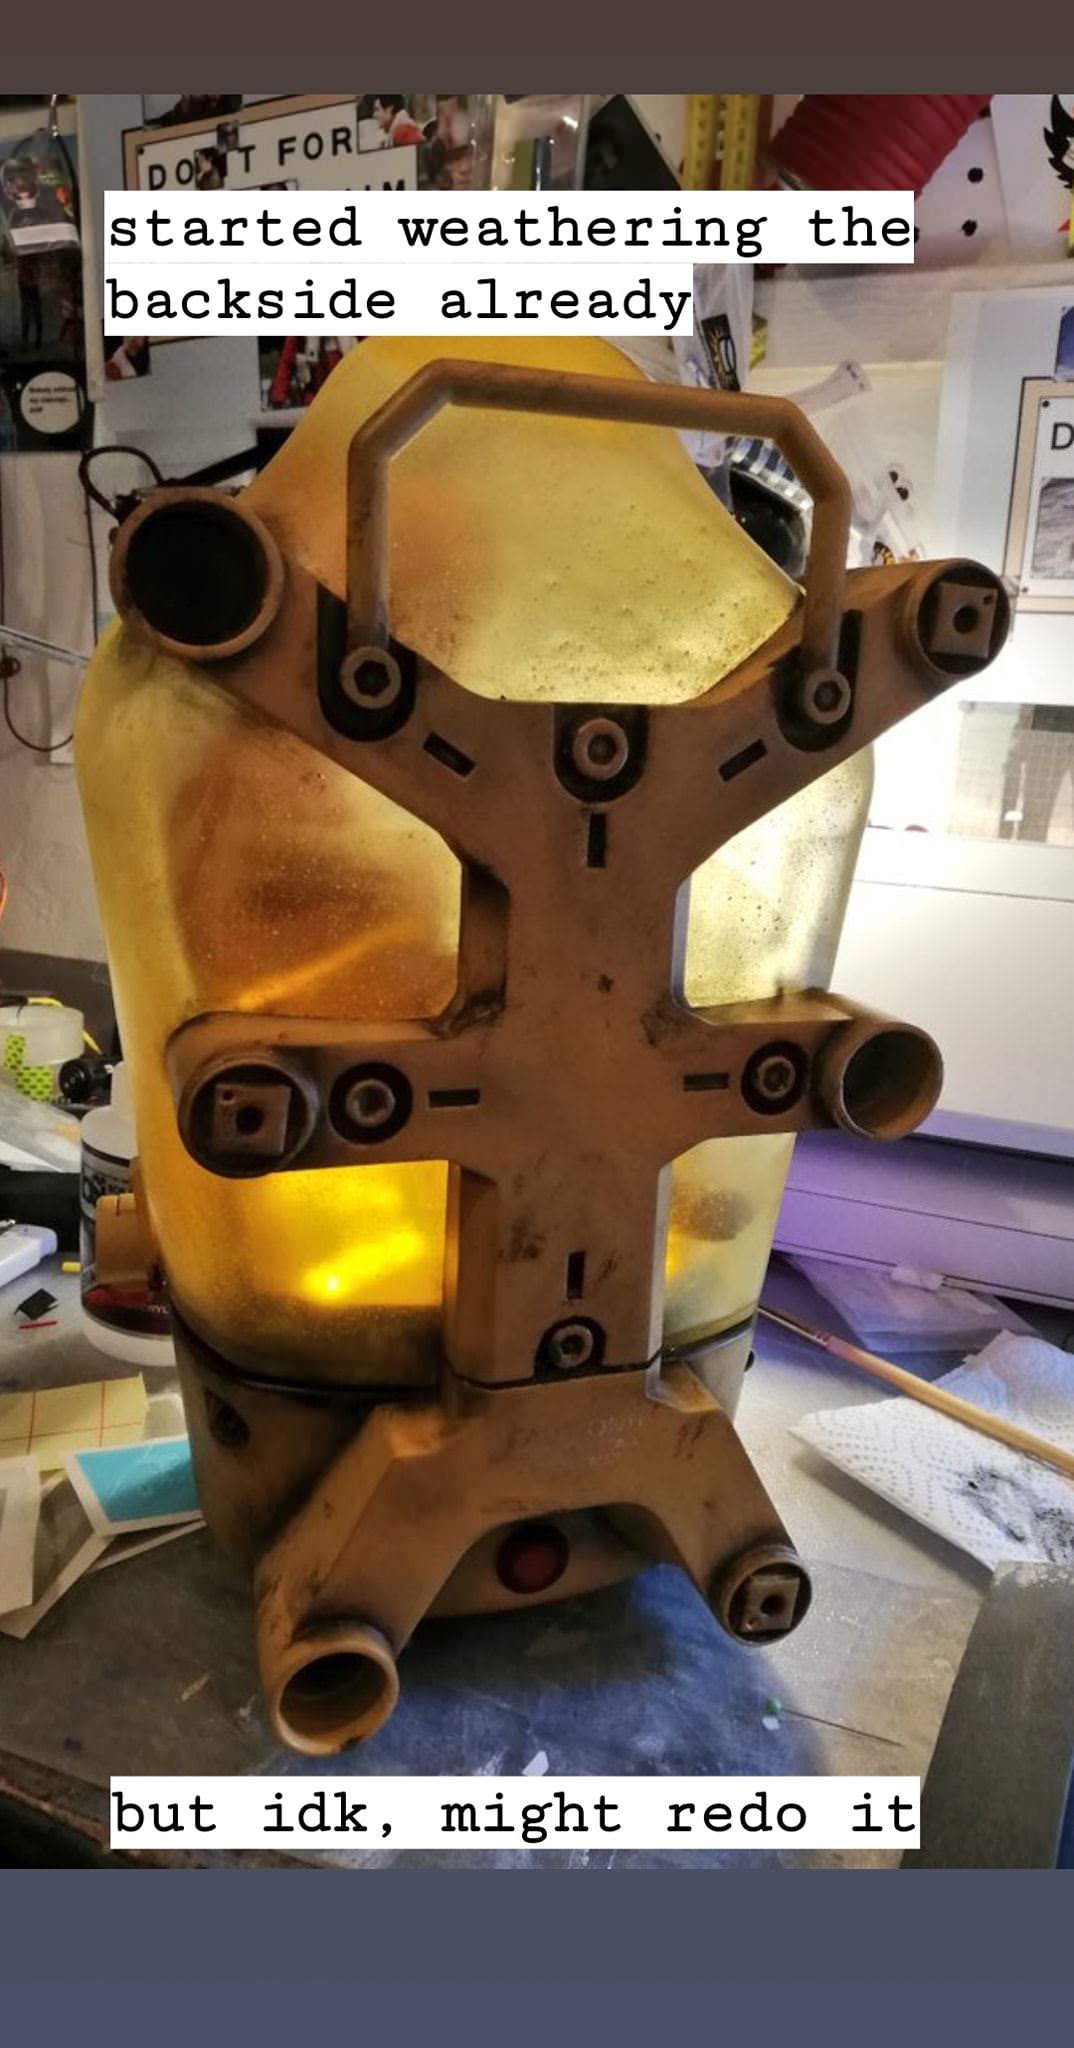
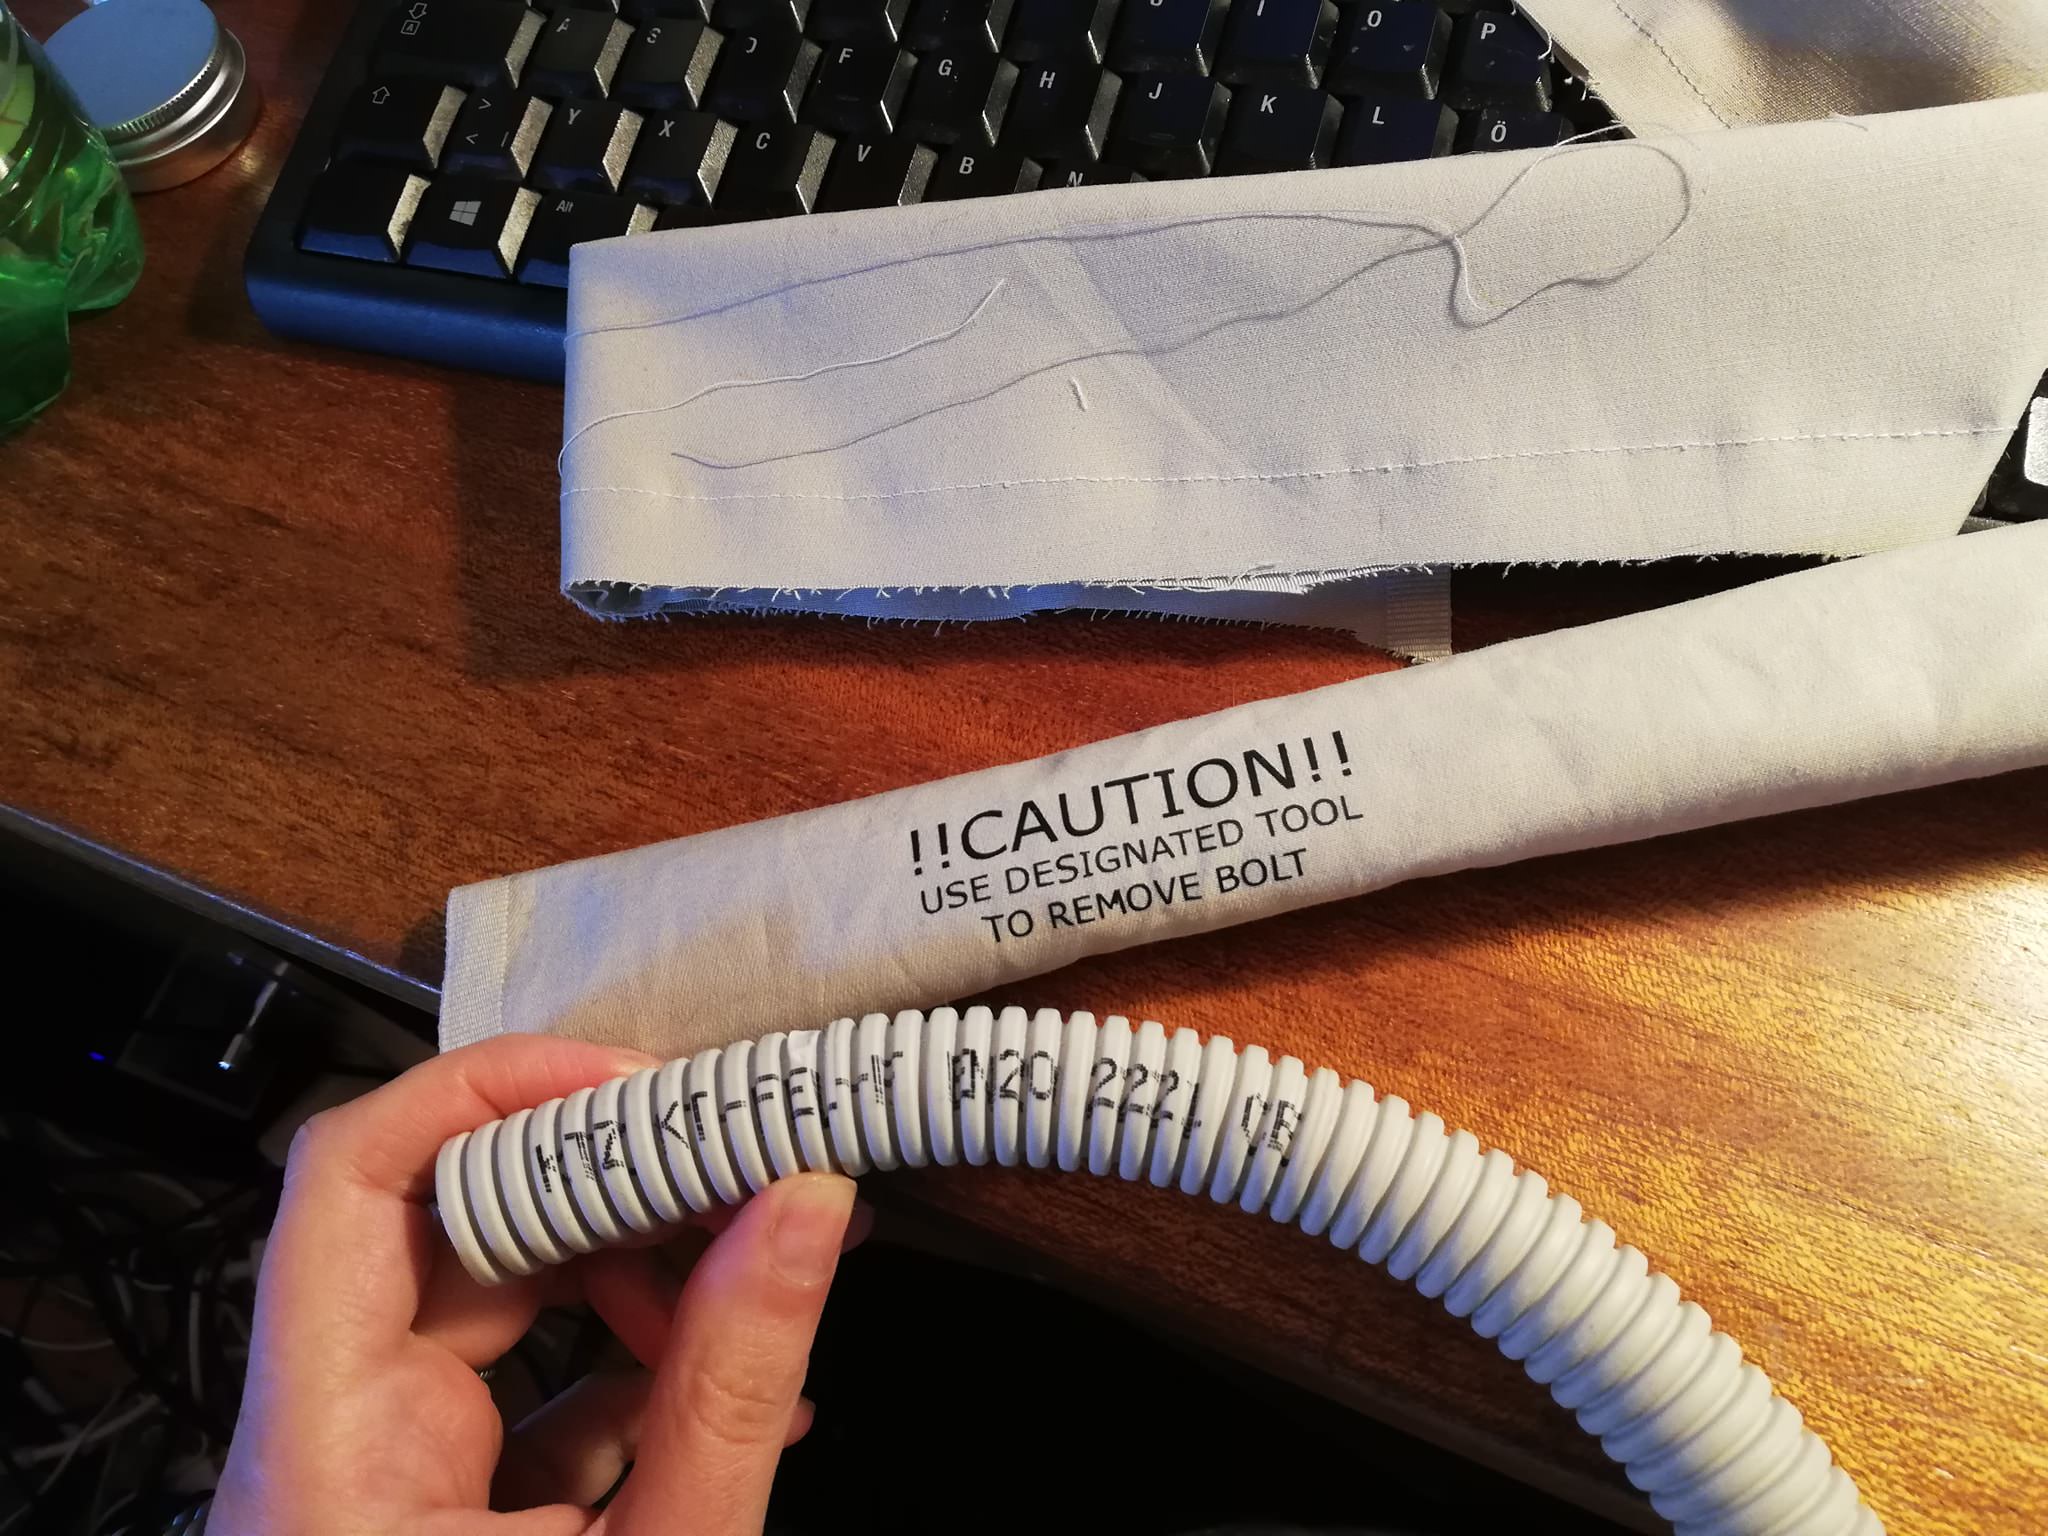
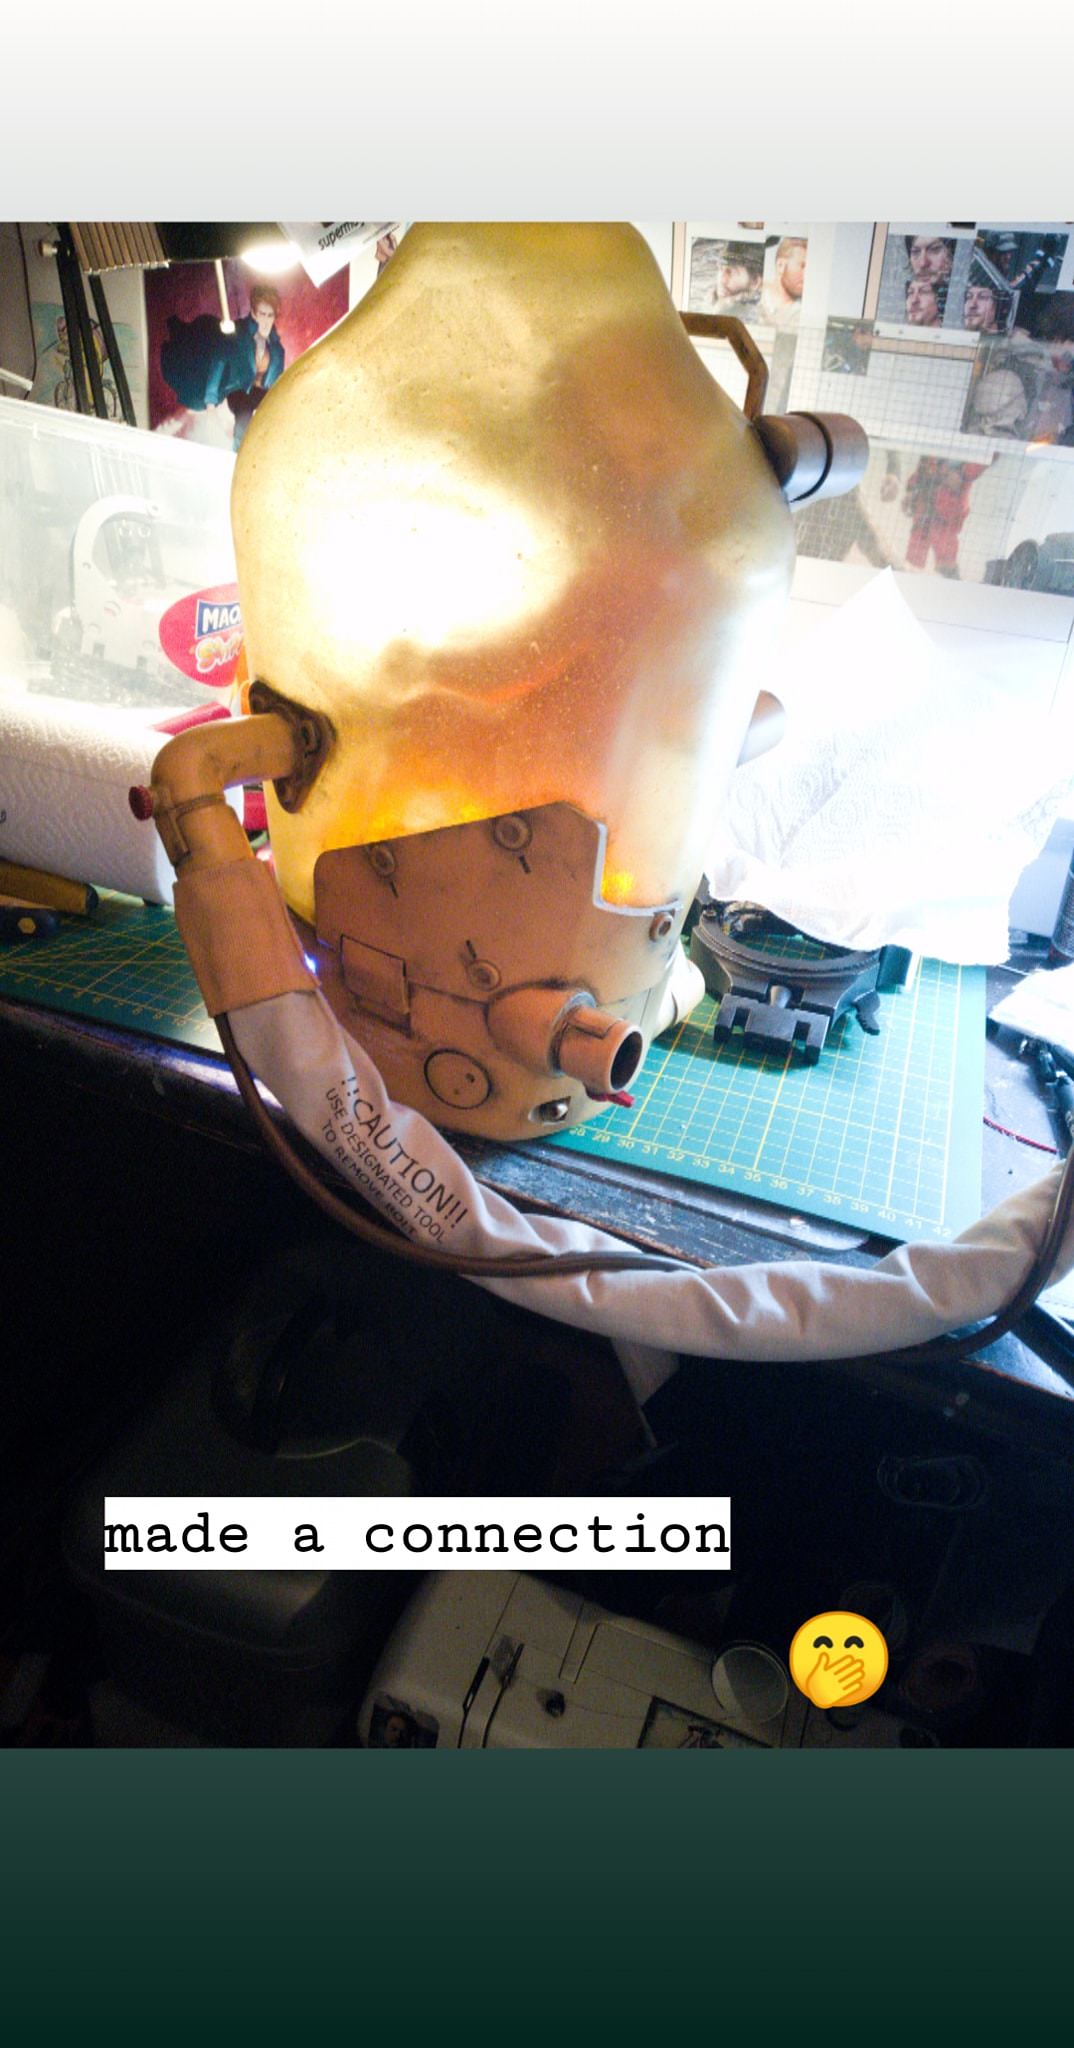
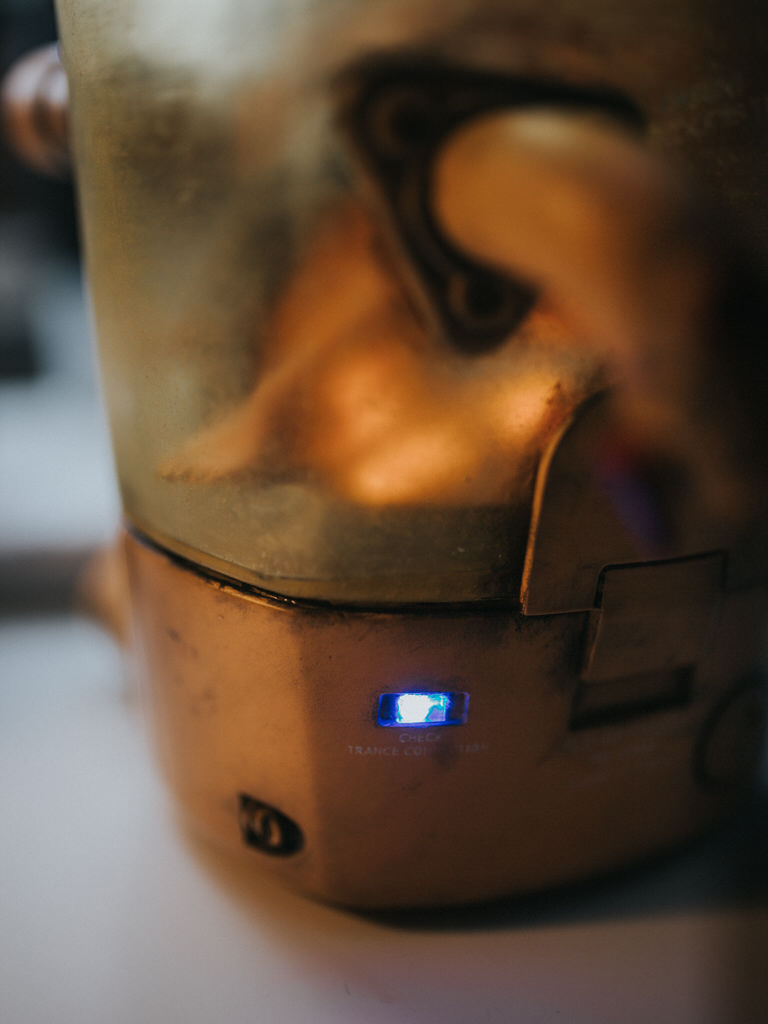
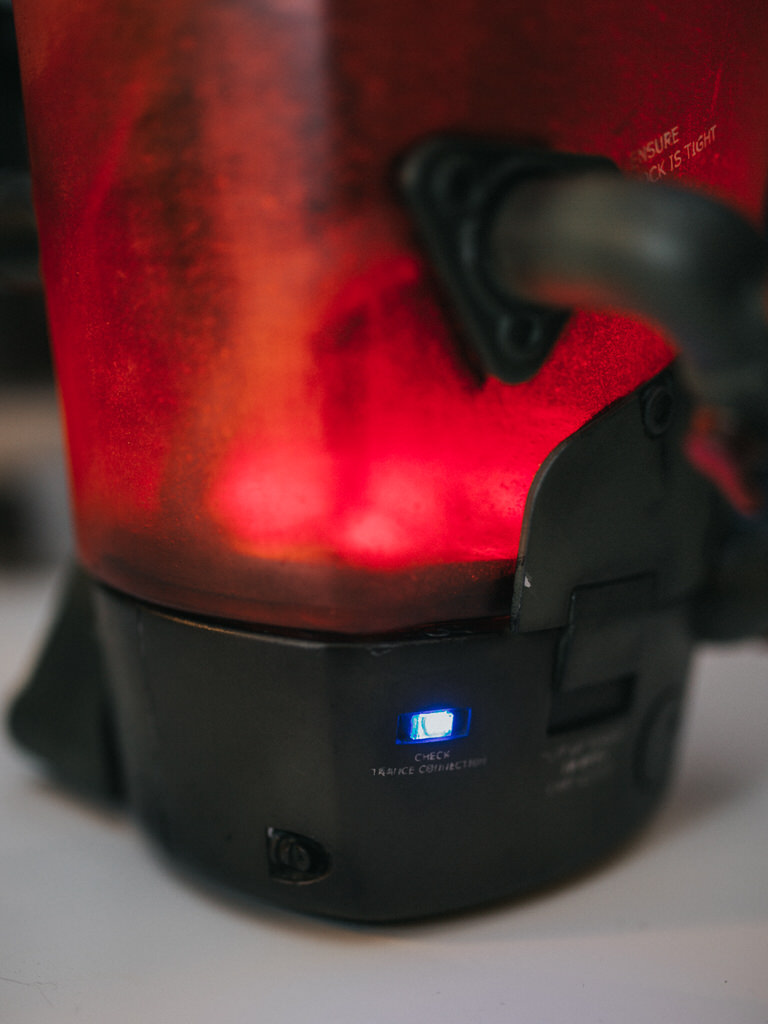
To light up the pod, we put a simple circuit with 12 yellow and 1 blue LEDs into the pod. Since we planned out our 3D-files after we had the electronic components, the on/off button switch and battery holder fit perfectly! Weathering was done by using oil paints and sealing them with transparent enamel spray paint. The umbilical cord/connection to Sam’s suit was a simple flexible tube that we covered with a fabric tunnel.


The suit
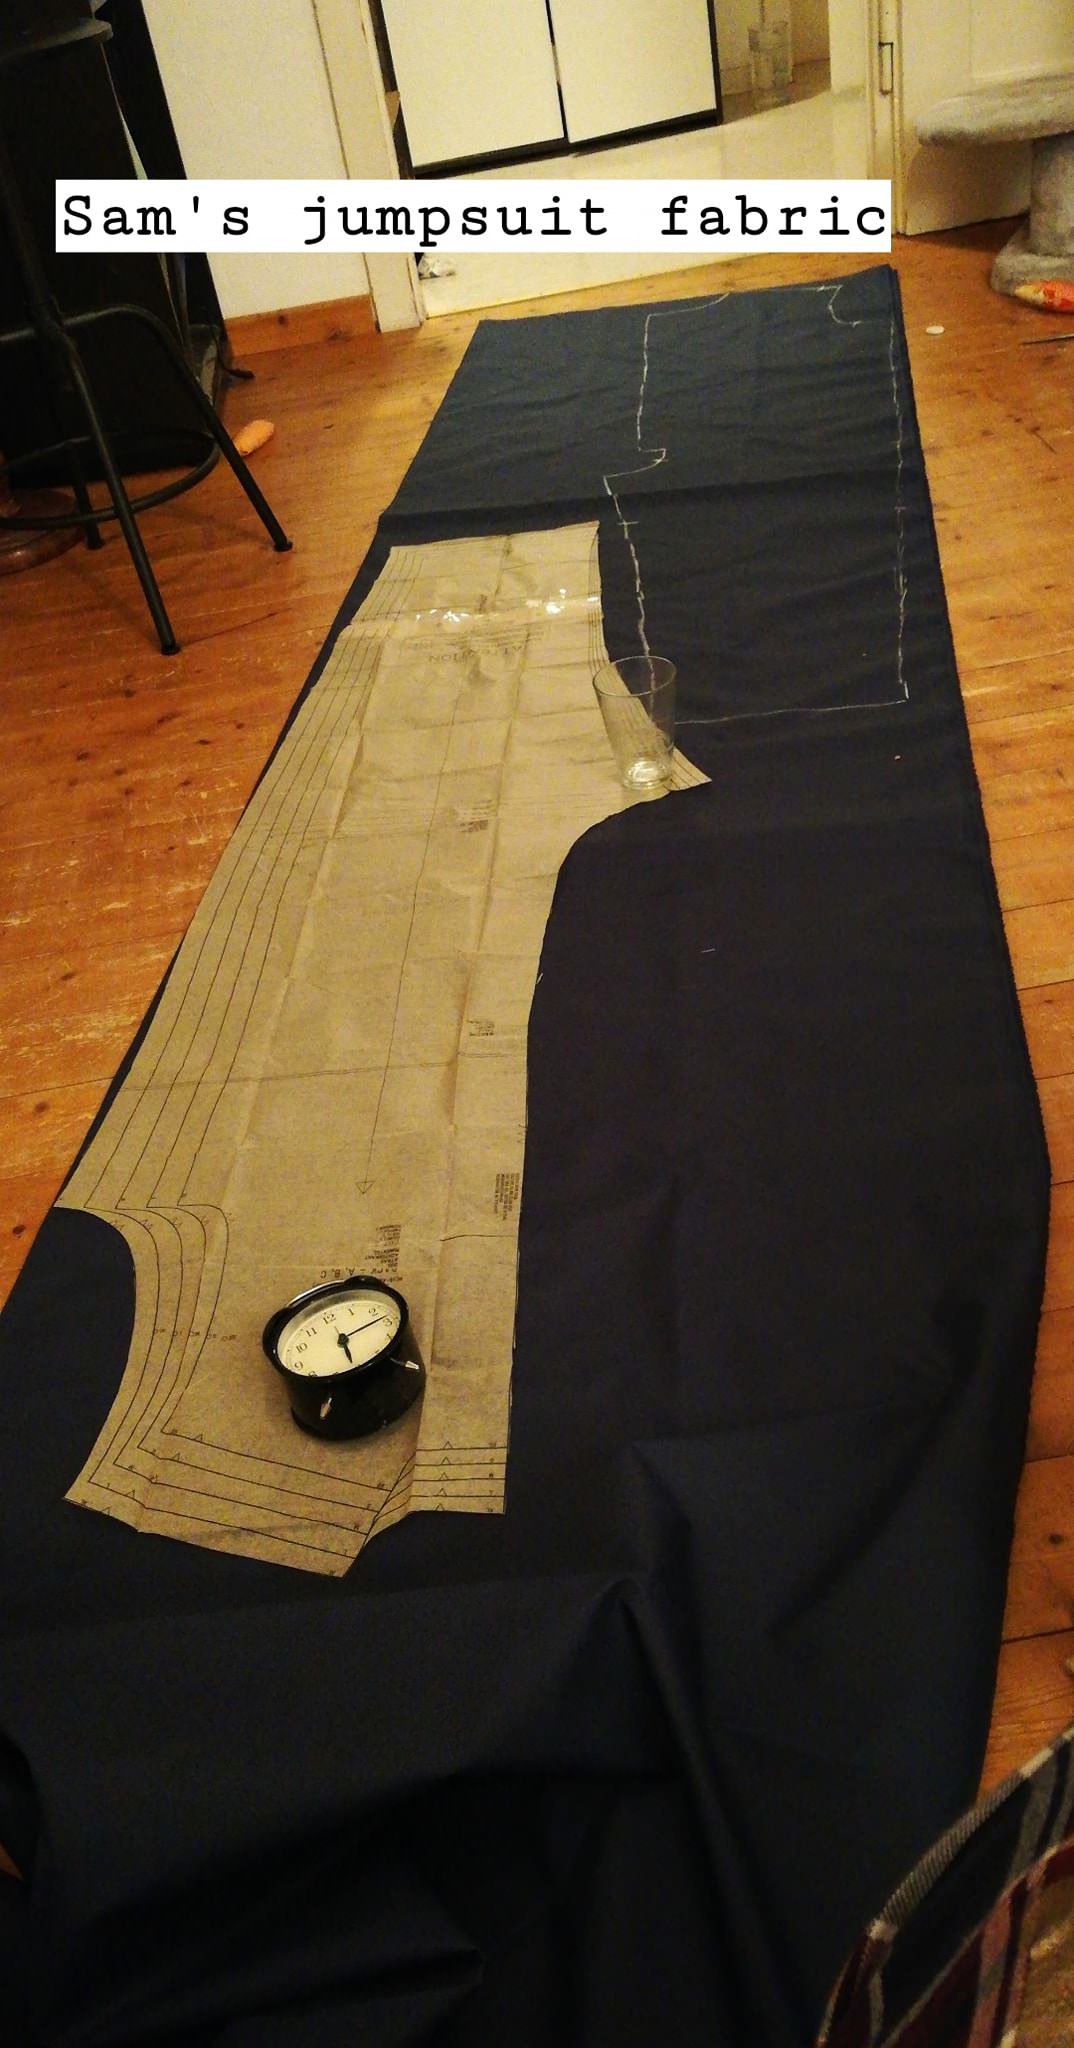


We sometimes don’t take a lot photos of our sewing progress, because well, the beginning of a sewing project often doesn’t look super aesthetically pleasing. (Pasta: Also, I just want to get it over with and simply forget sometimes, ugh.)
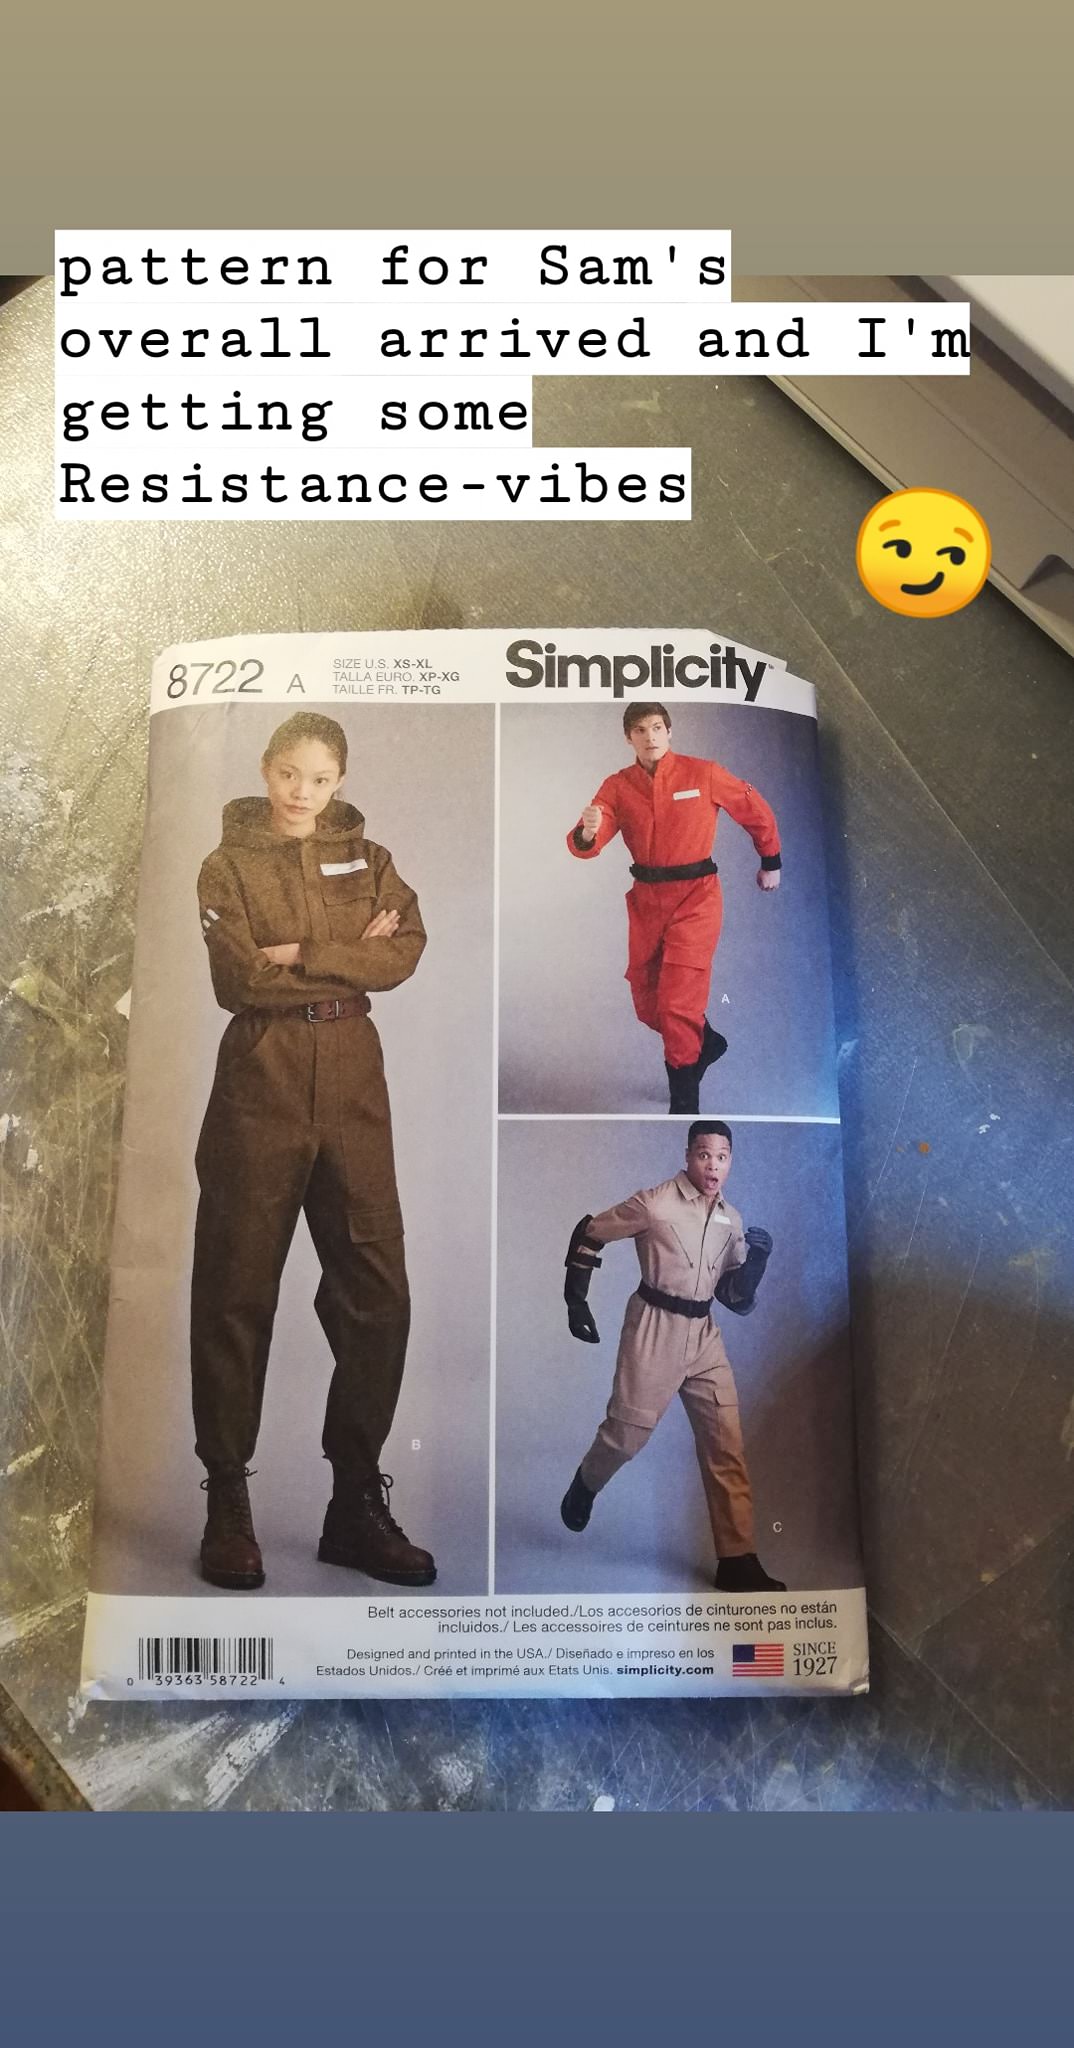
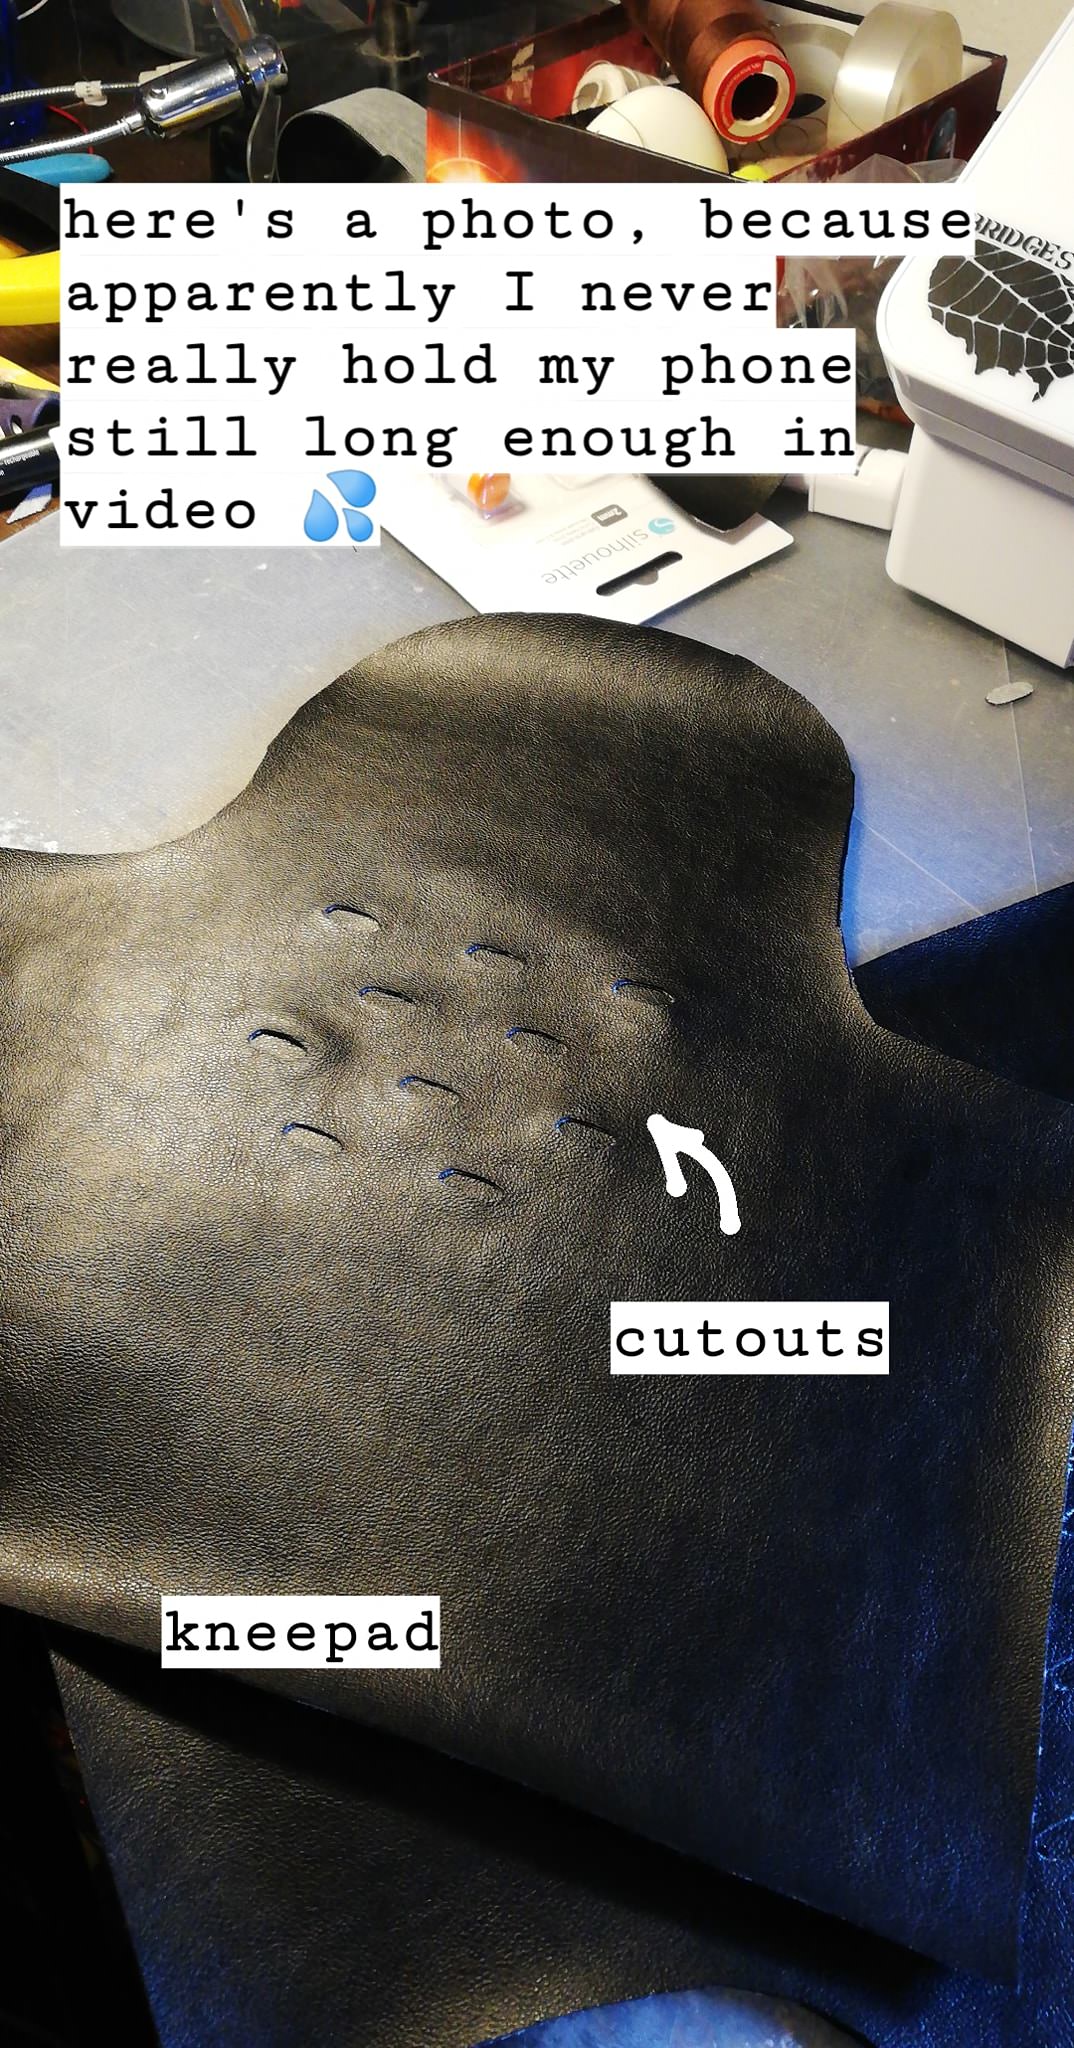
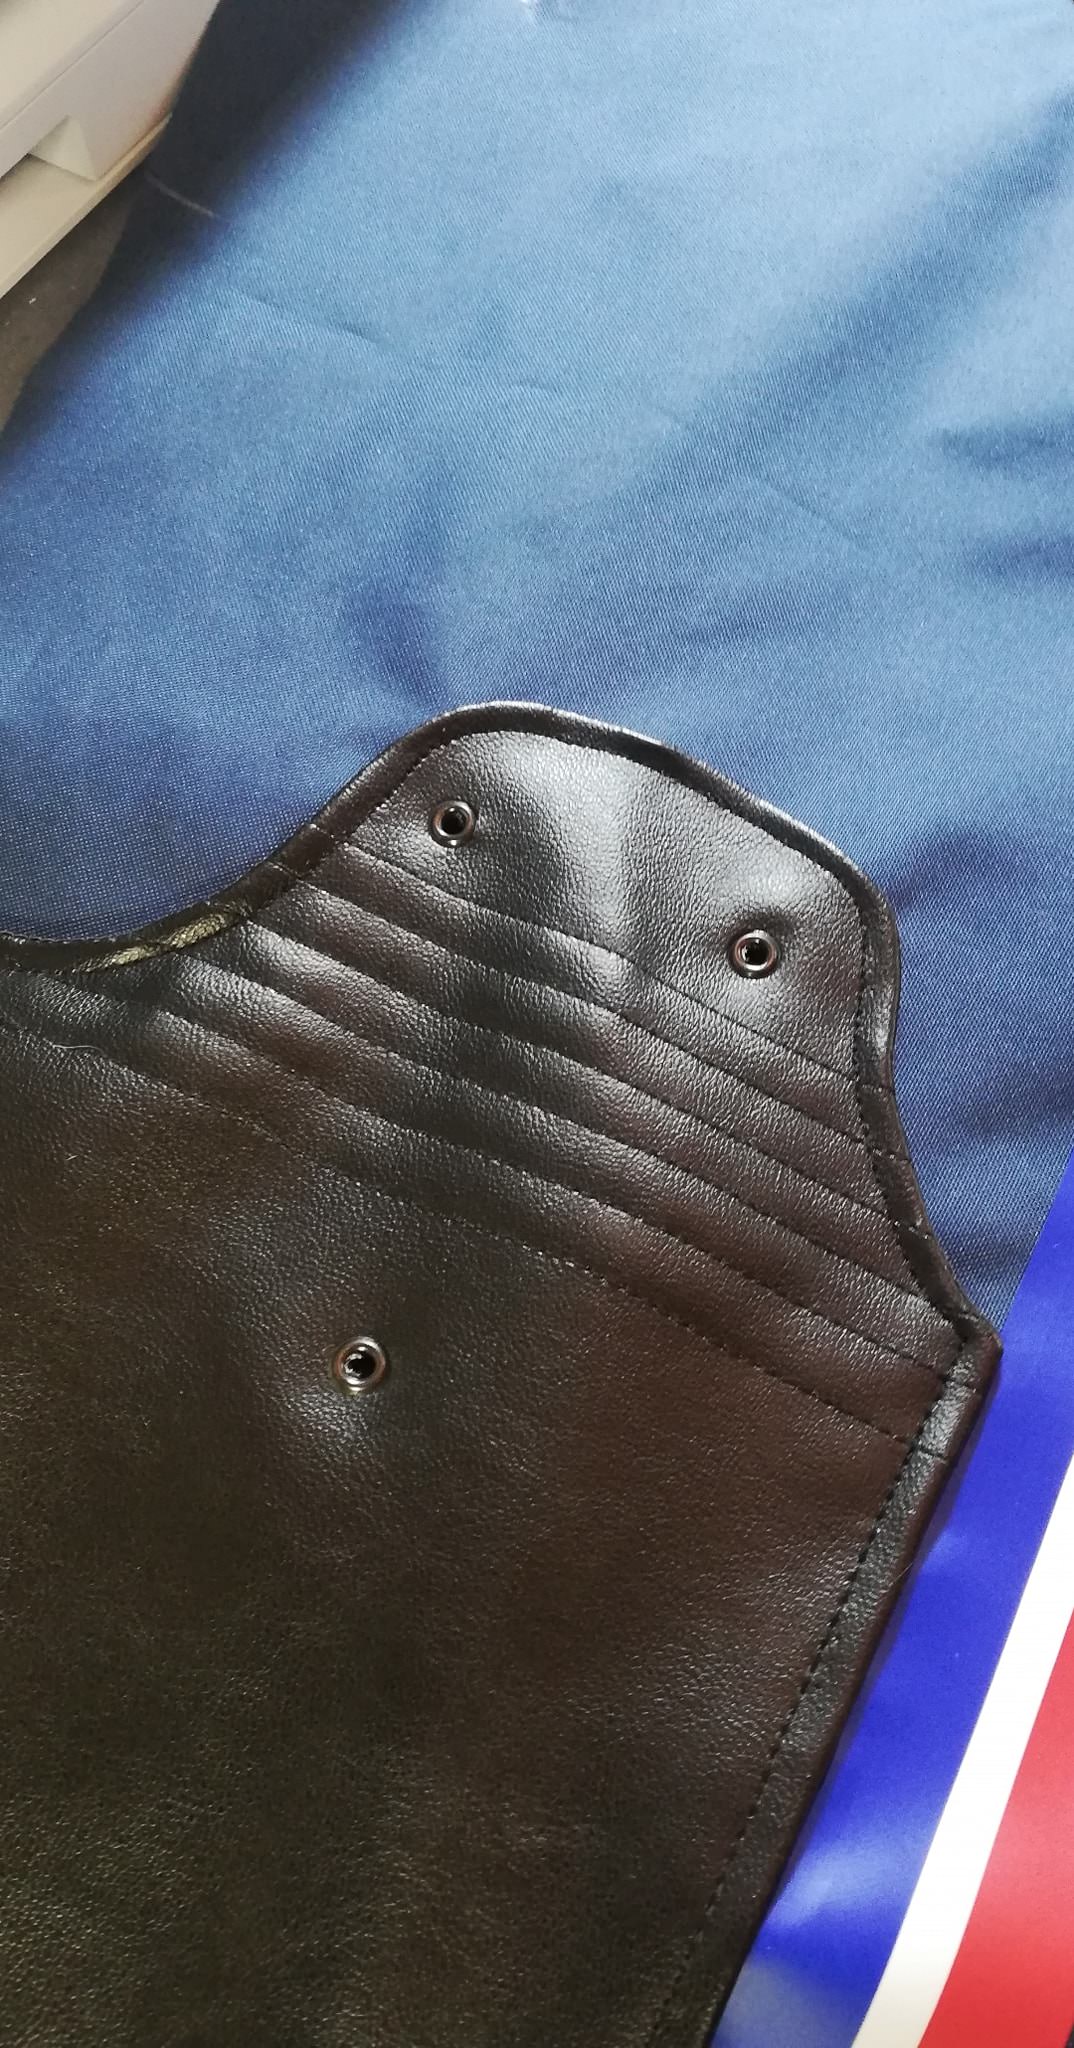
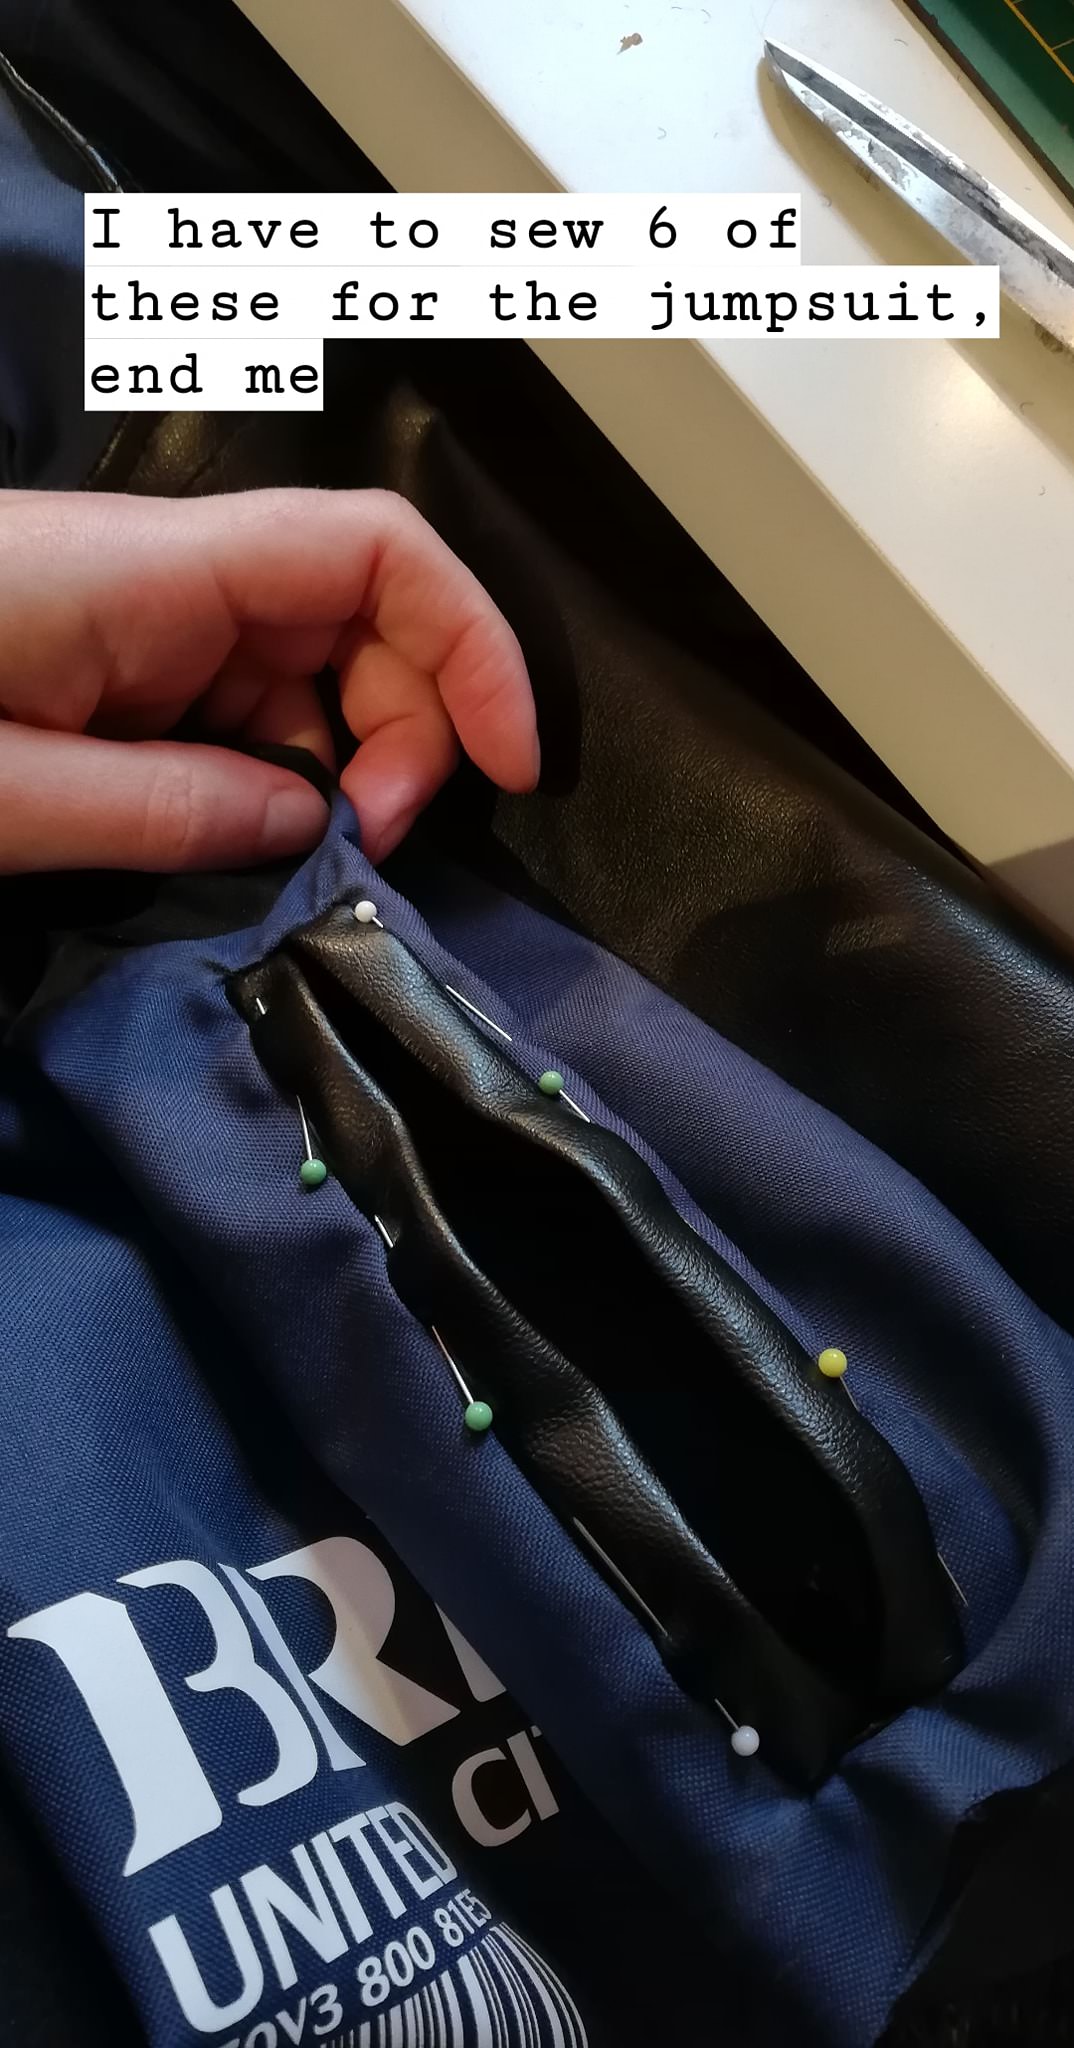
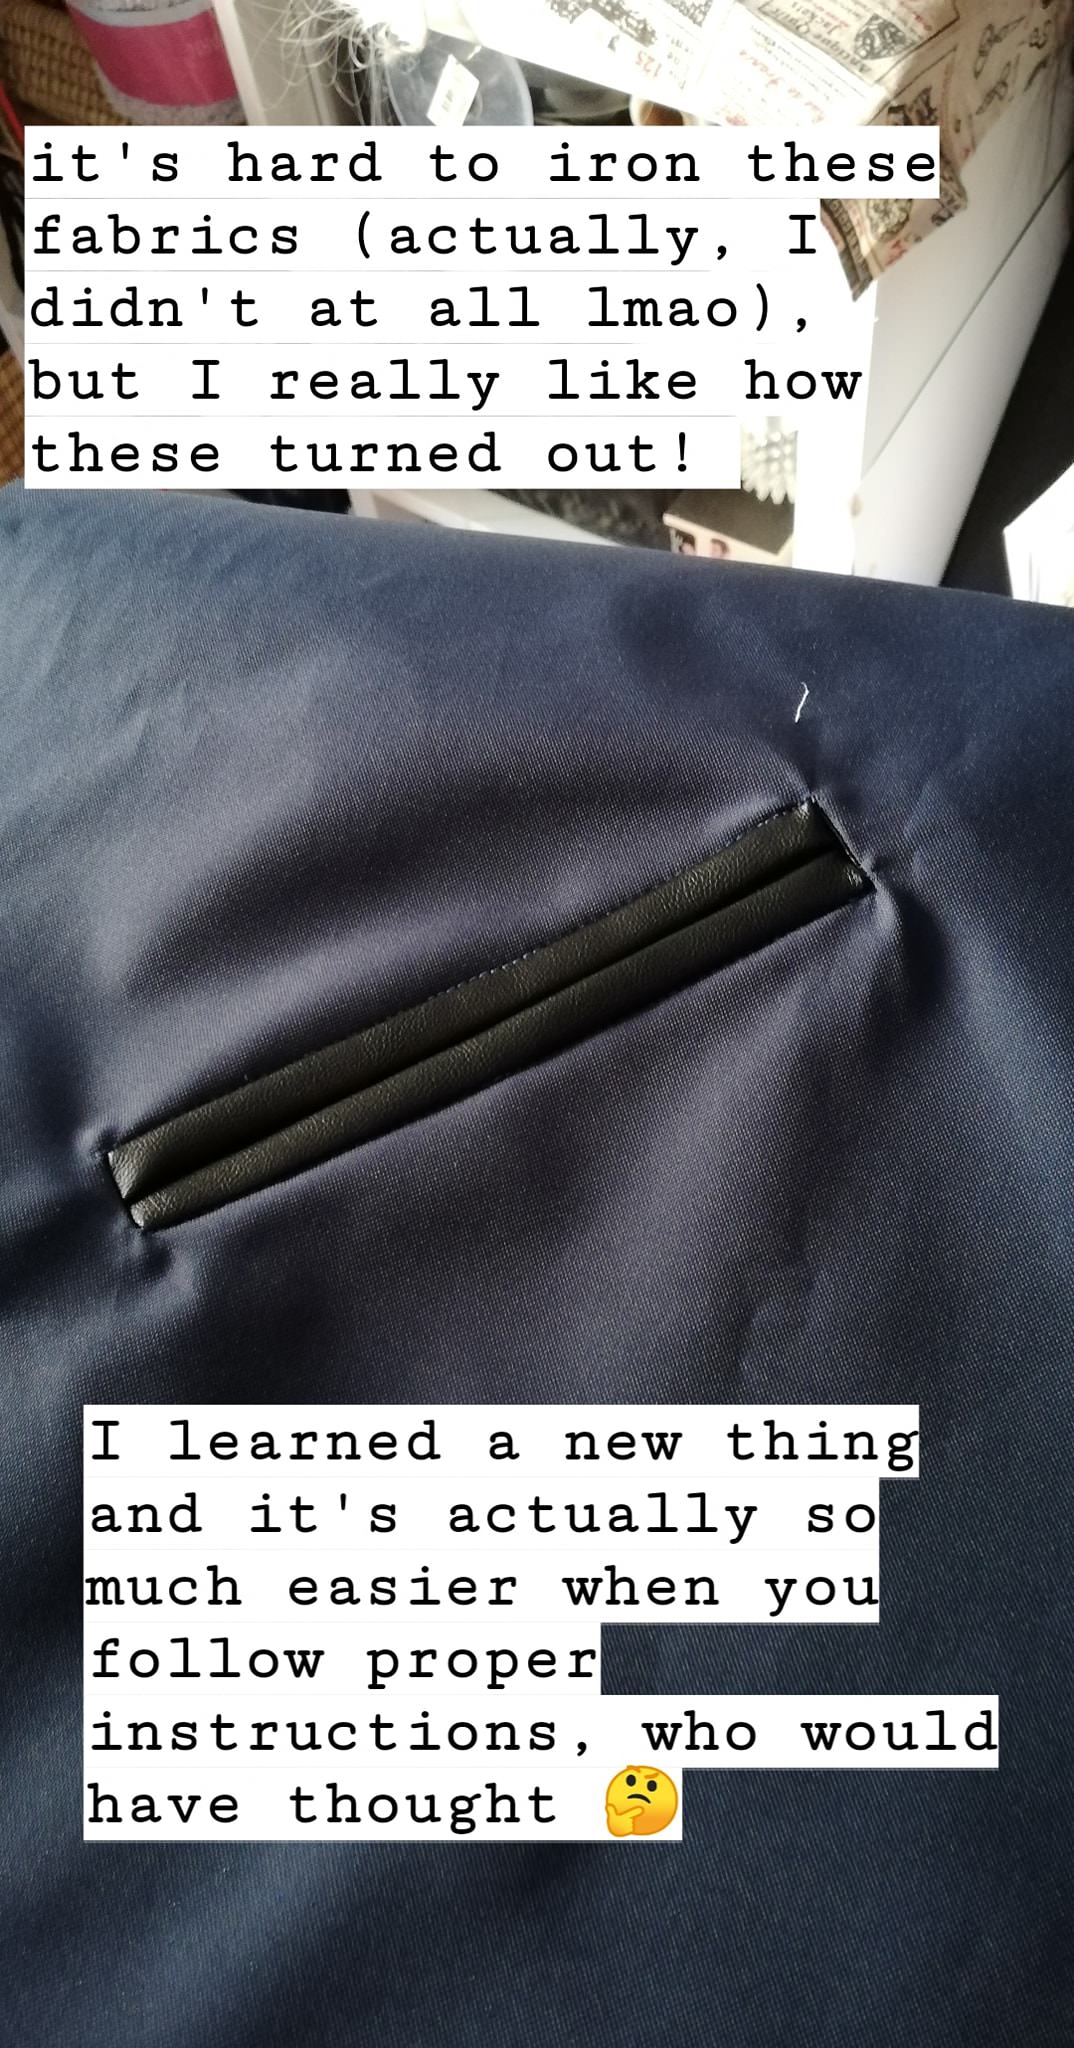
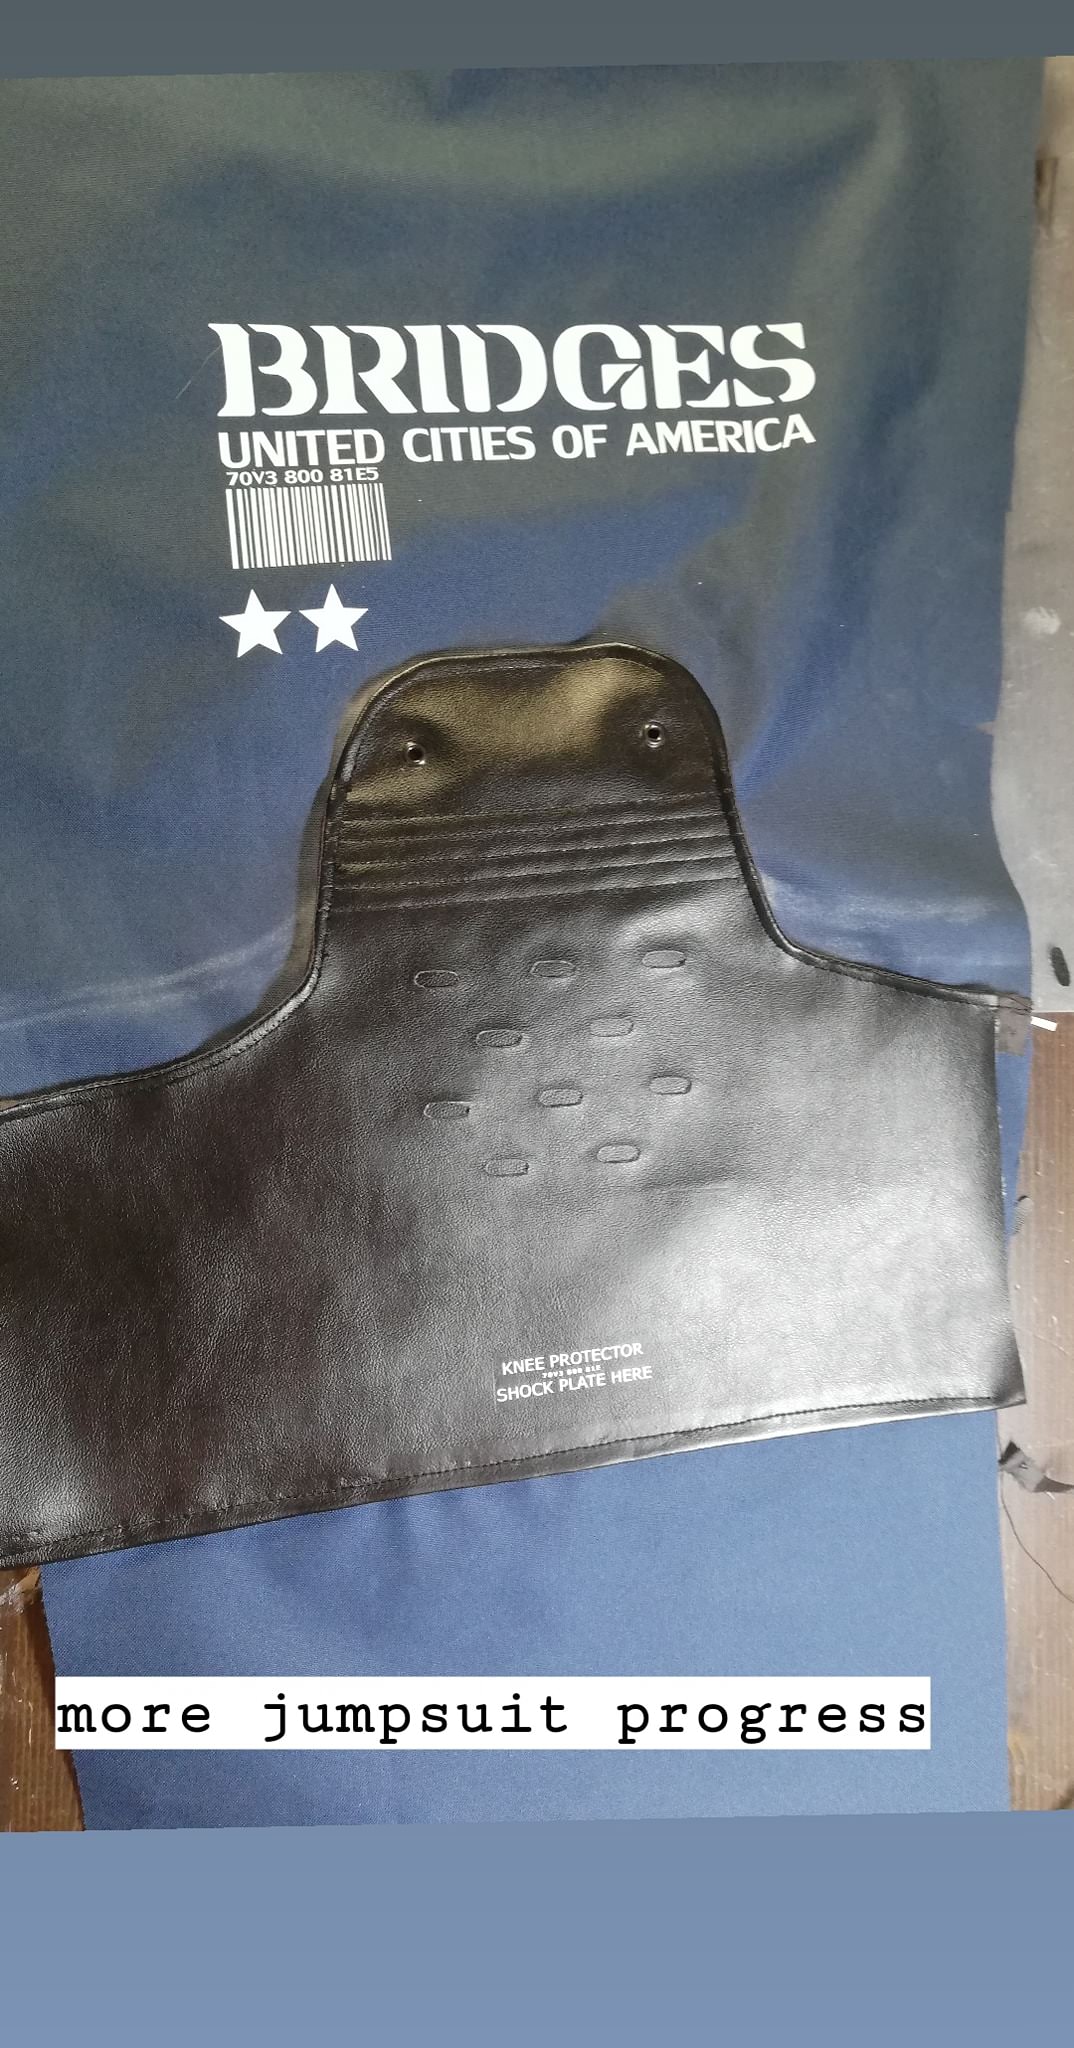
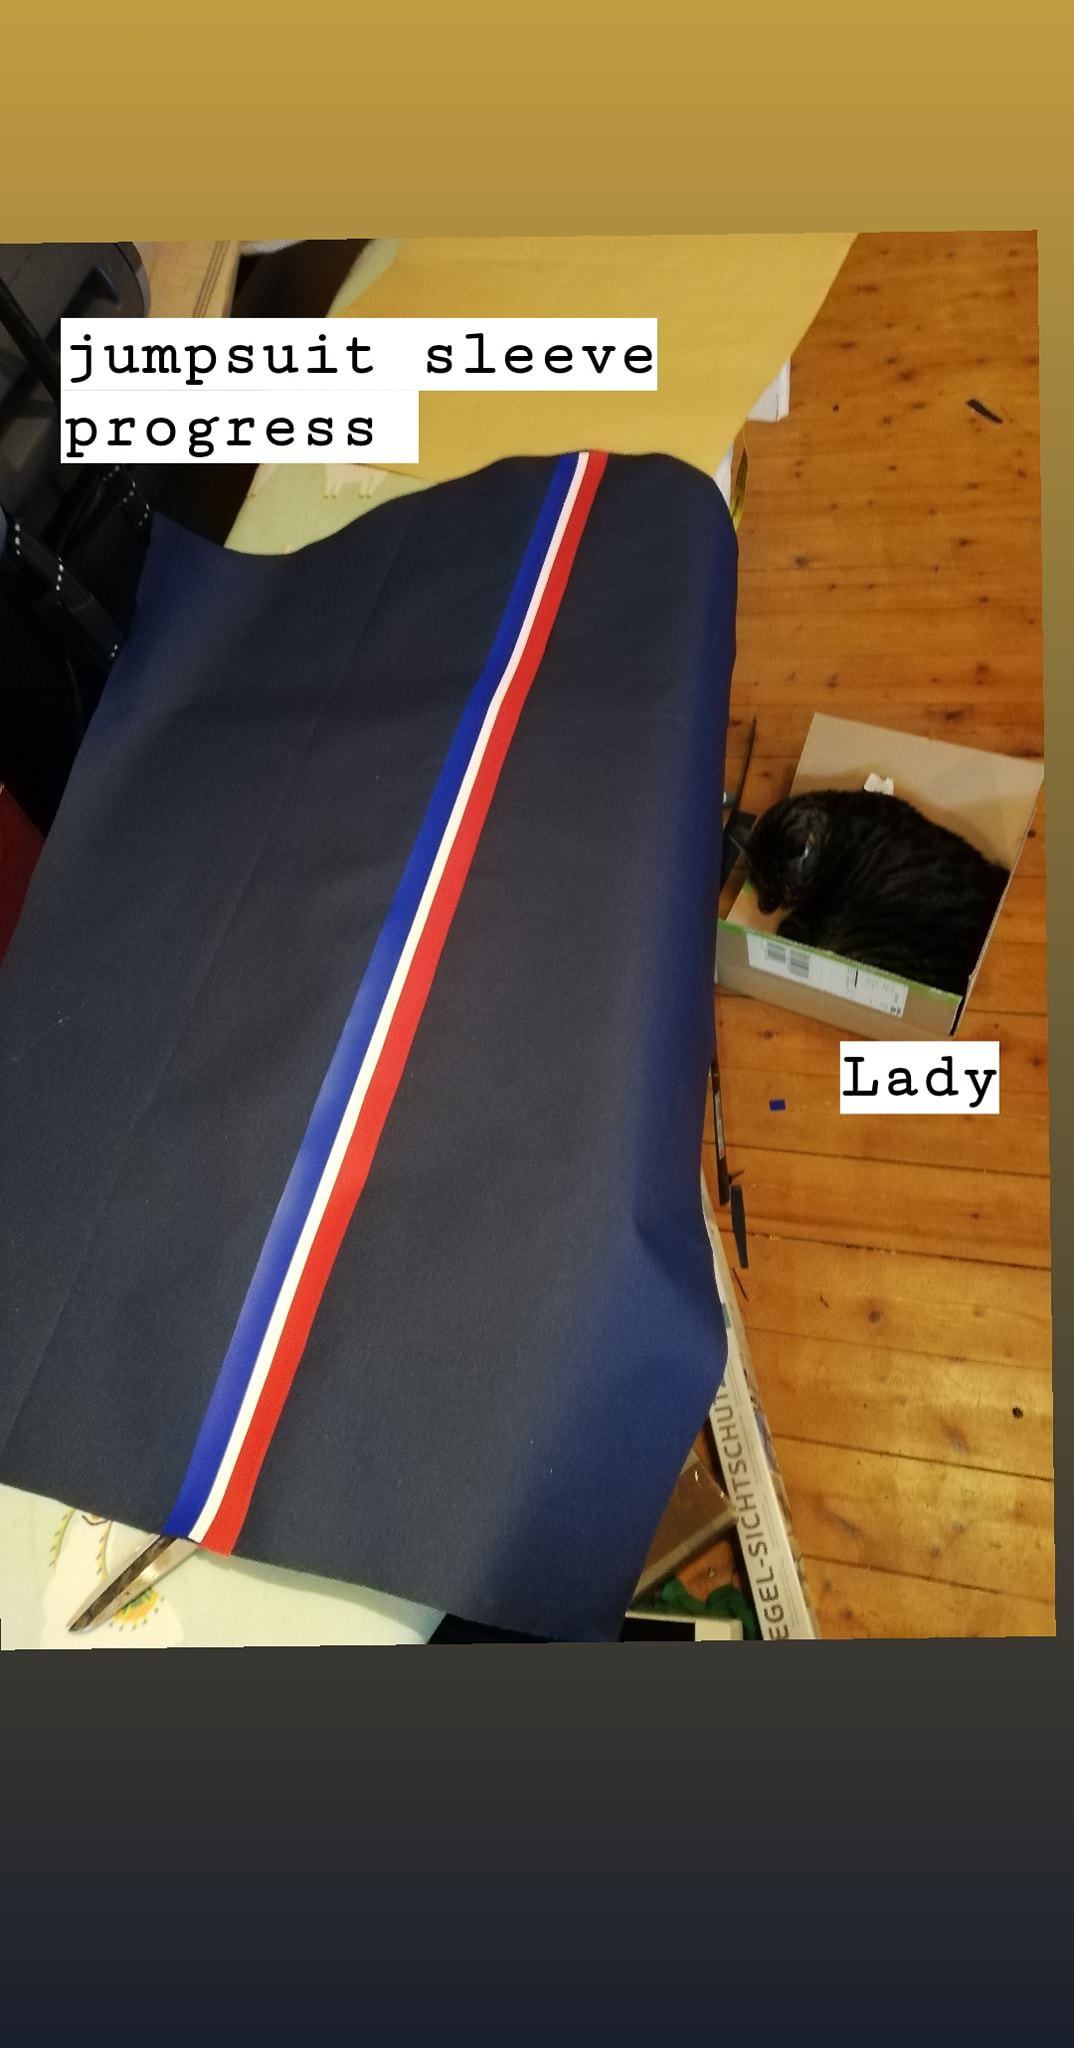
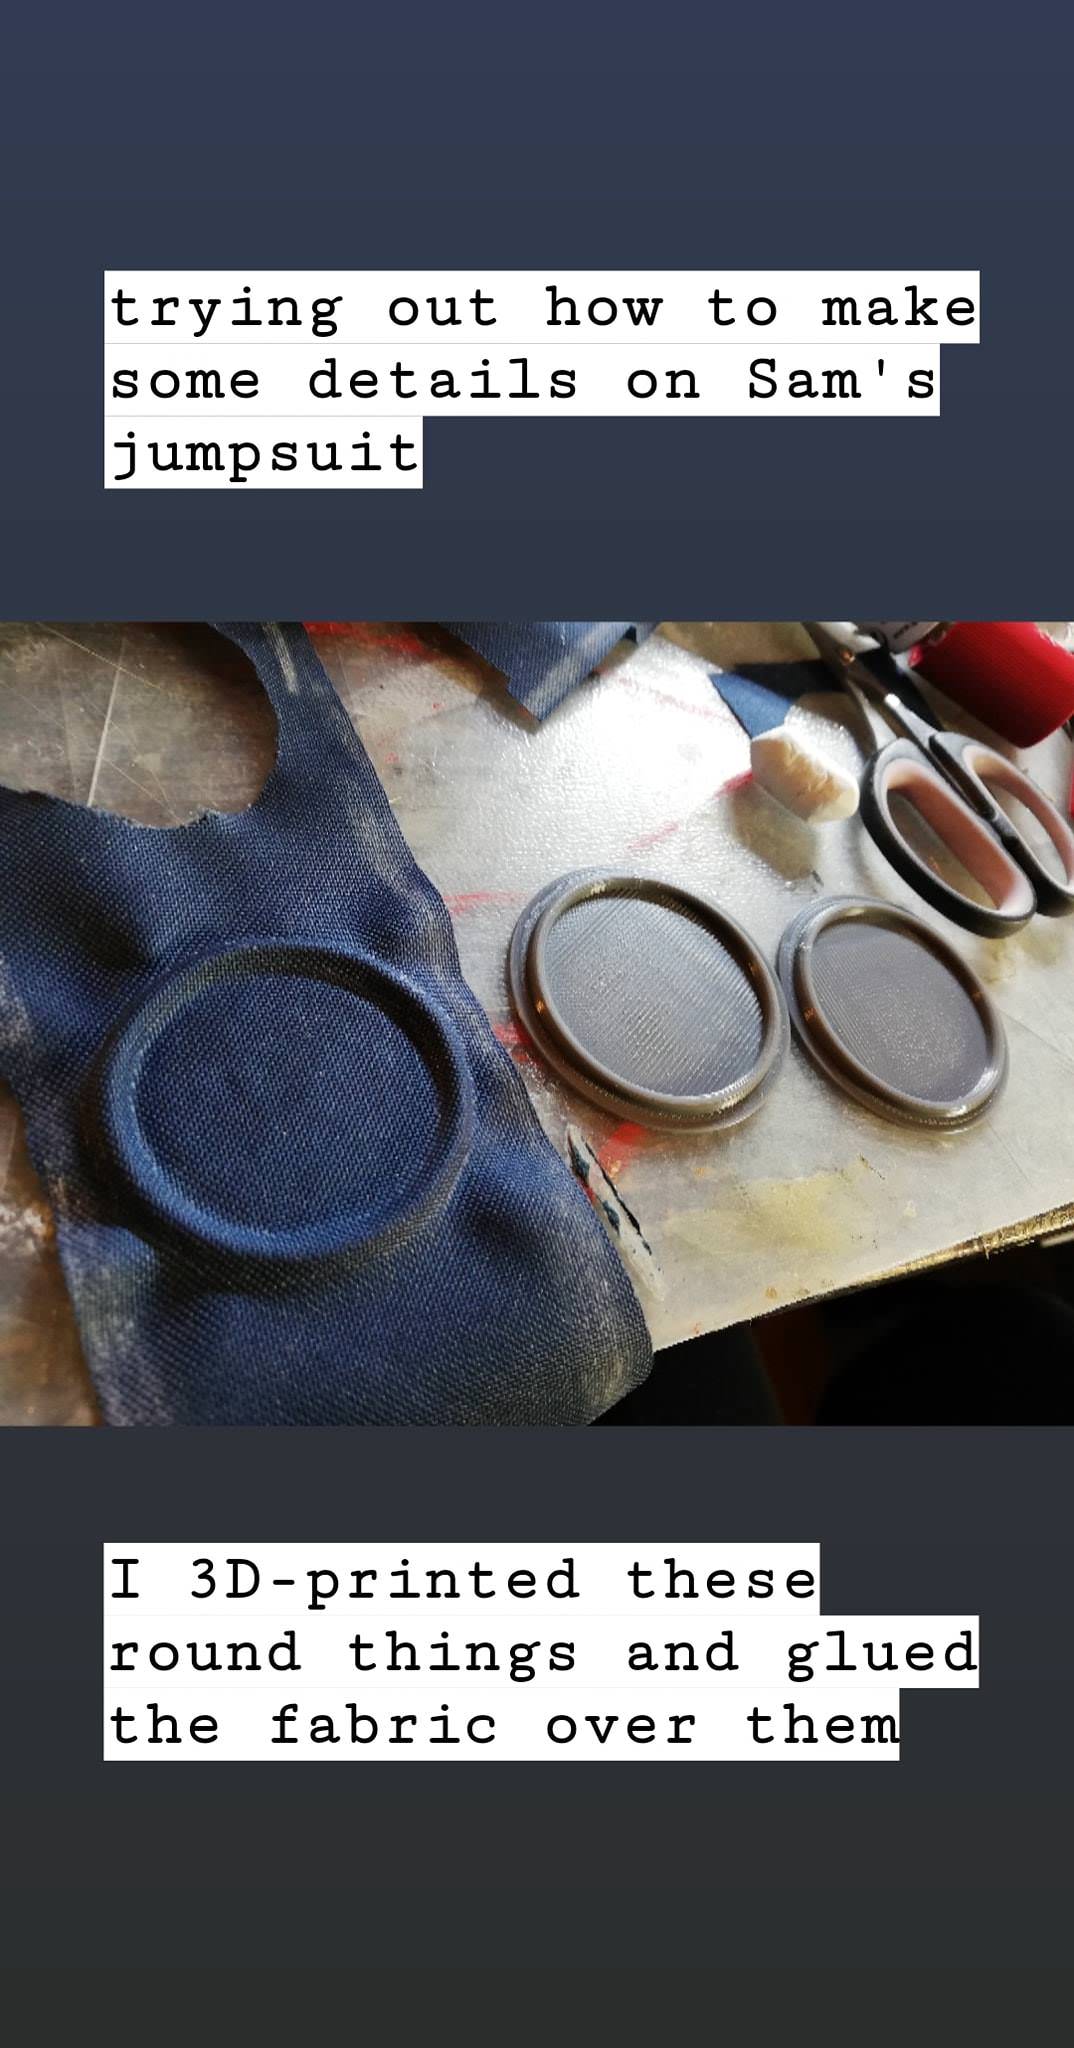
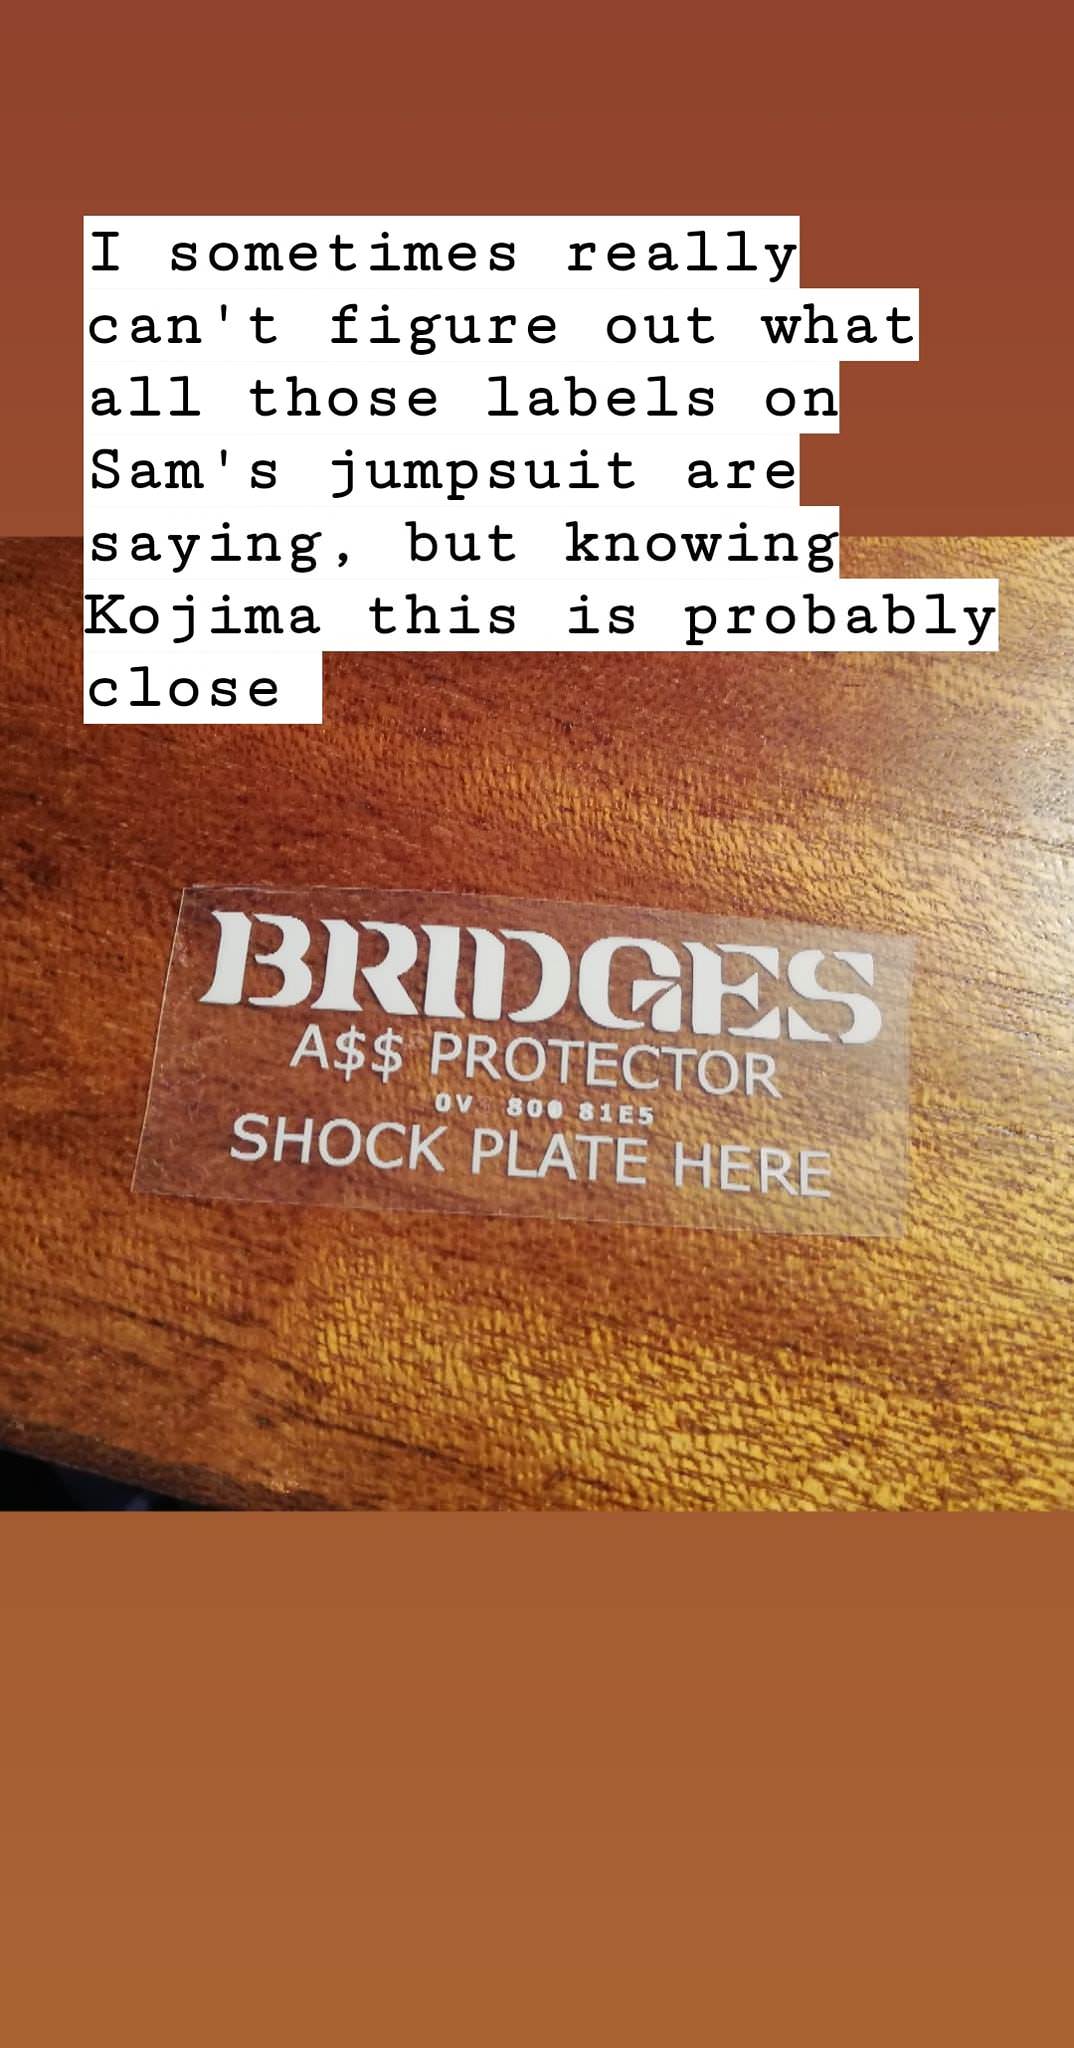
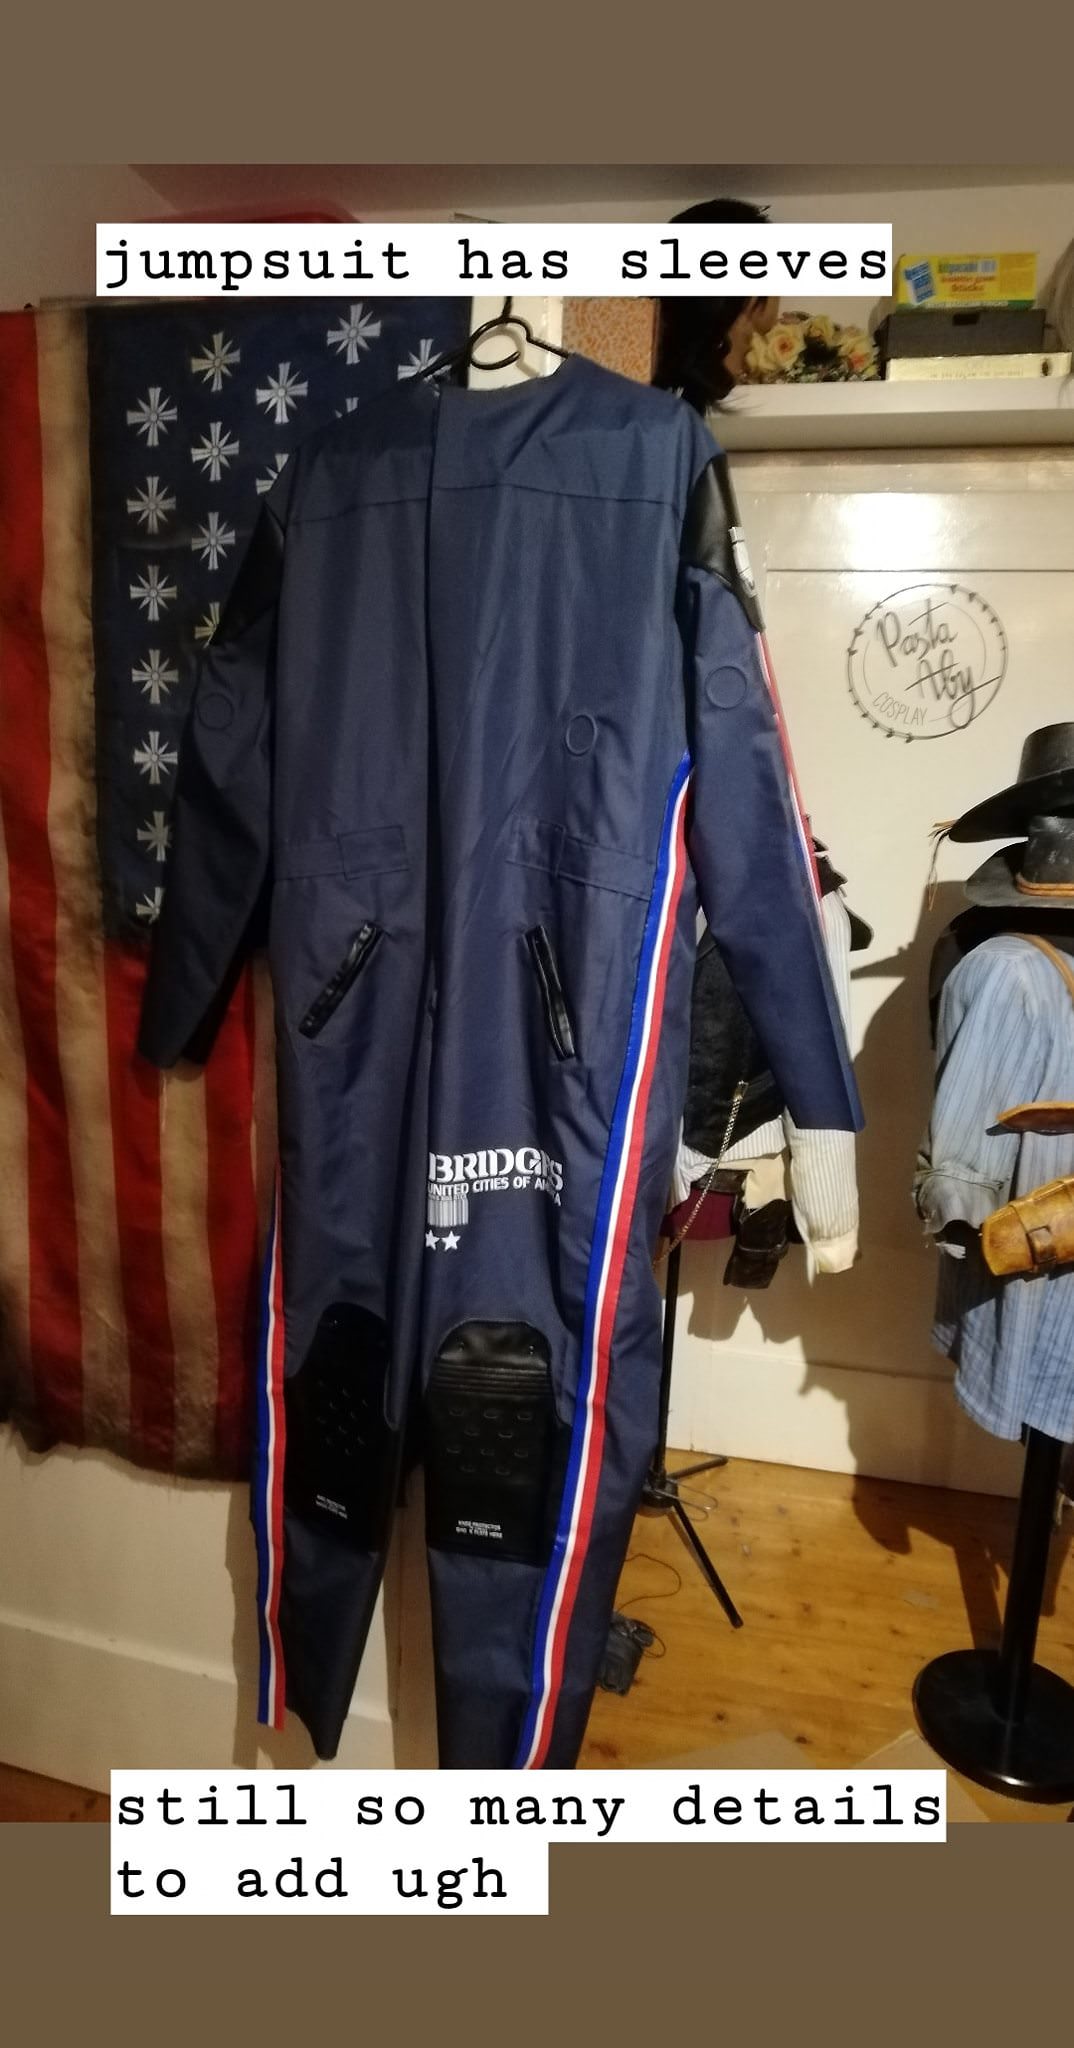
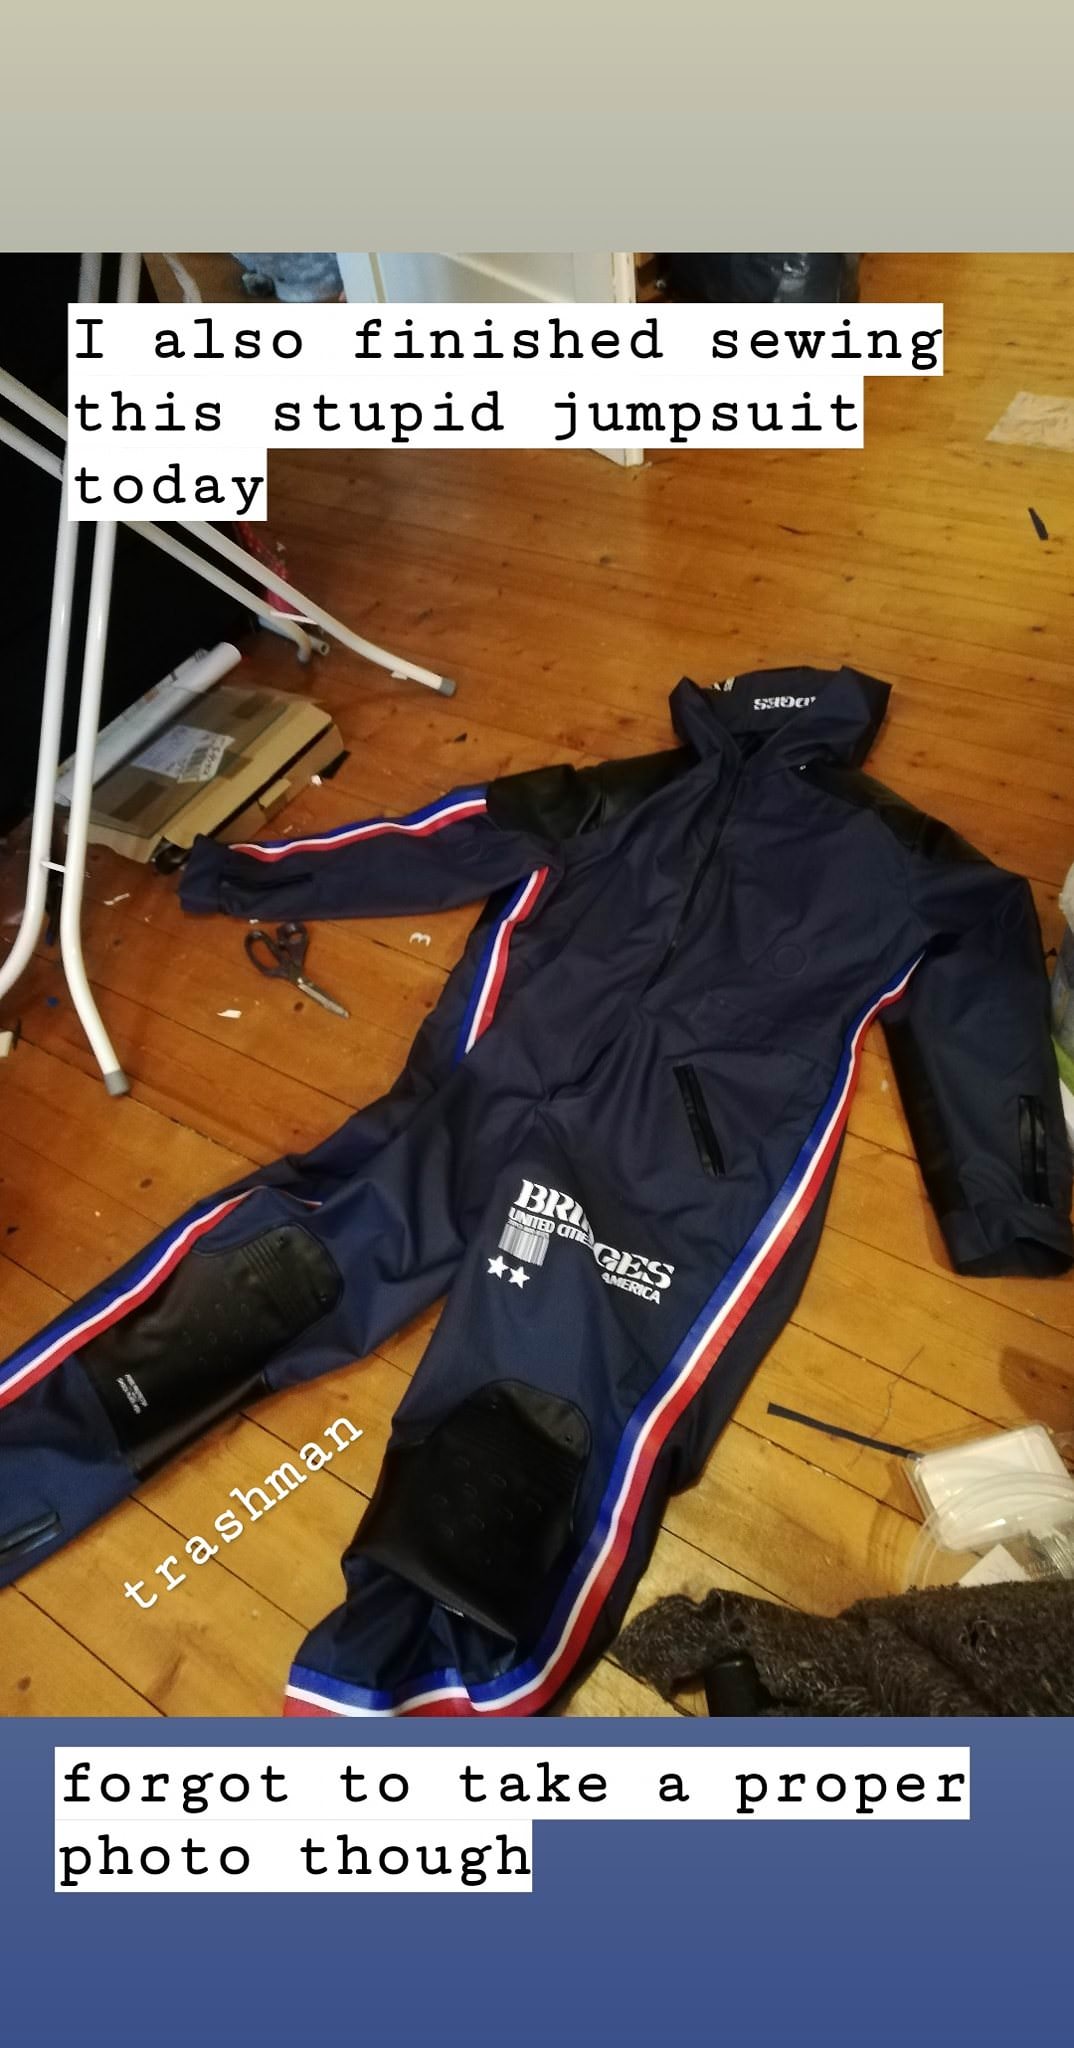
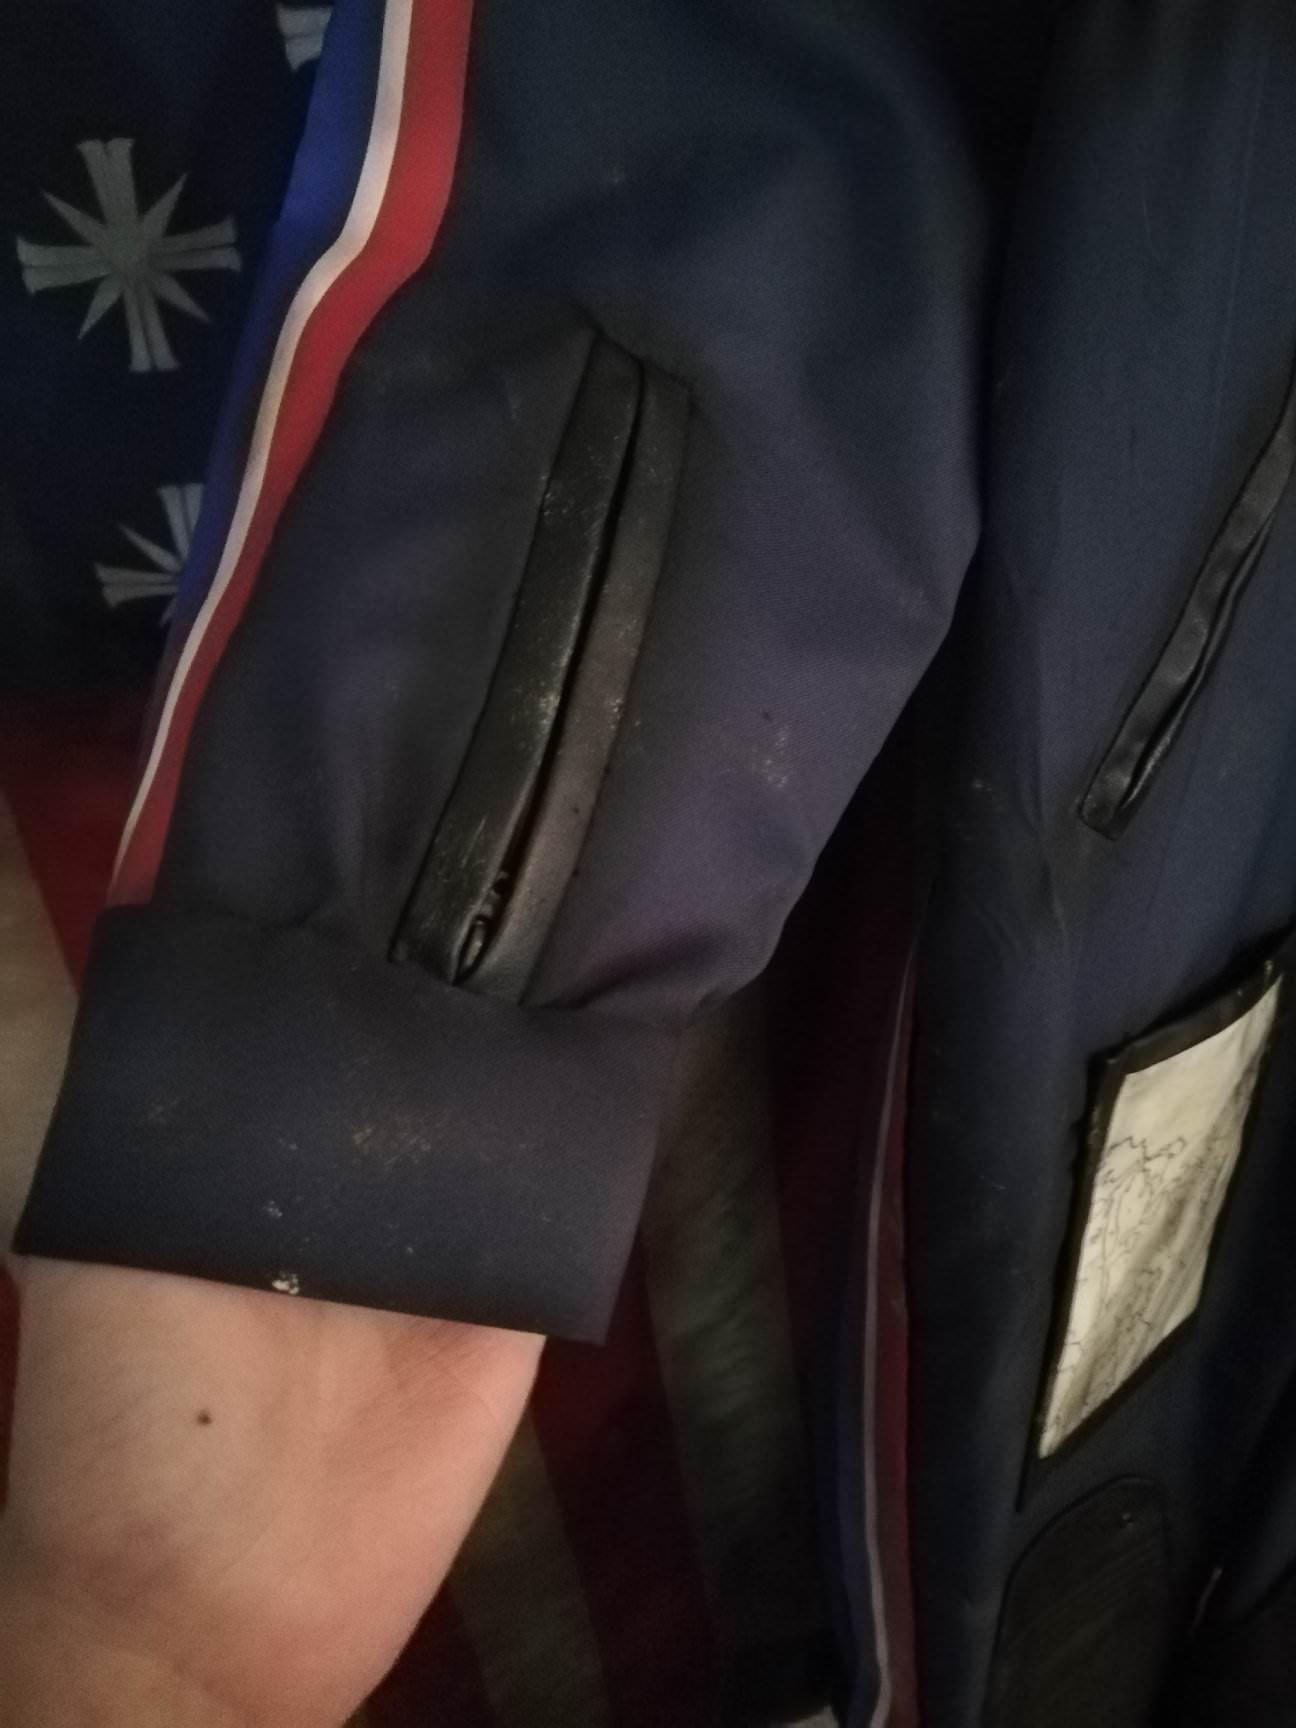
So we started the sewing part using a Simplicity pattern for jumpsuits and only had to modify it slightly. Sam’s suit is mostly just blue showerproof fabric and black synthetic leather. To make the patches and labels all over the suit, we used our Silhouette Cameo plotter and heat transfer-vinyl. The files were simply made in Adobe Illustrator and sent straight to the plotter, before we ironed them on. With the plotter, we could even cut some of the synthetic leather and create really cool cutout effects!
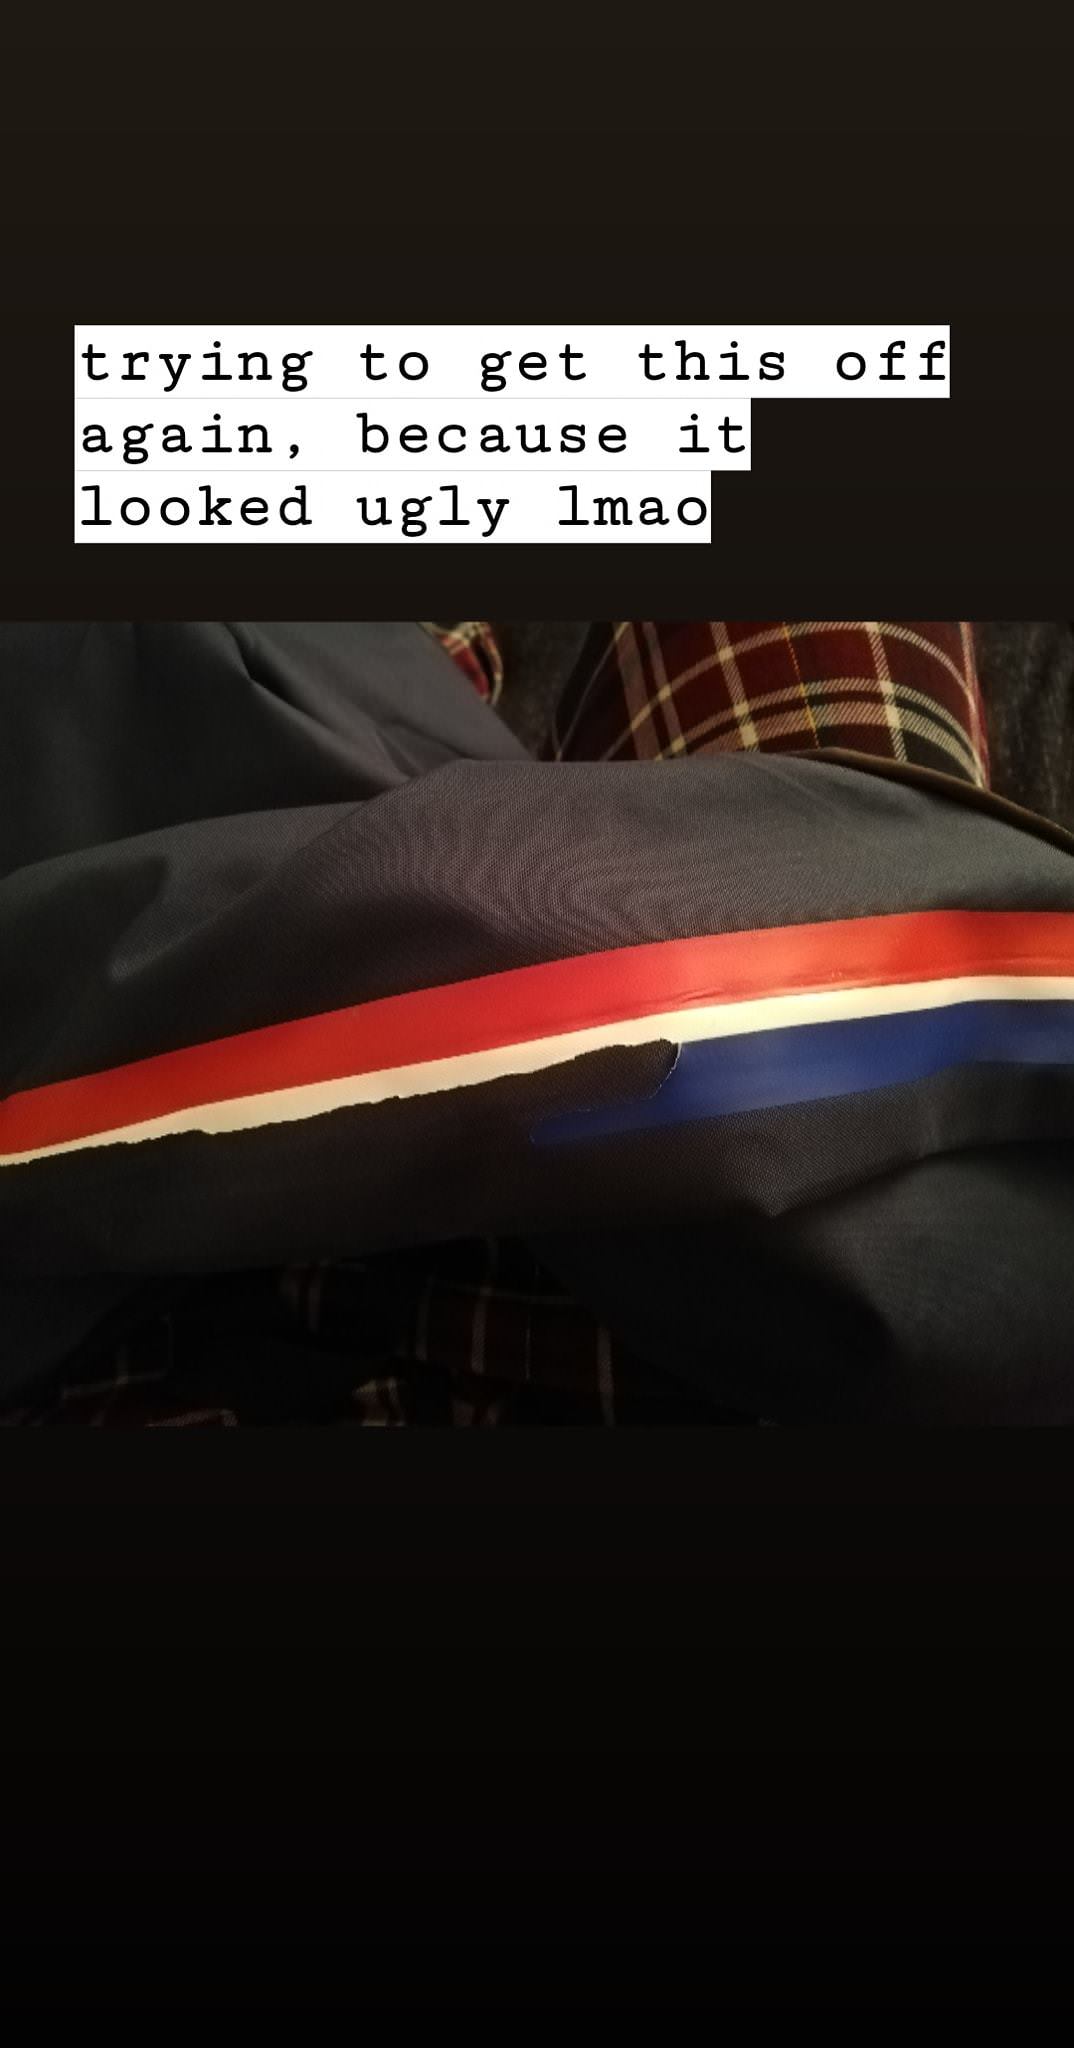
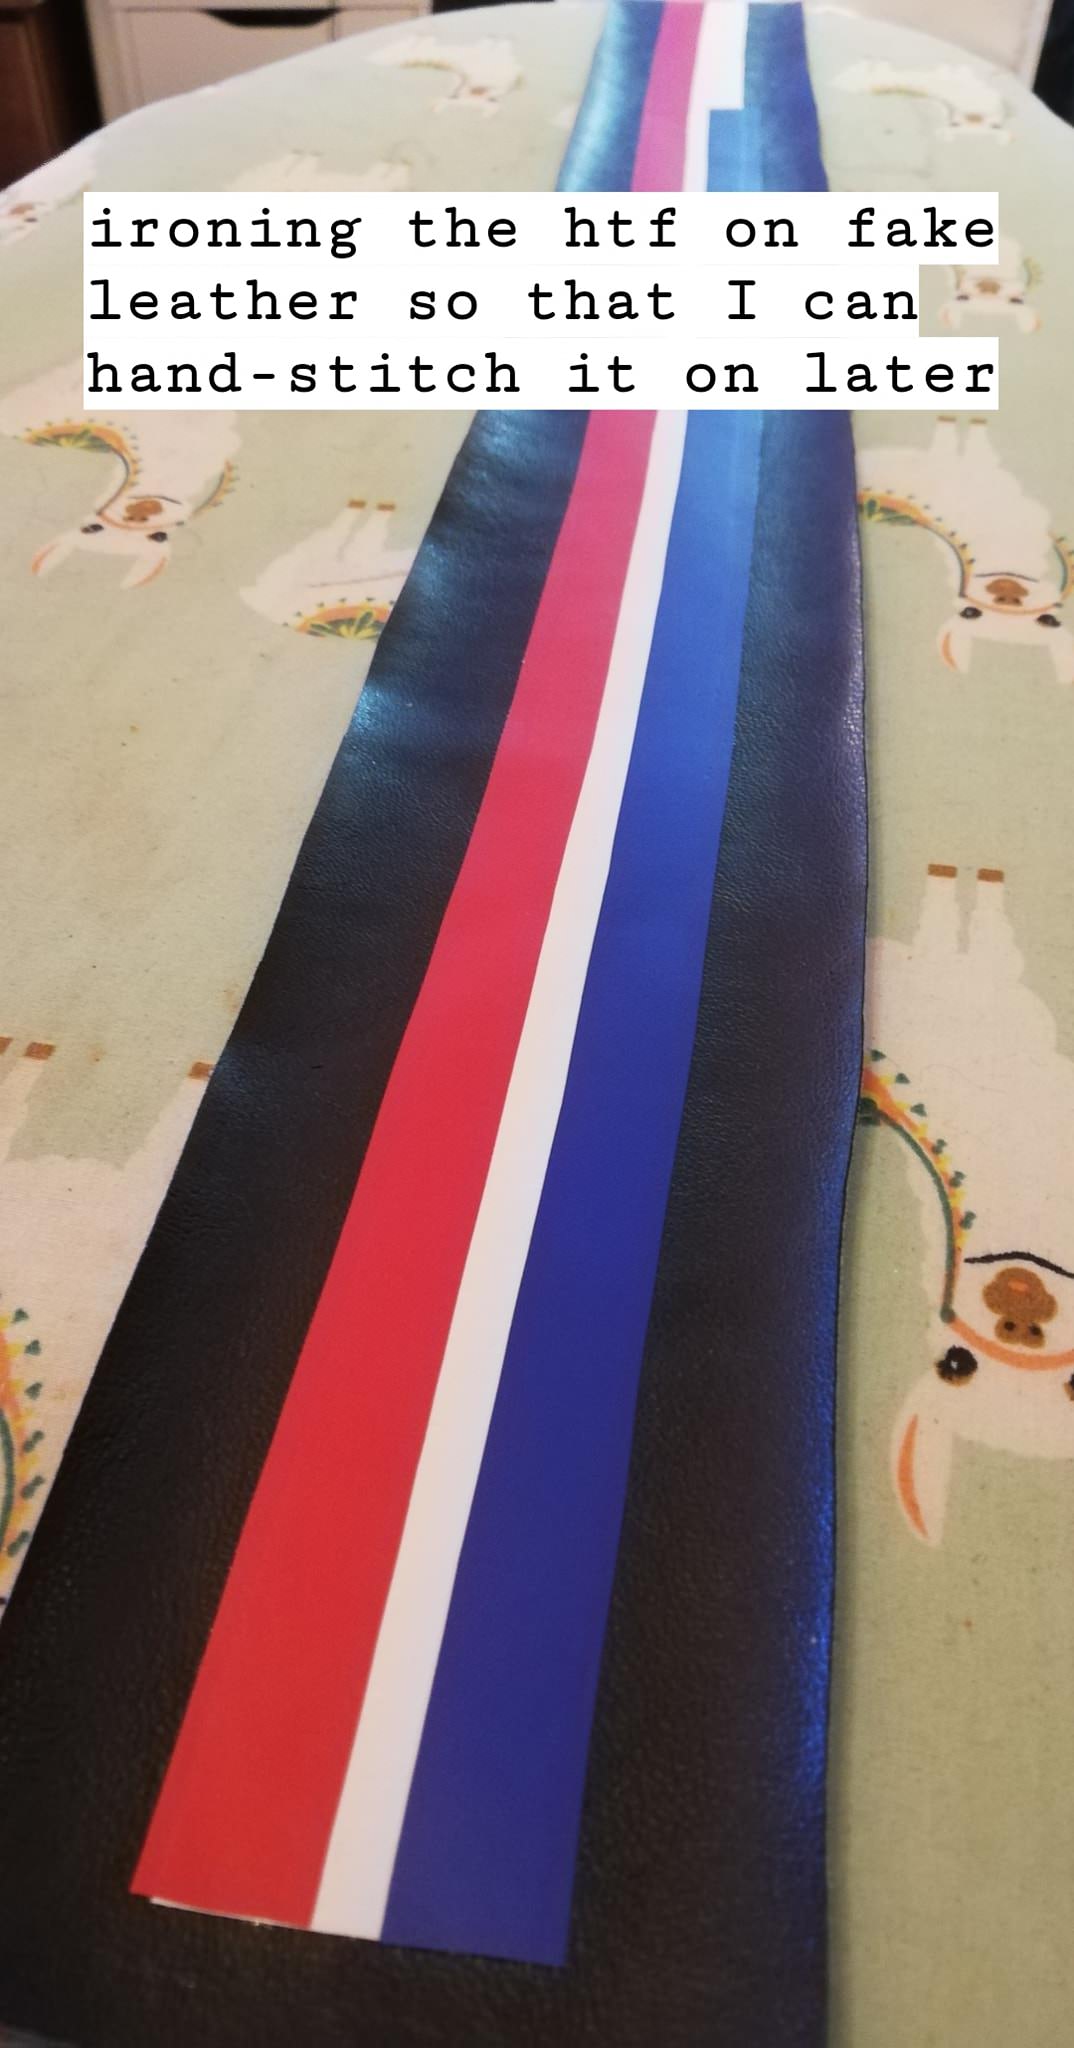
The stripes are made out of heat transfer vinyl as well and seriously, that part was quite tricky to apply. While it worked like a charm on the sleeves, we had major problems ironing it on the main part of the jumpsuit thanks to the seam going along both sides. We ended up ripping the foil off again and ironed a long stripe of foil onto some pleather, before hand-stitching it on. (That part sucked a lot, but what can you do)
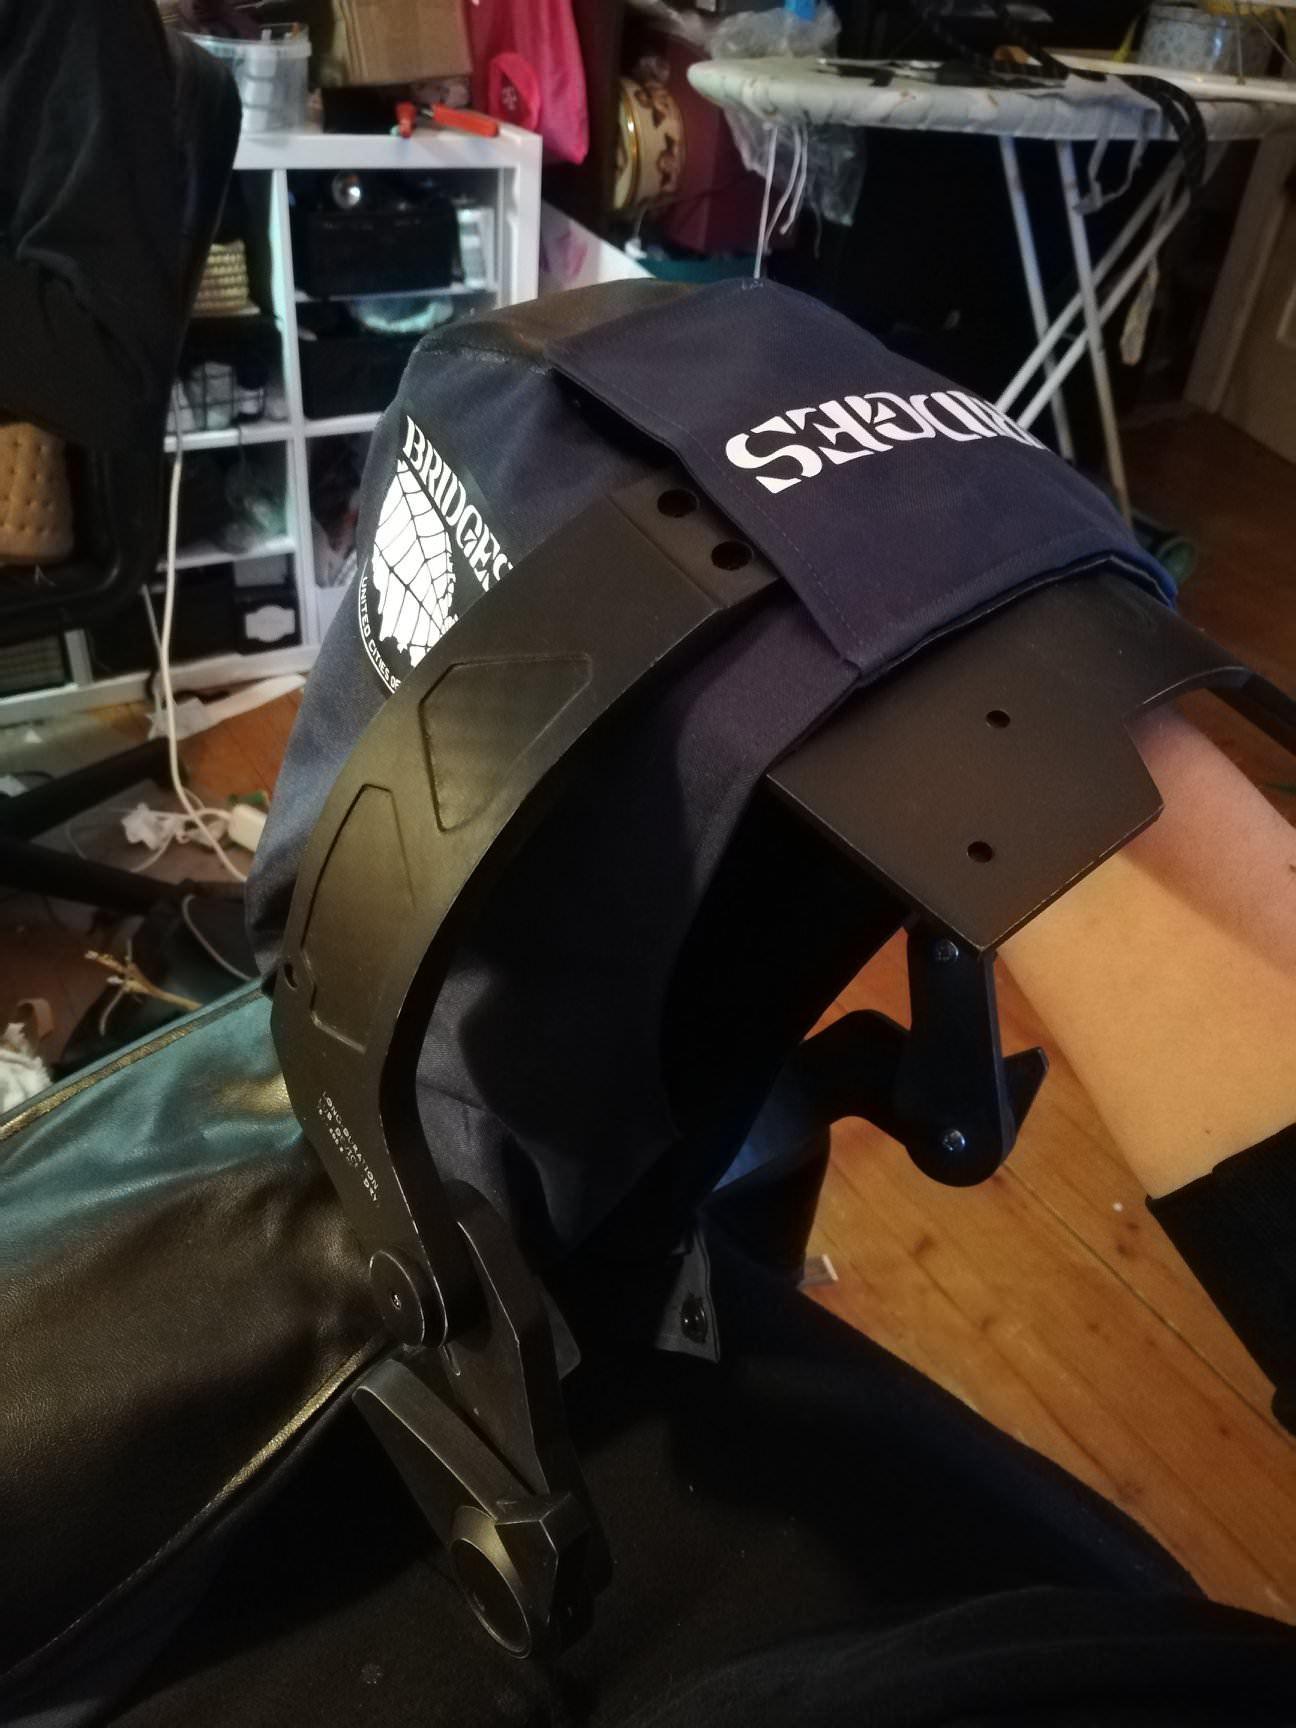
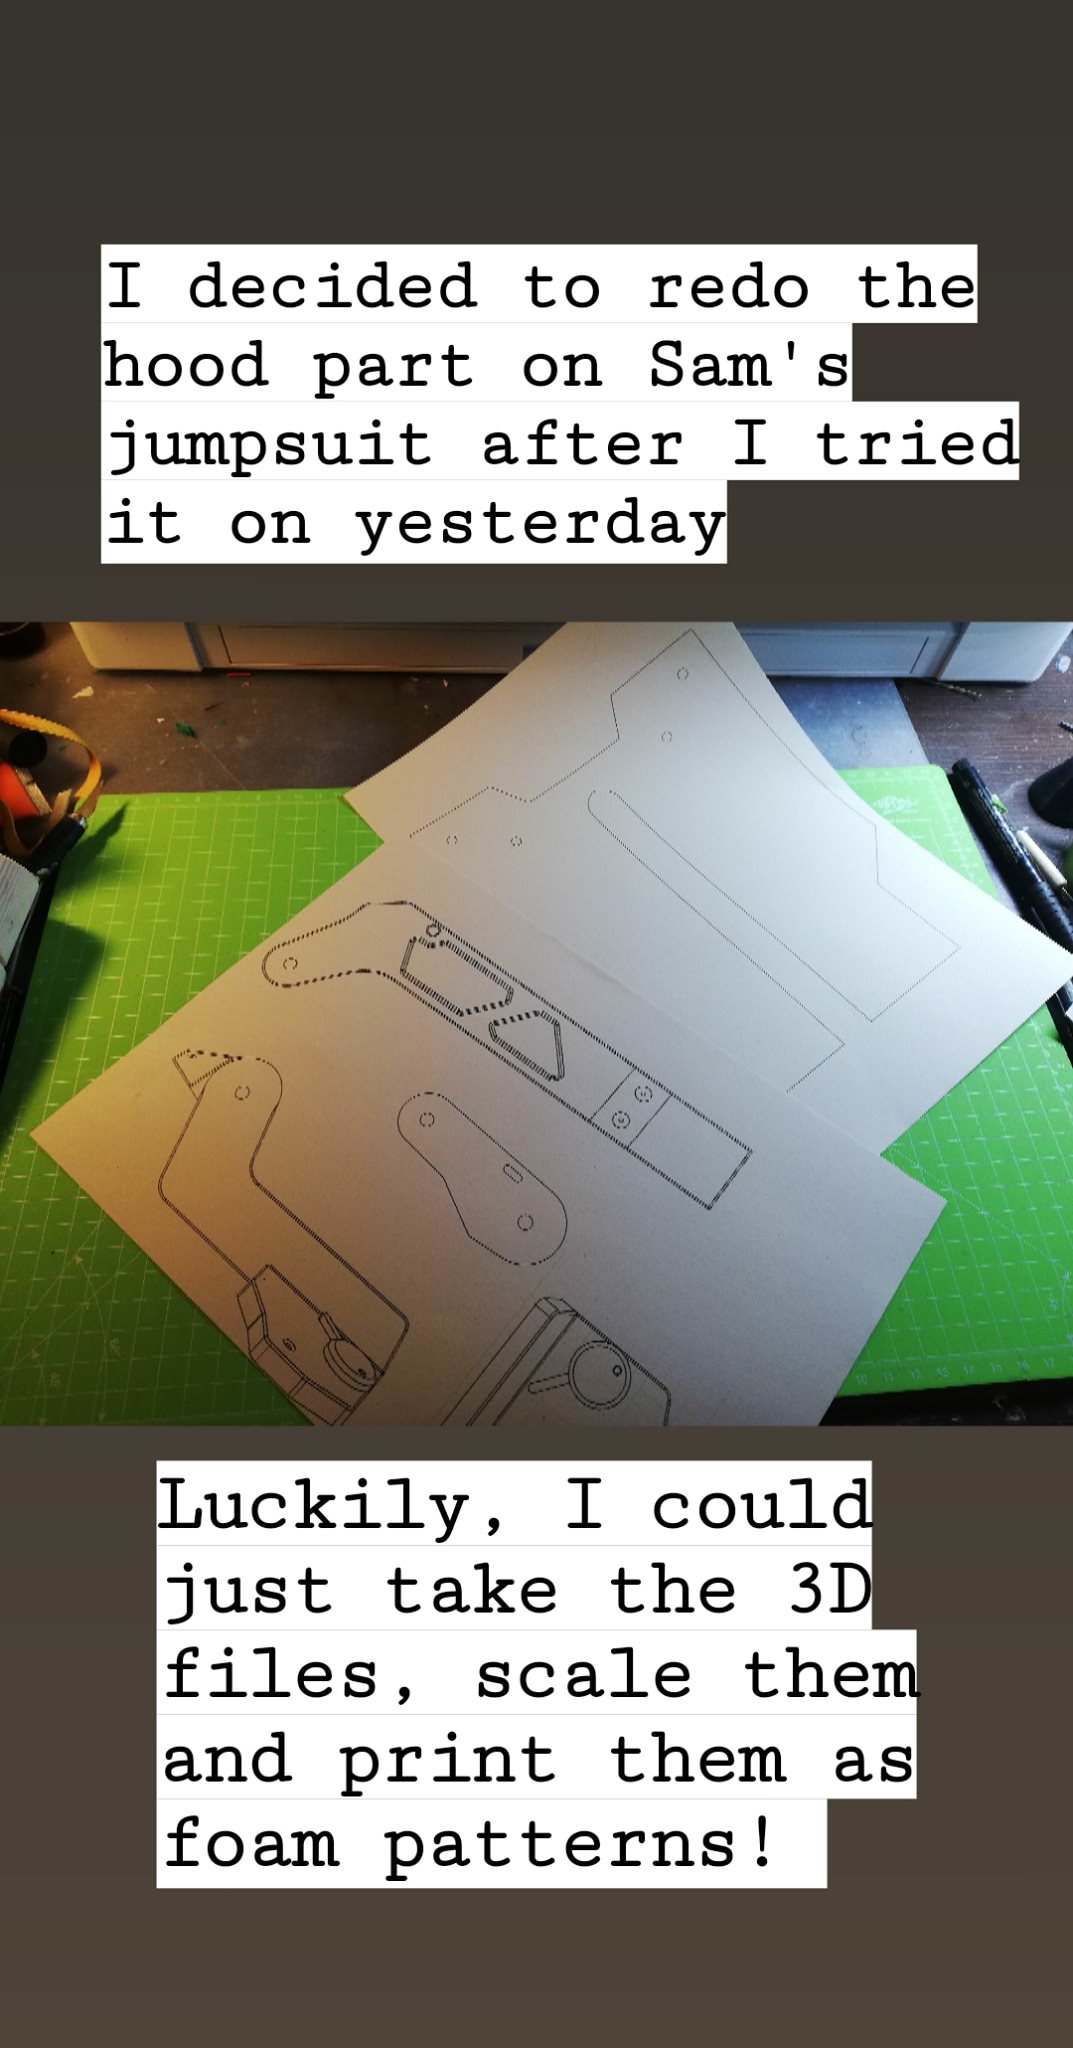
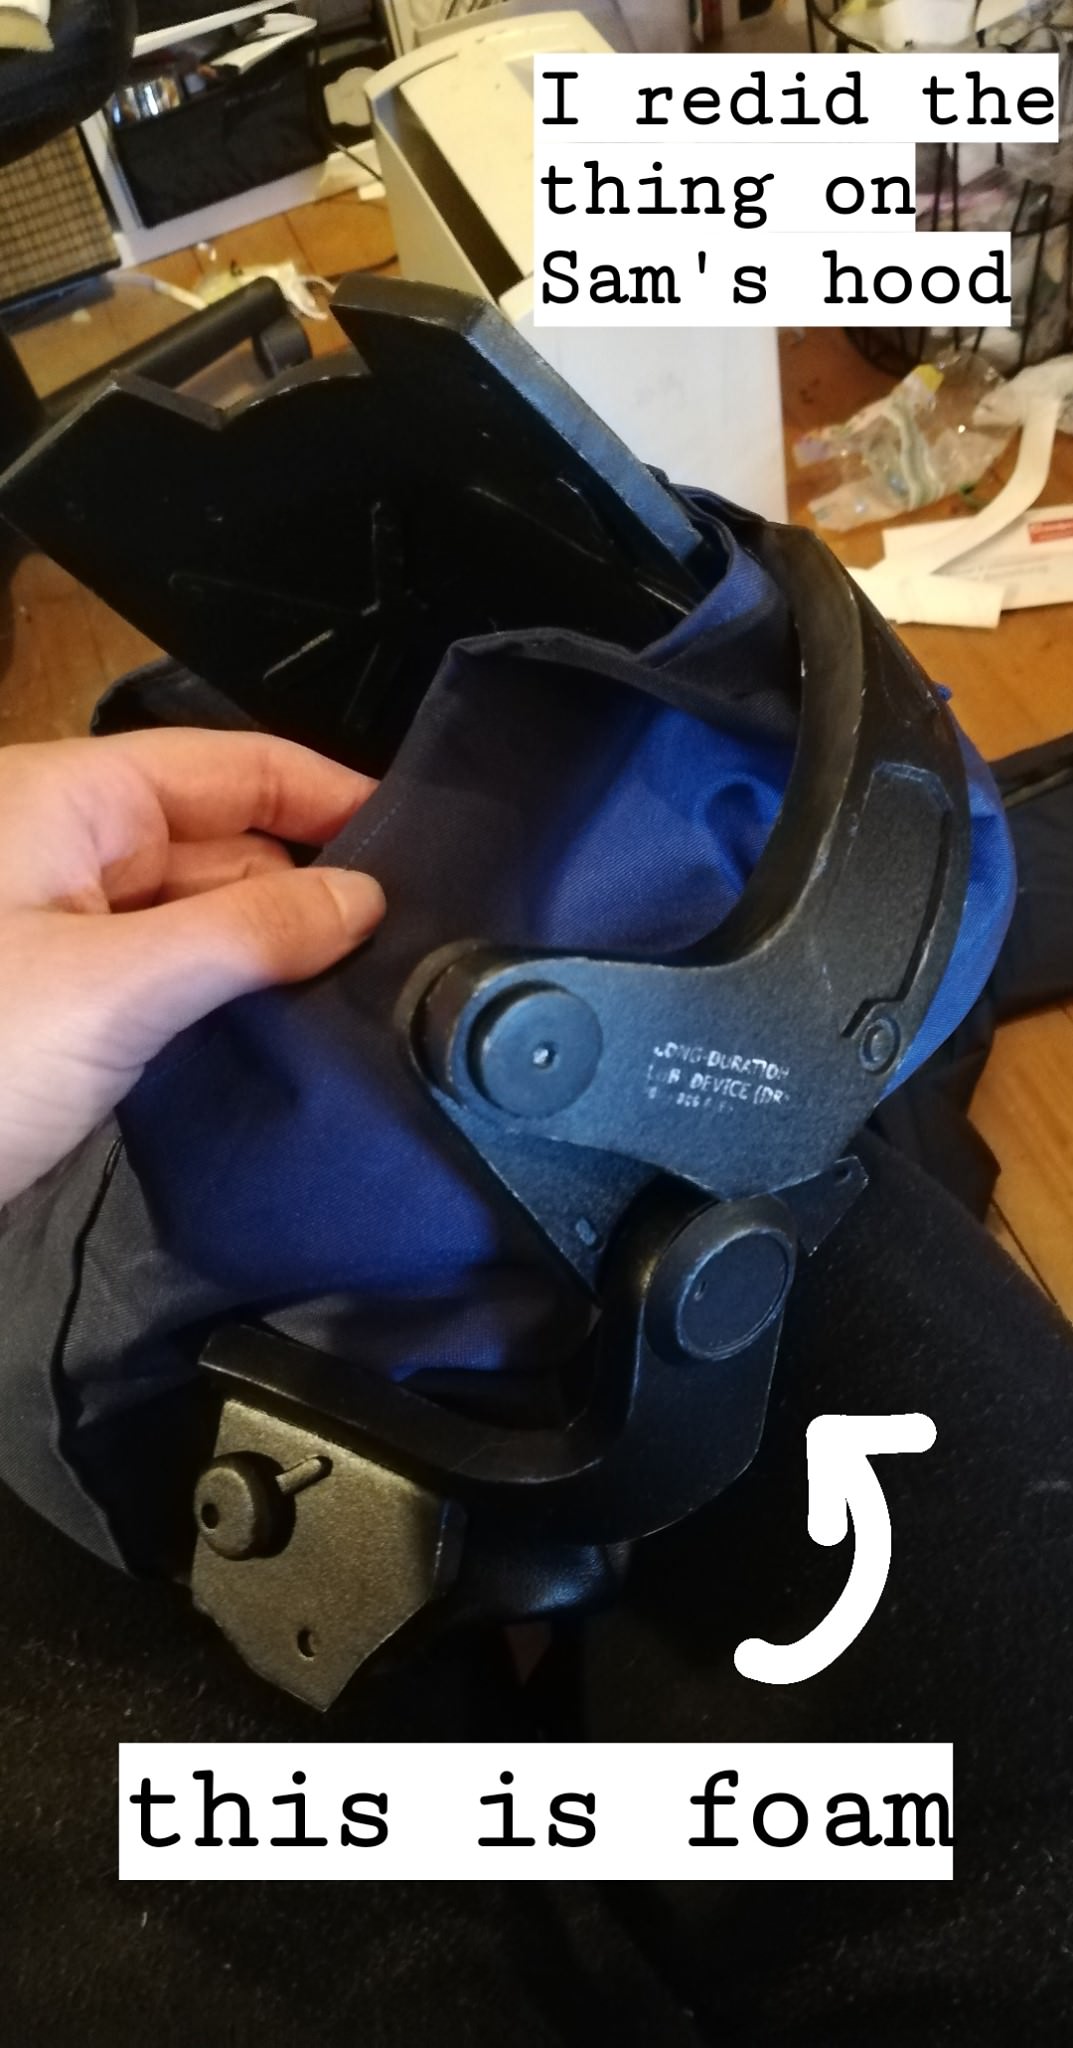
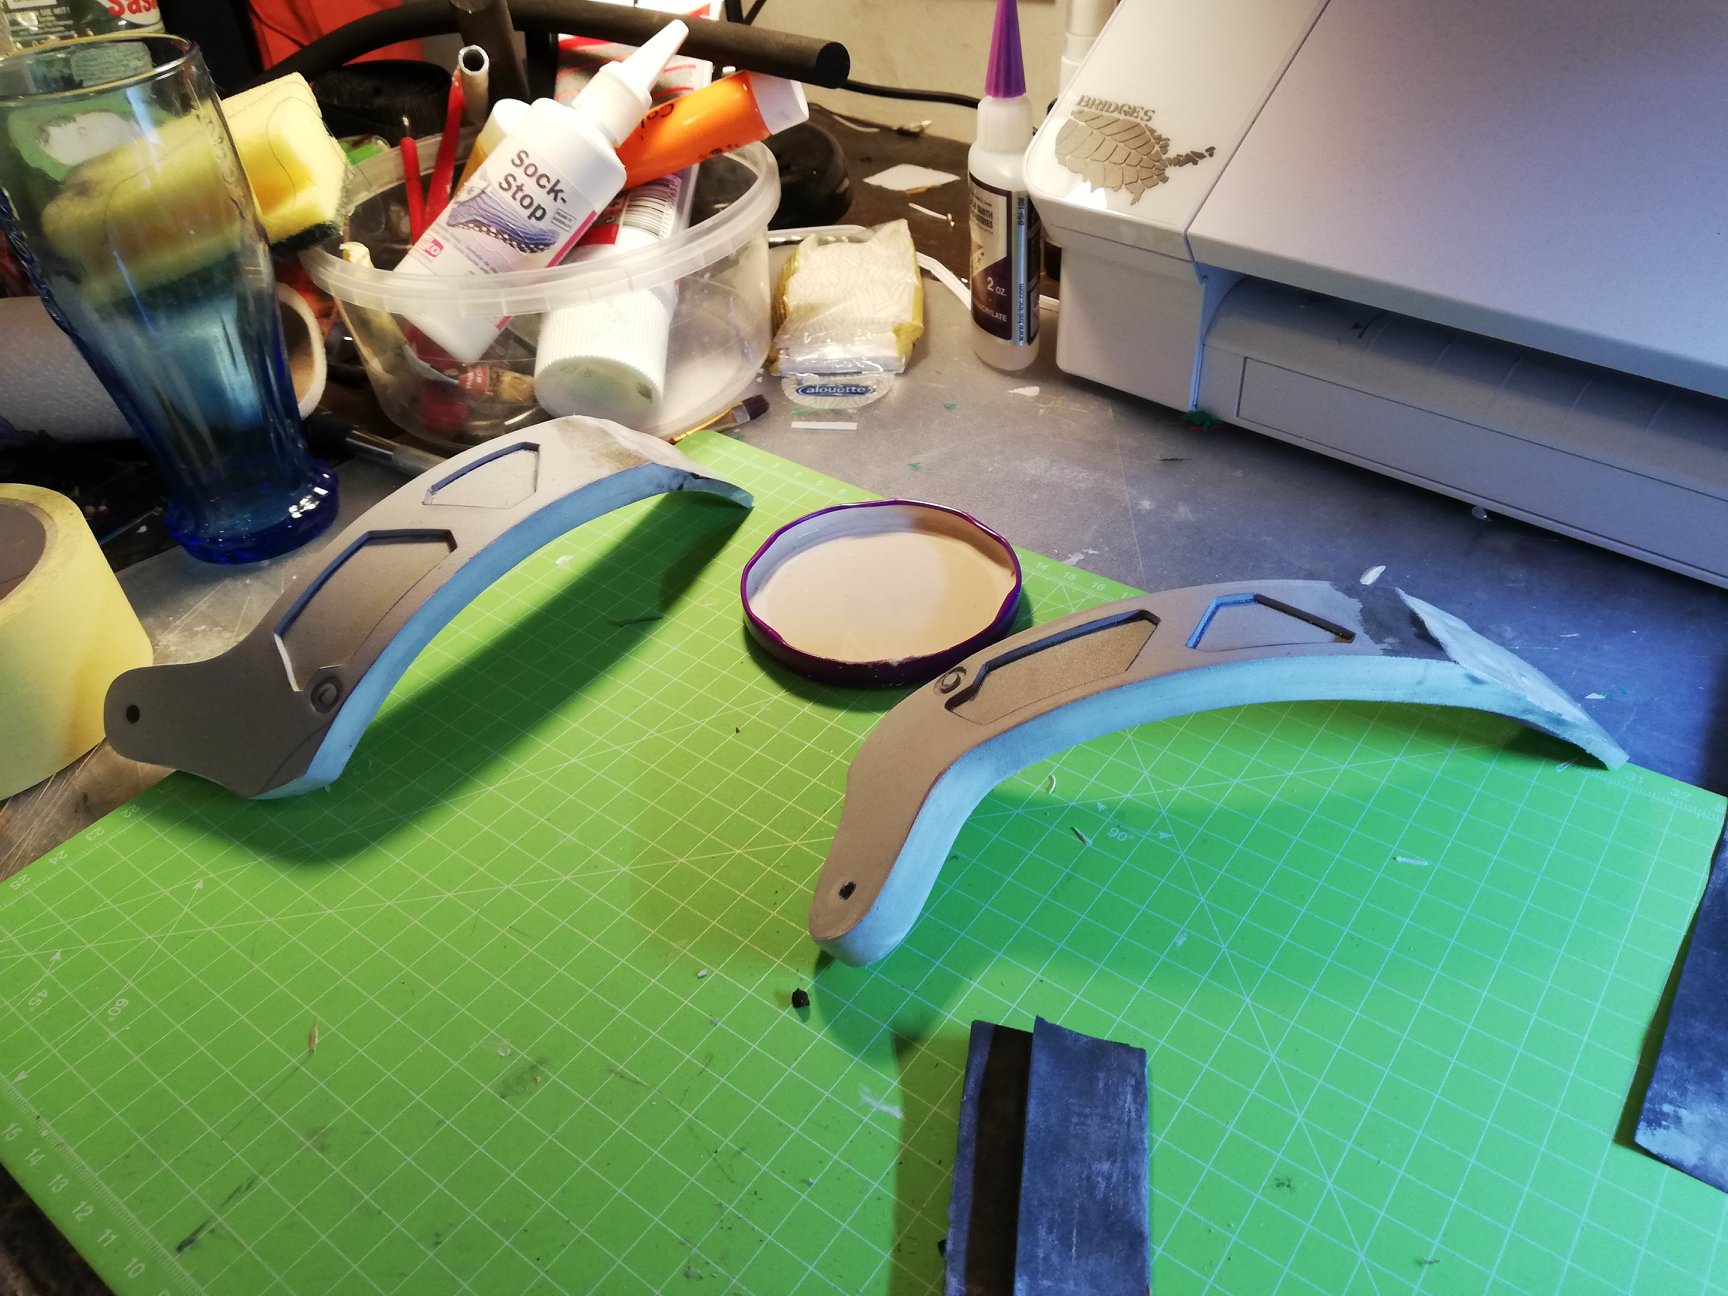
The hood has some kind of a self-lifting mechanism to it. At first, we 3D-modeled and printed that part, but it turned out too heavy in the end and only pulled down the hood weirdly. After that, we made a foam version that was is much lighter.
To give the suit a worn look, we weathered it using airbrush-colors and acrylic paint in some areas.
The harness – Porter gear
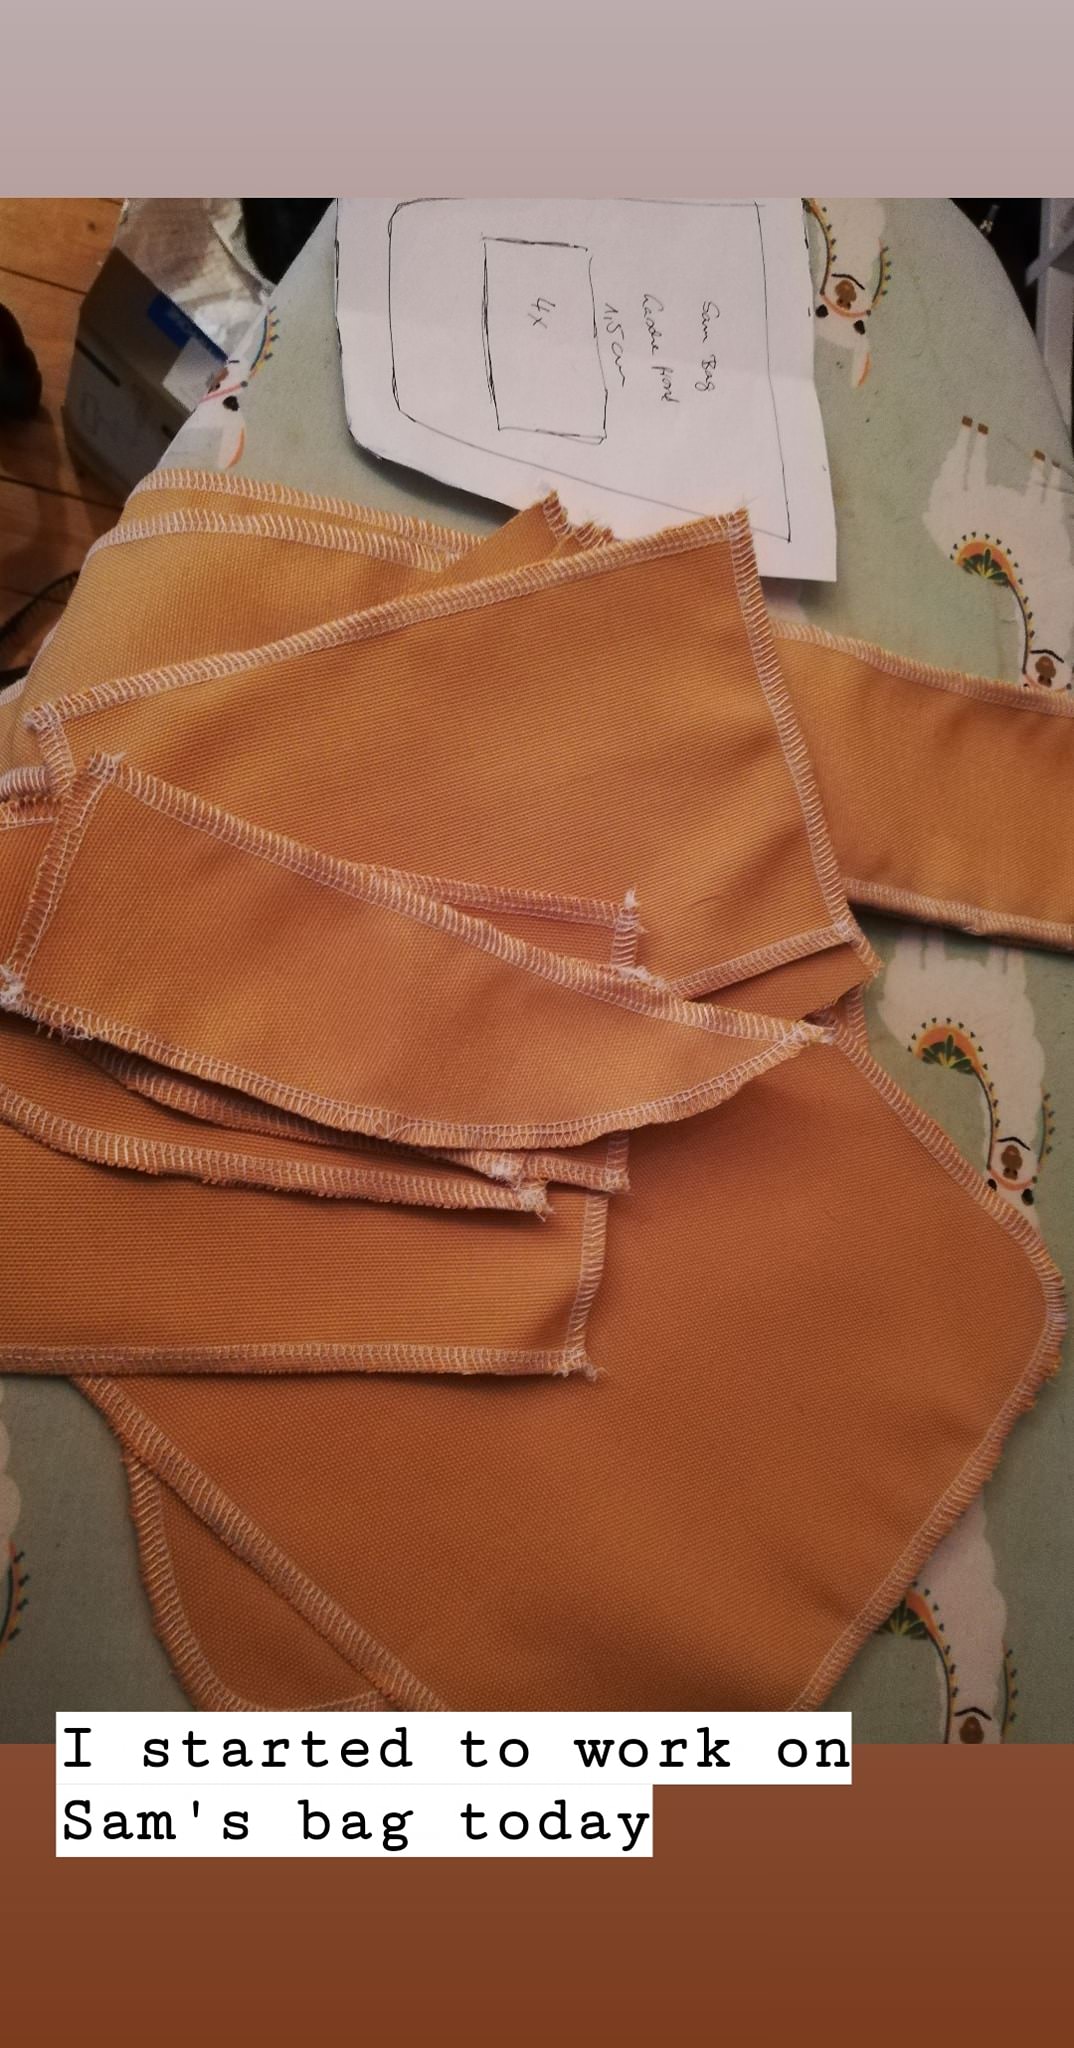
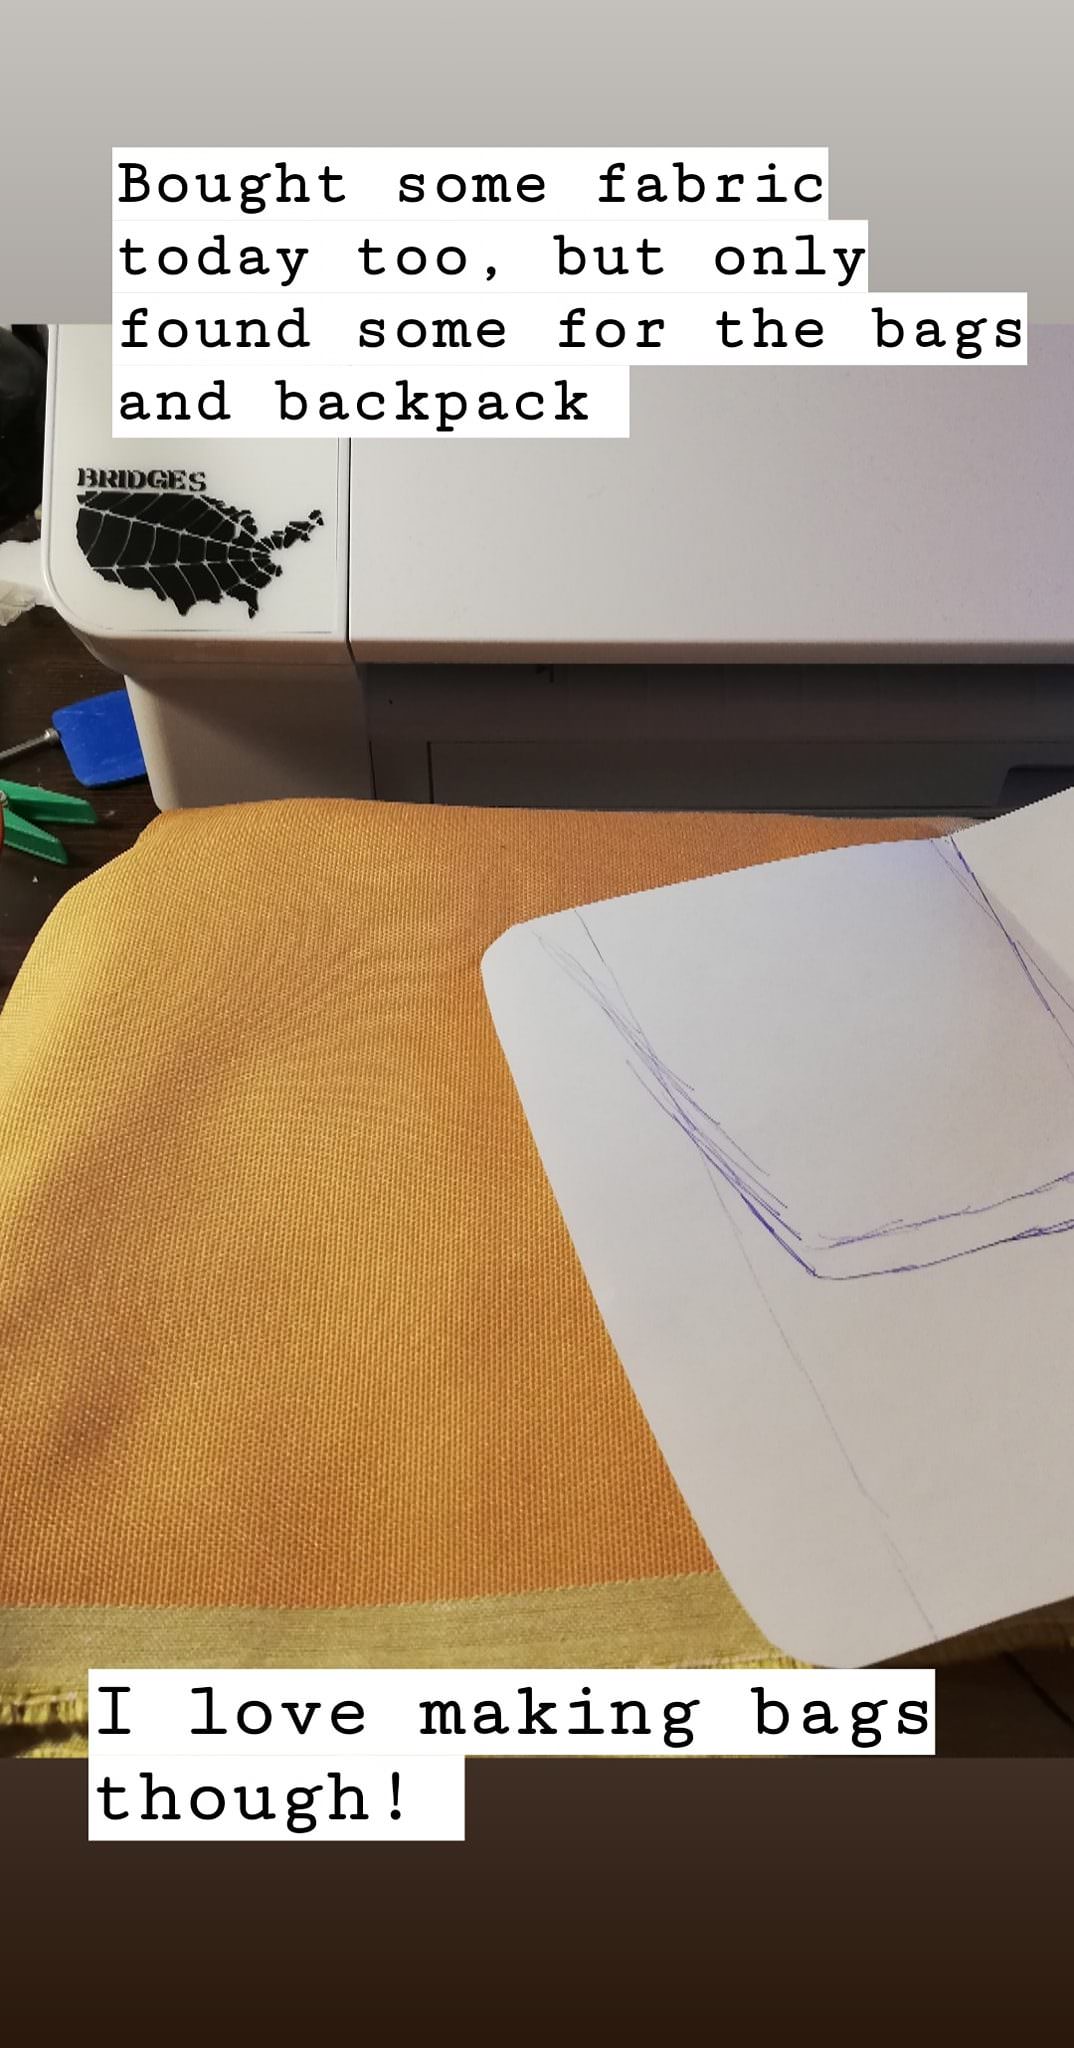
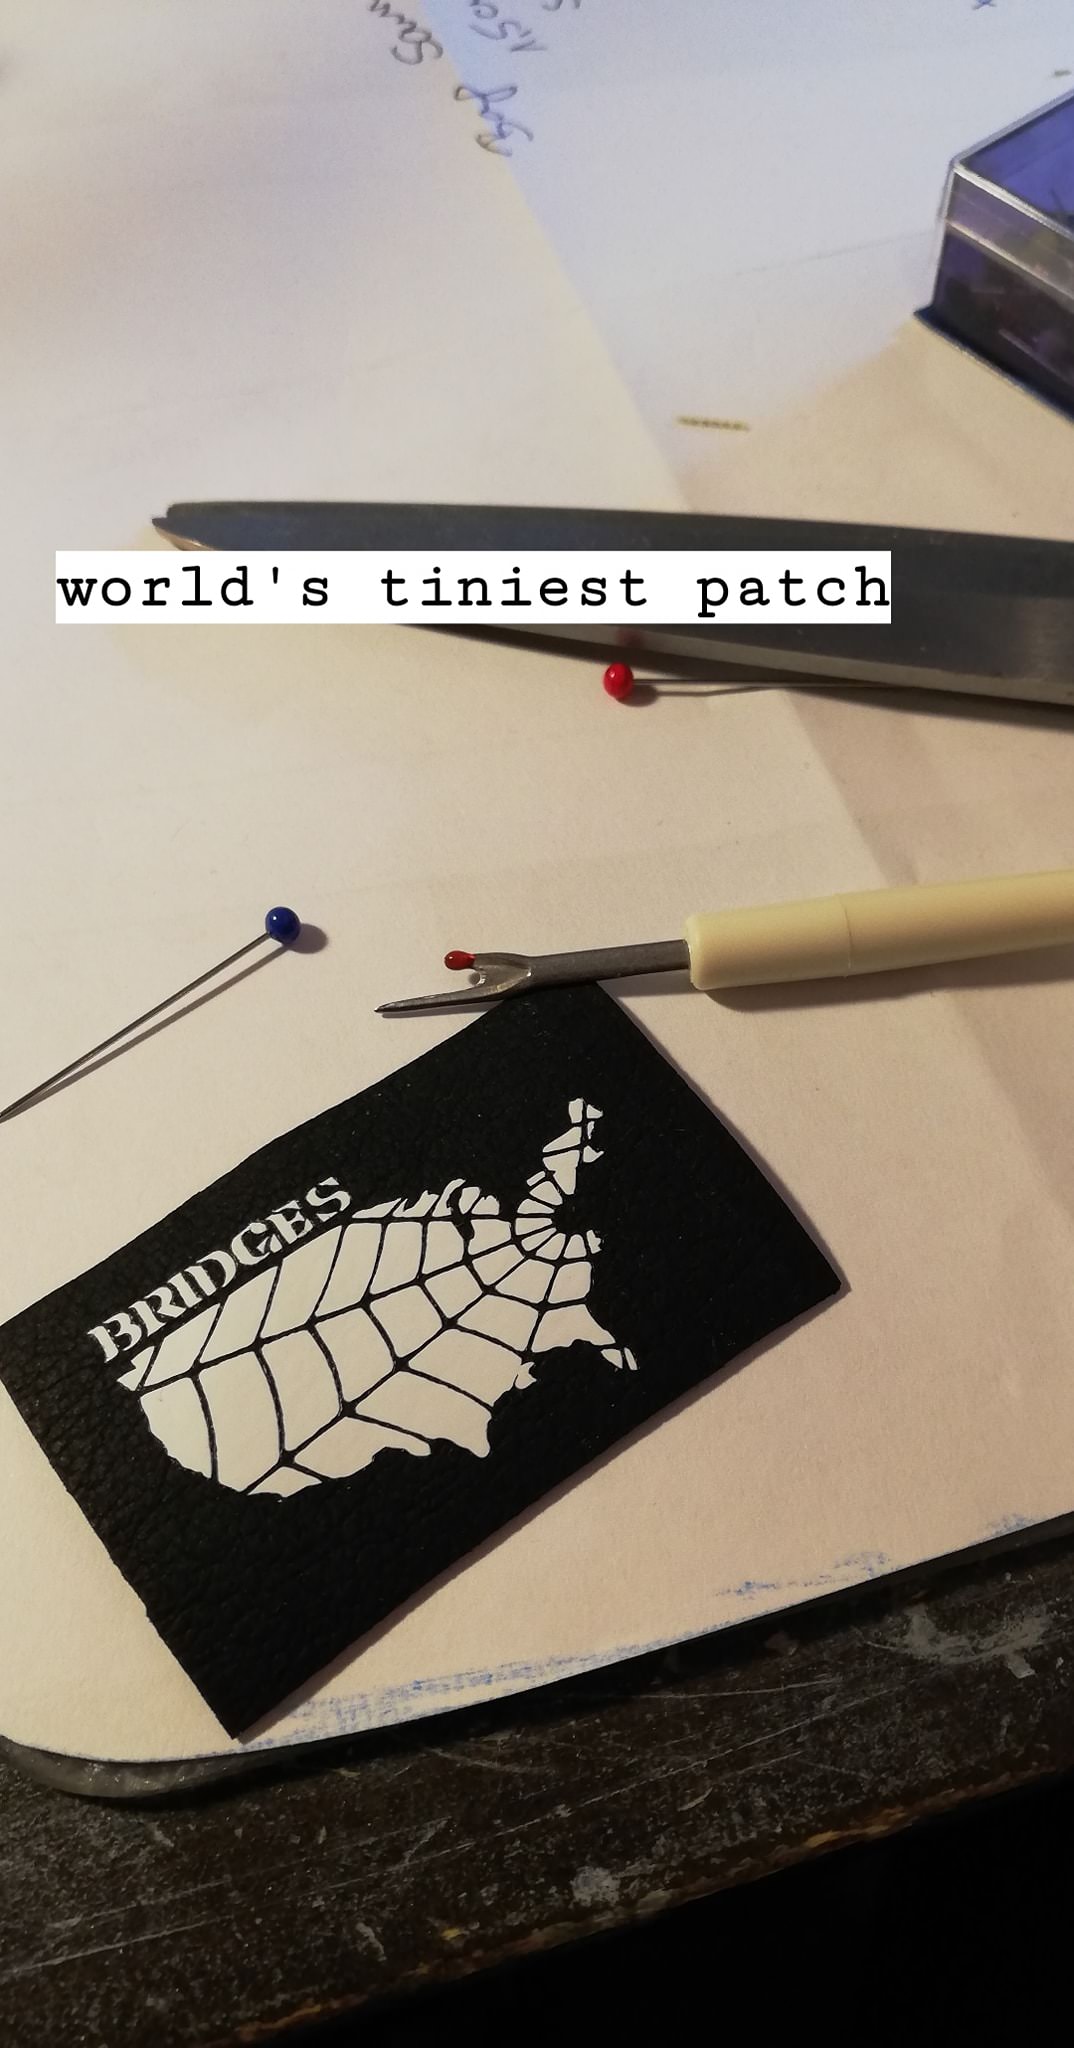
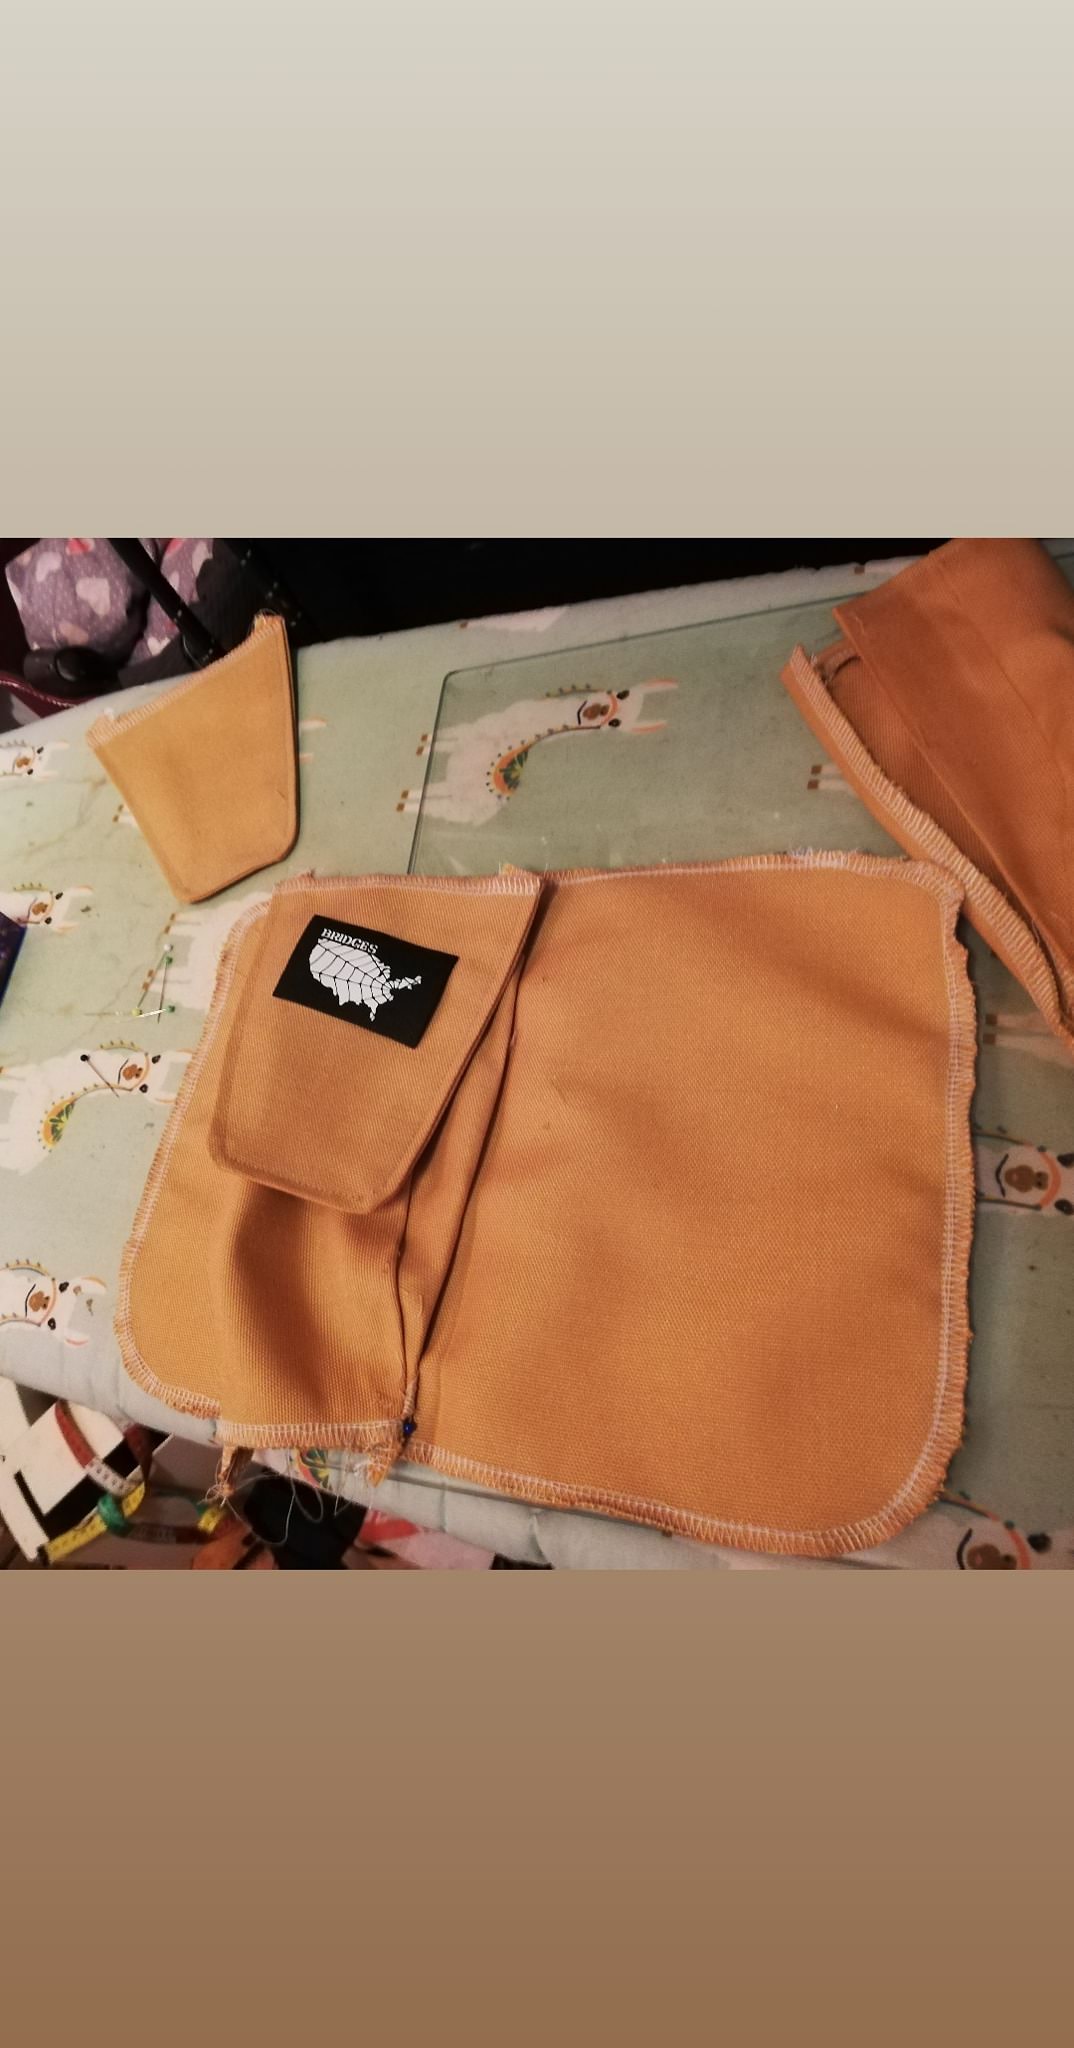

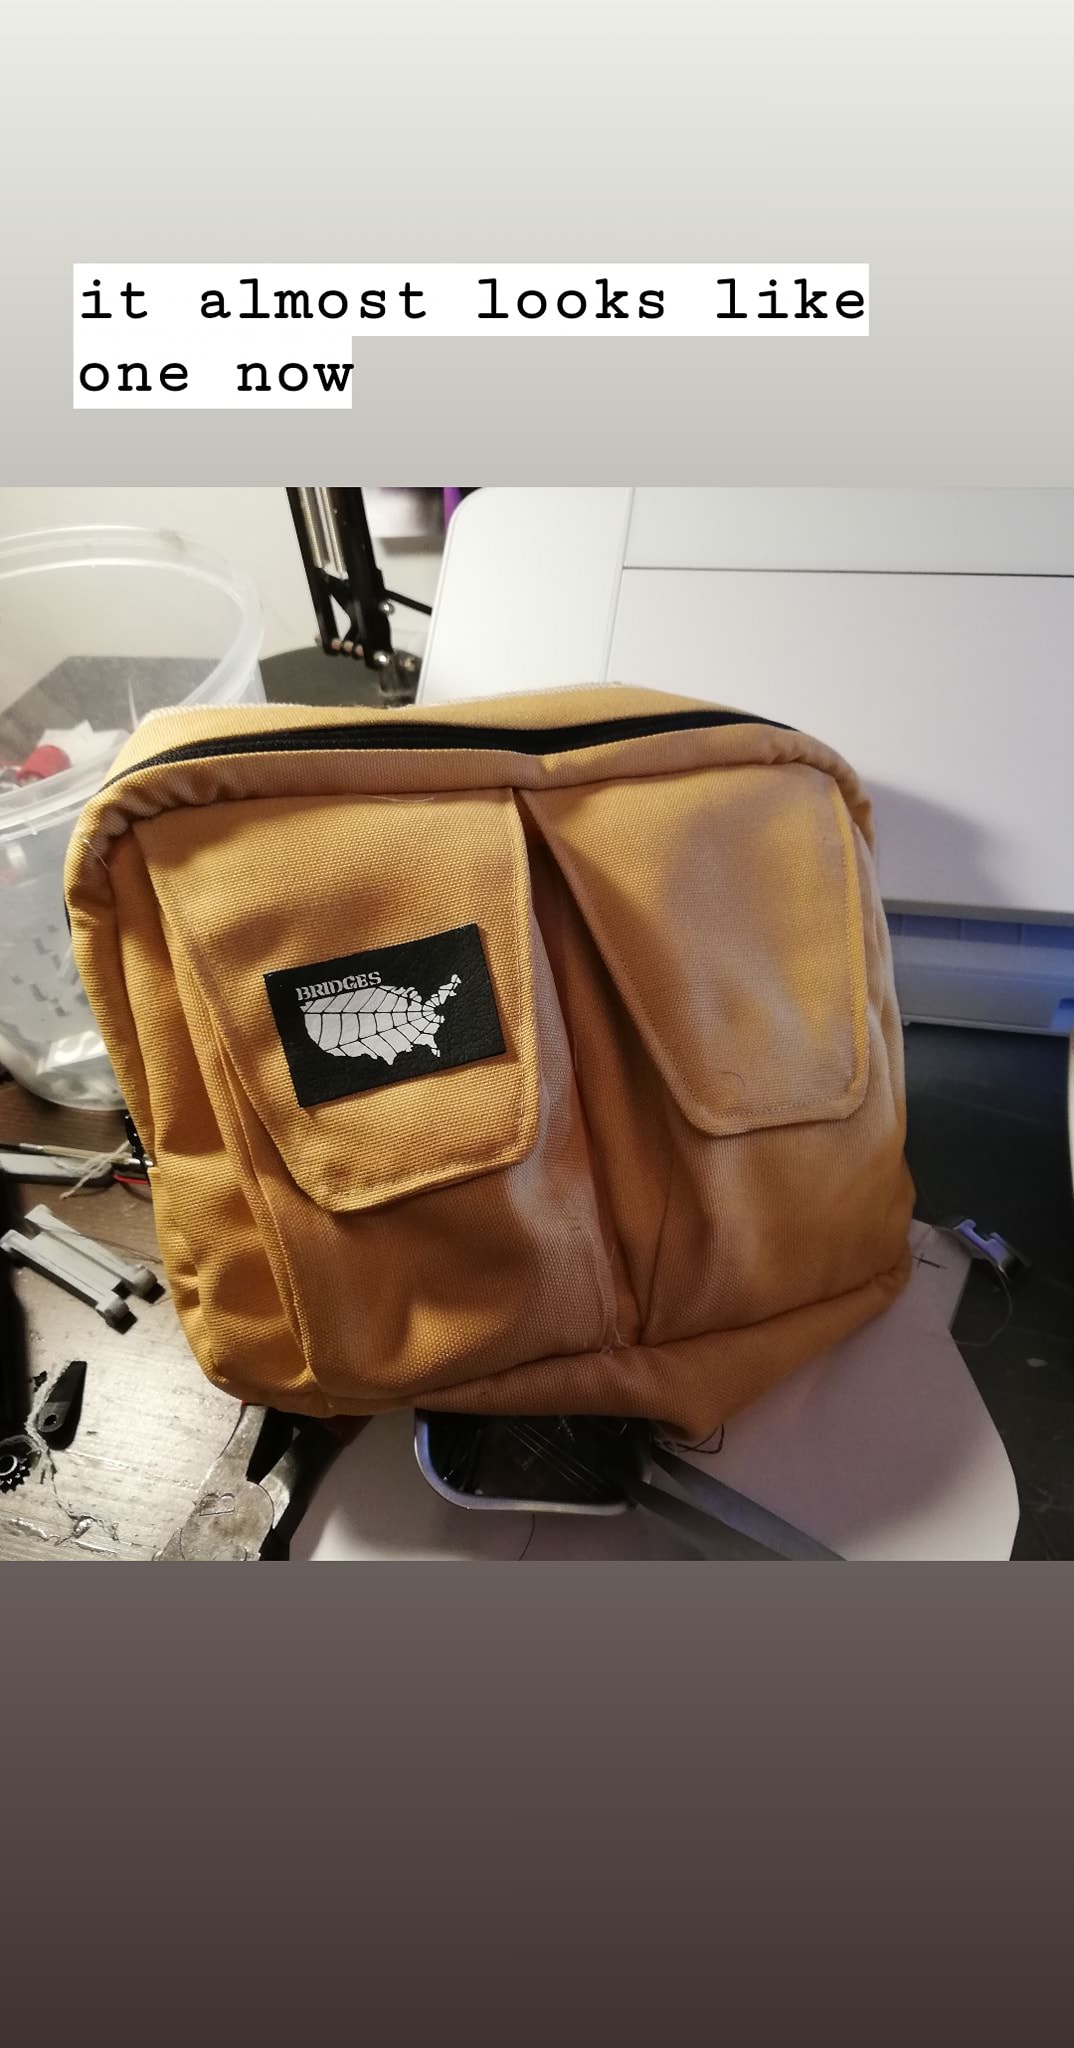

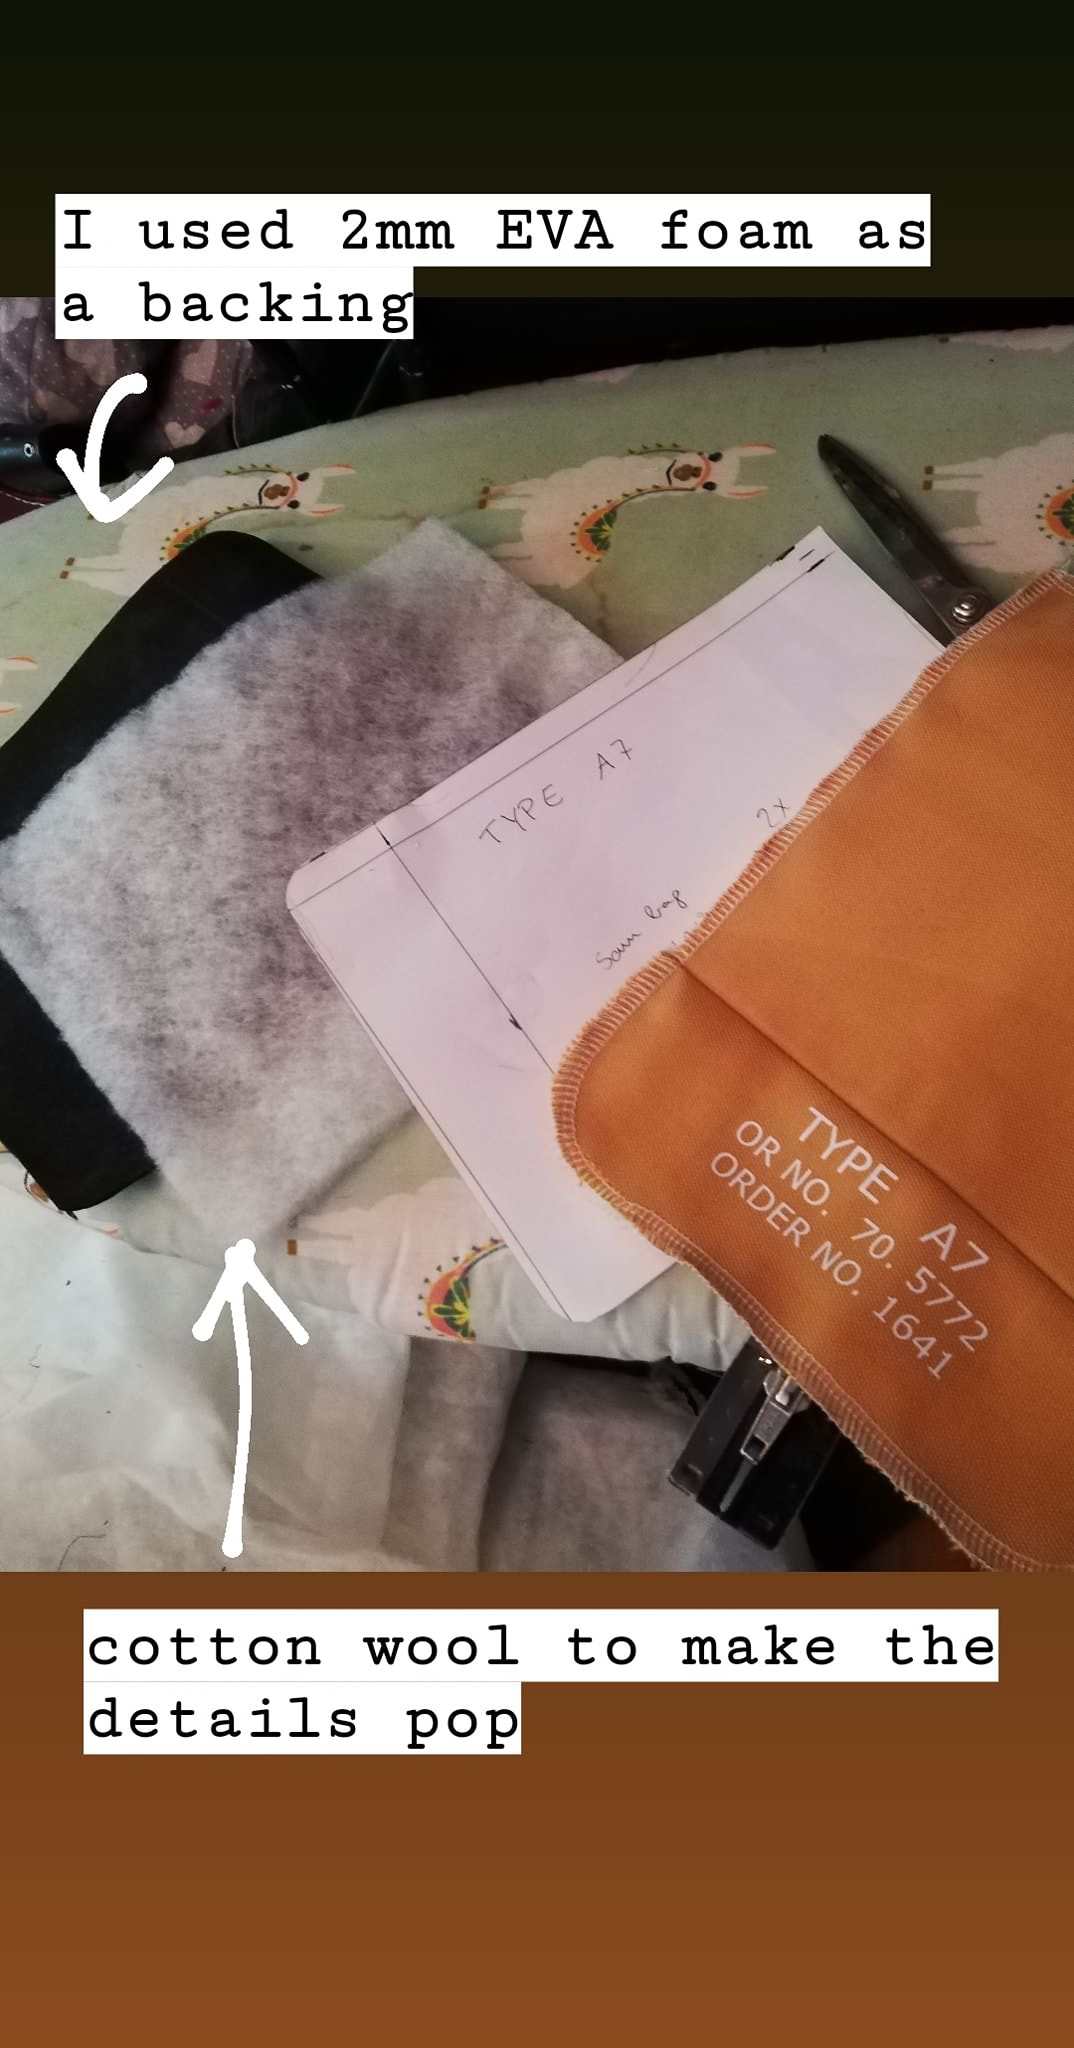
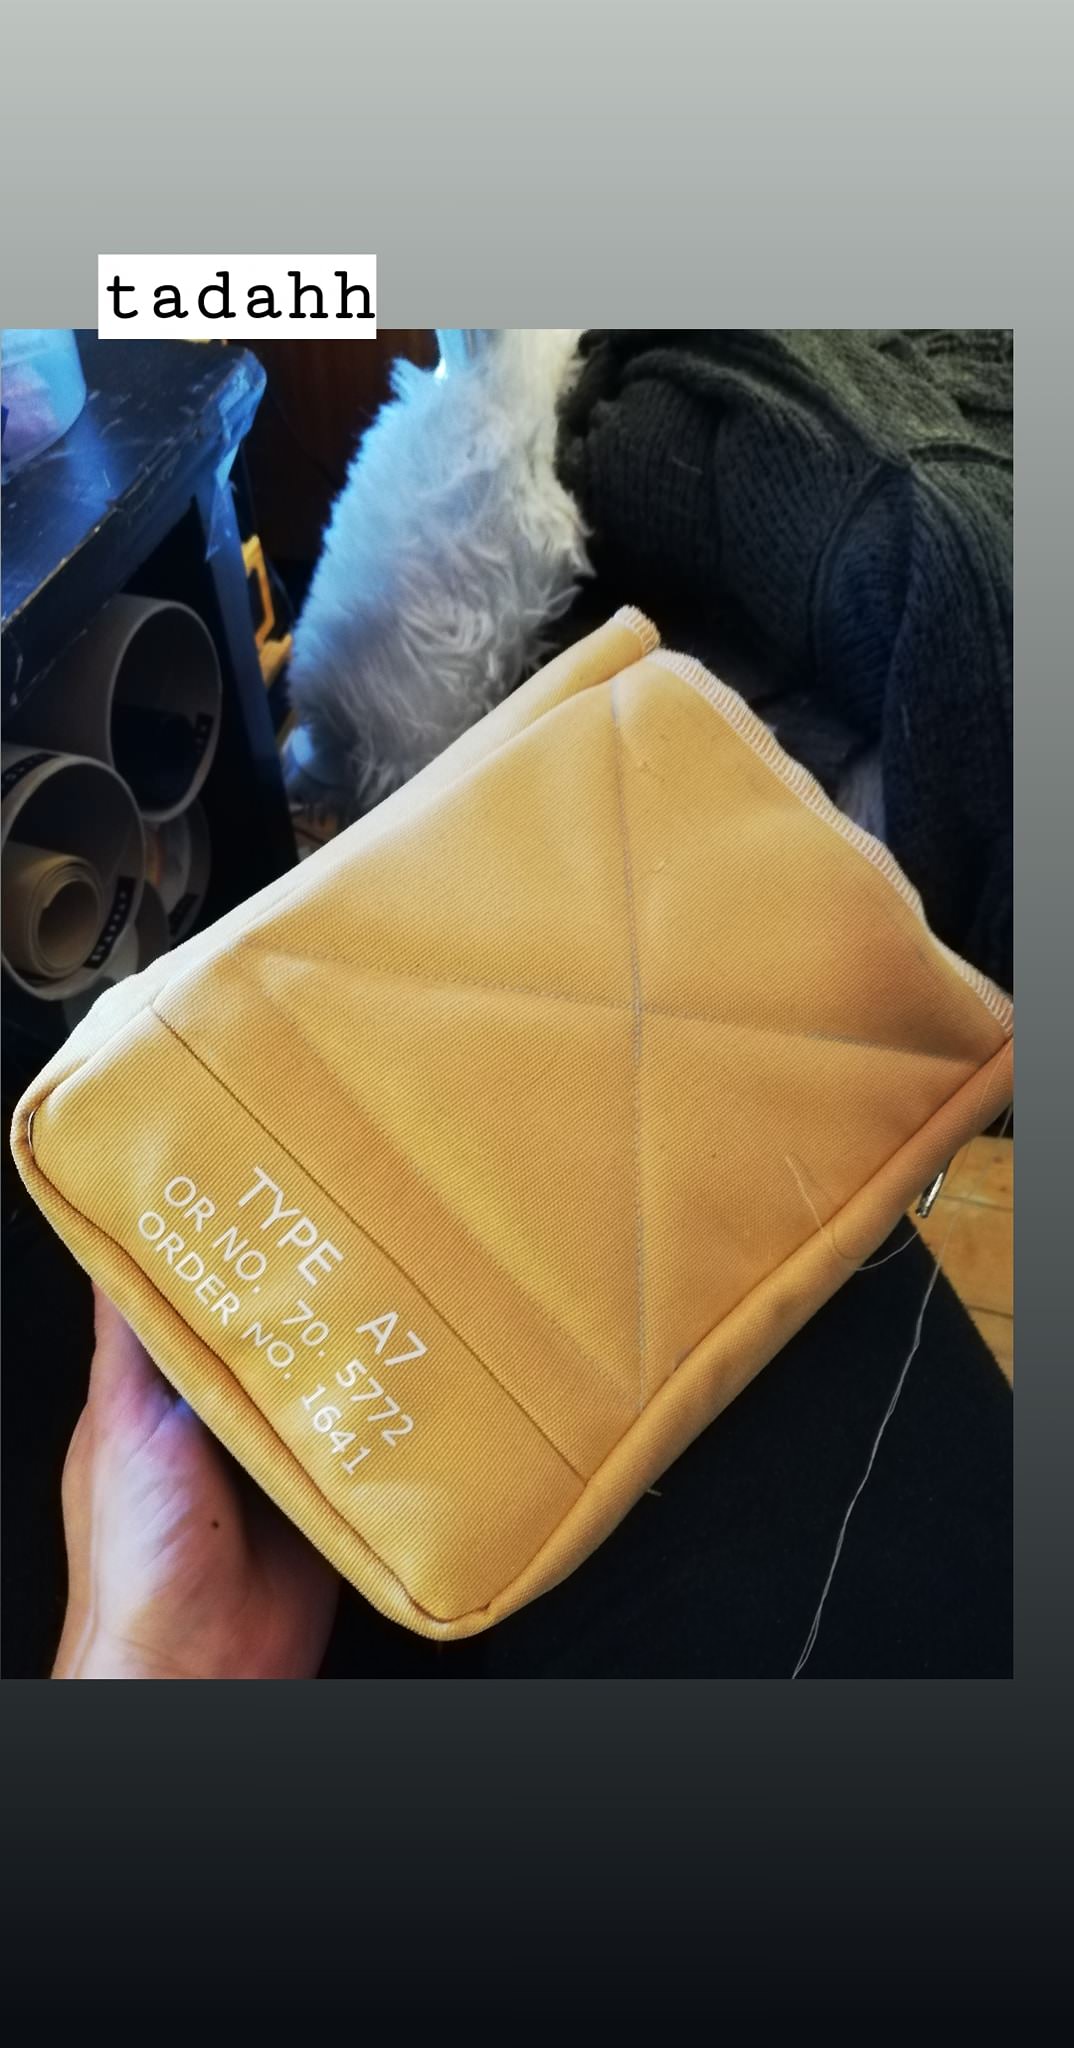
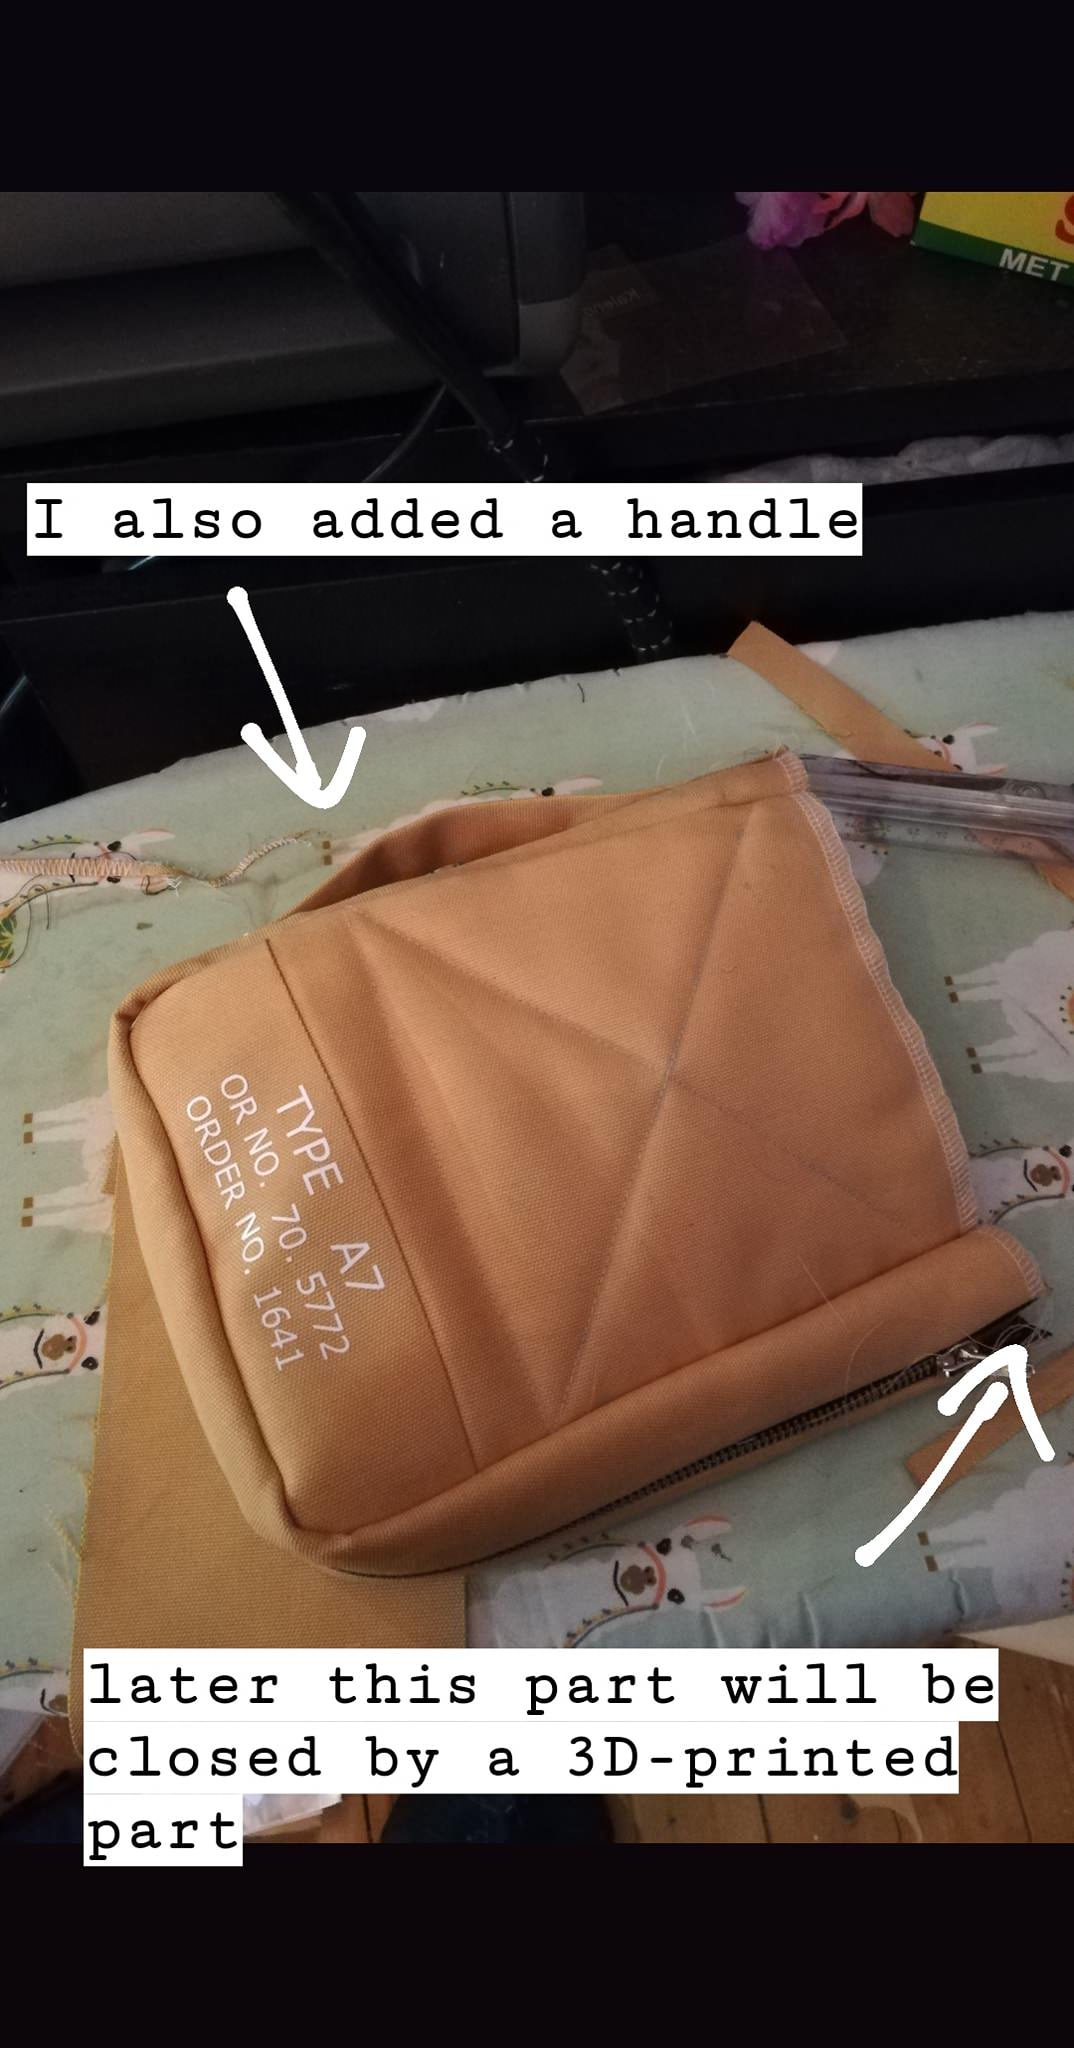


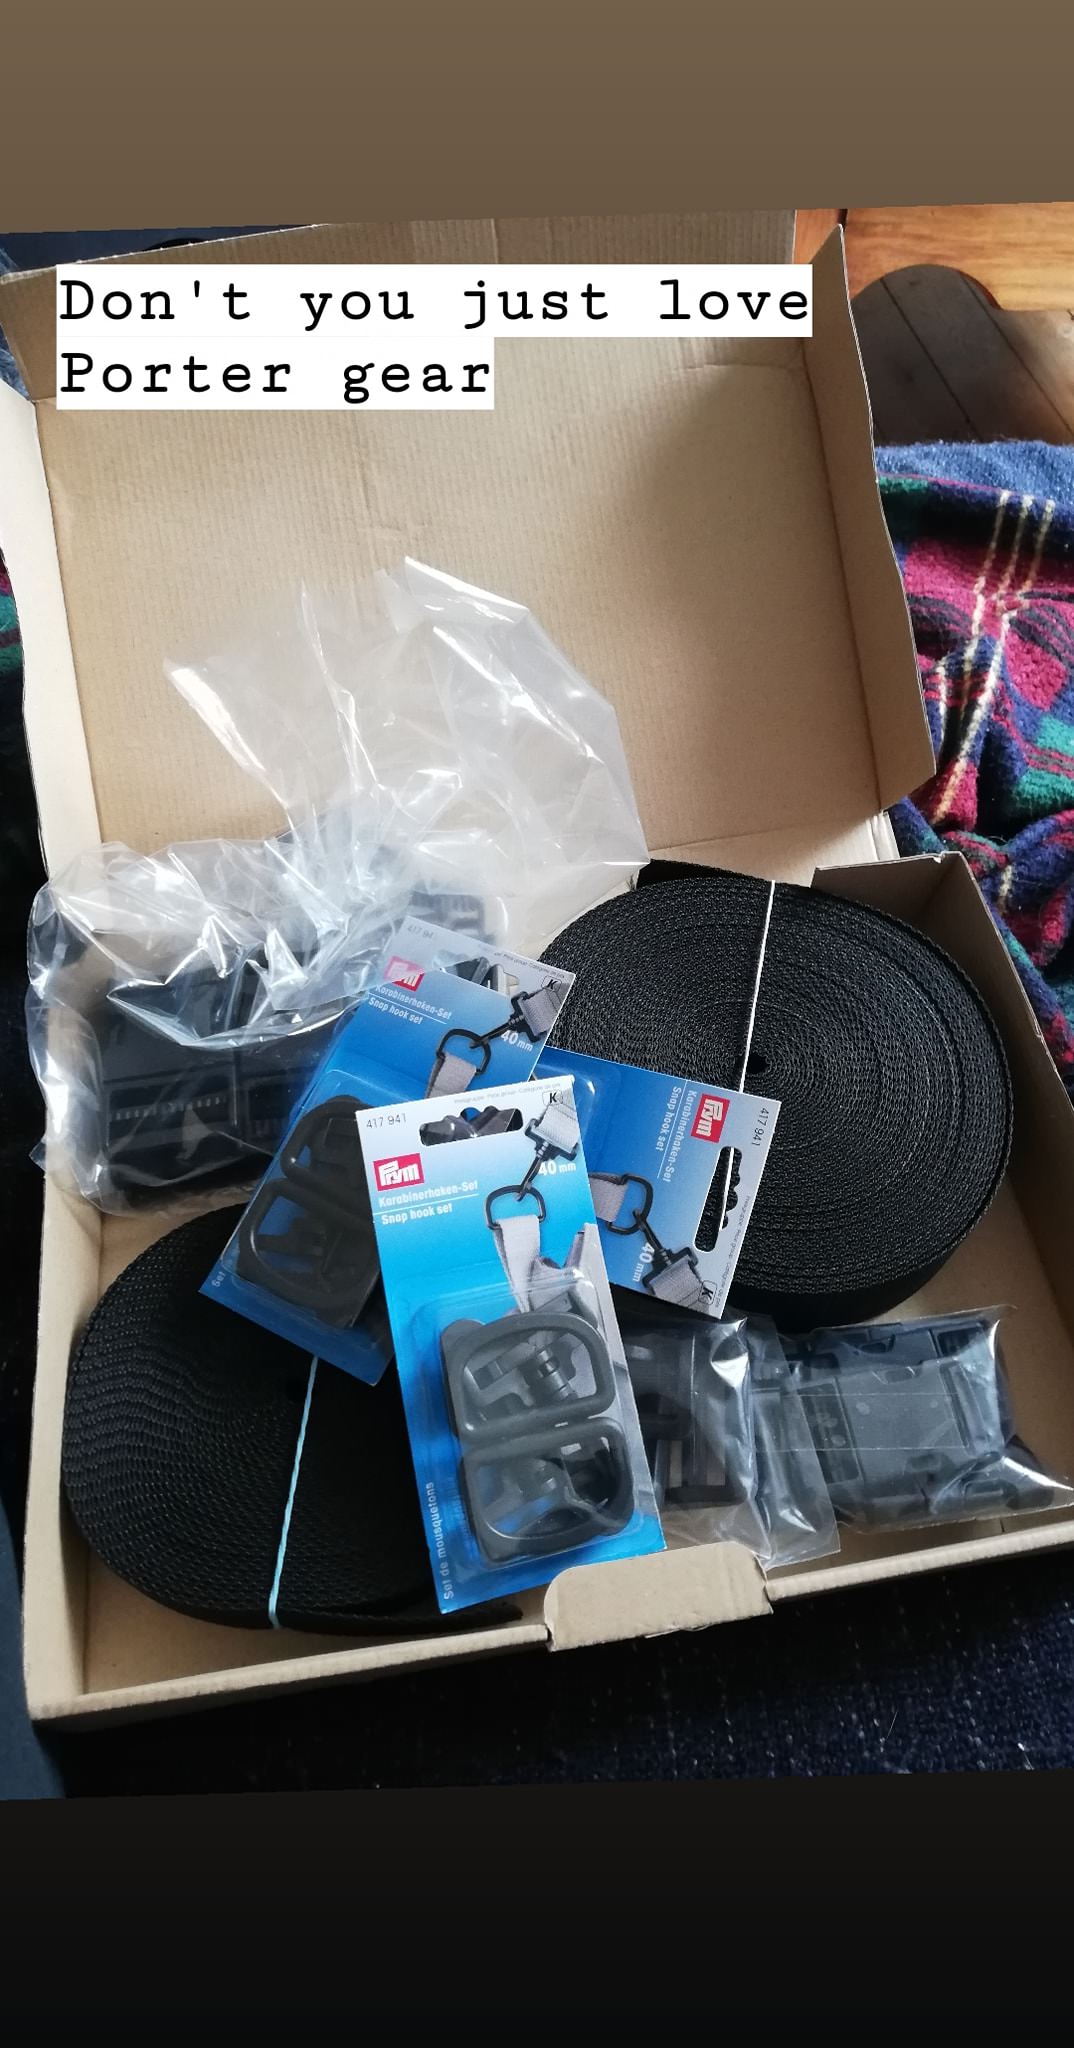
We secretly love many pockets and bags on costumes – it’s a nice way to store your stuff in at conventions! Making bags is usually fun too! We drafted a rough square pattern and sewed it together while adding more details like zippers, patches and velcrotape. One of Sam’s bag also had a weird front that was 3D-modeled and printed.
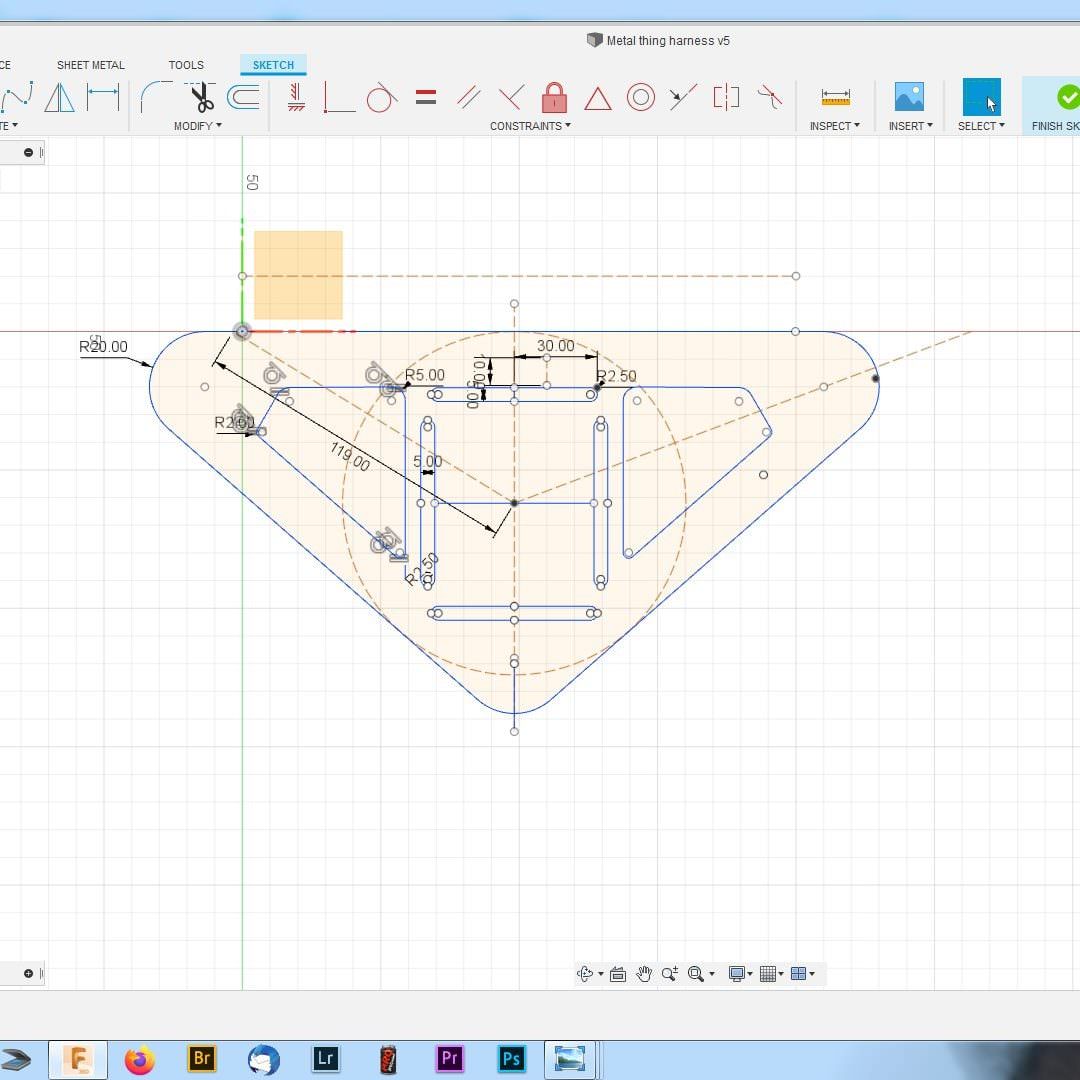
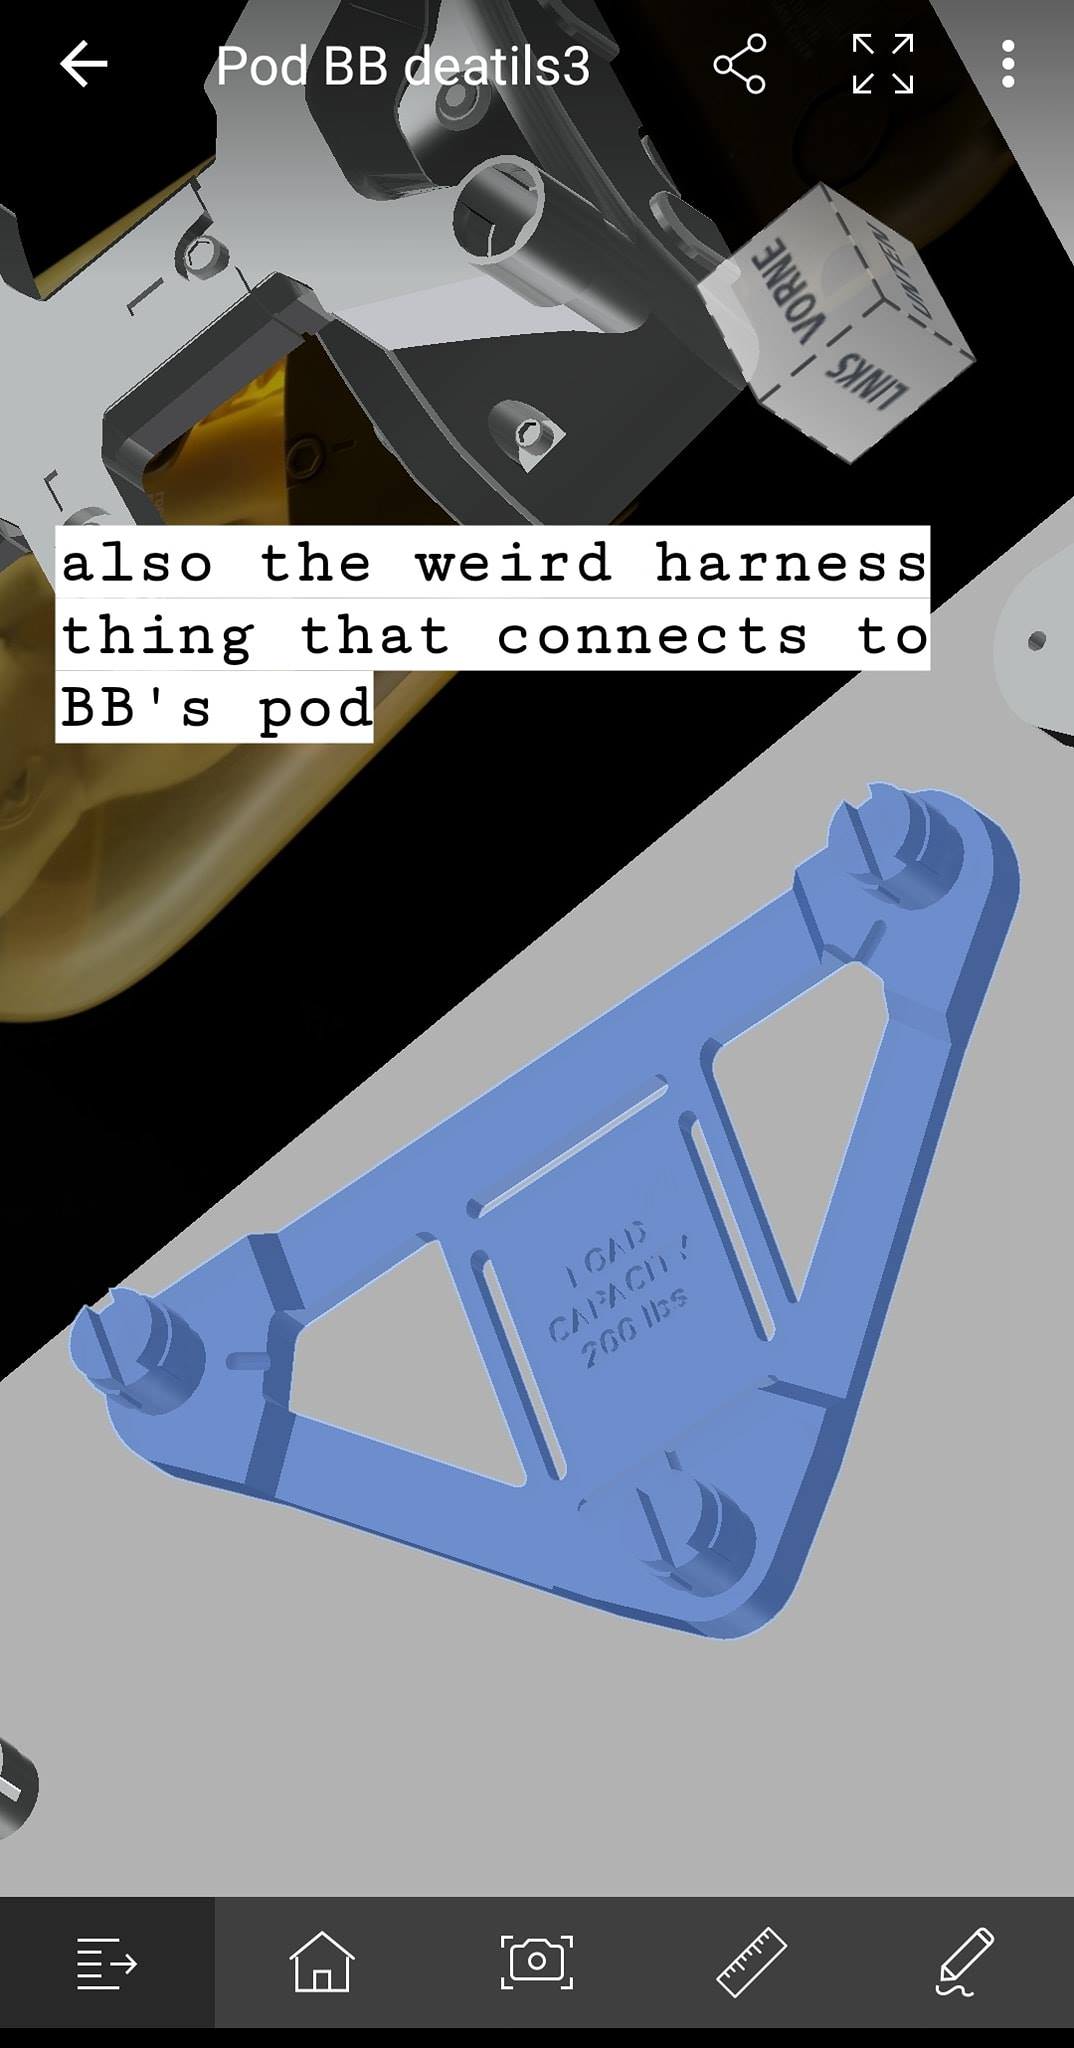
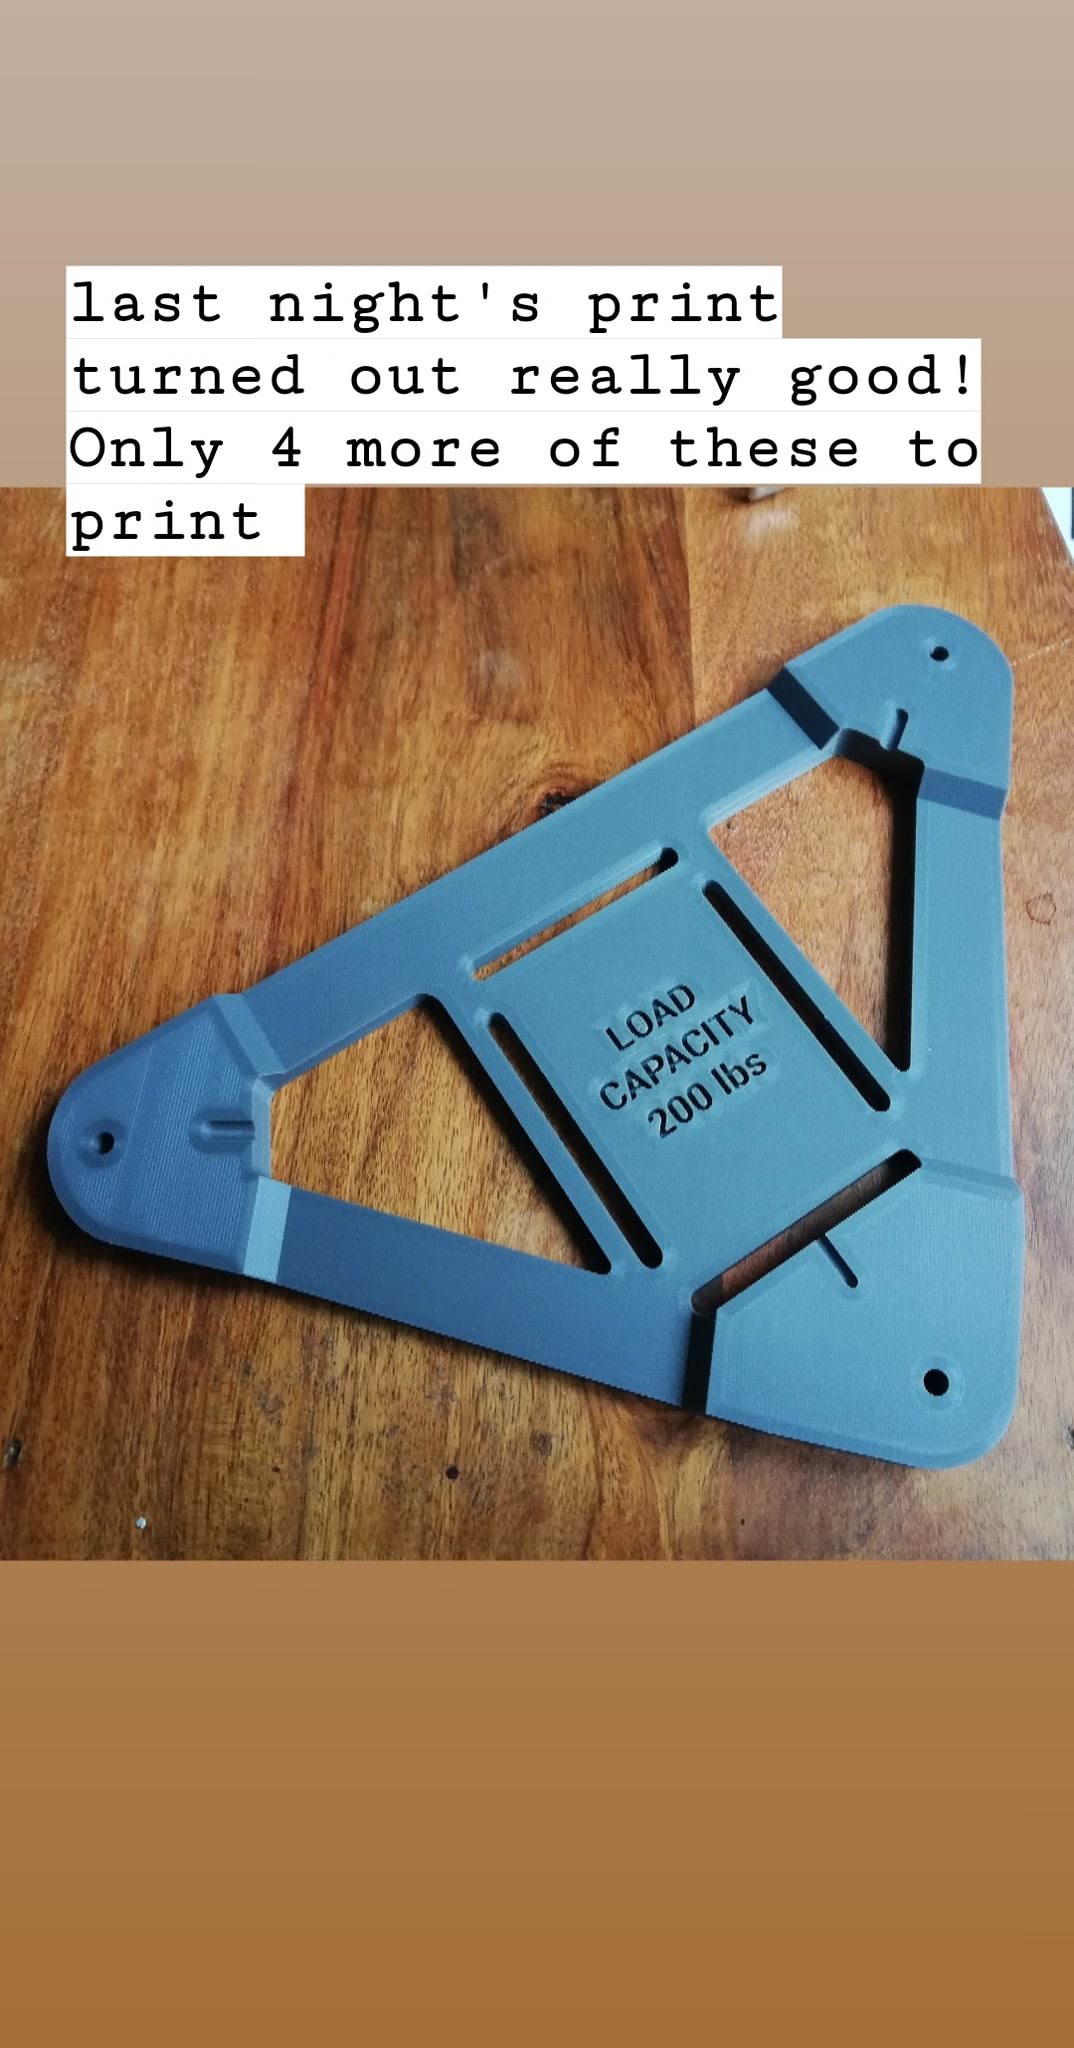
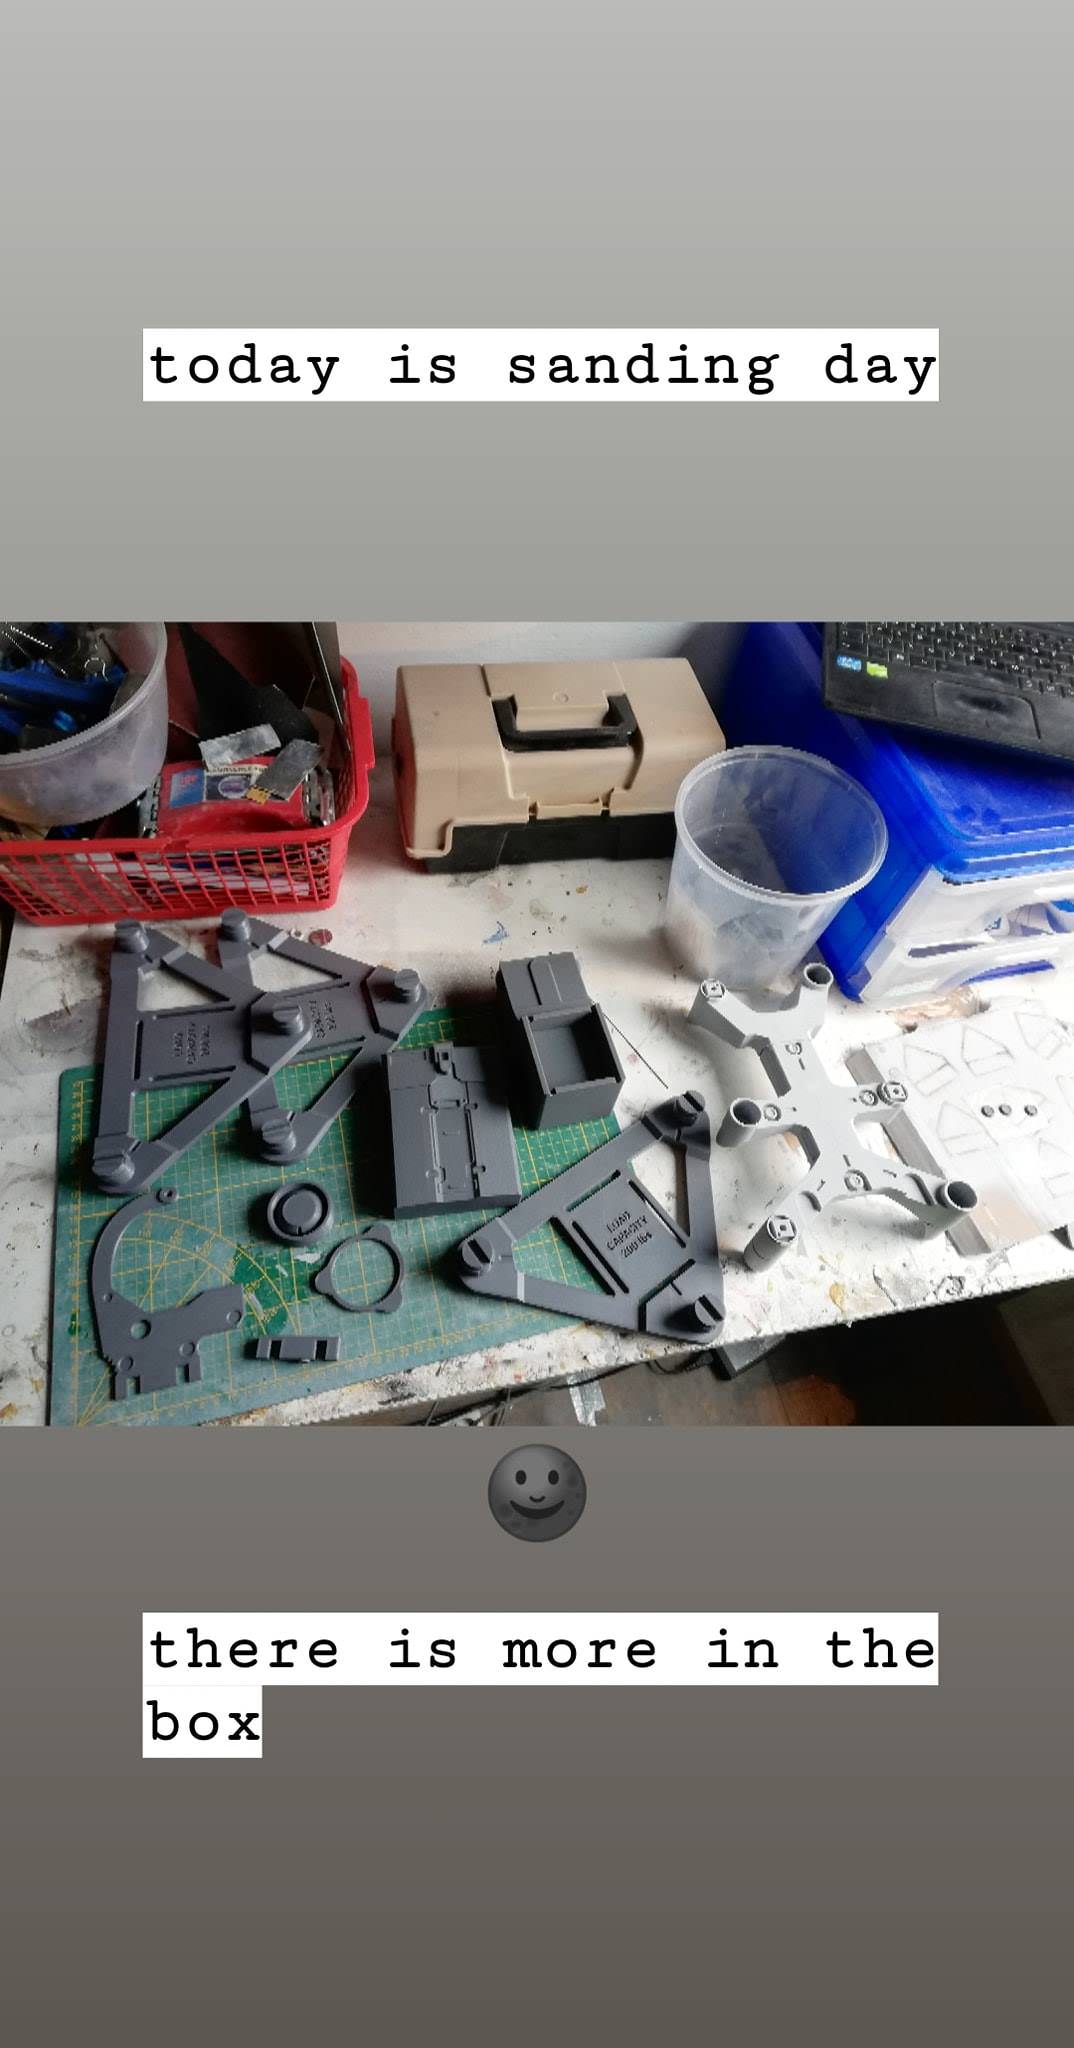
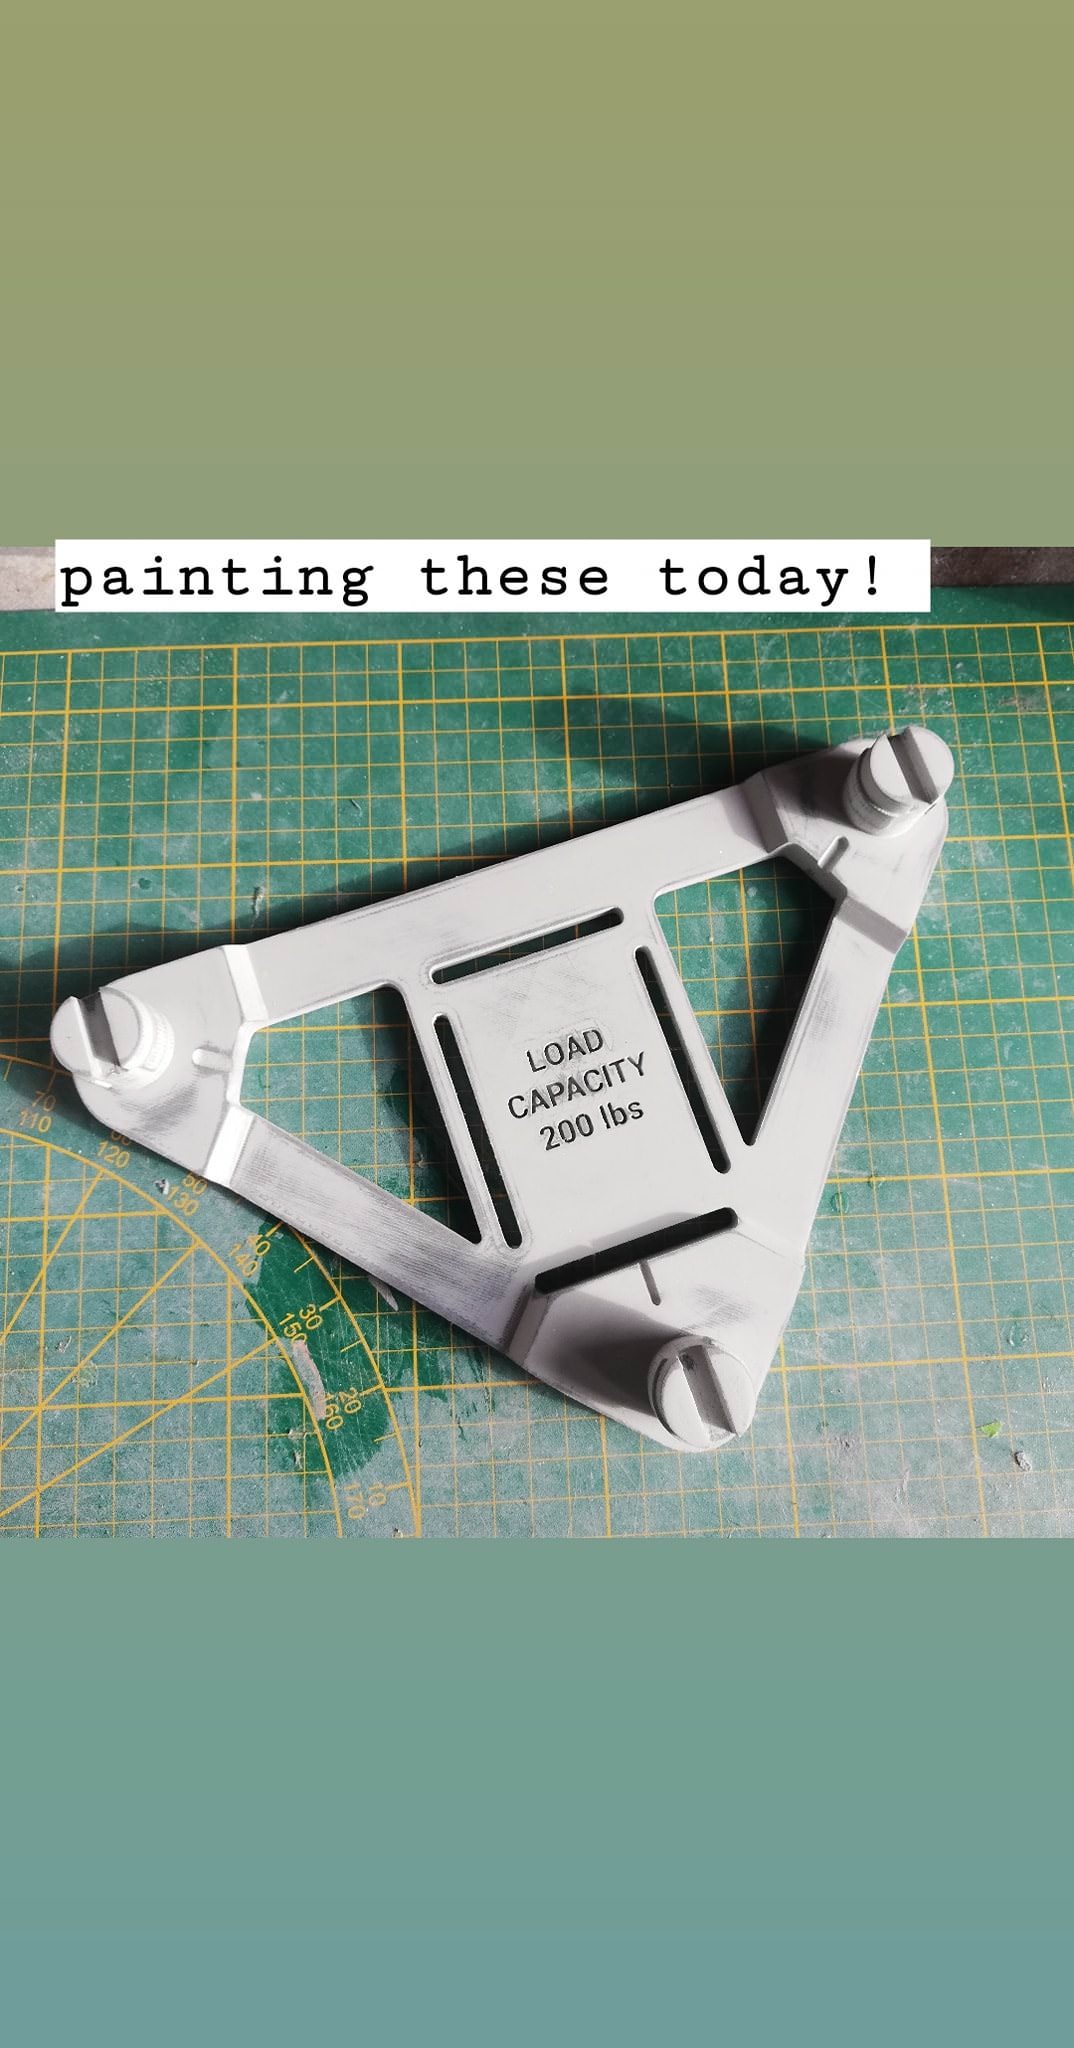
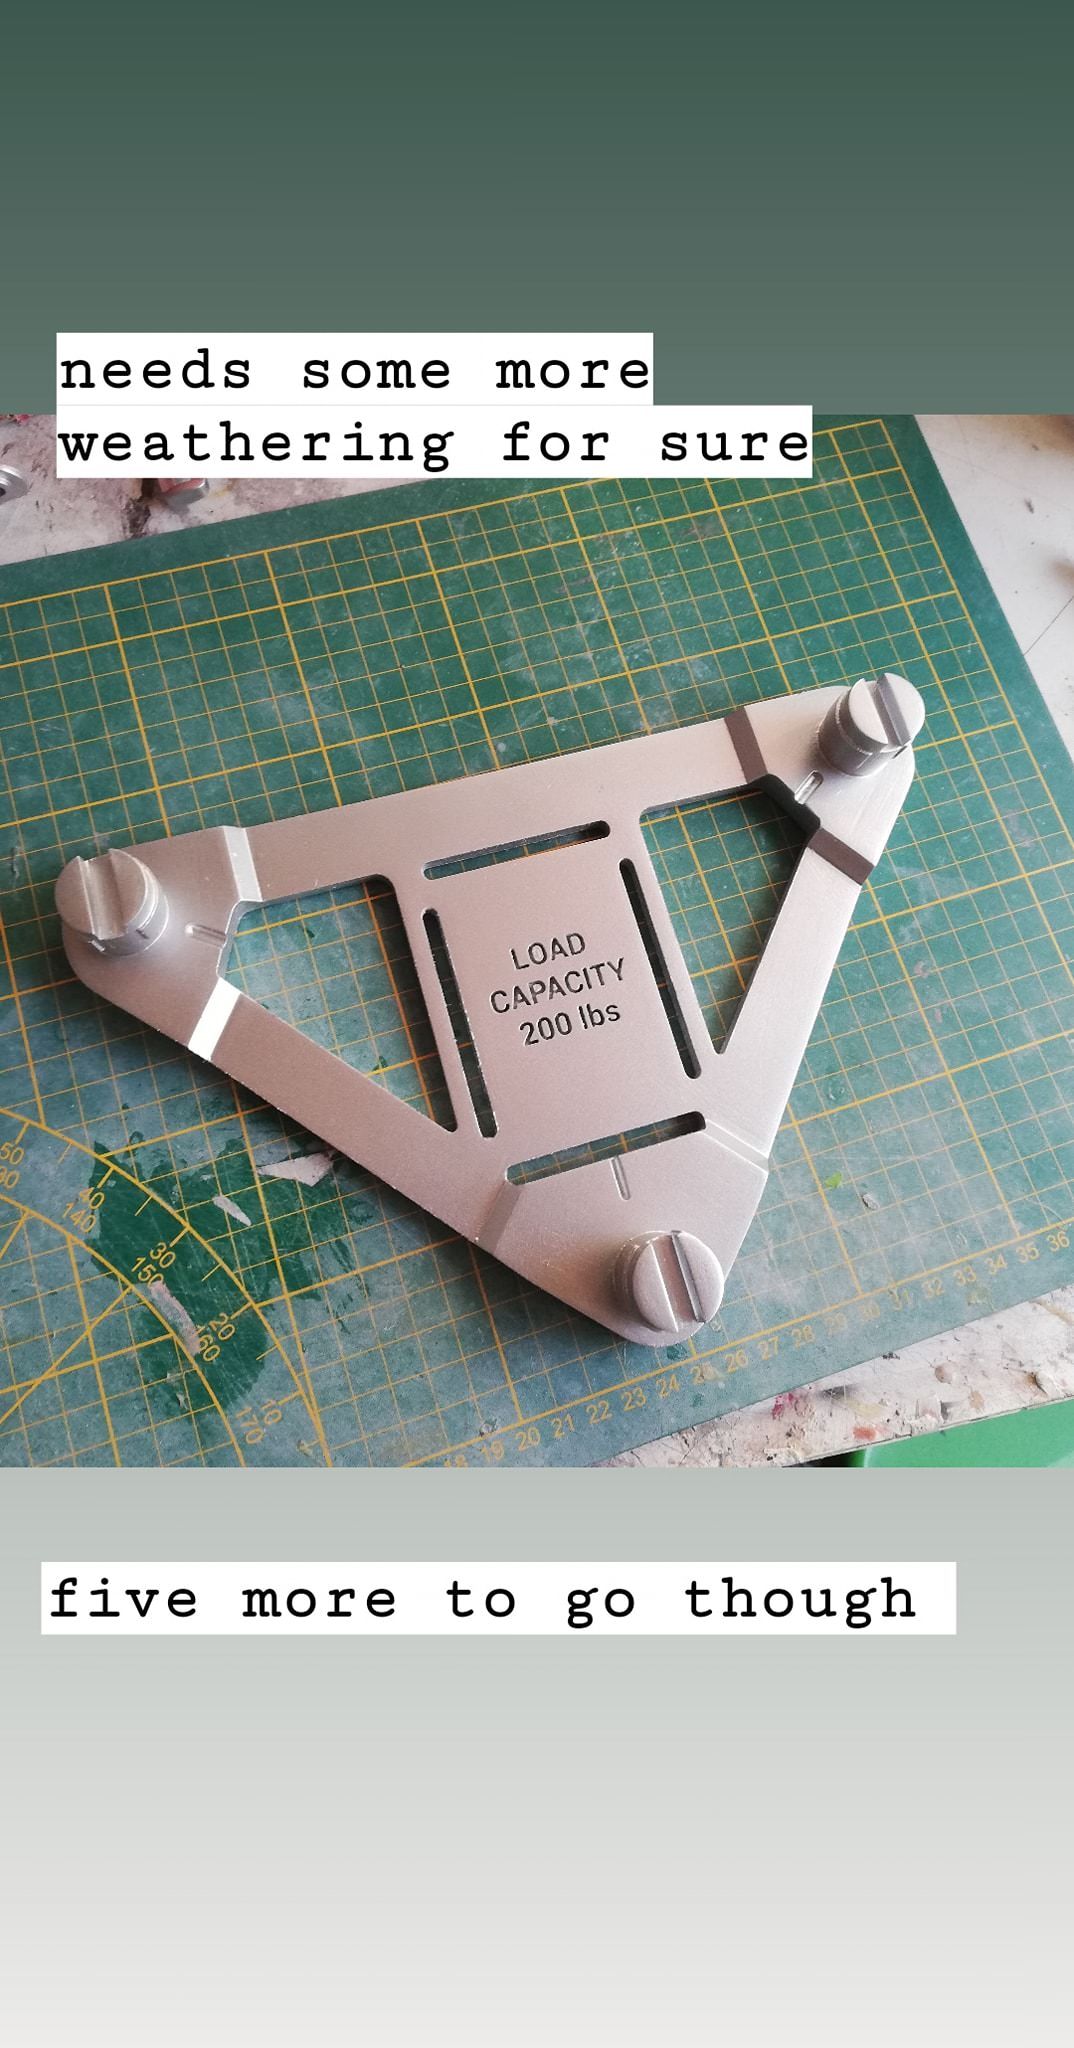
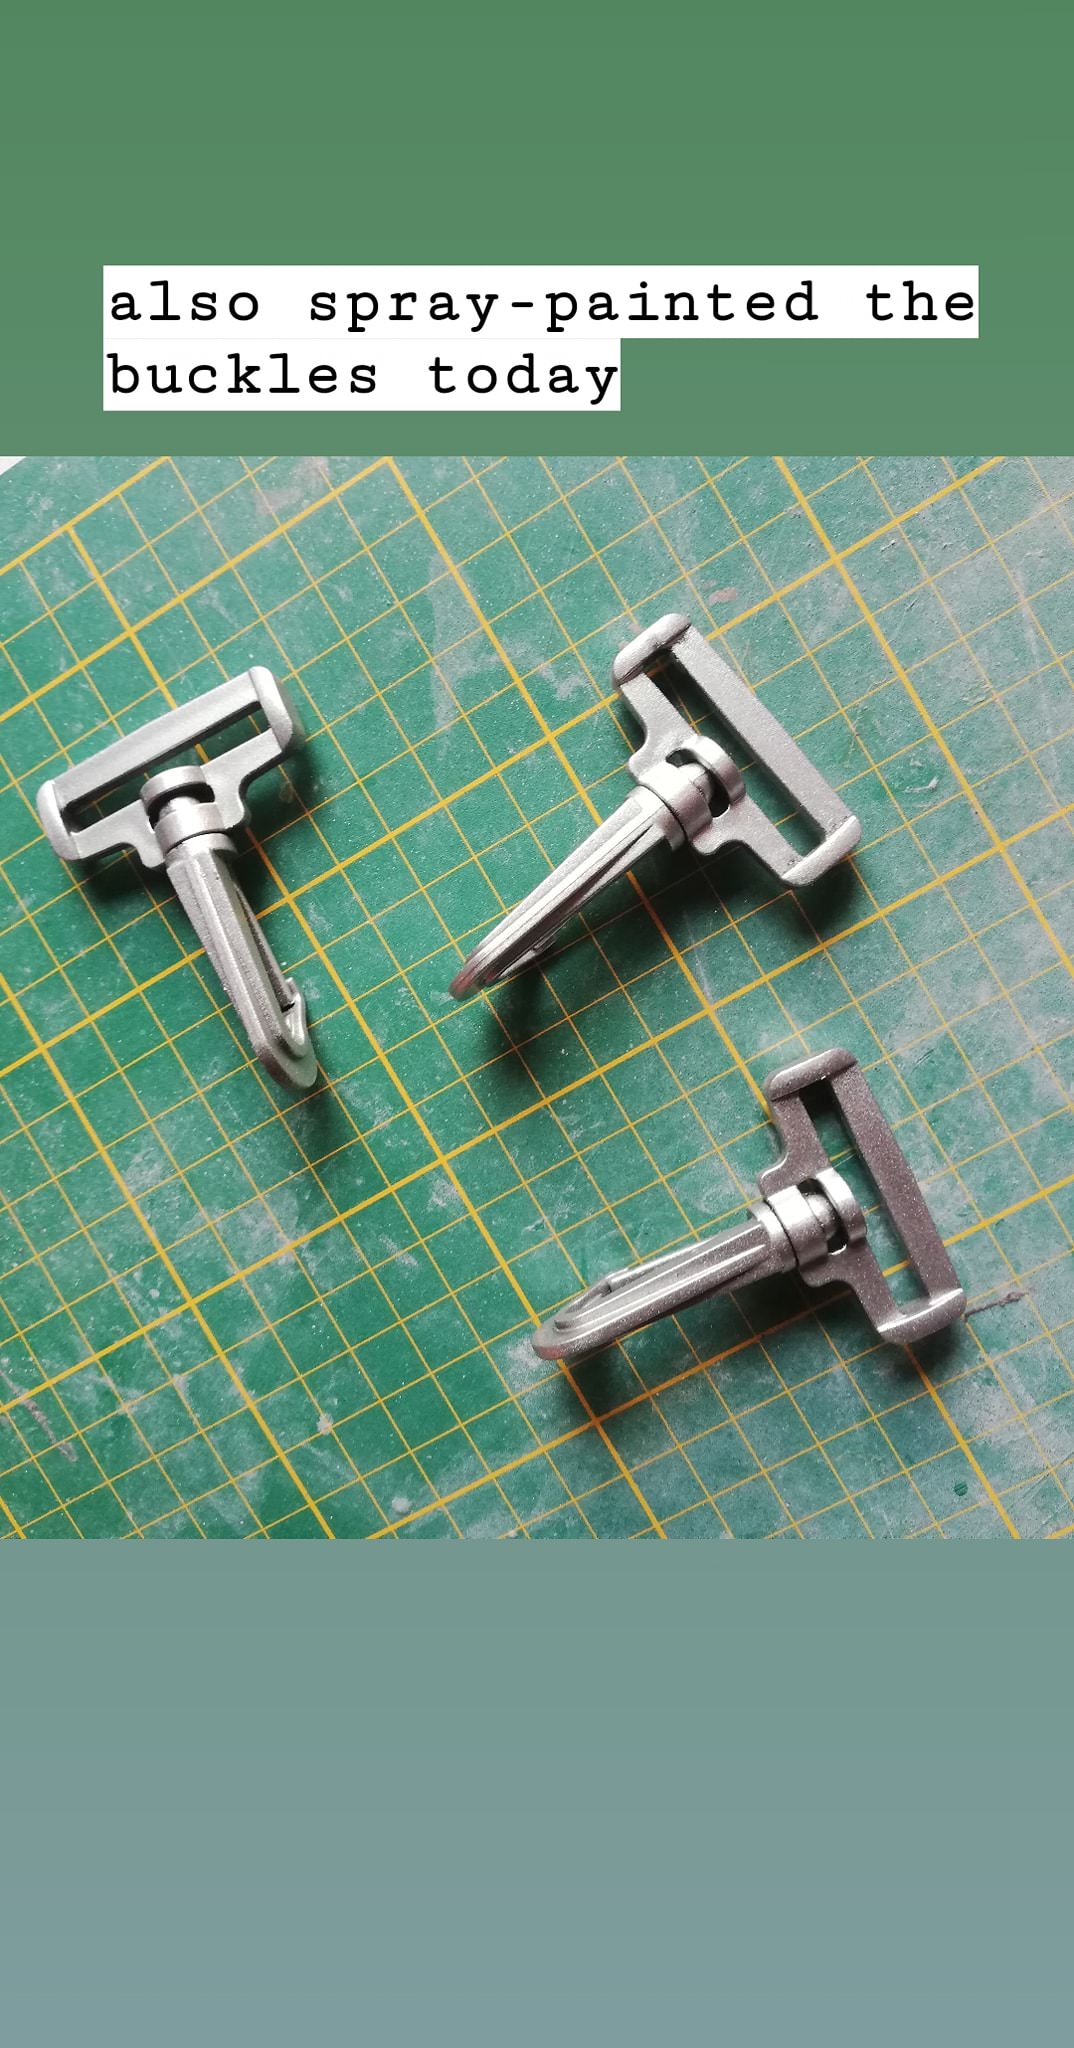
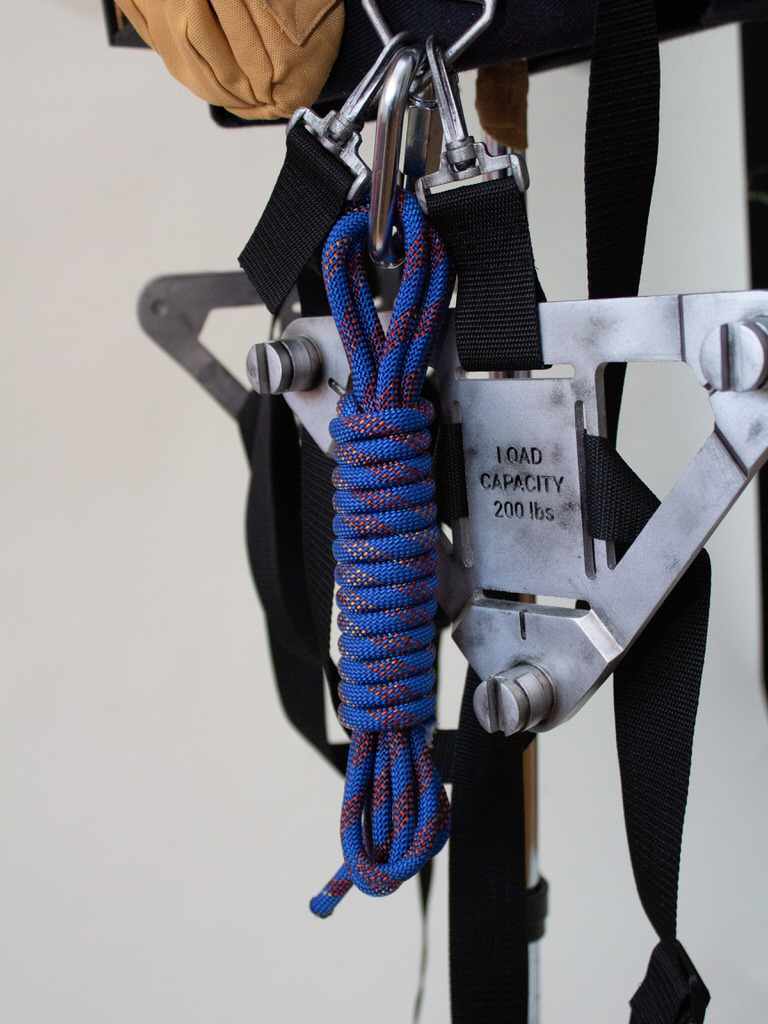
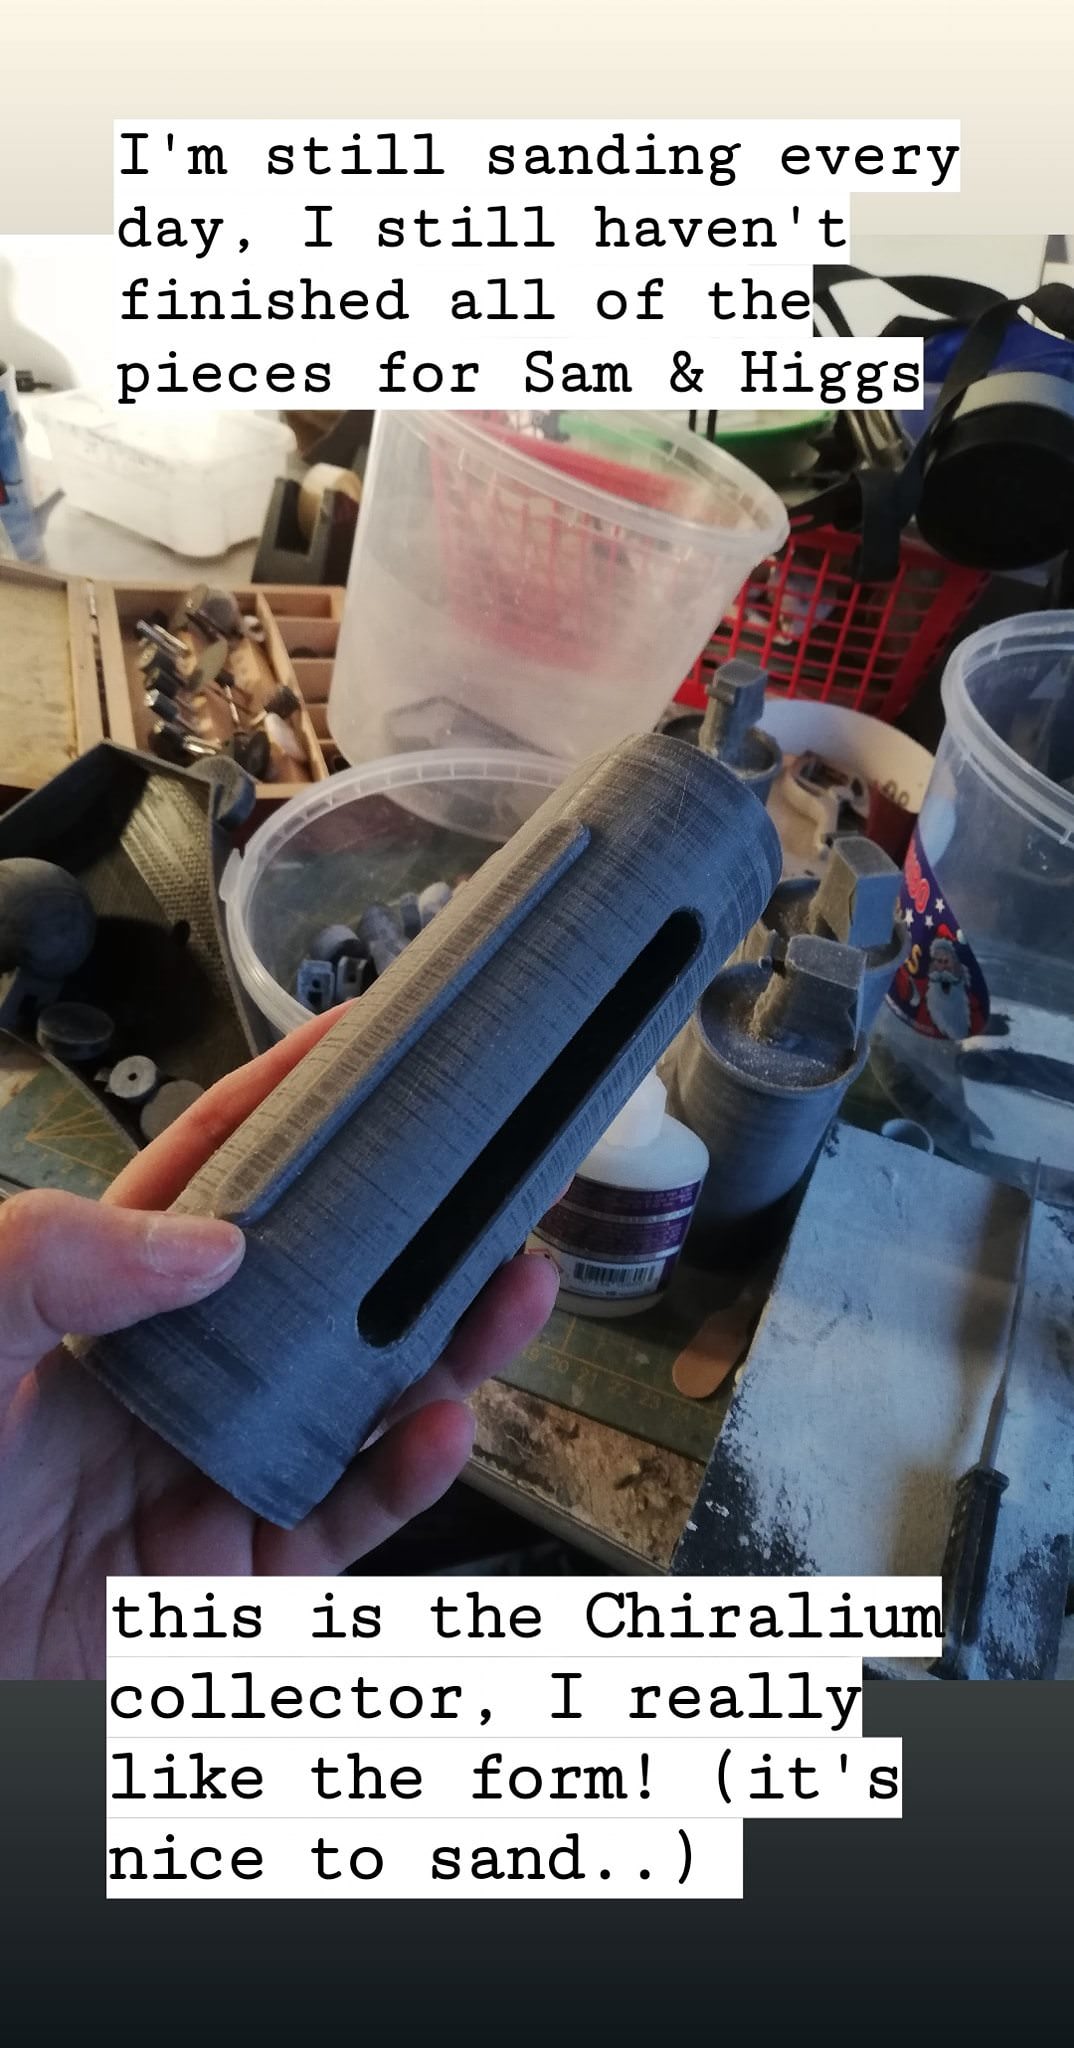
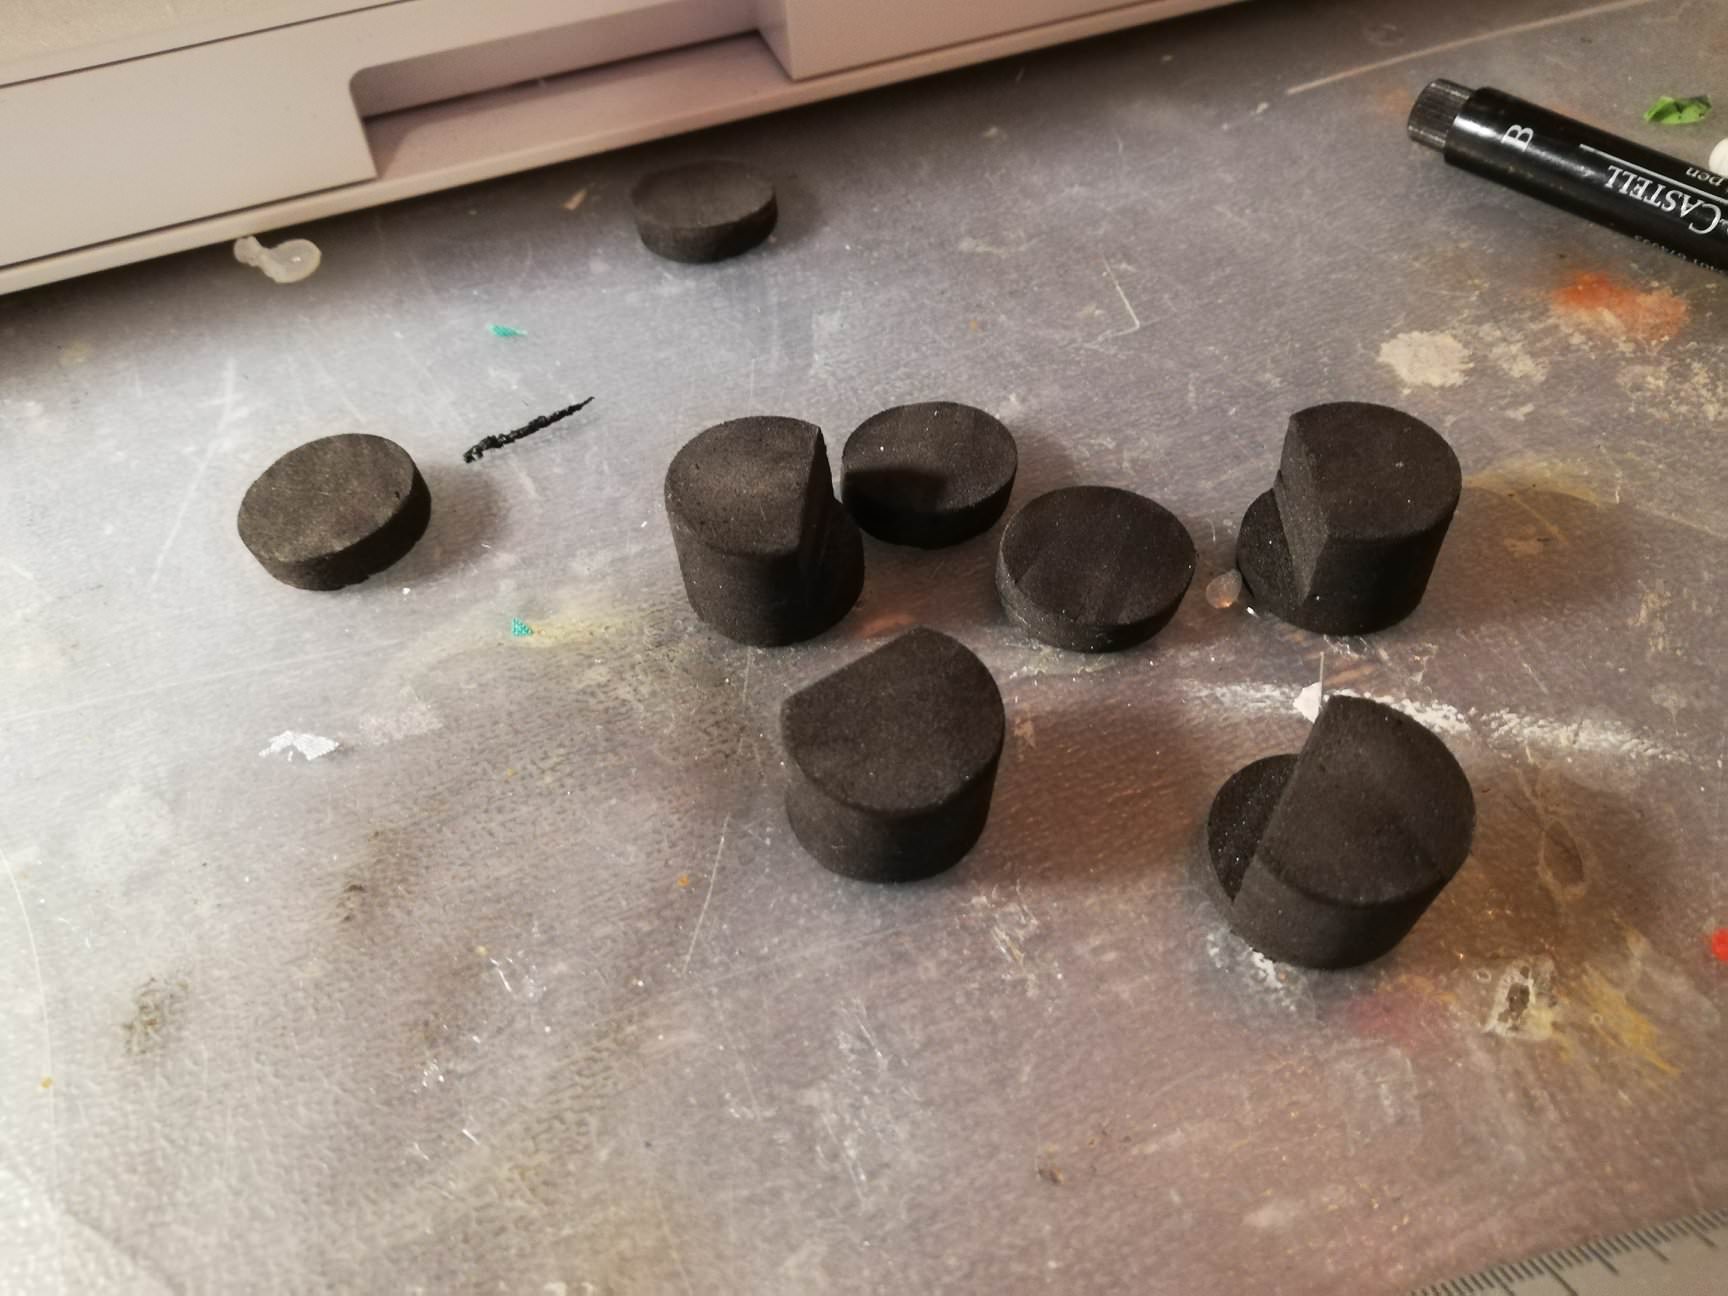
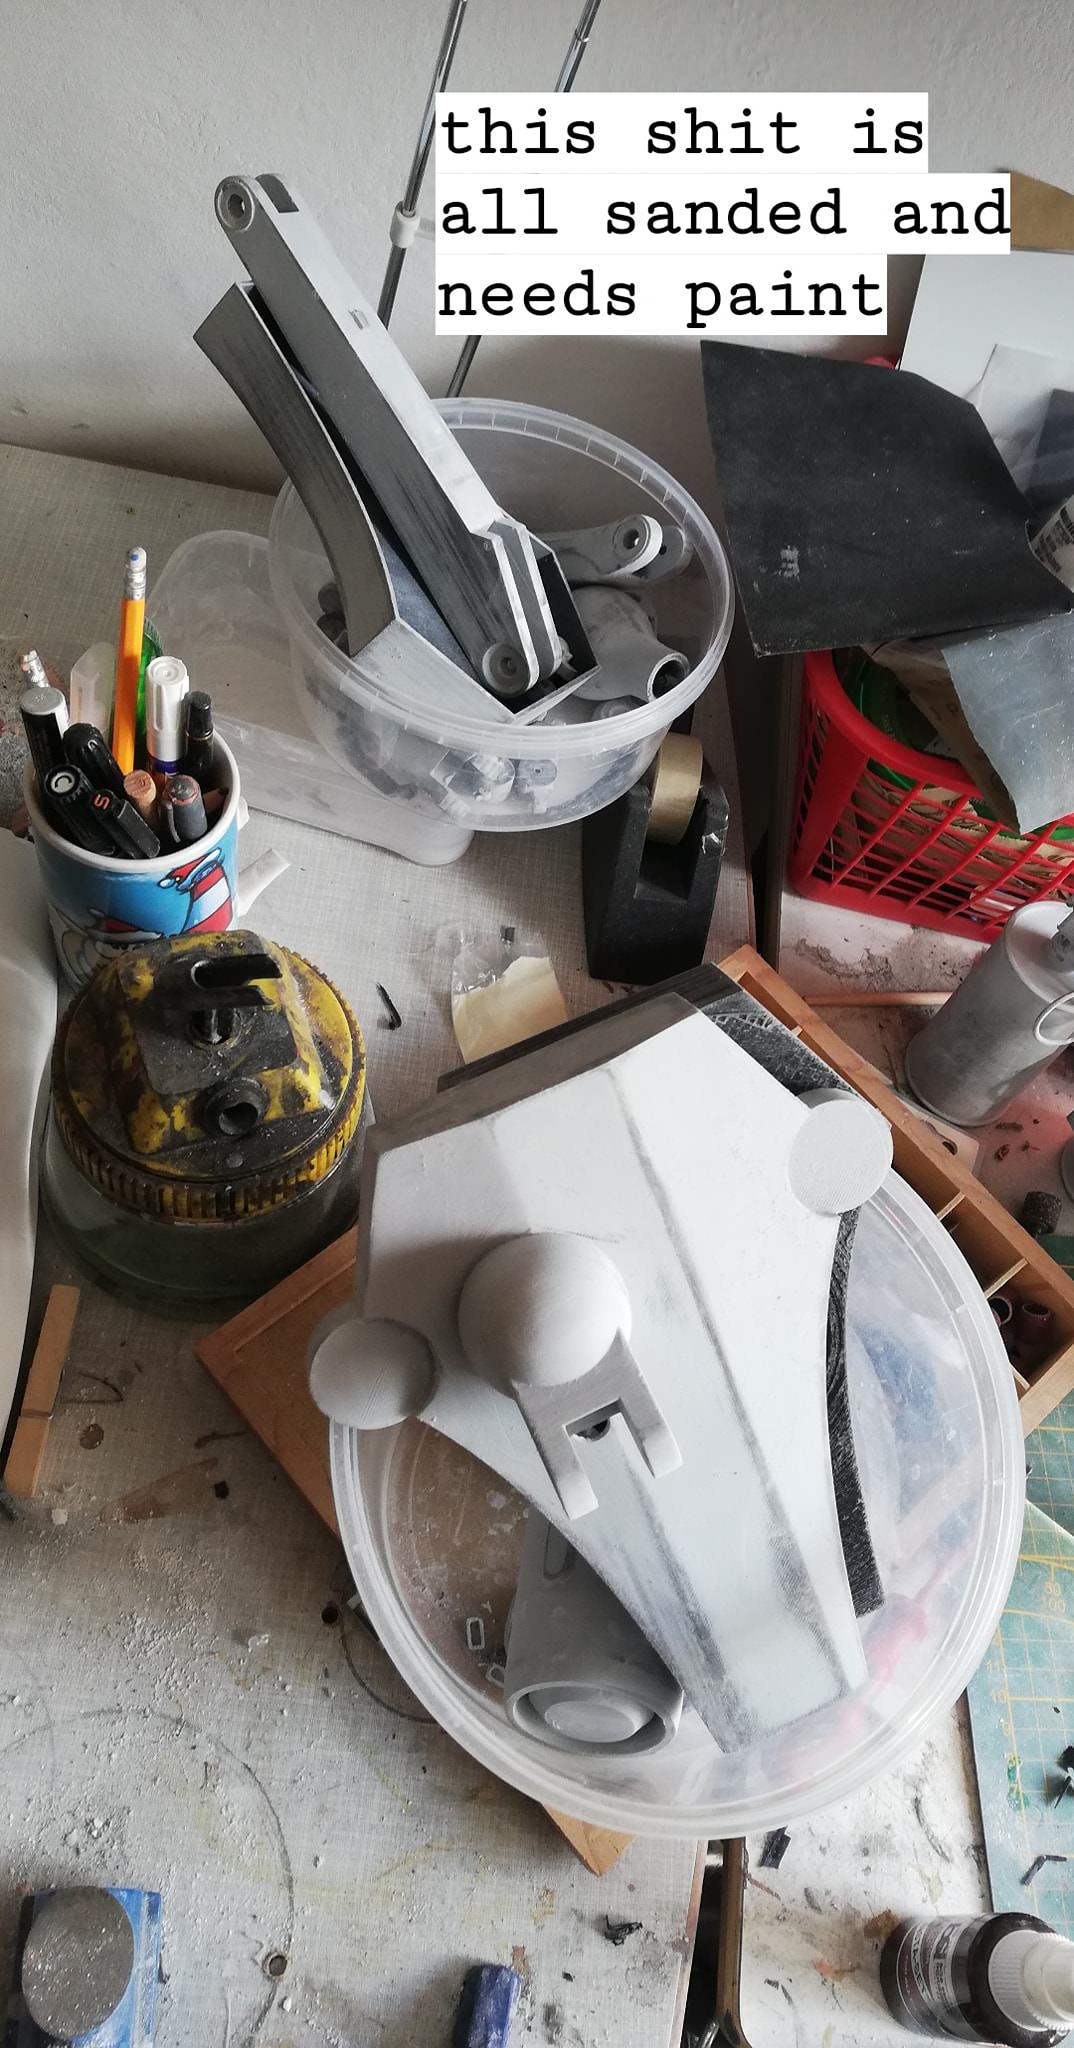
The cargo mount triangles were also modeled and printed, and we had to sand all of them smooth. Looking back now, it would have probably made sense to just sand one and cast the other five, haha.
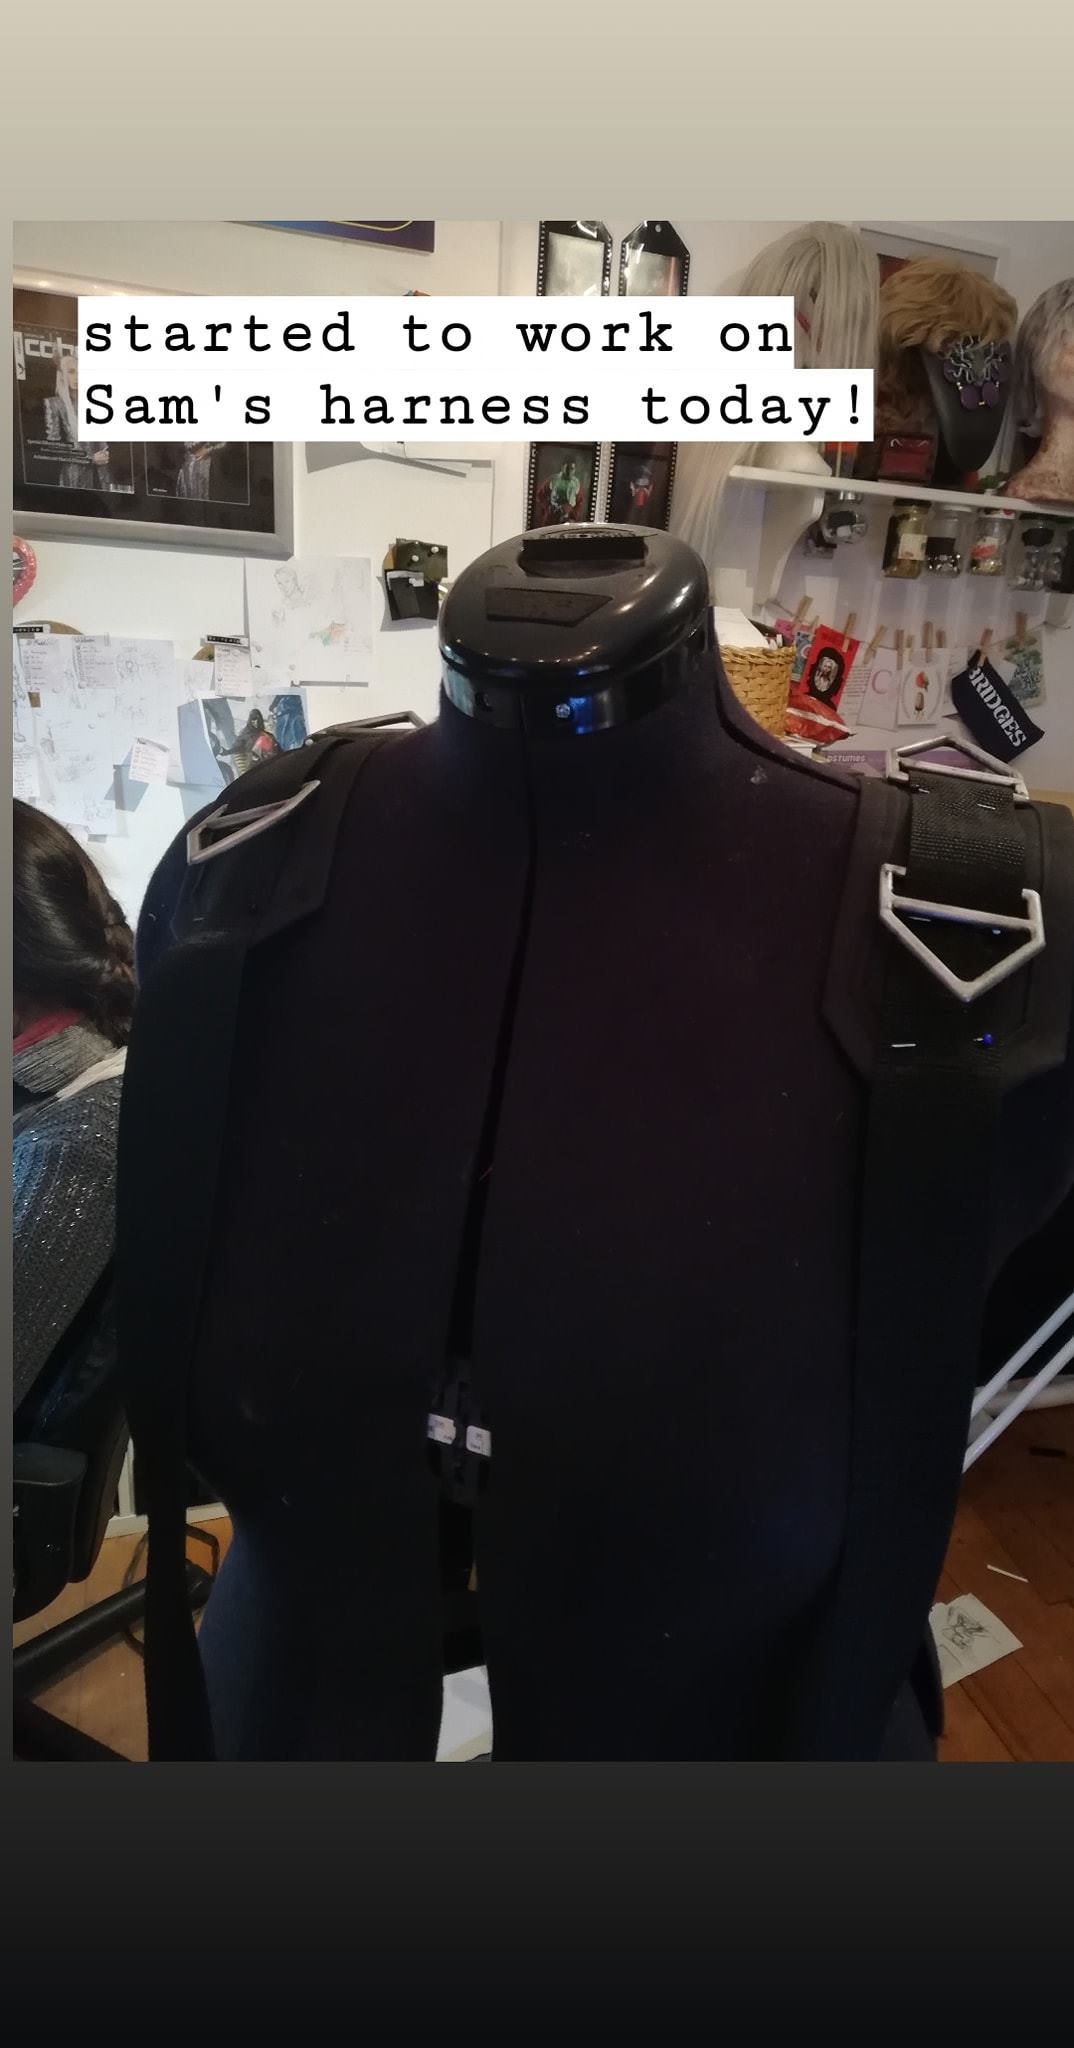
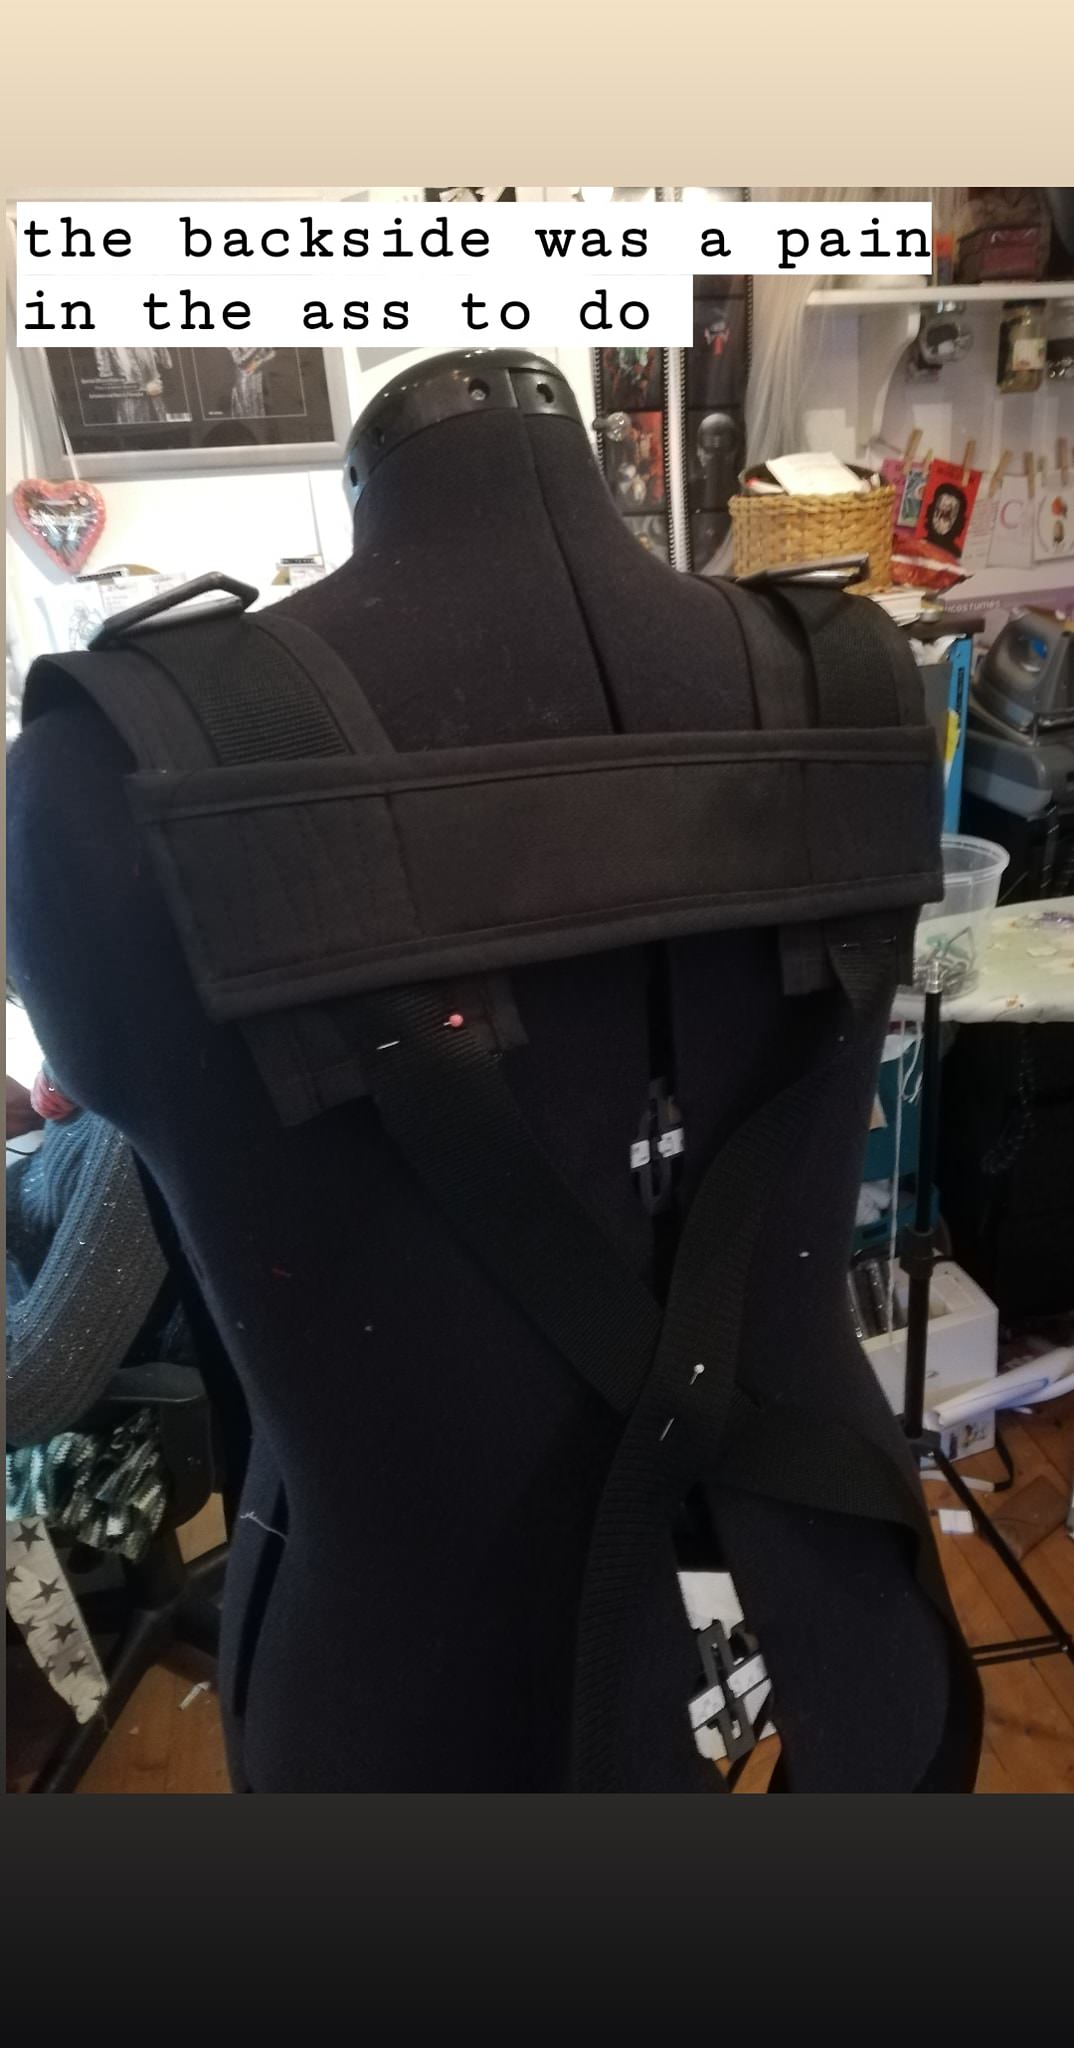
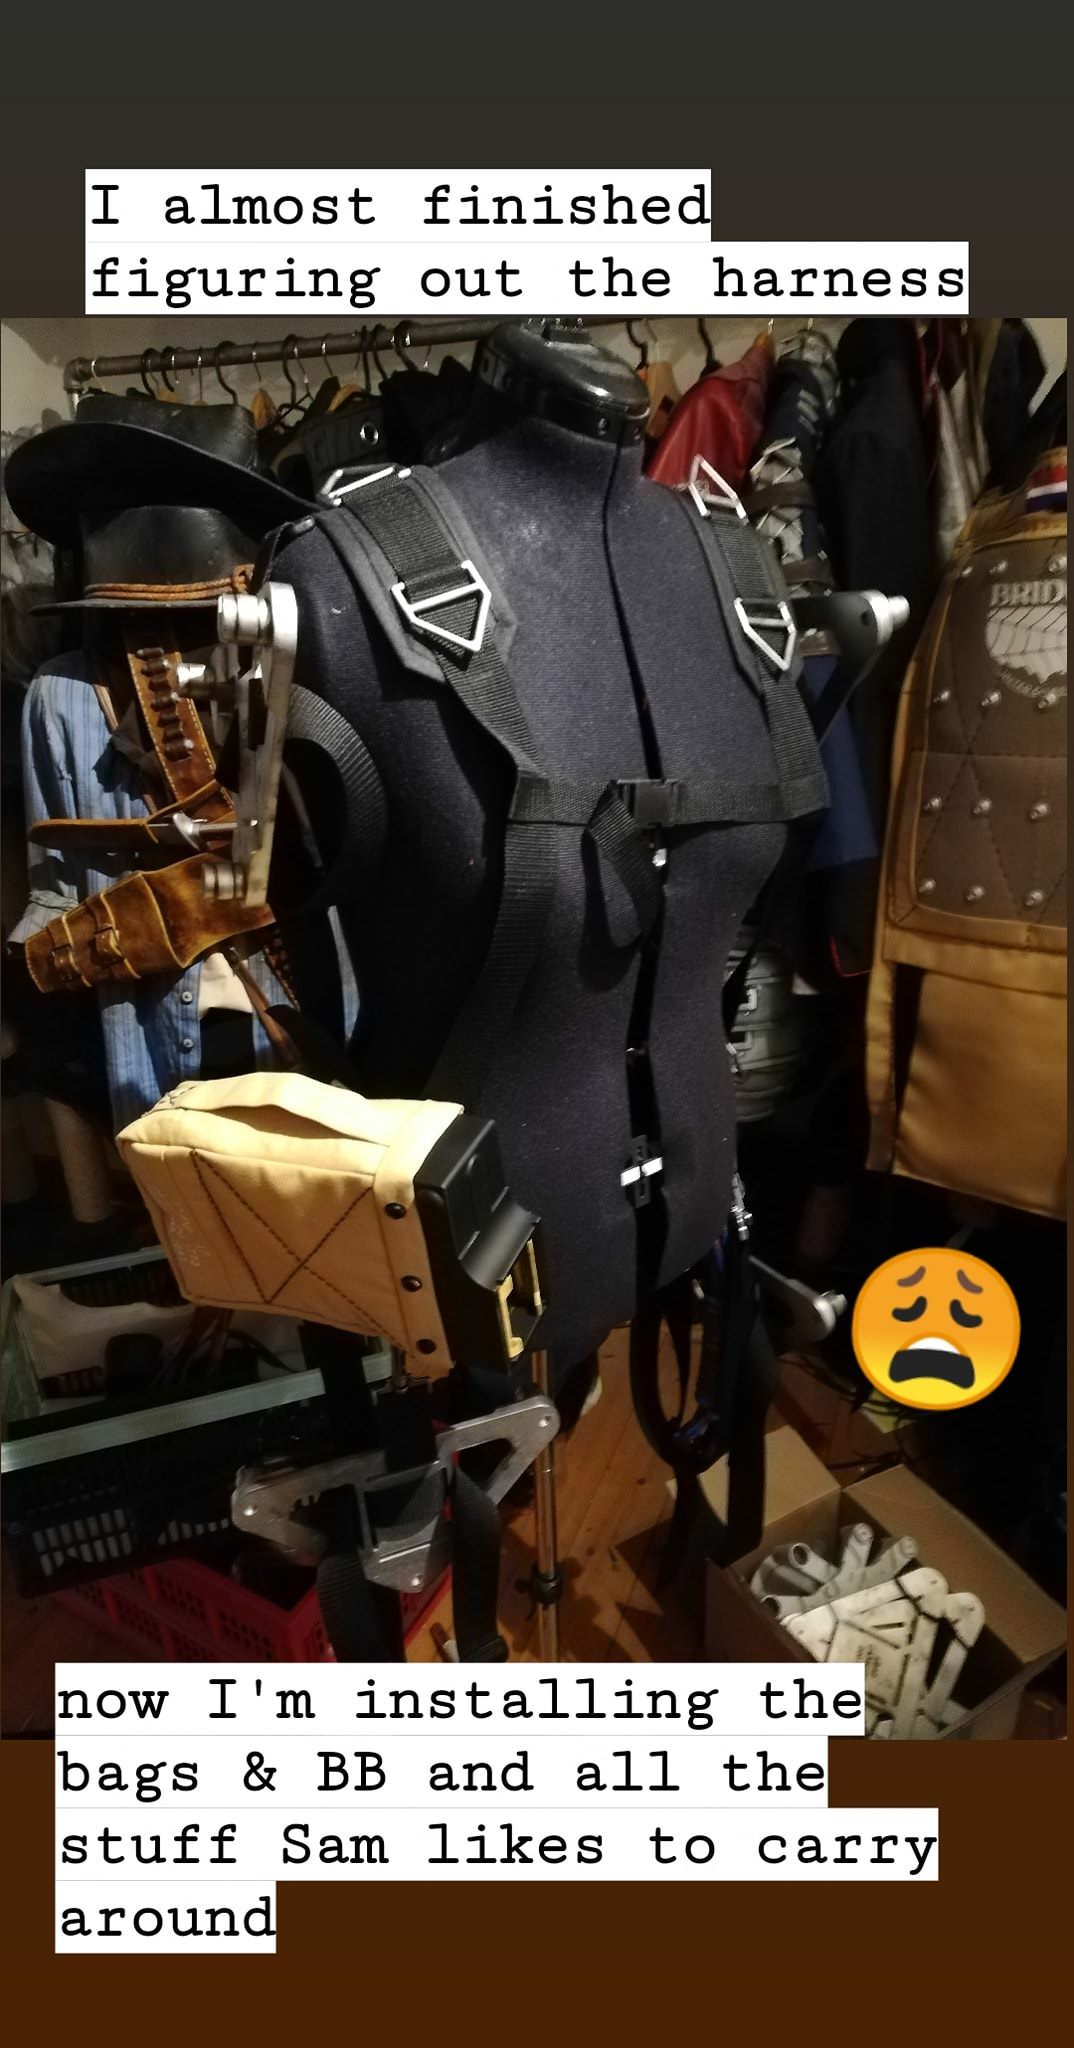
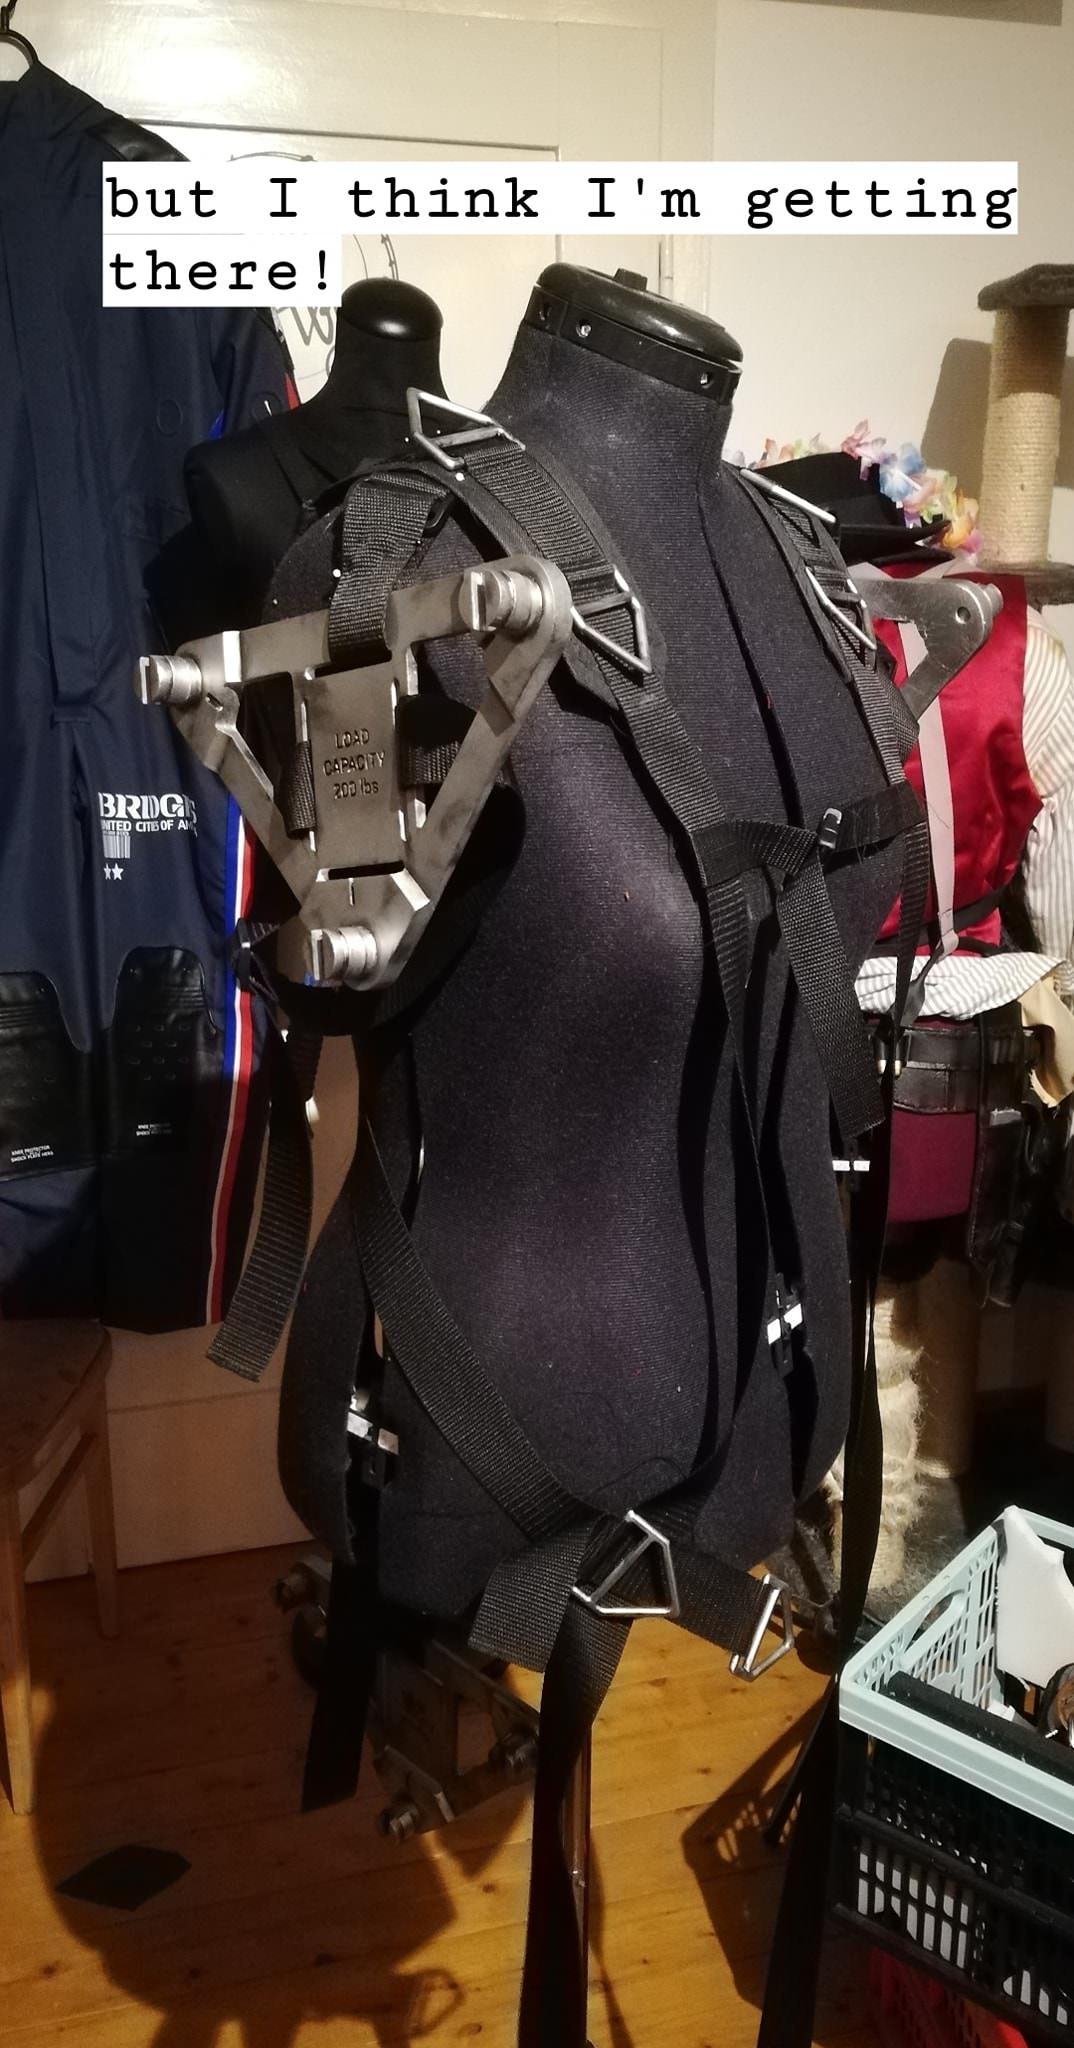
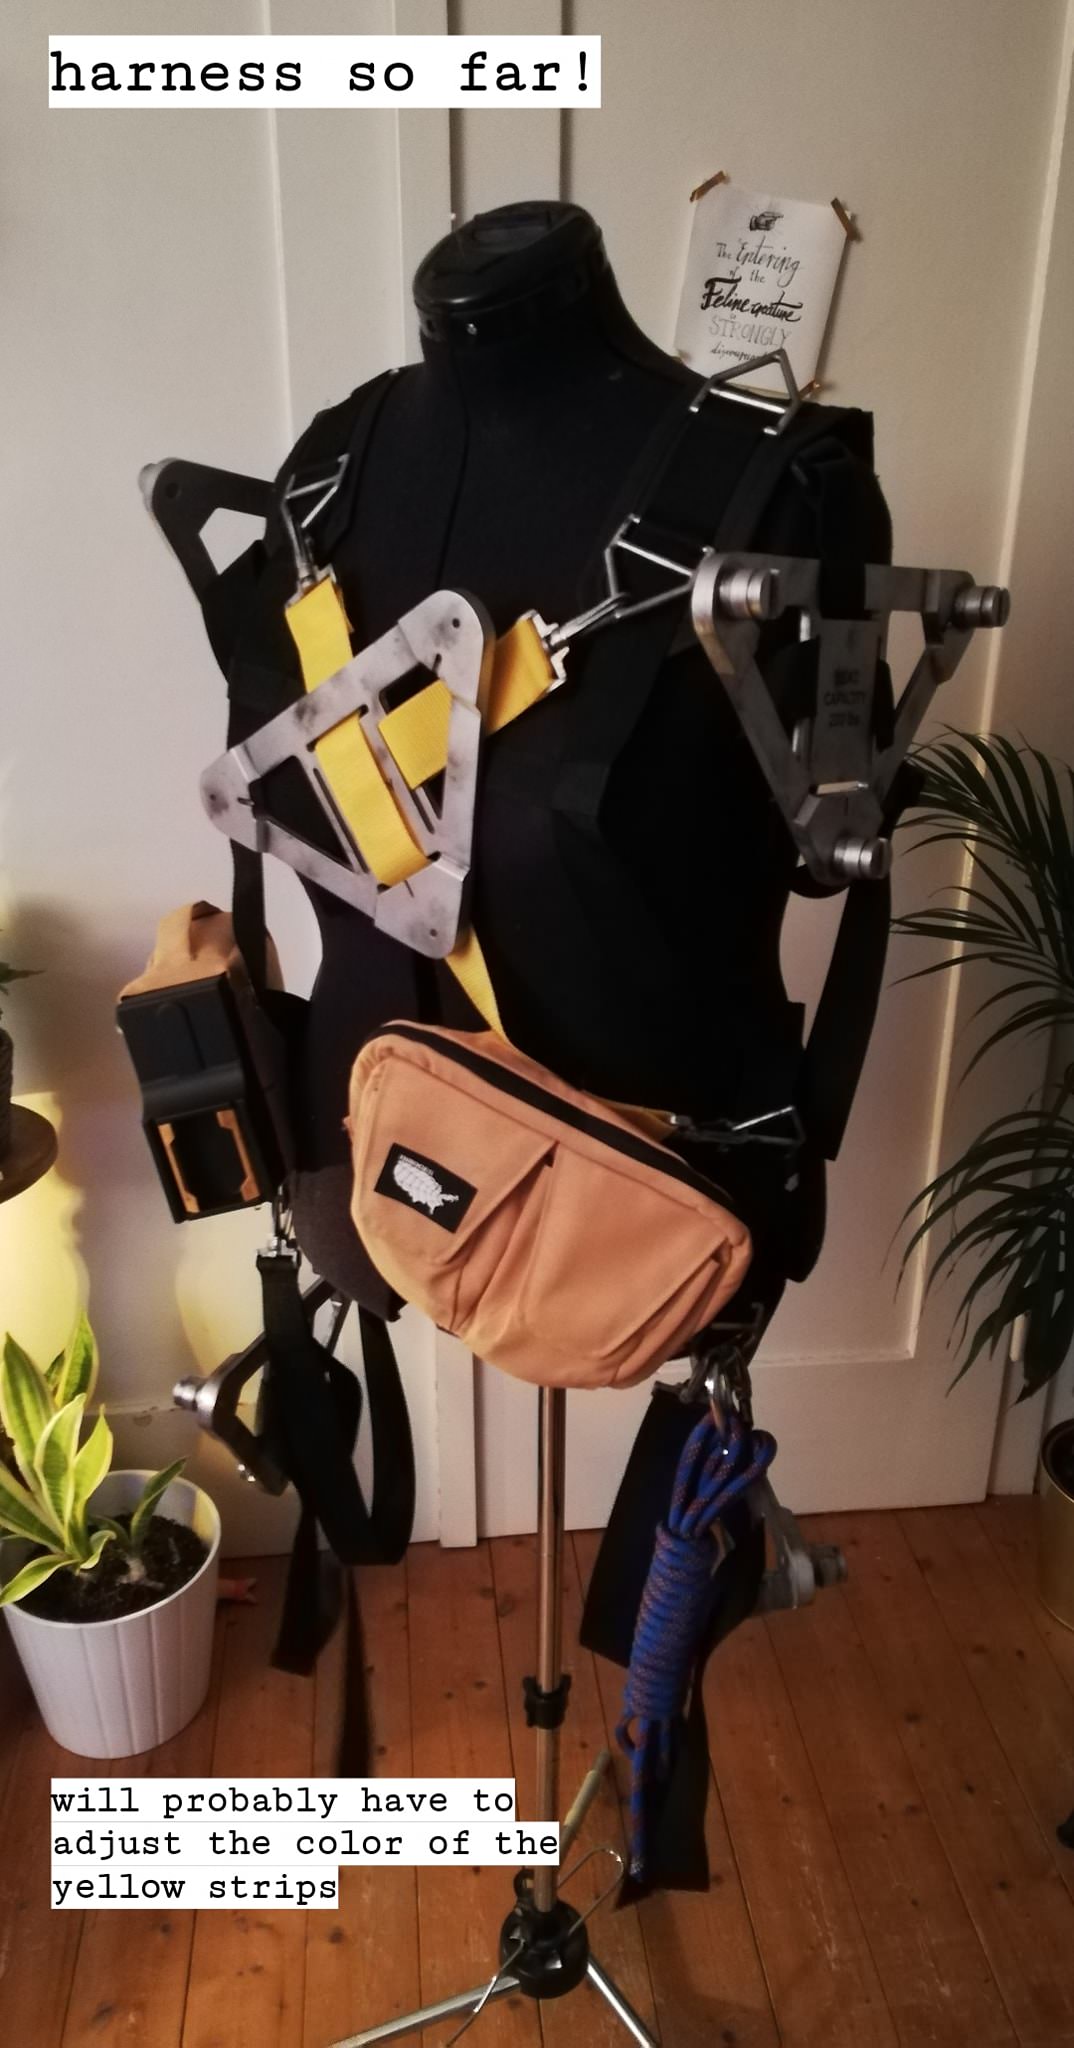
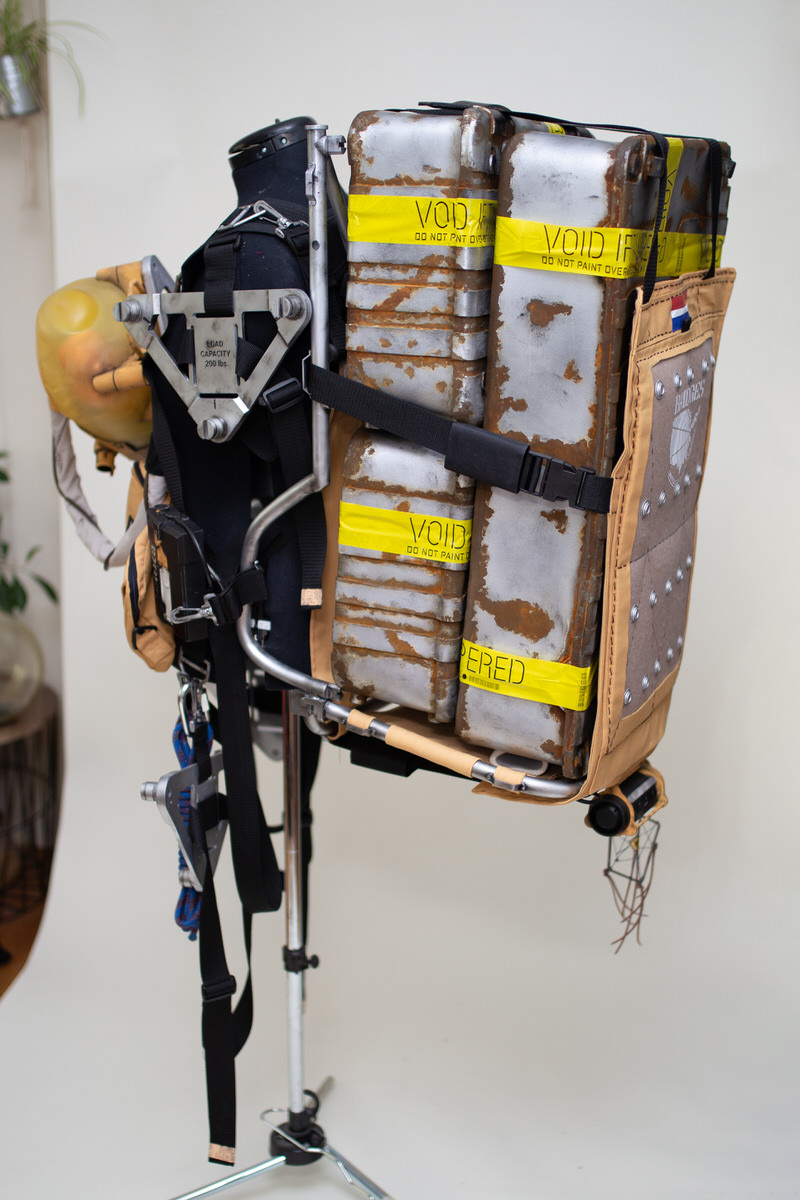
The actual harness needed over 20 meters of belt straps to work. We draped them on our mannequin and sewed most things in place. Some of the loops on the arm and legs are still adjustable though. One thing that totally amazed us, is that the harness is really functional, it works in real life, despite being designed for a video game character!
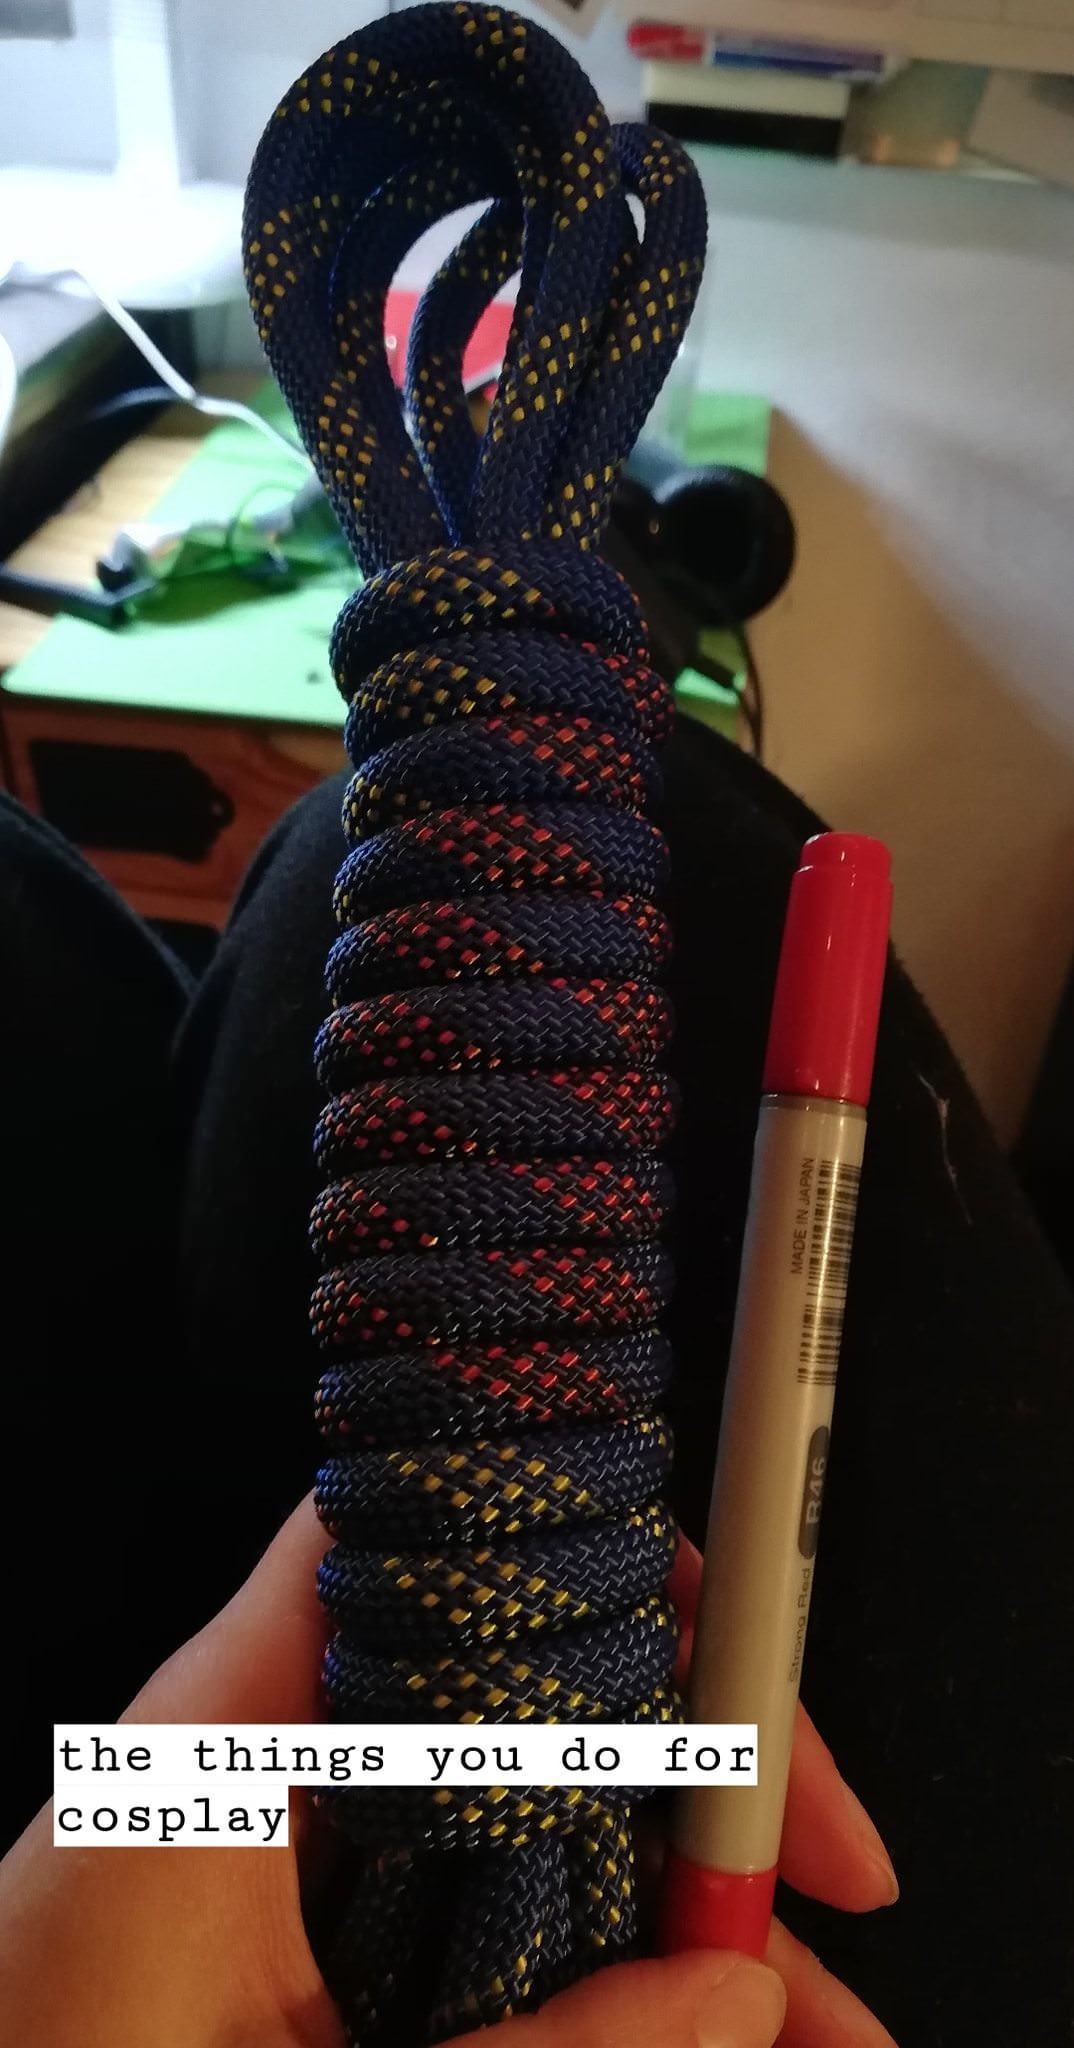
The strand was tied and glued together, before we painted it to match the one Sam has. The rope for that was actually a gift from our Fragile (Symphonia Cosplay), who needs the same strand for her costume.


Higgs mask
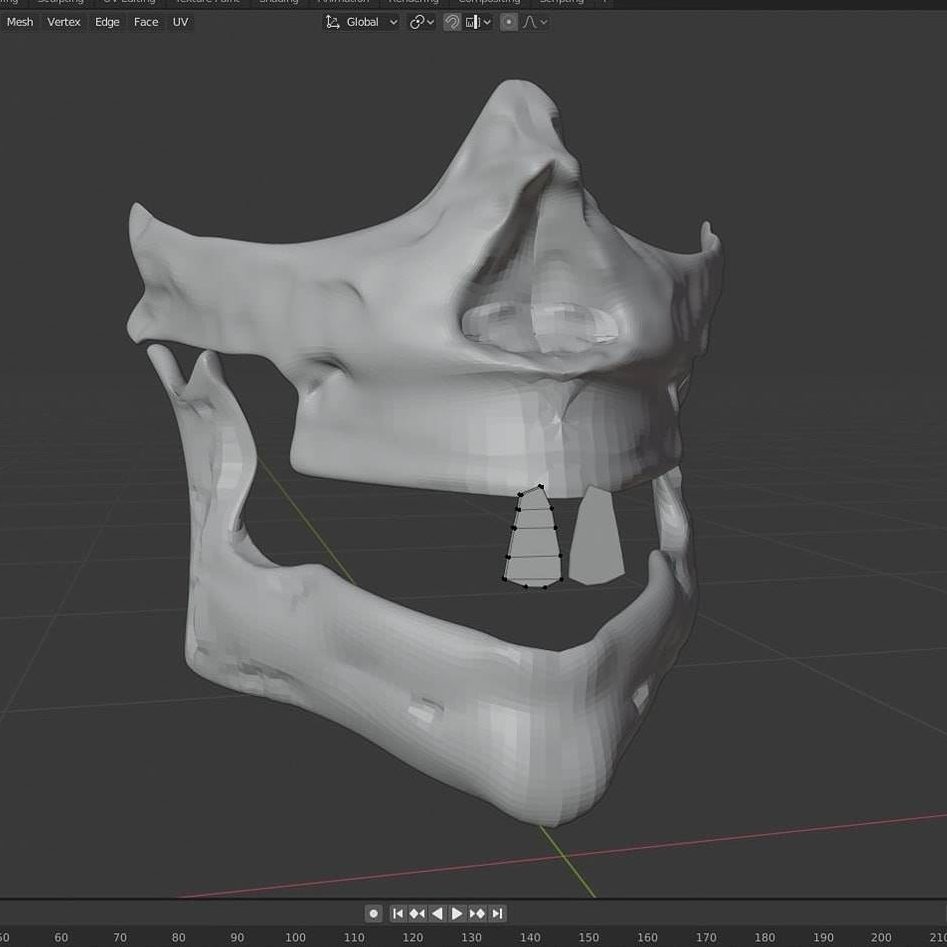
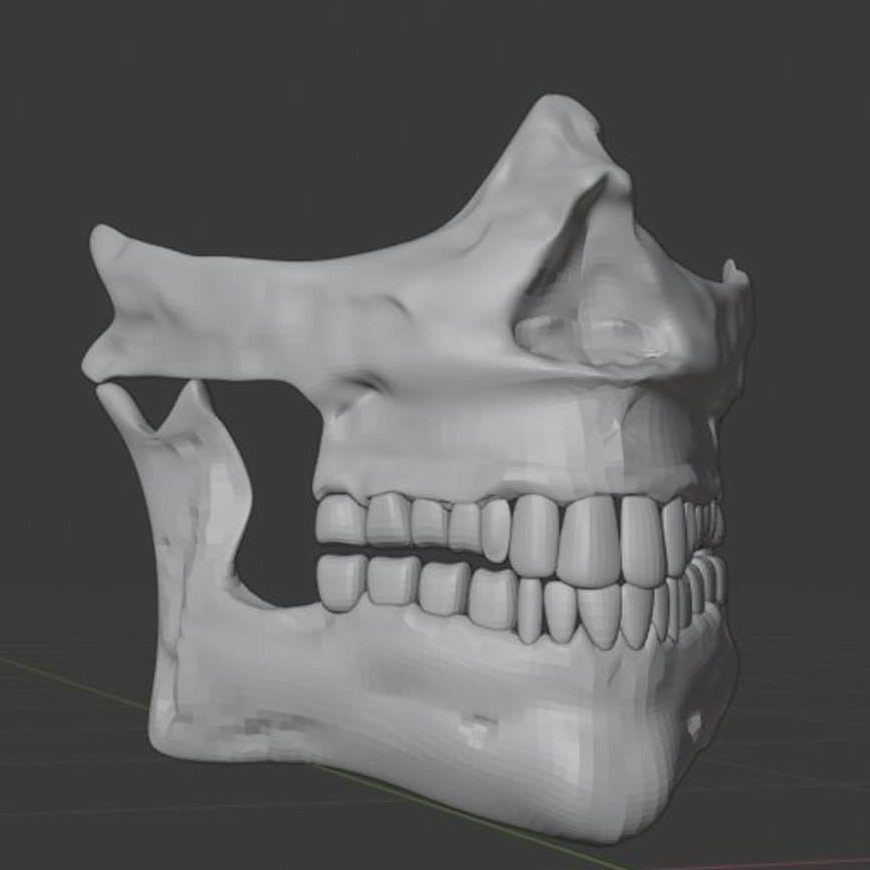
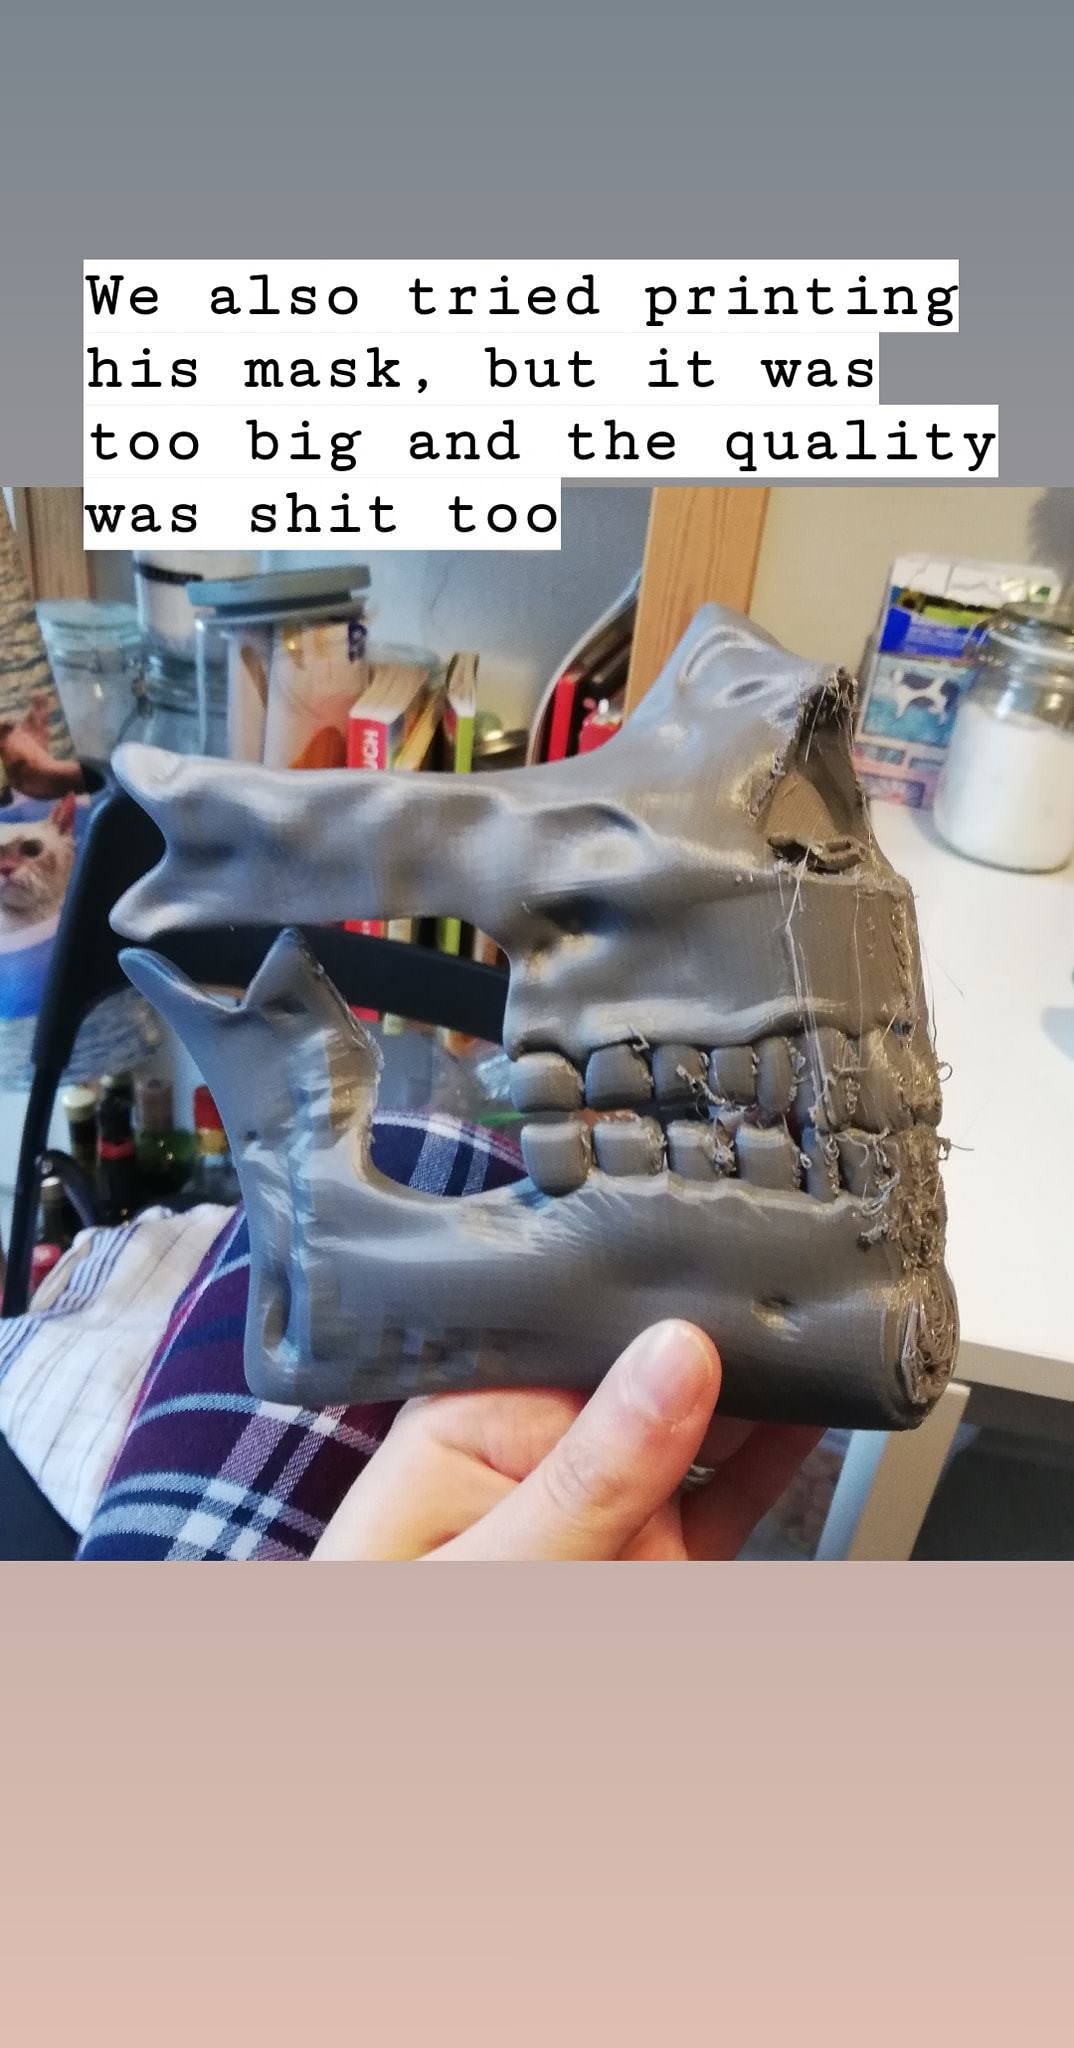
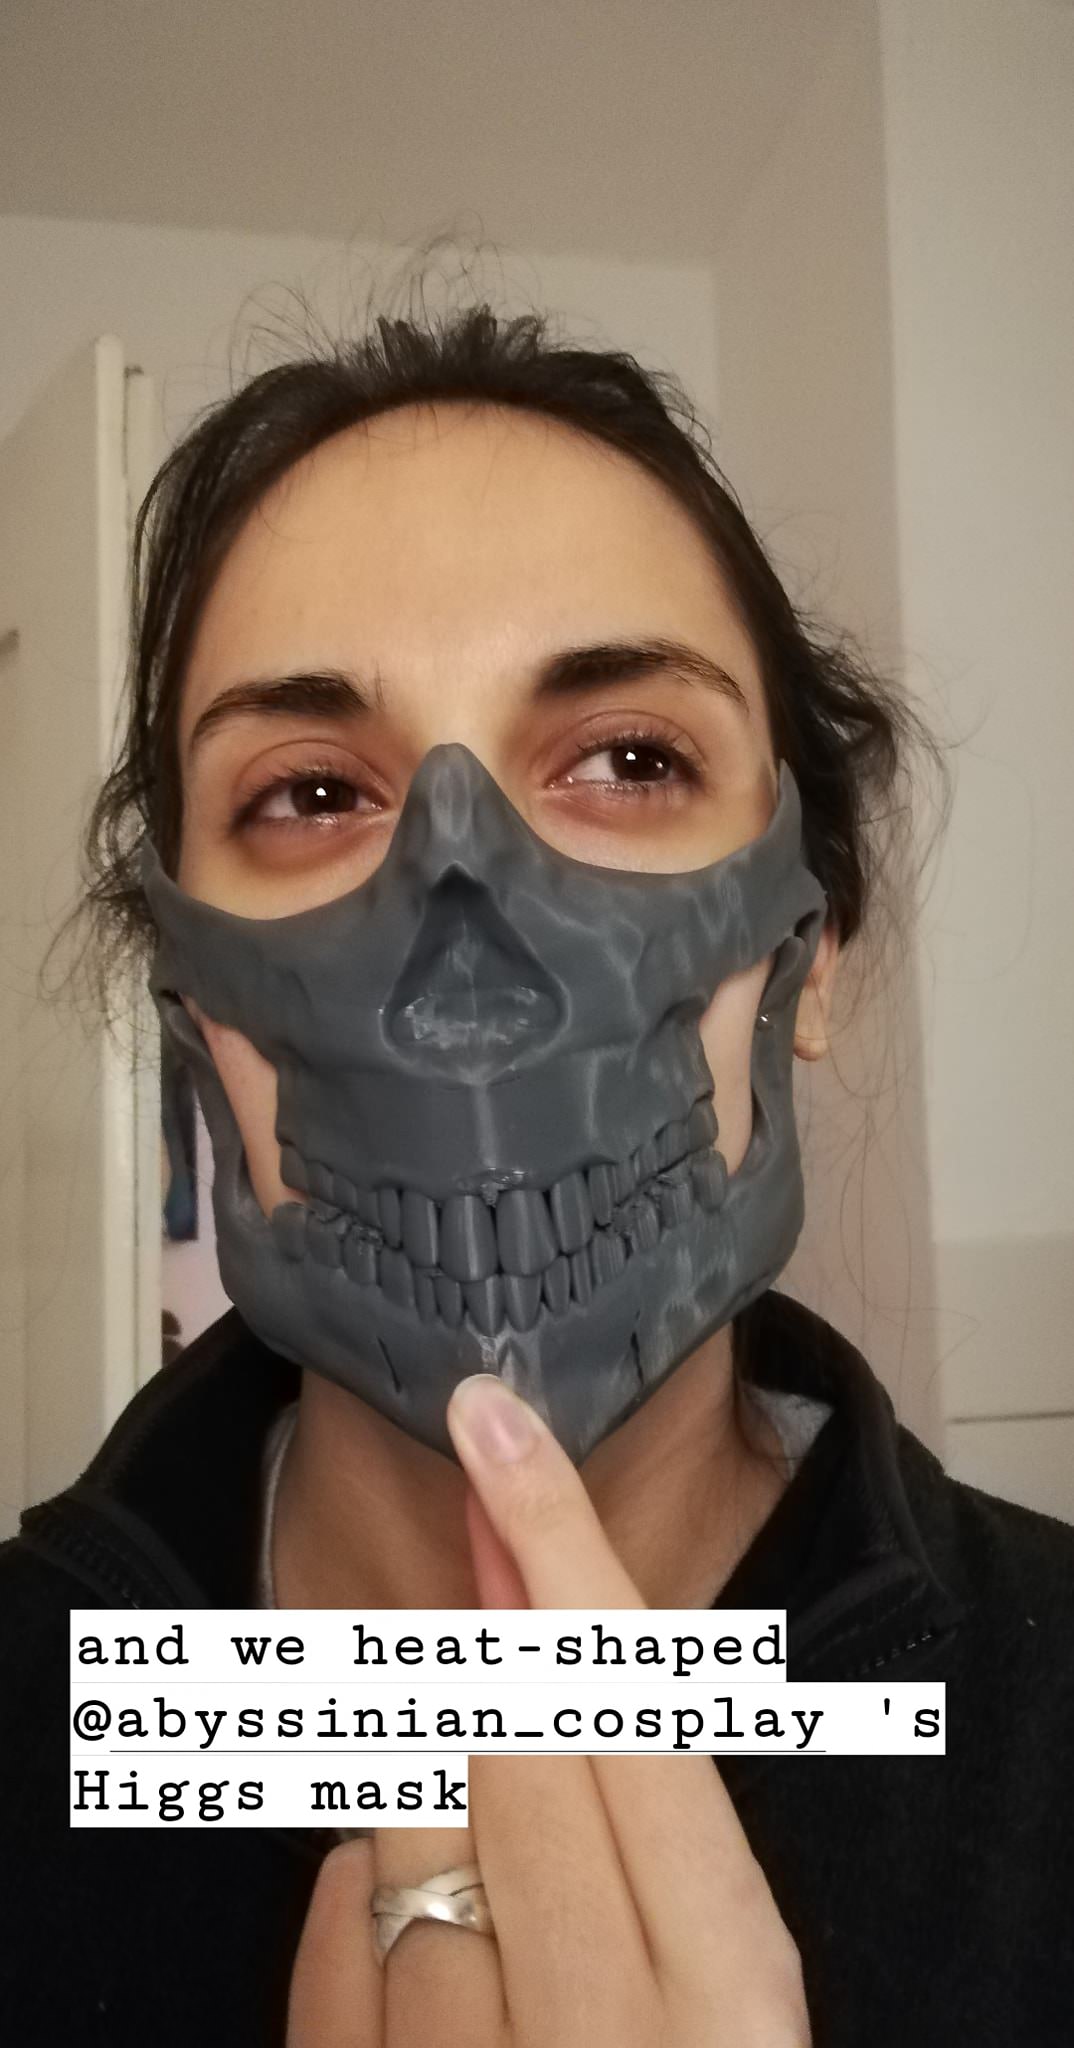
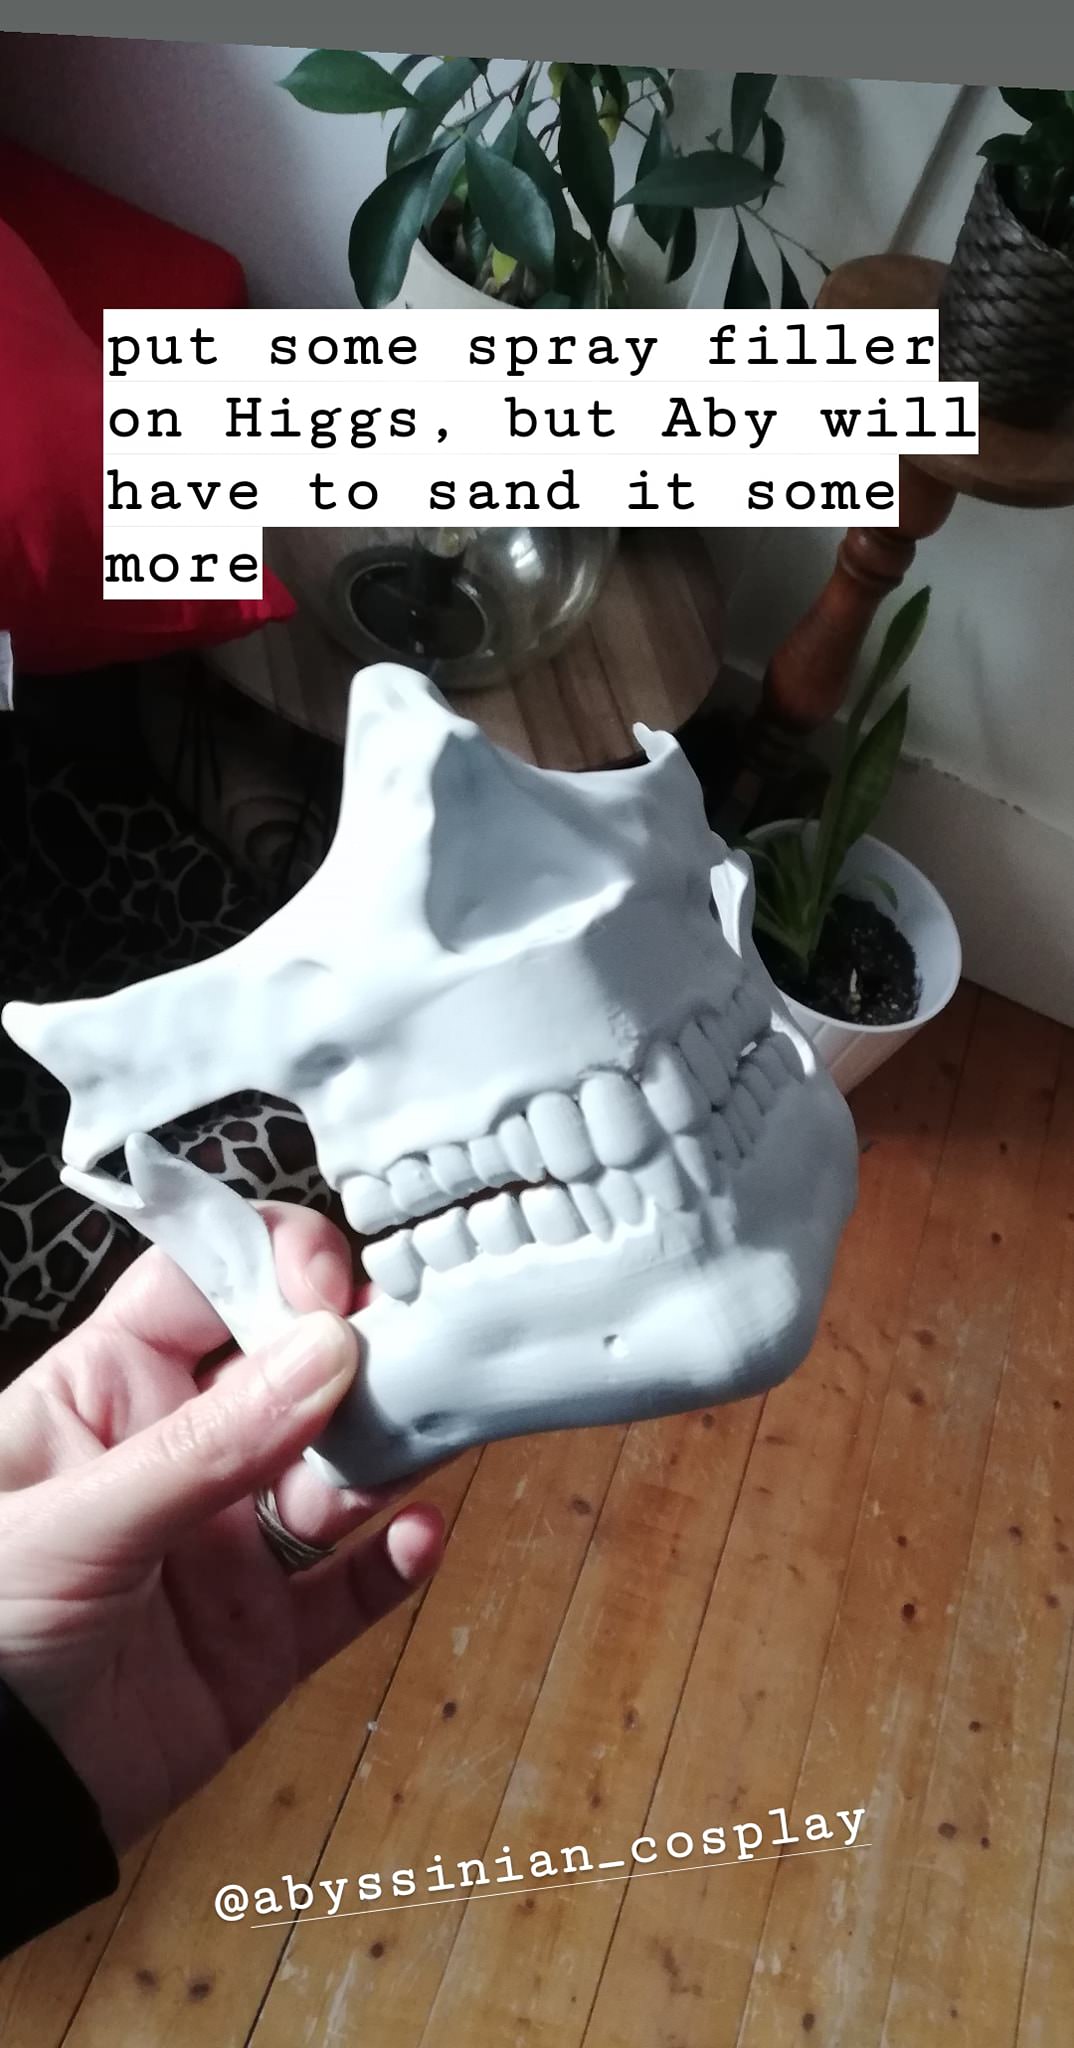
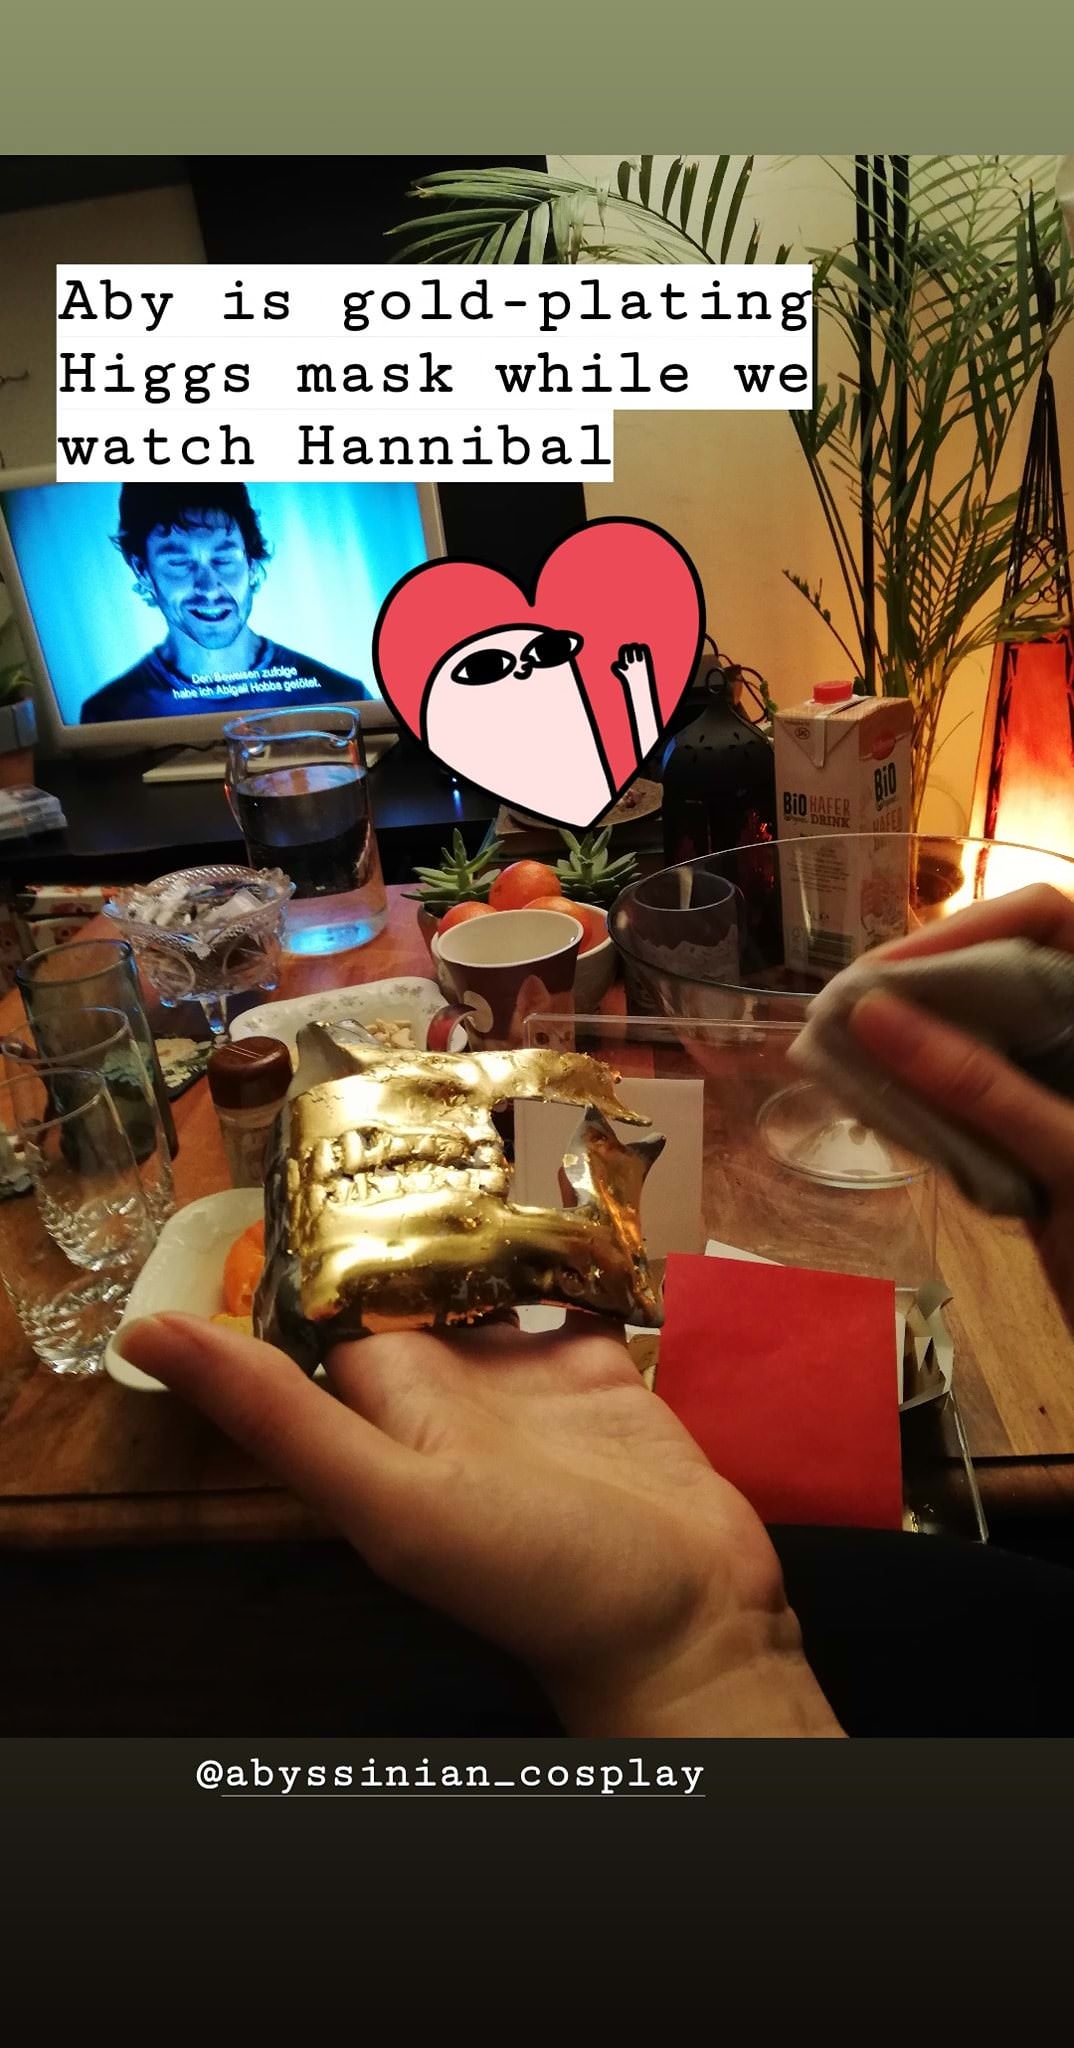
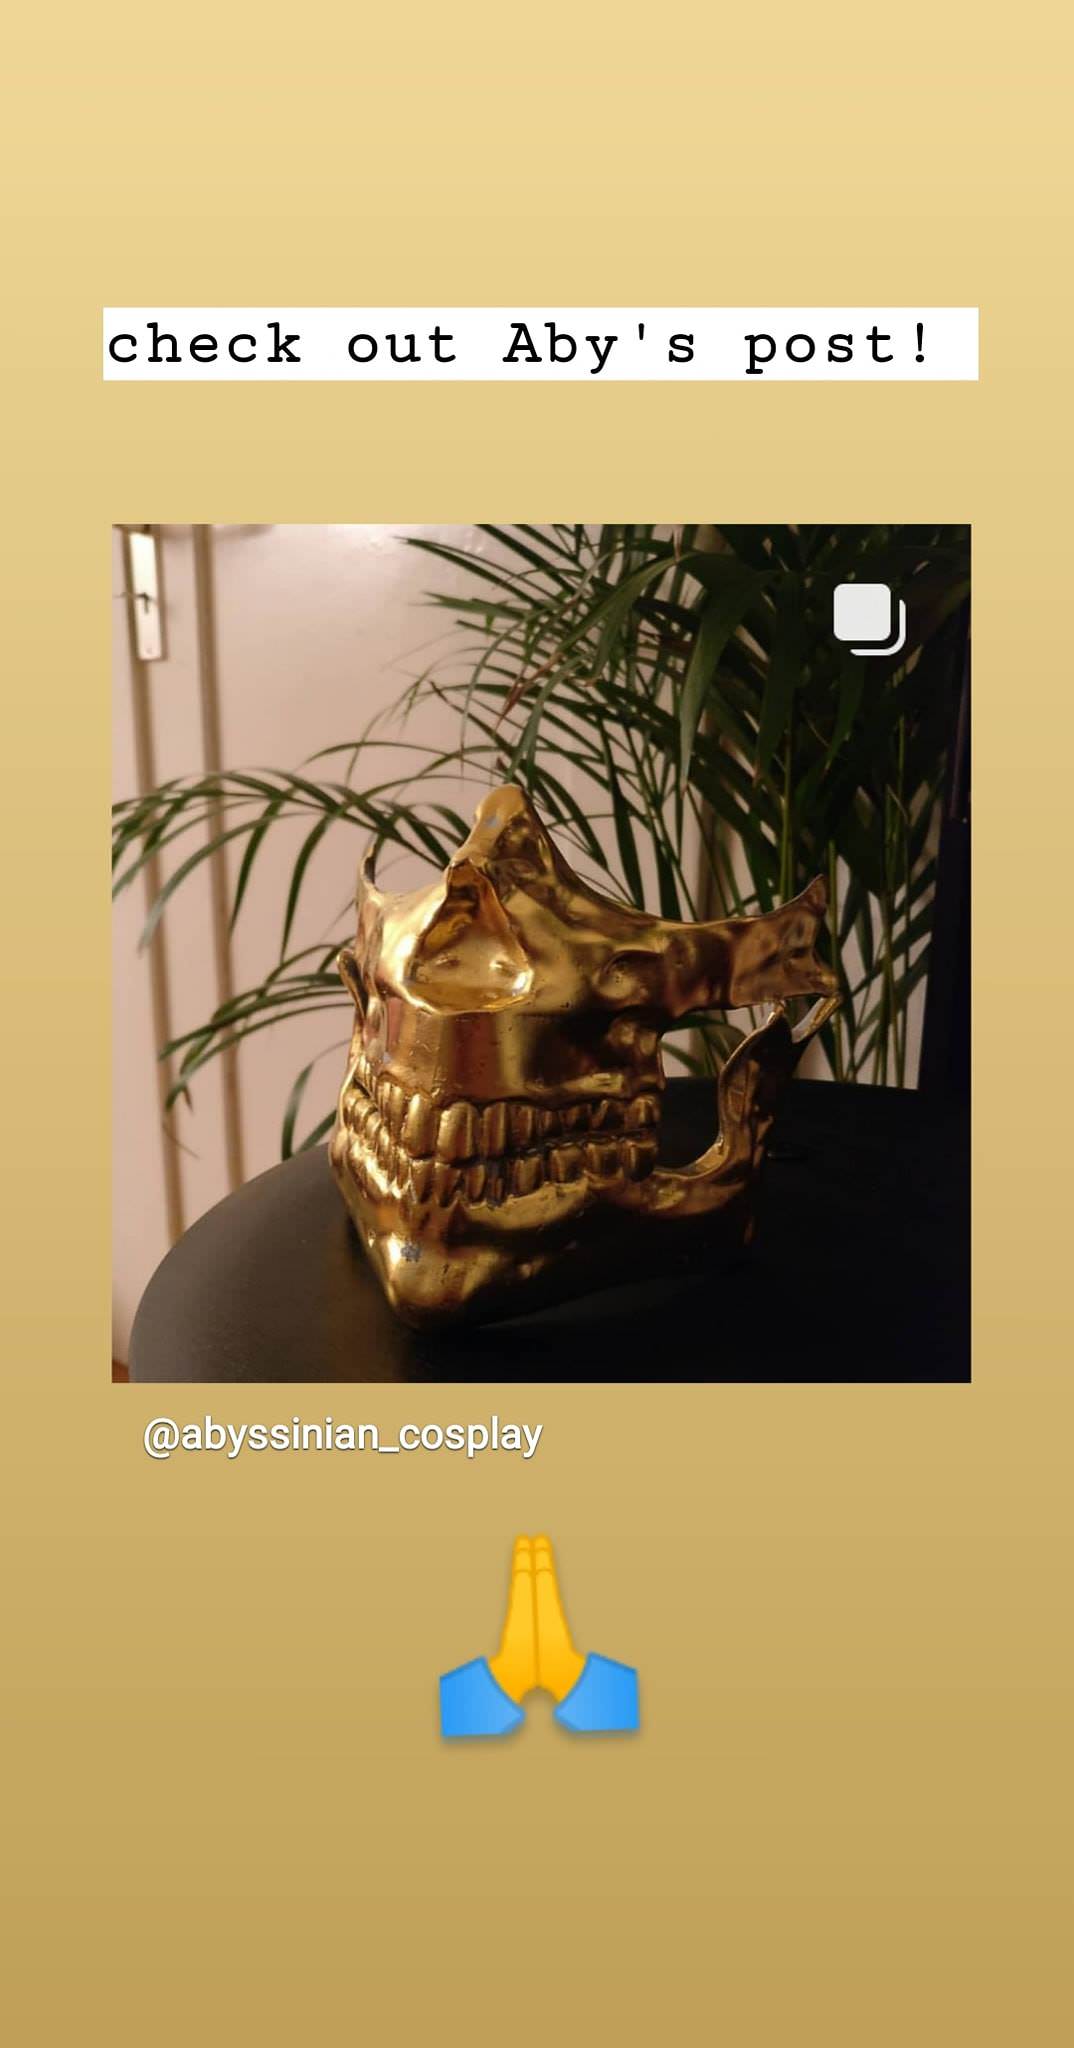
For Higgs mask, we tried to 3D-model in Blender for the first time! Since the shape was kinda organic, we had a hard time sculpting in our usual 3D-program. The file didn’t print perfectly, but it turned out well enough for our purposes, as we would sand and fill it anyway. The mask was smoothed out with some Xtc3D and later gold-plated for a super shiny result!
Gloves


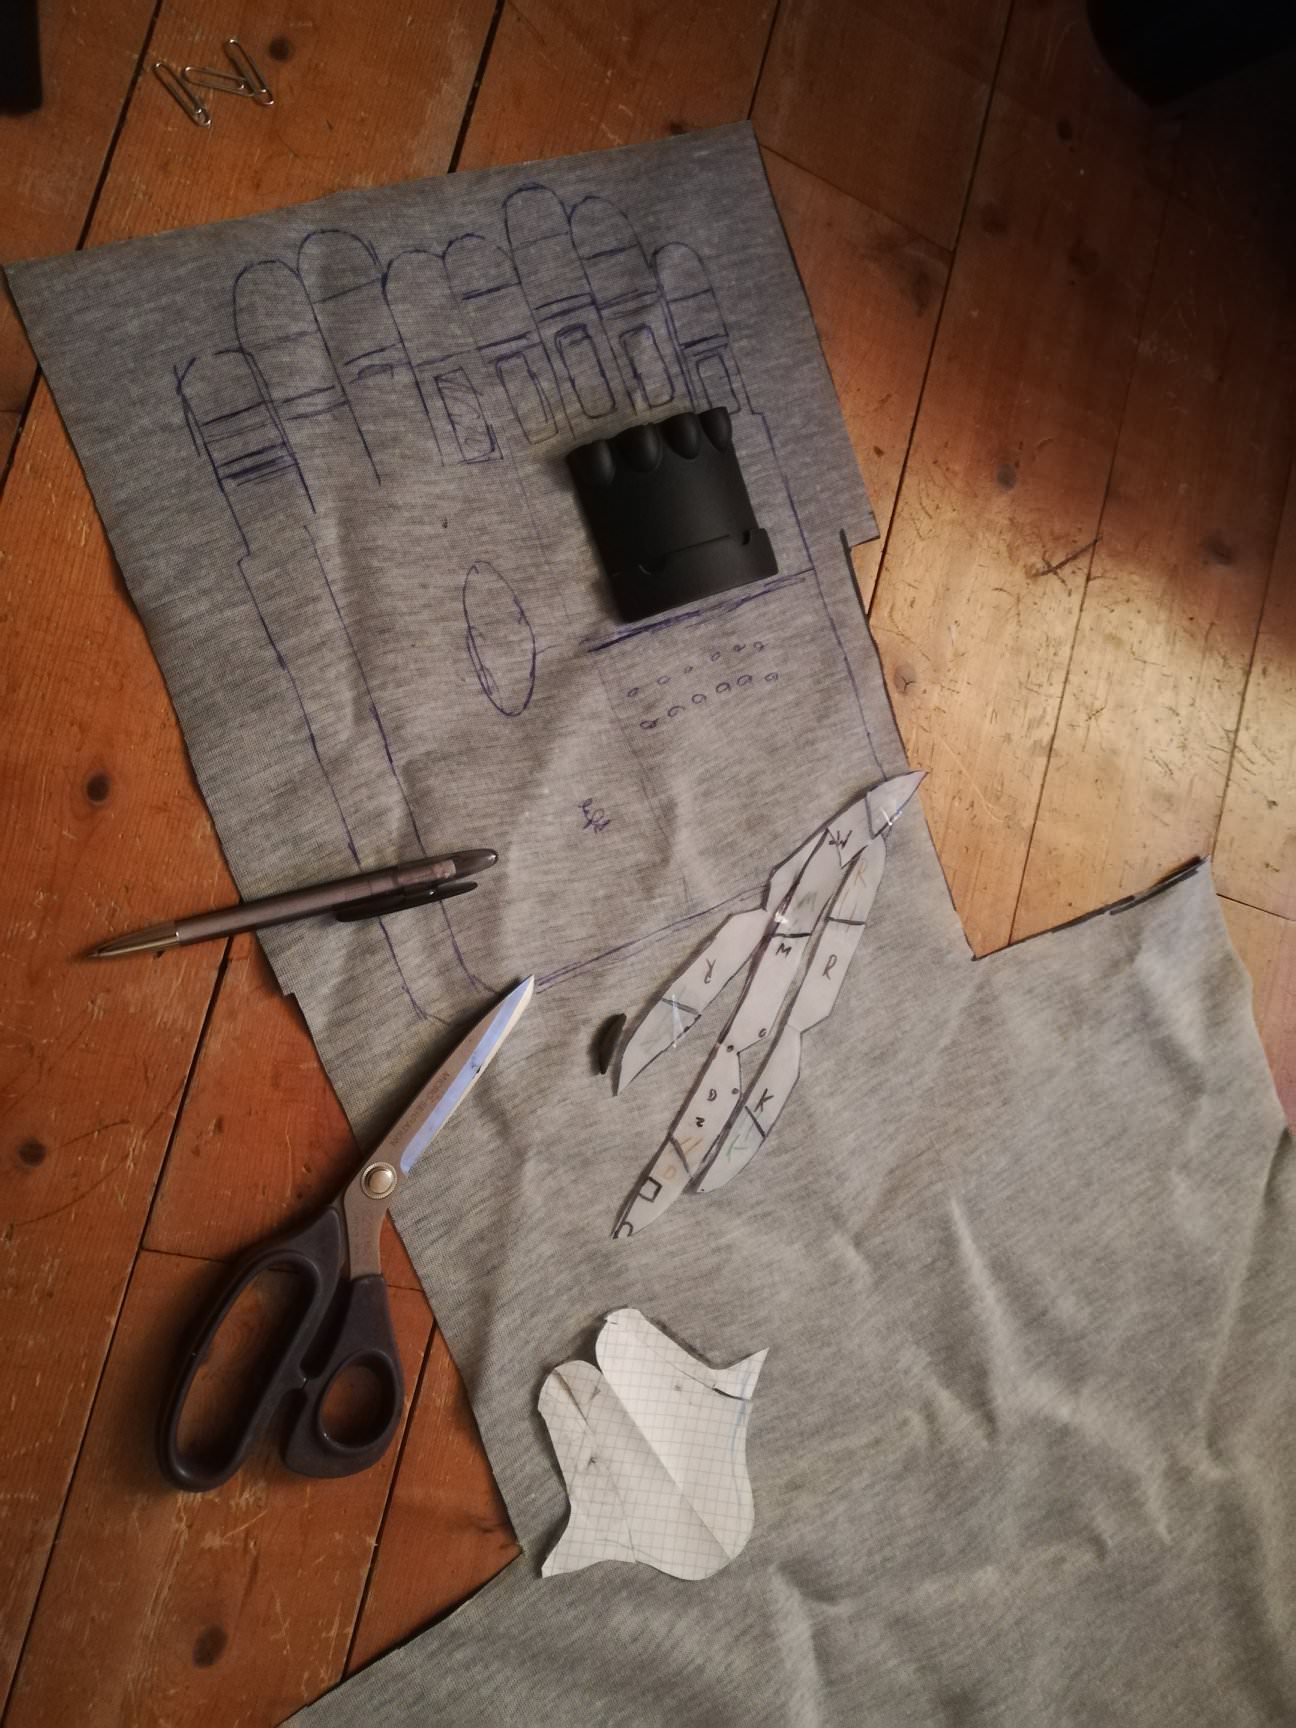
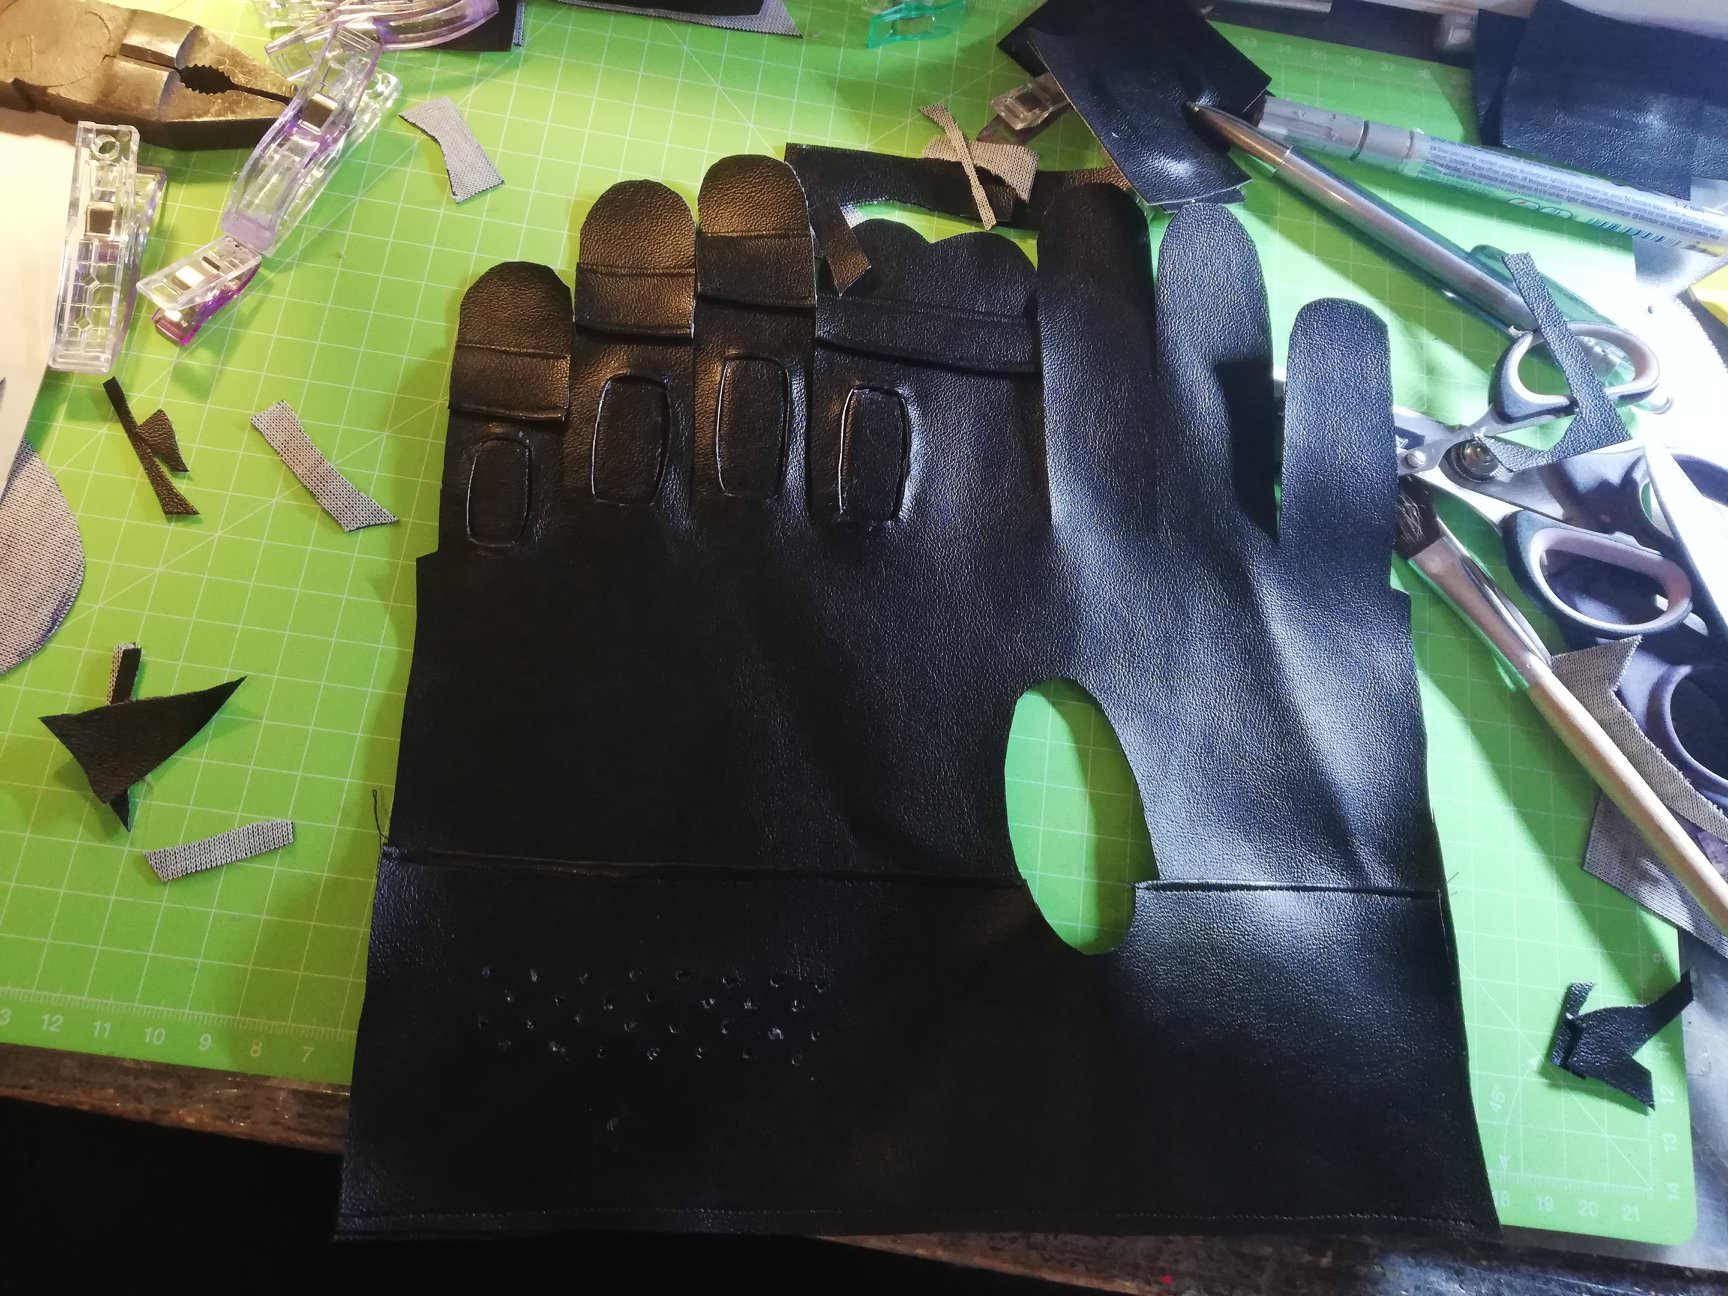
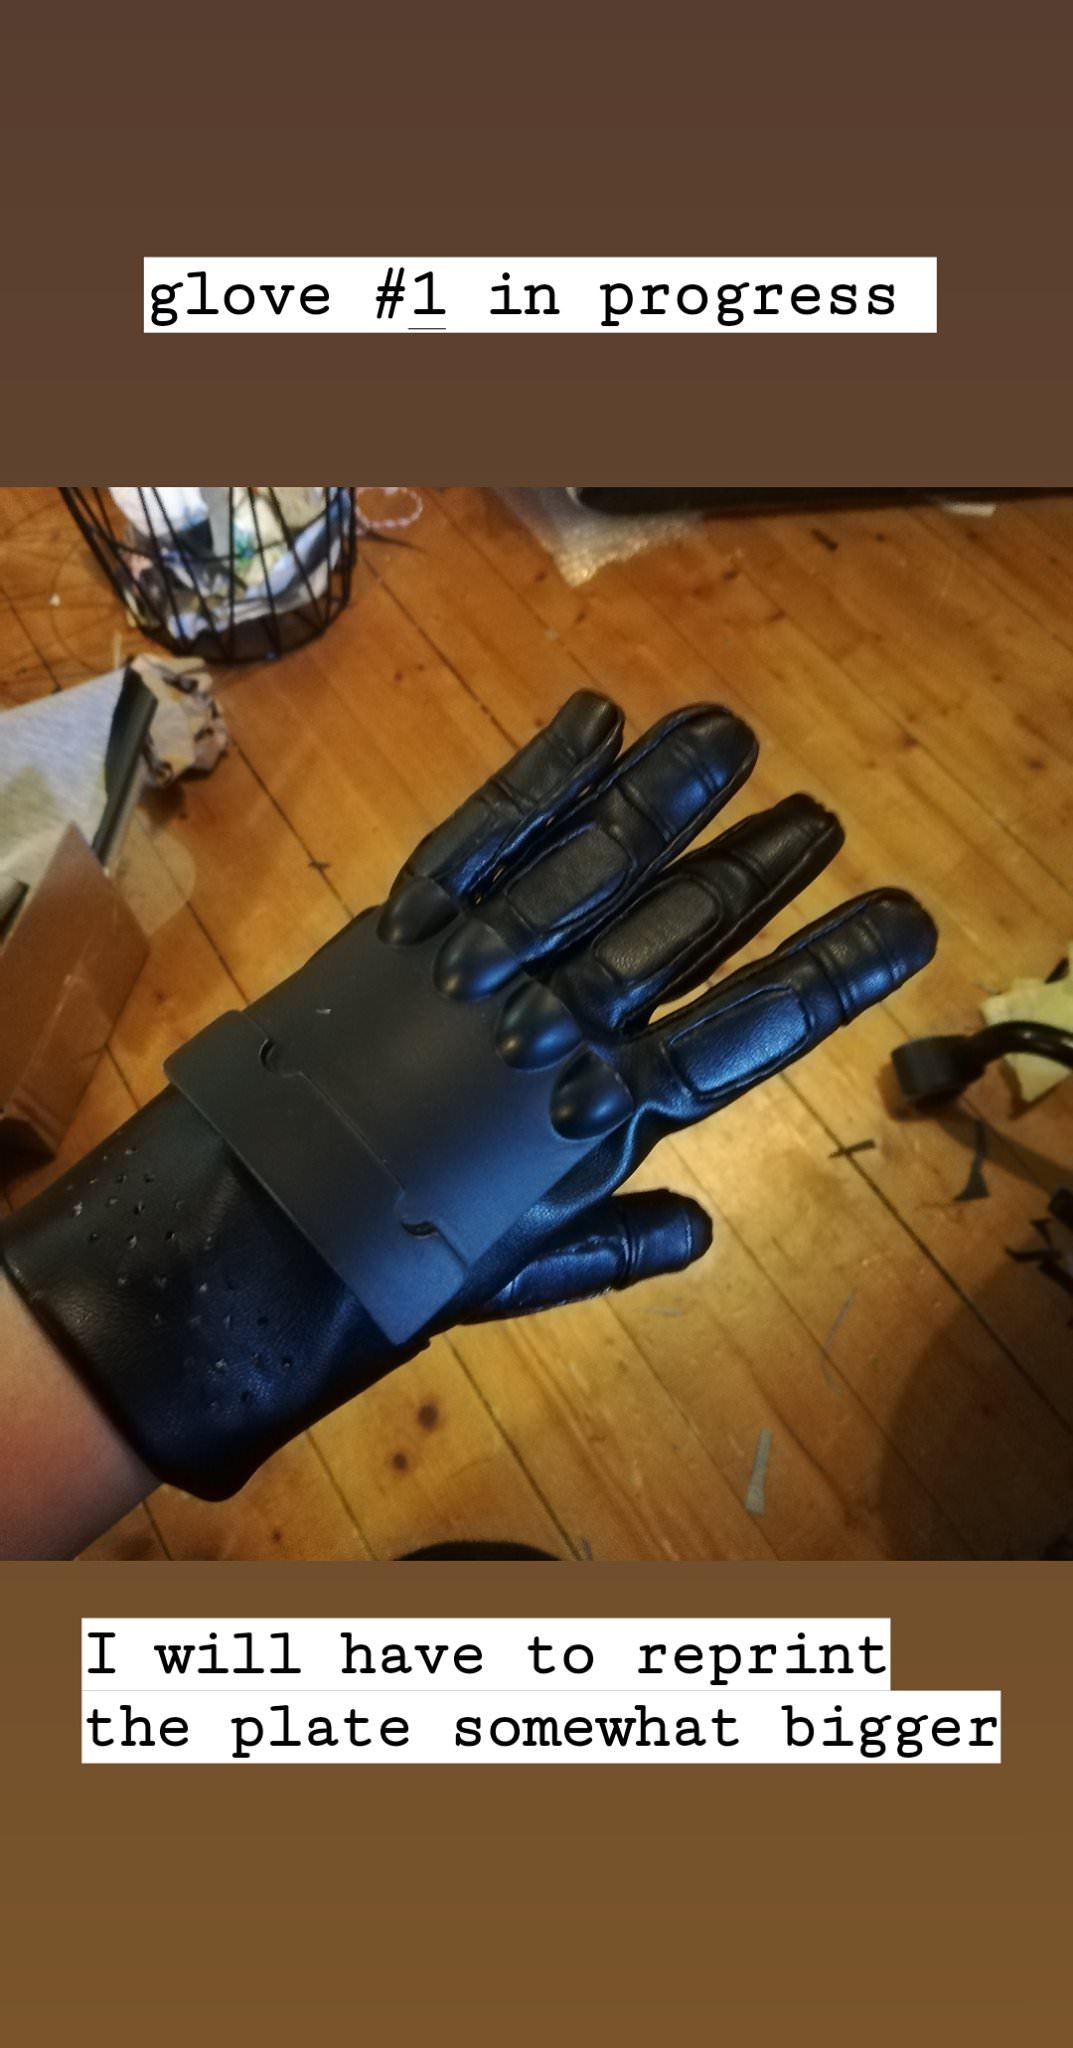
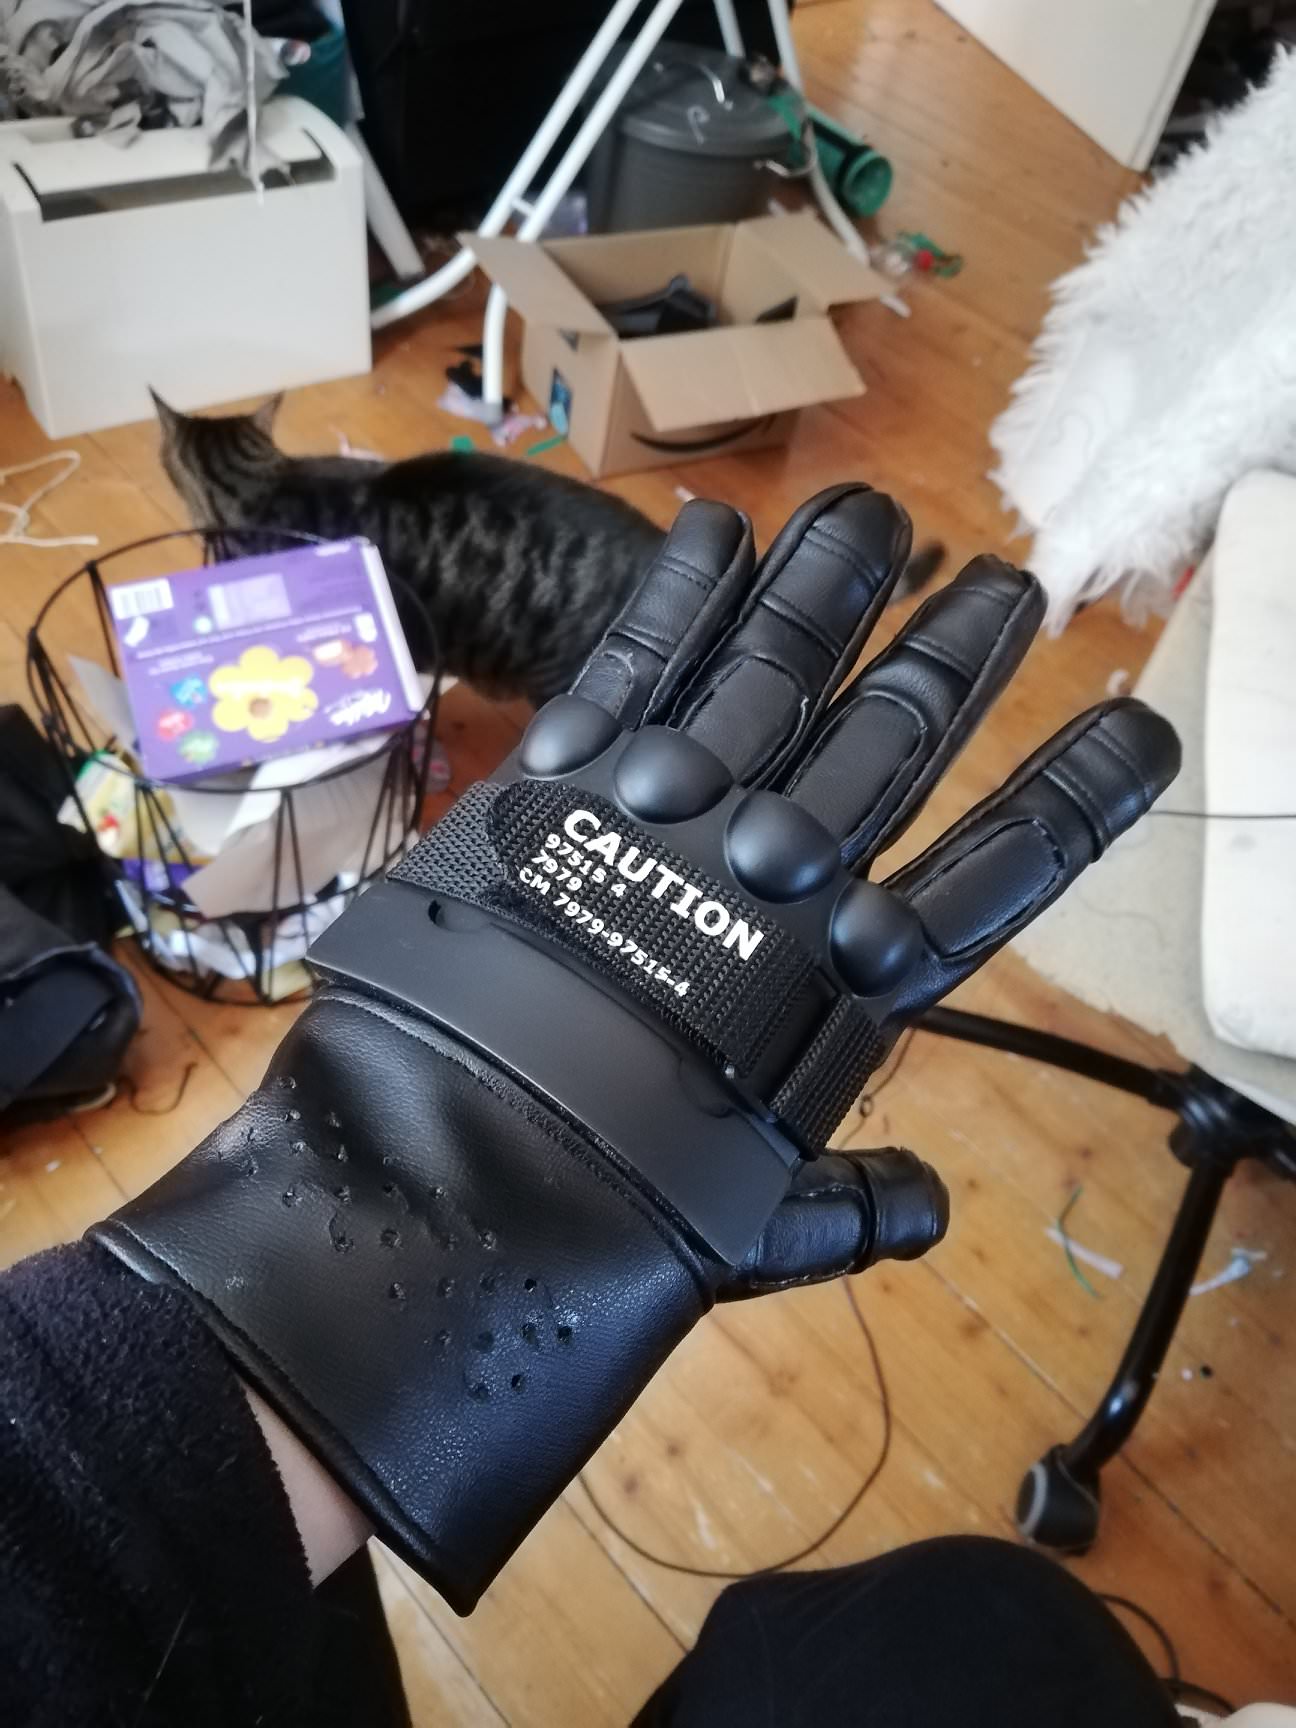
Sam’s gloves have some kind of plate on the back of his hand and we when we 3D-modeled it, we decided that it would come in handy to just print it flat and heat-shape it later while dunking it in hot water and then pressing it on top of our glove. That way it fit perfectly! The glove was sewn using fake leather and an old glove pattern that had to be slightly modified. Since there were a lot of cutouts in this glove design, we hand-stitched it almost entirely.
Shoes
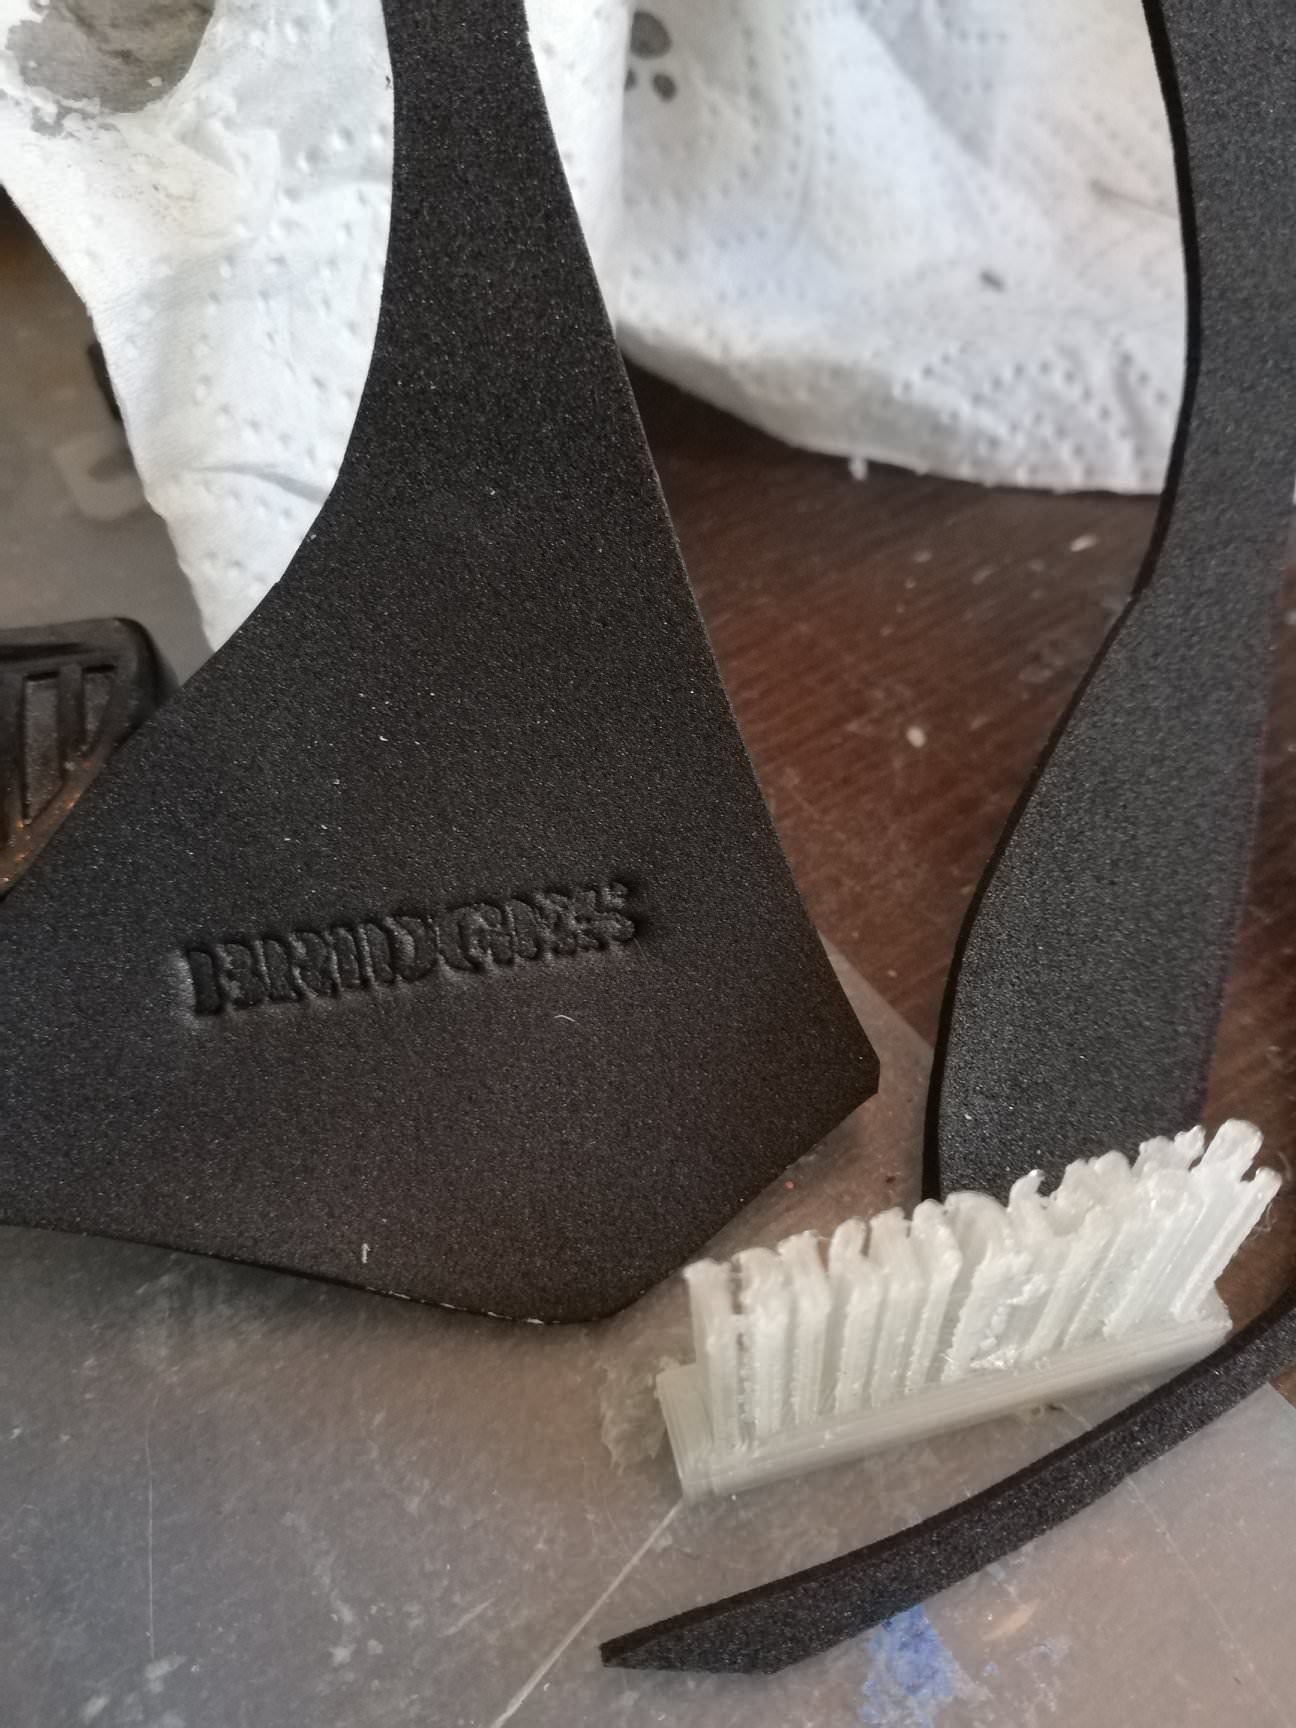
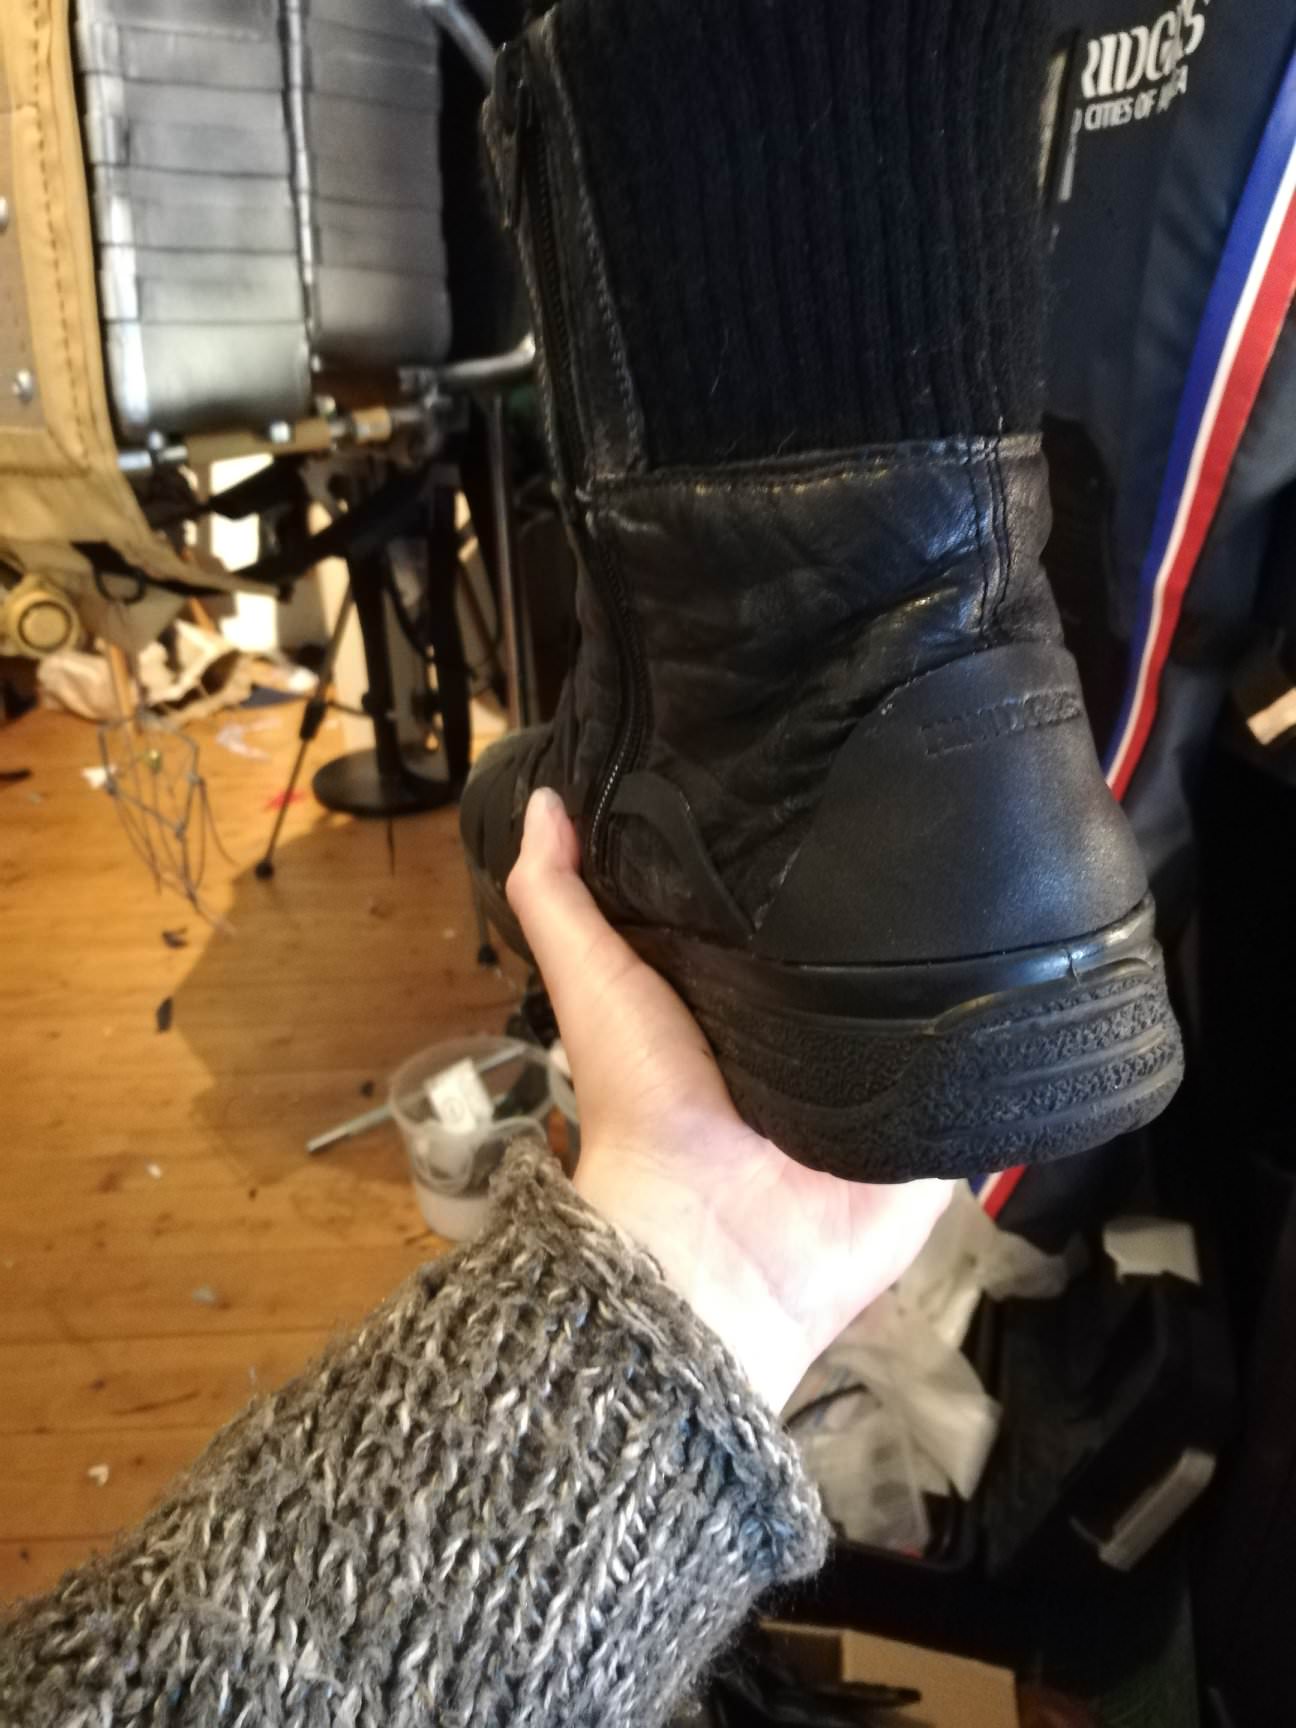
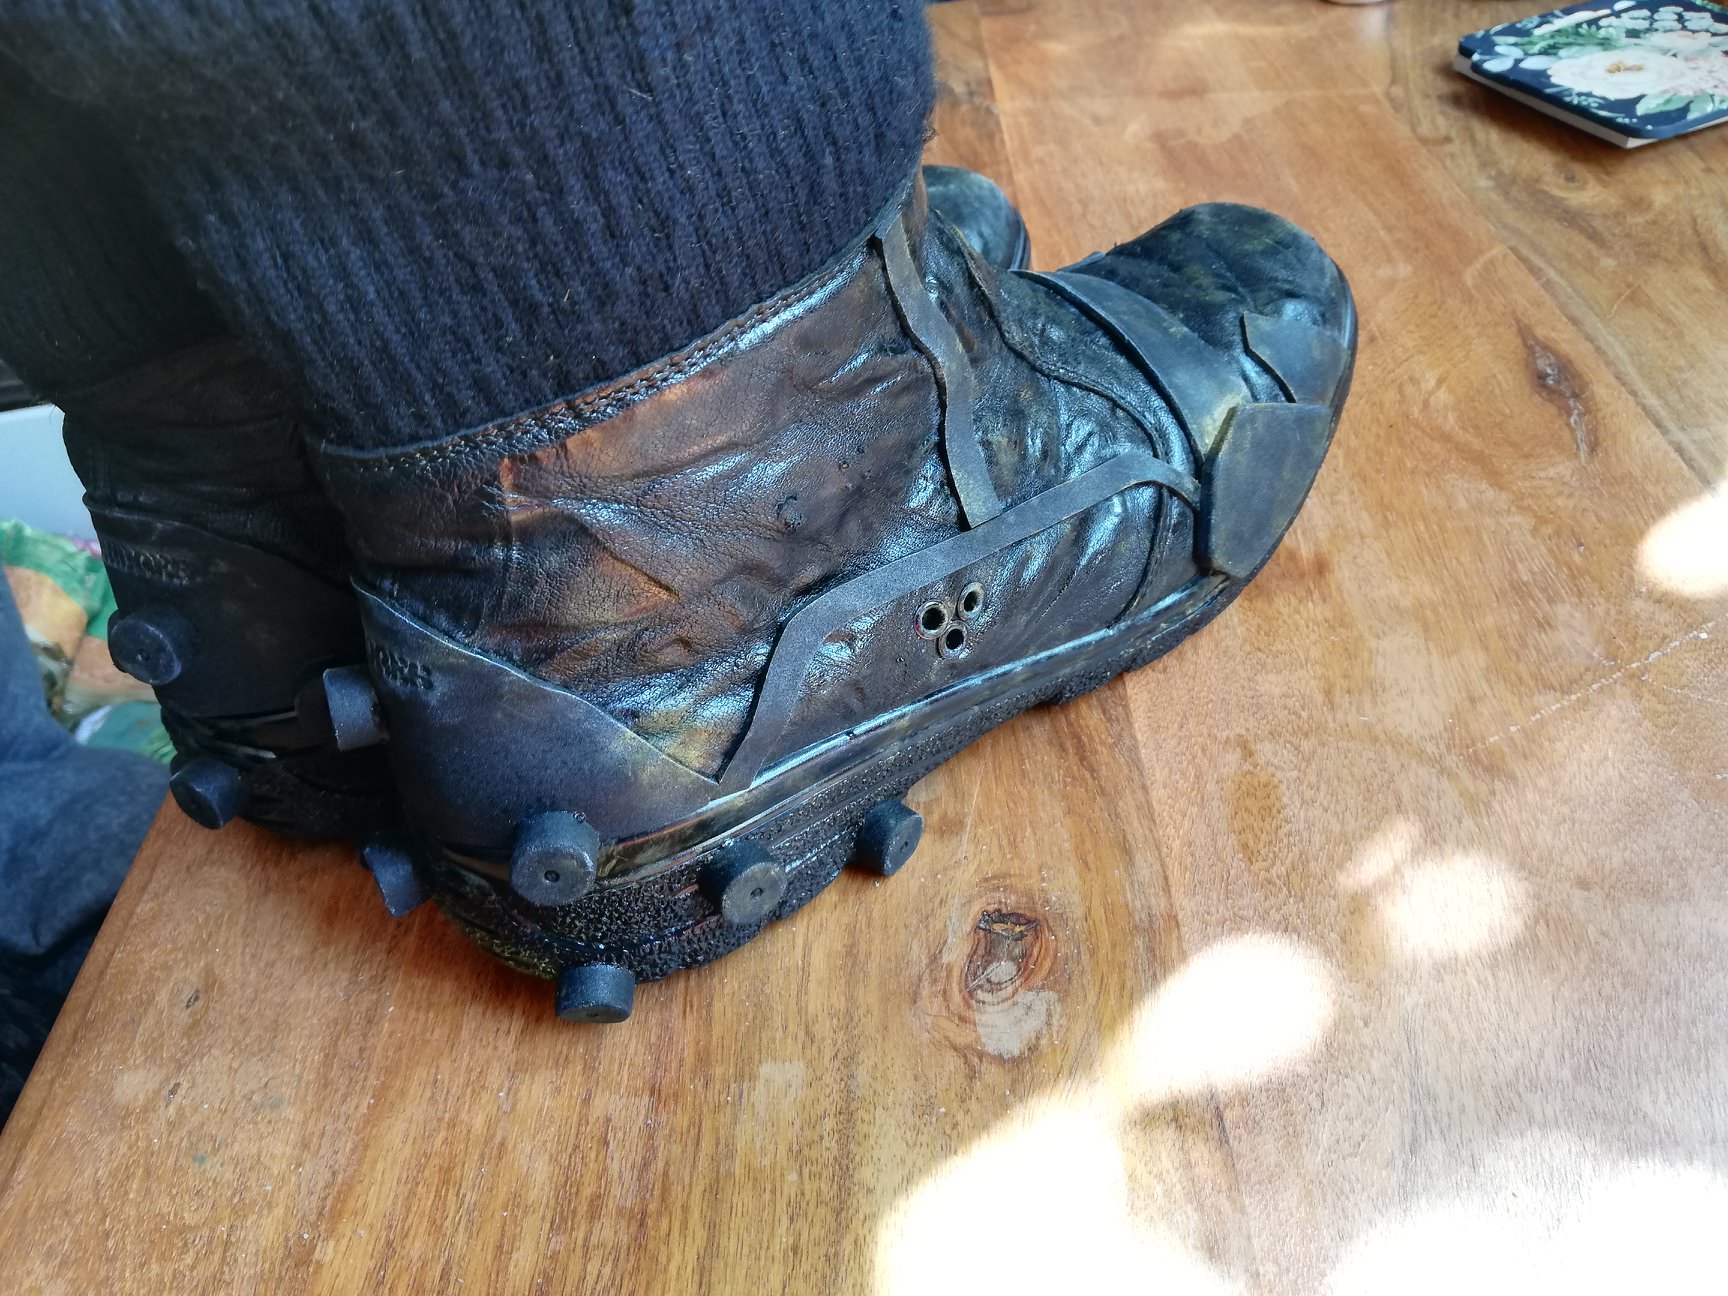
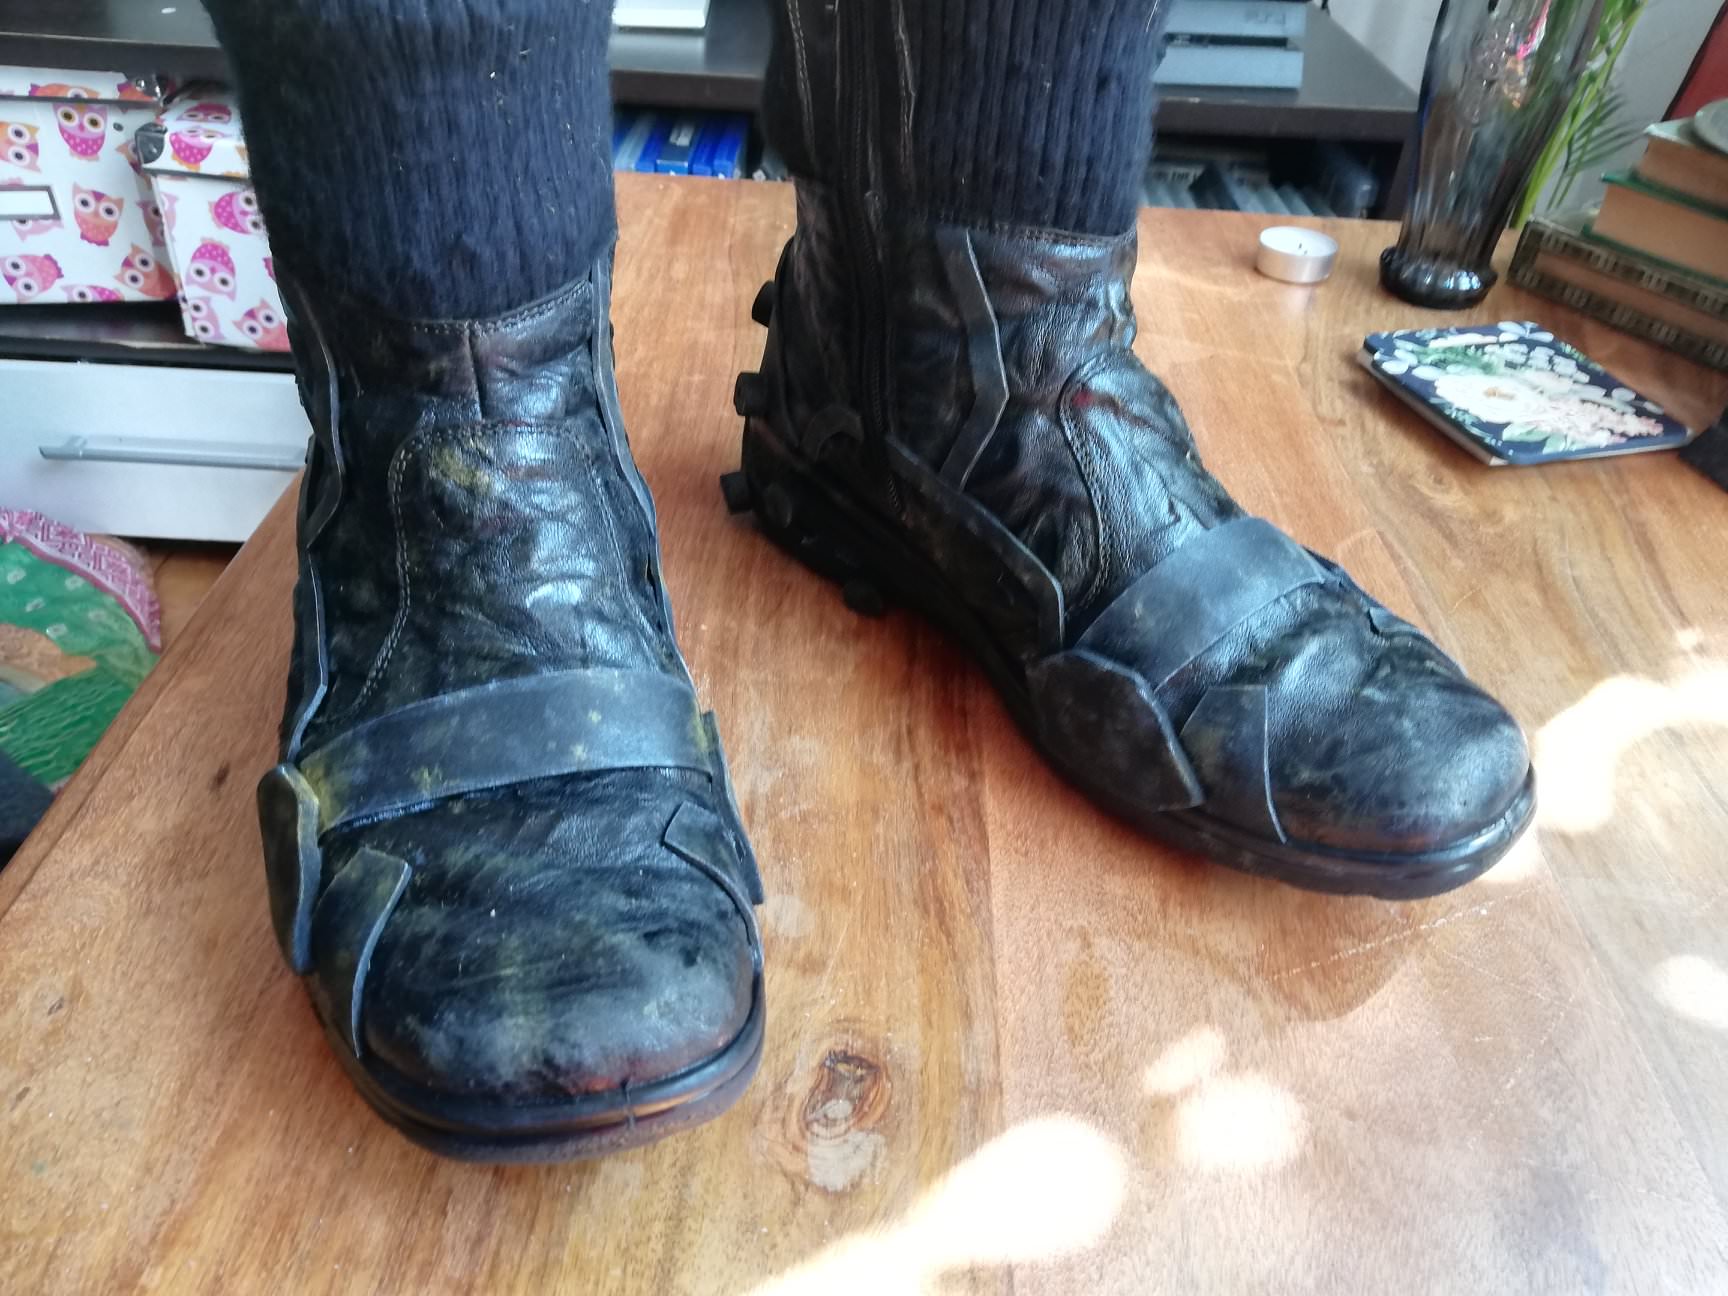
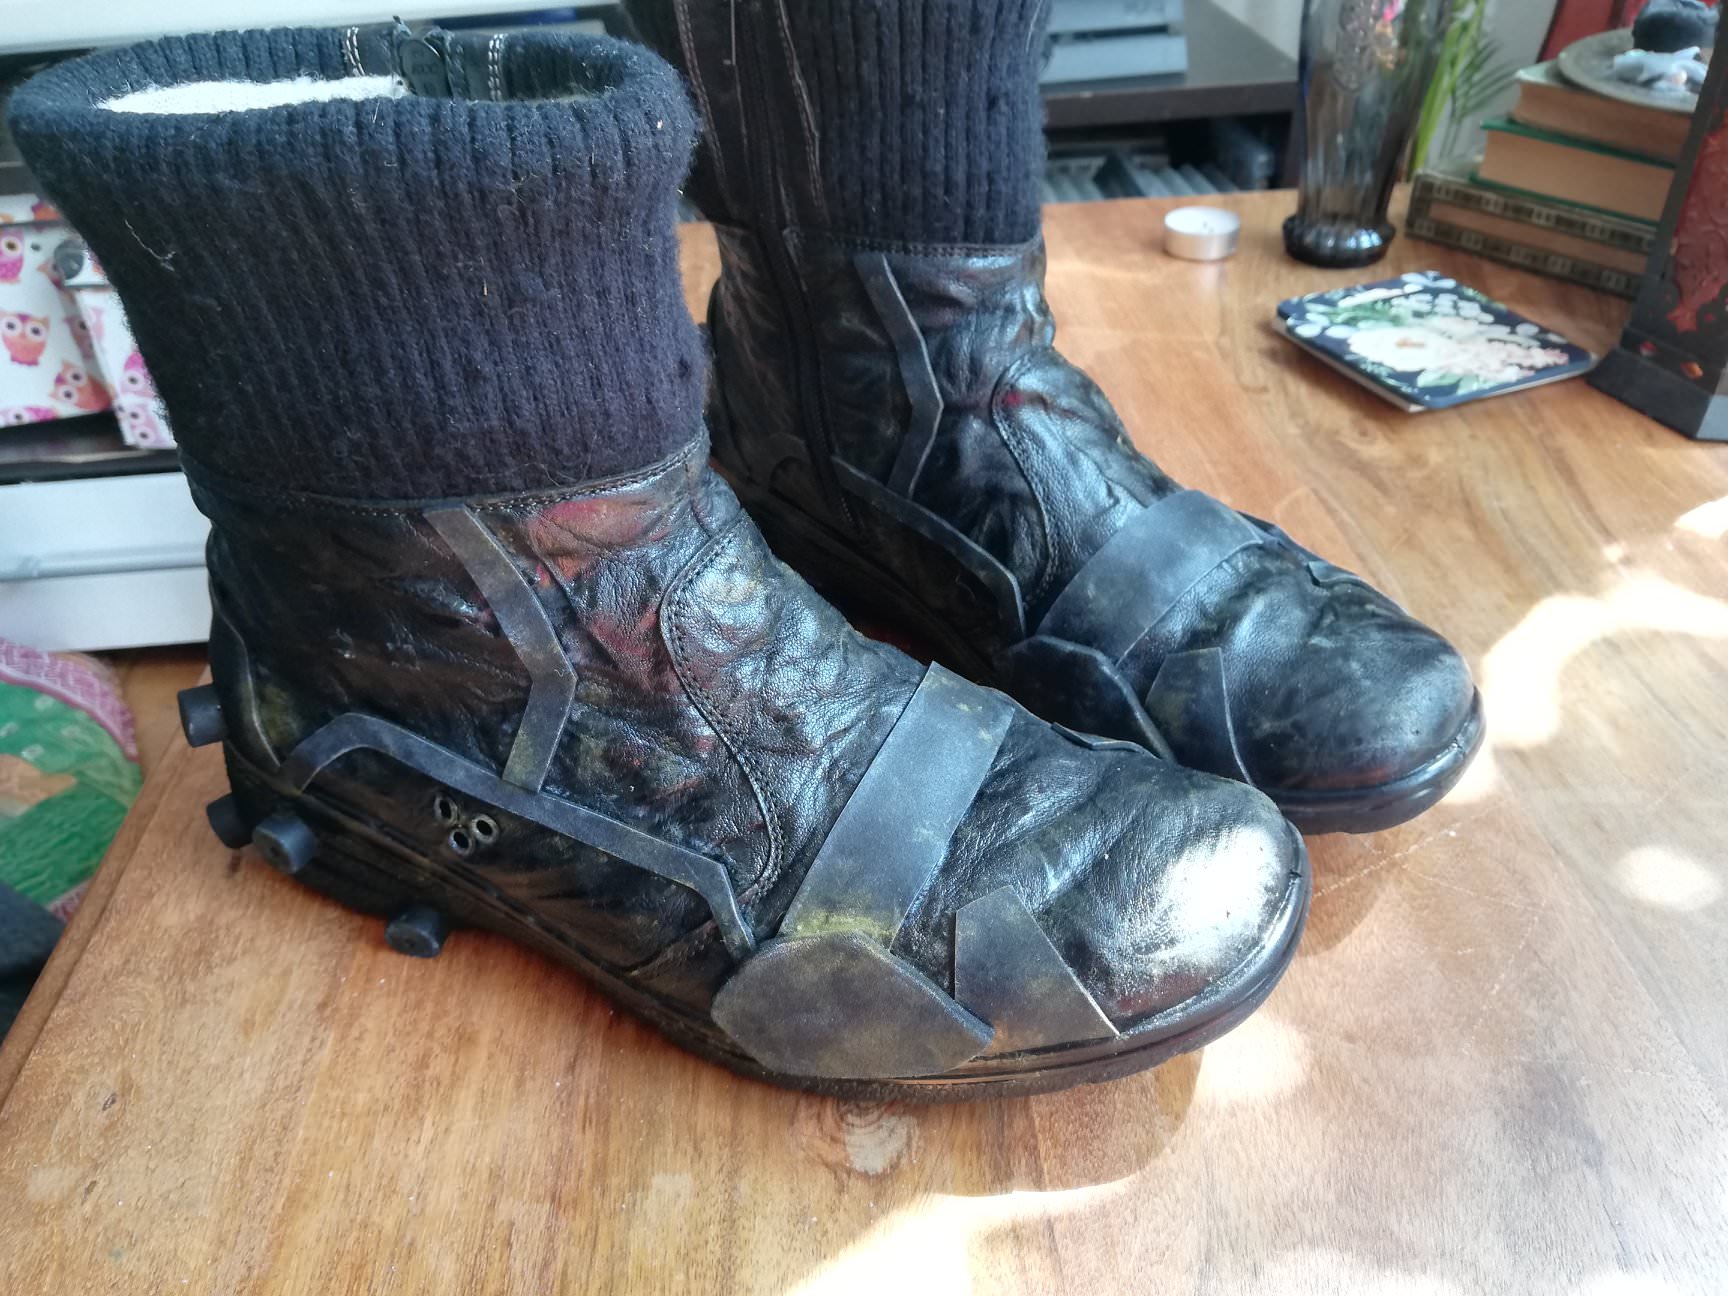
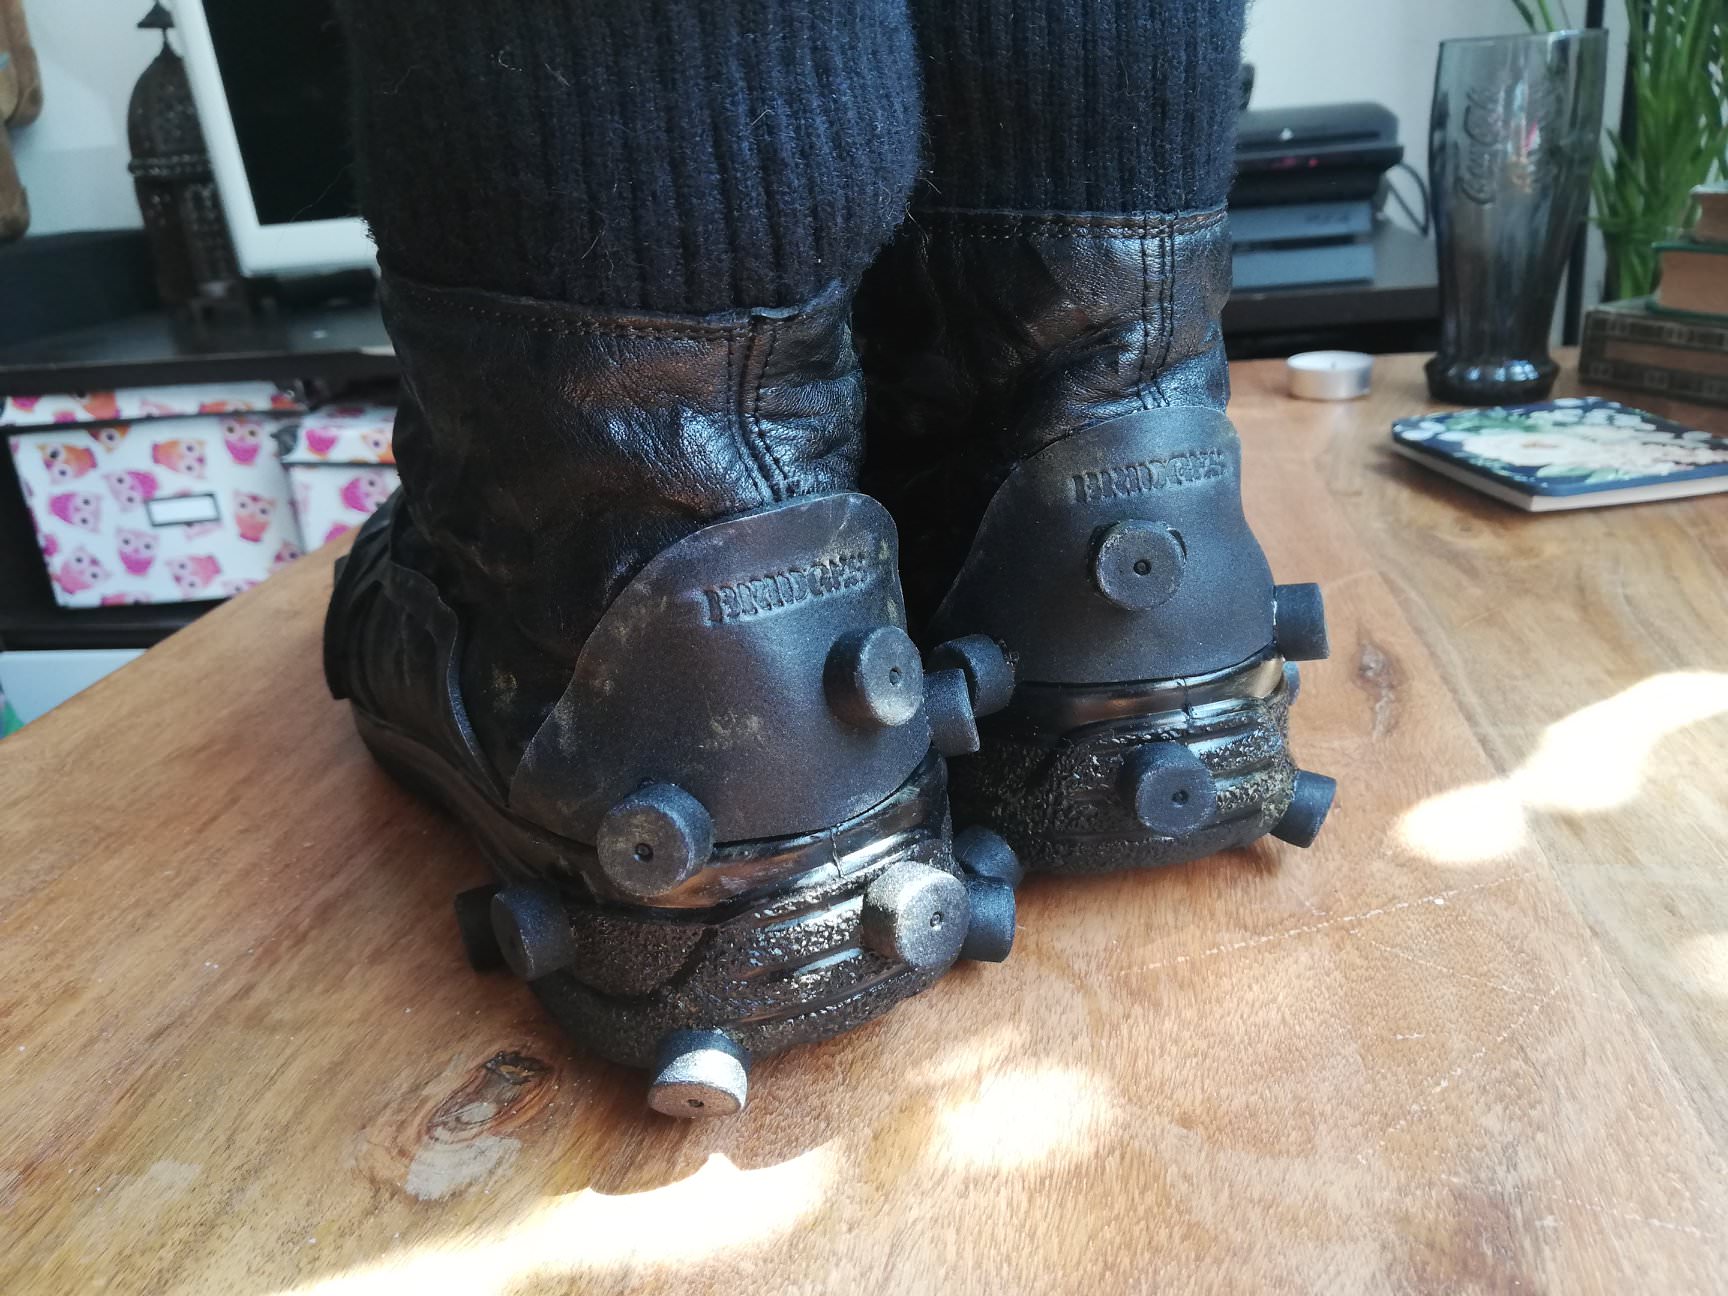
We tried to make the shoes from scratch at first, since the sole is super weird and we couldn’t find anything alike online. Making a 3D-file of it and printing it in flexible TPU filament was our first try, but it turned out to be too expensive and we were afraid that the filament wouldn’t hold out well when we walked around. Another option would’ve been casting the boots out of flexible resin, but then again this would’ve been too elaborate for just a pair of boots, in our opinion. So we ended up using some old boots from Pasta and glued foam on top of it. In the end, and with a lot of weathering, it looked somewhat authentic! We even made a small “Bridges” stamp that we could heat-press into the foam.
Bridges cap & wig
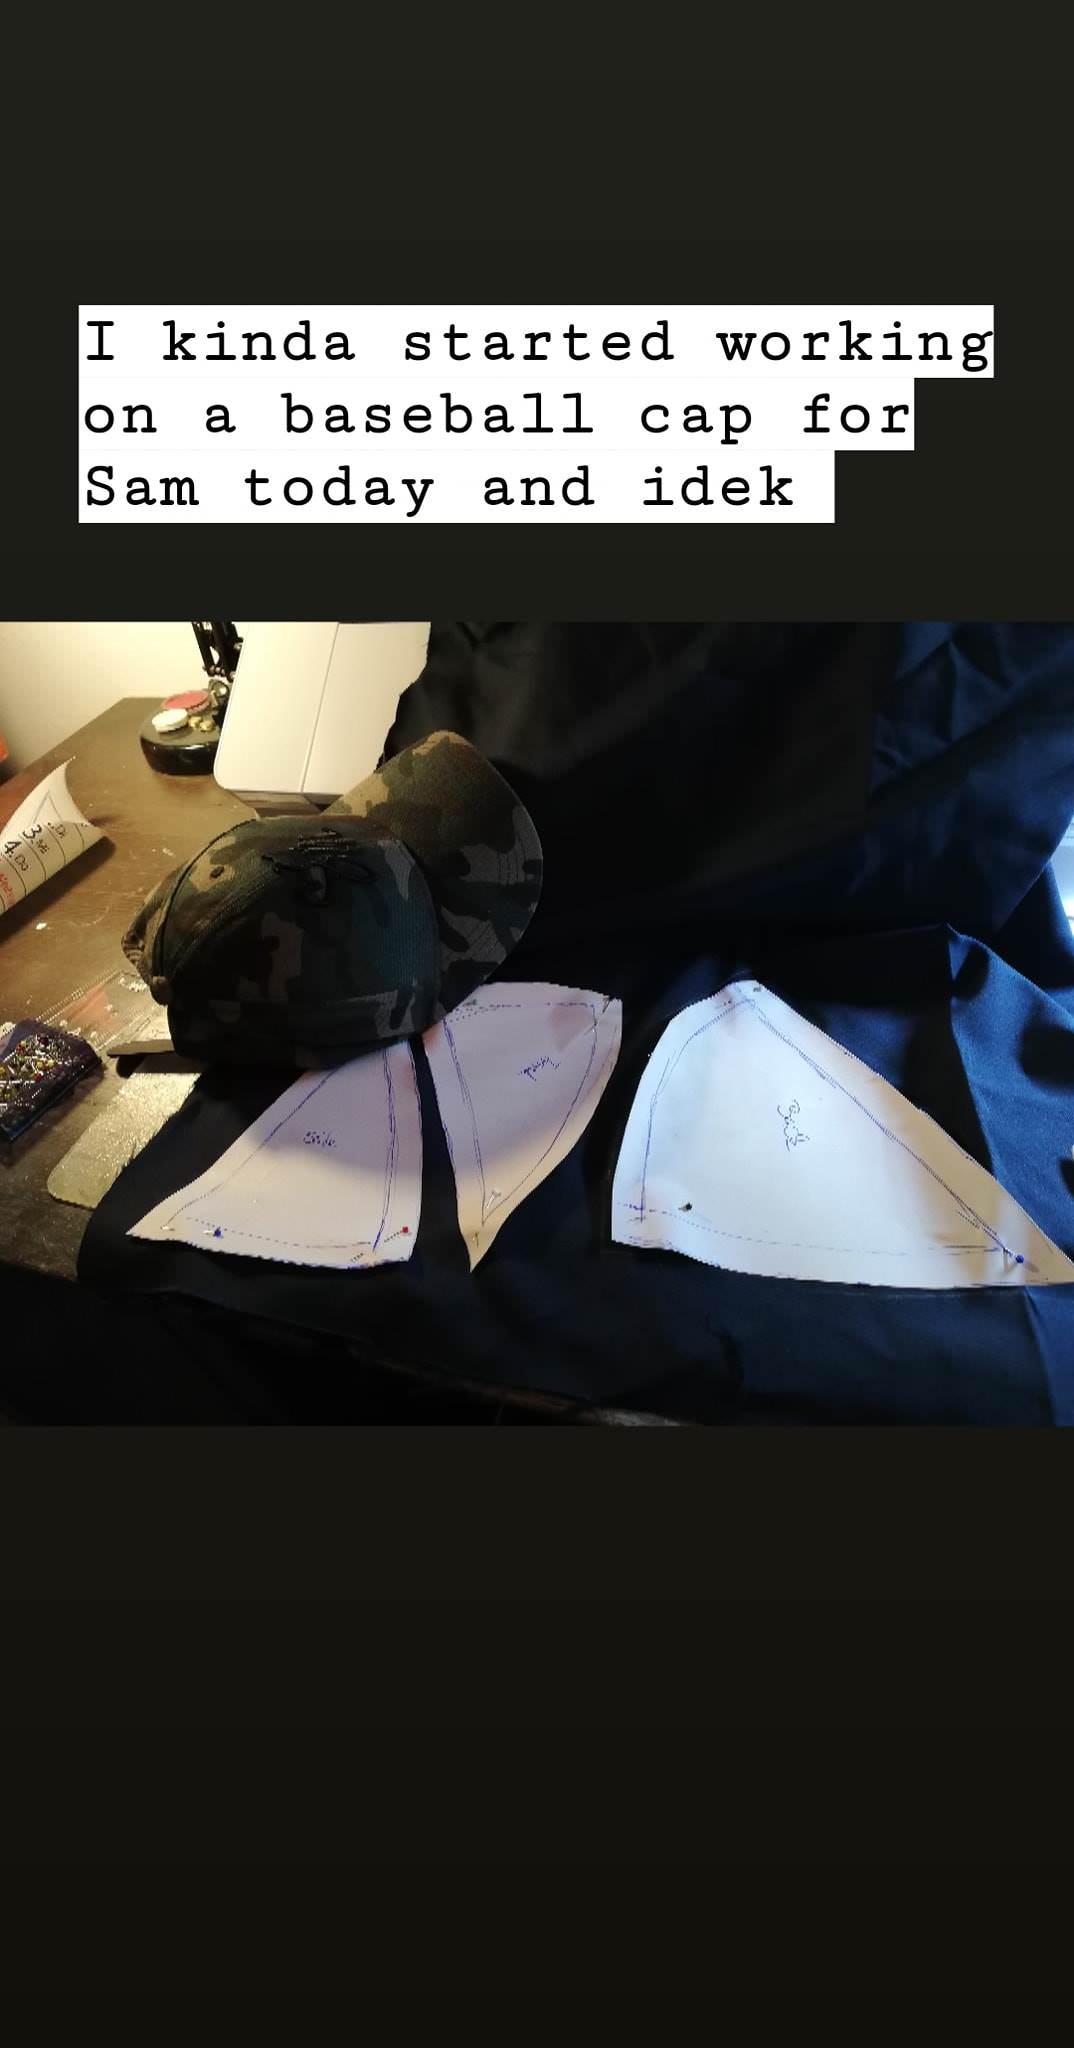
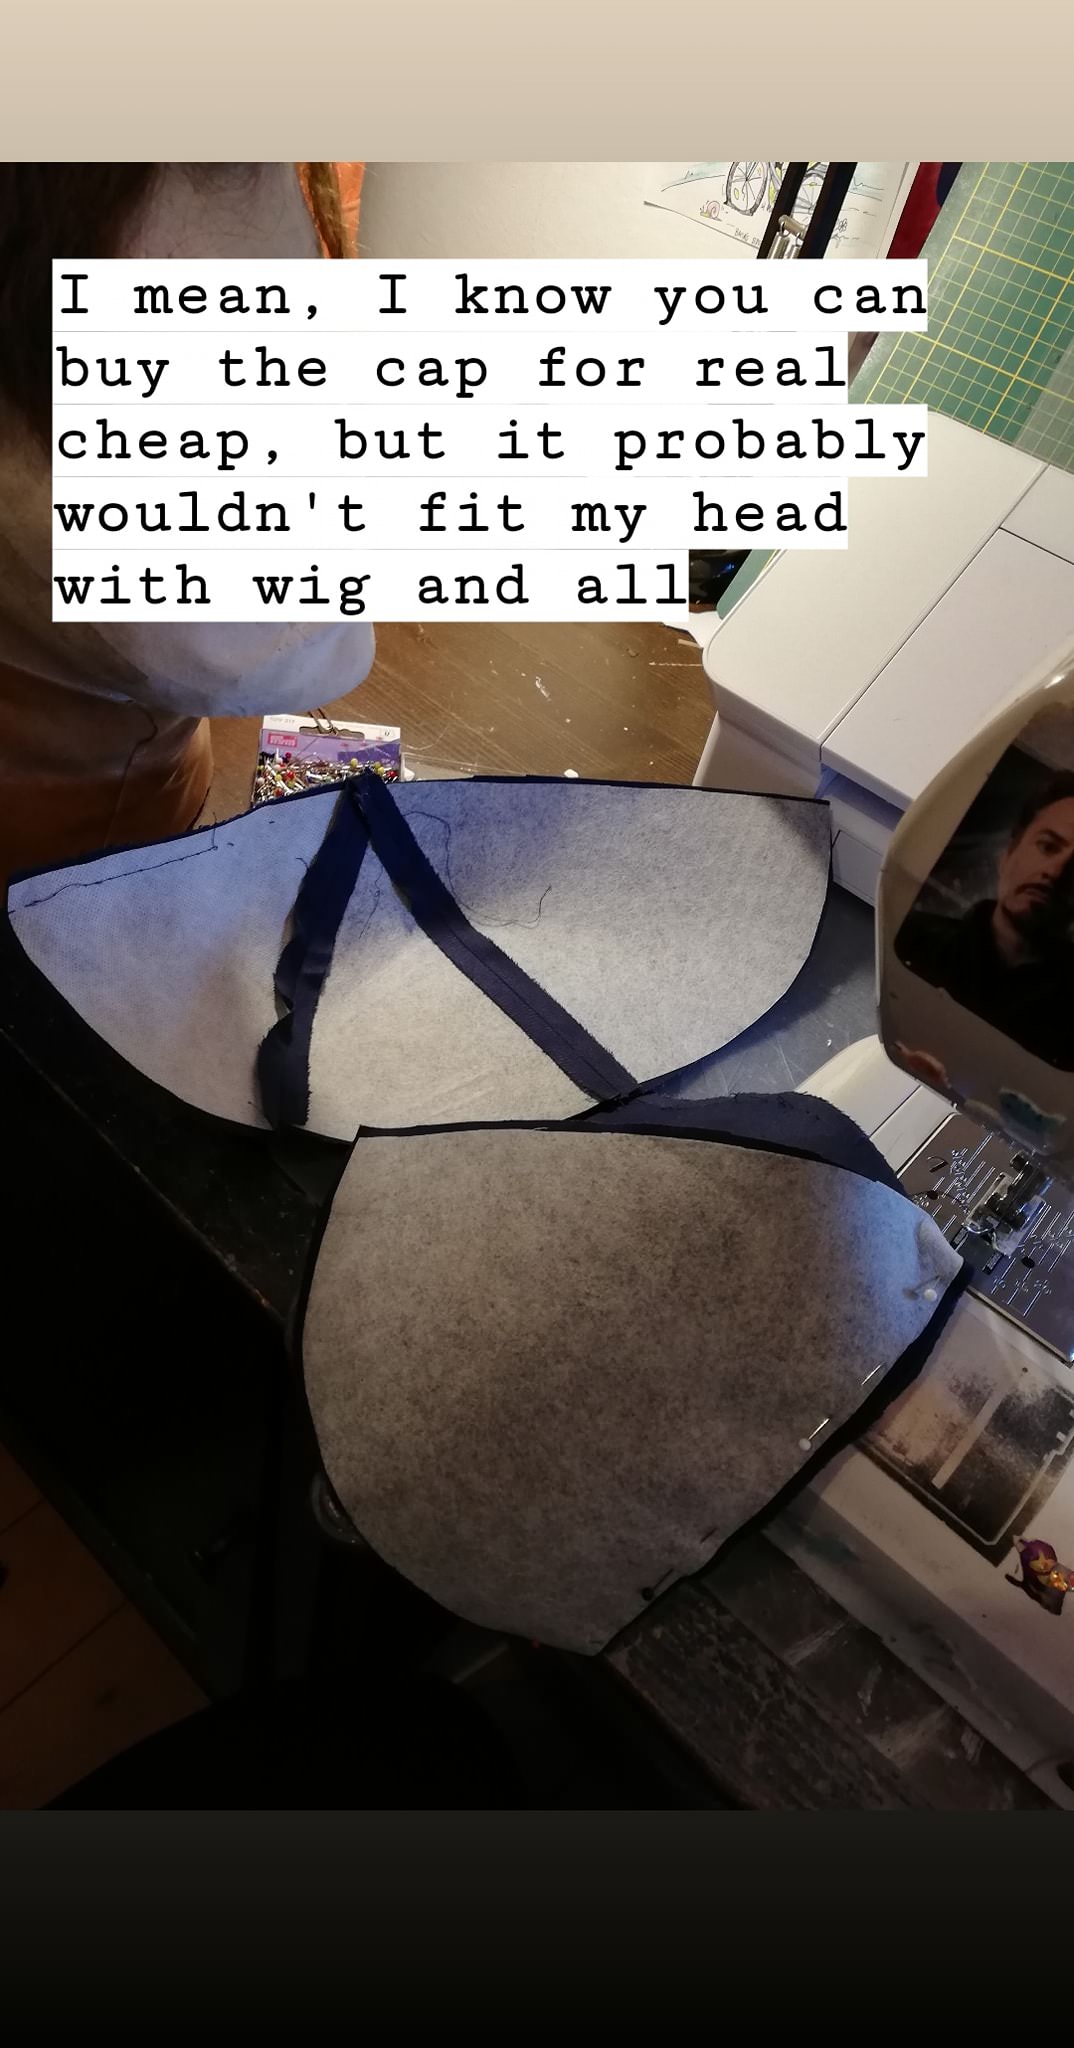
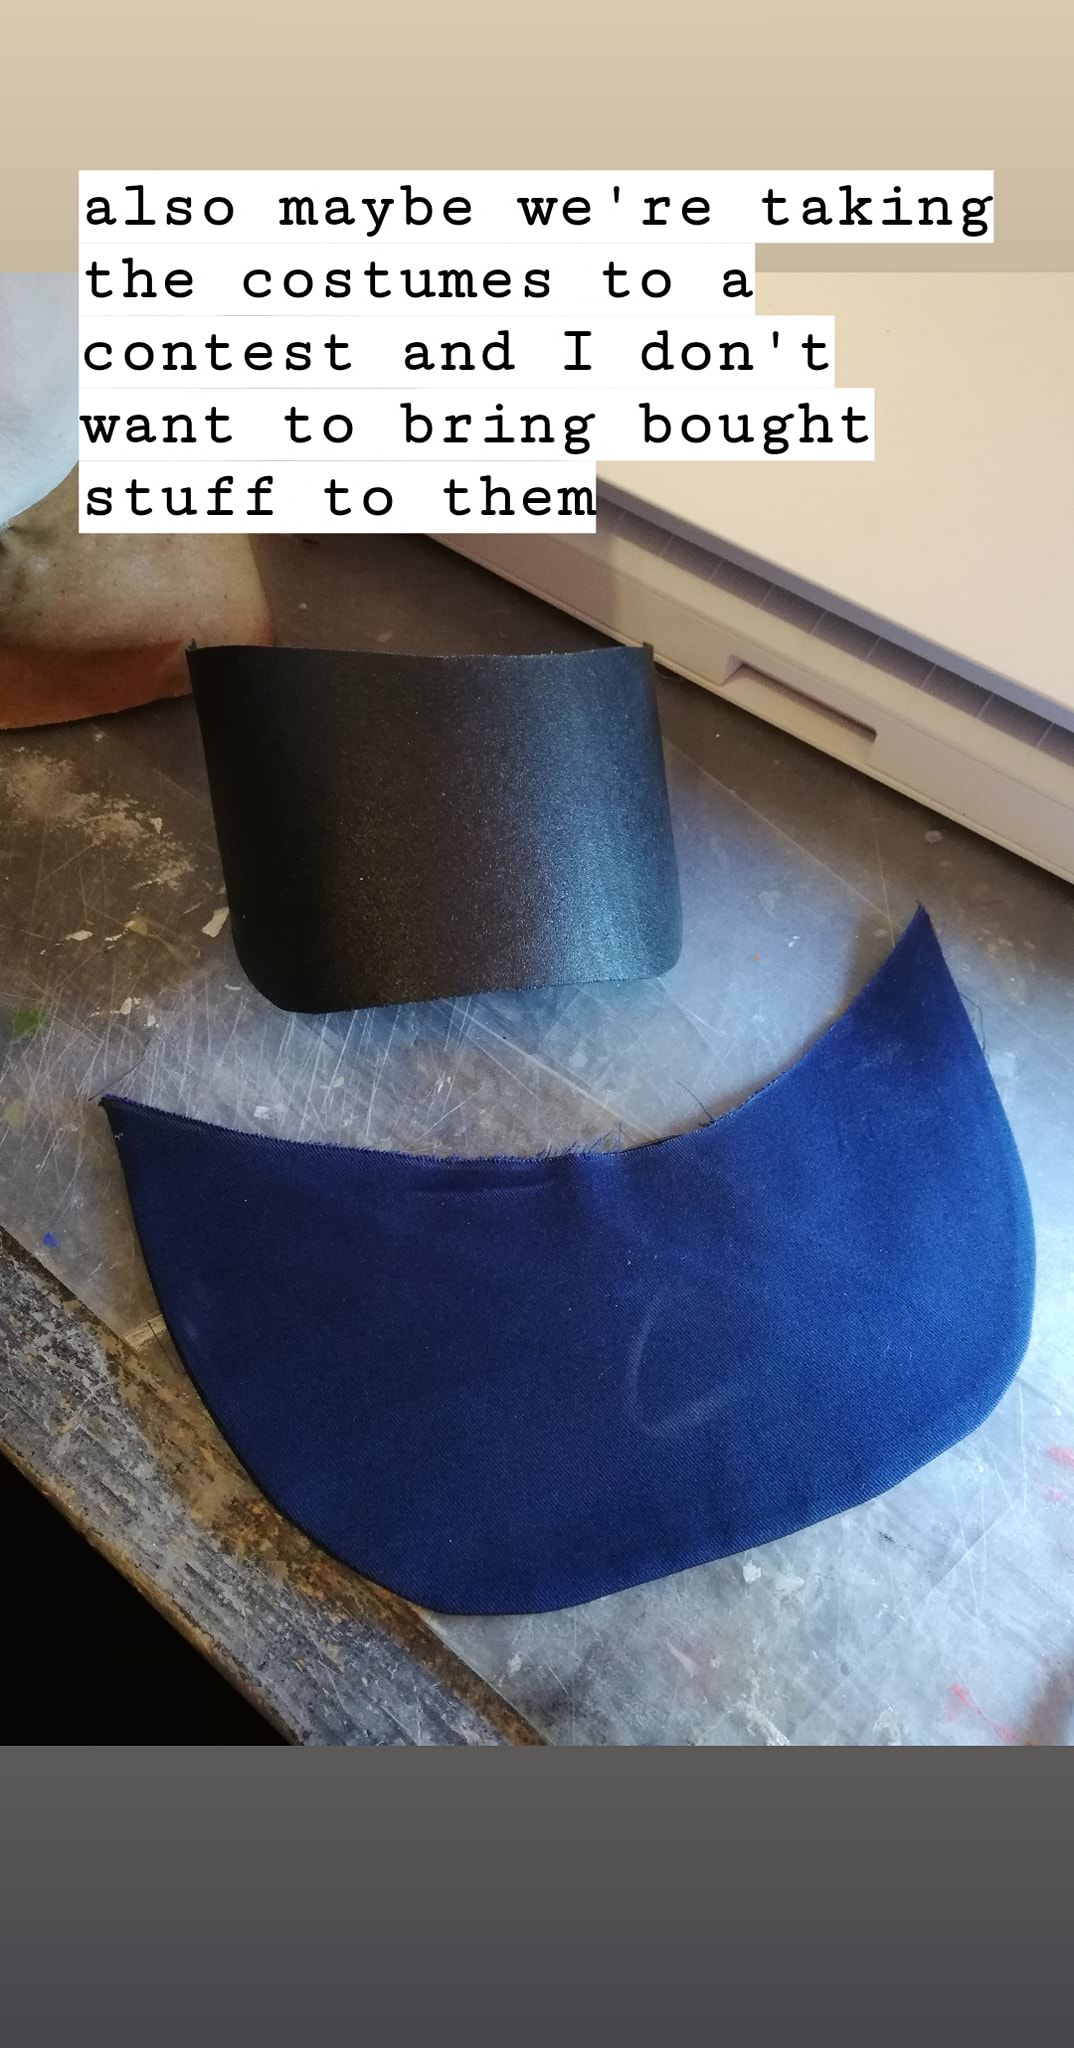
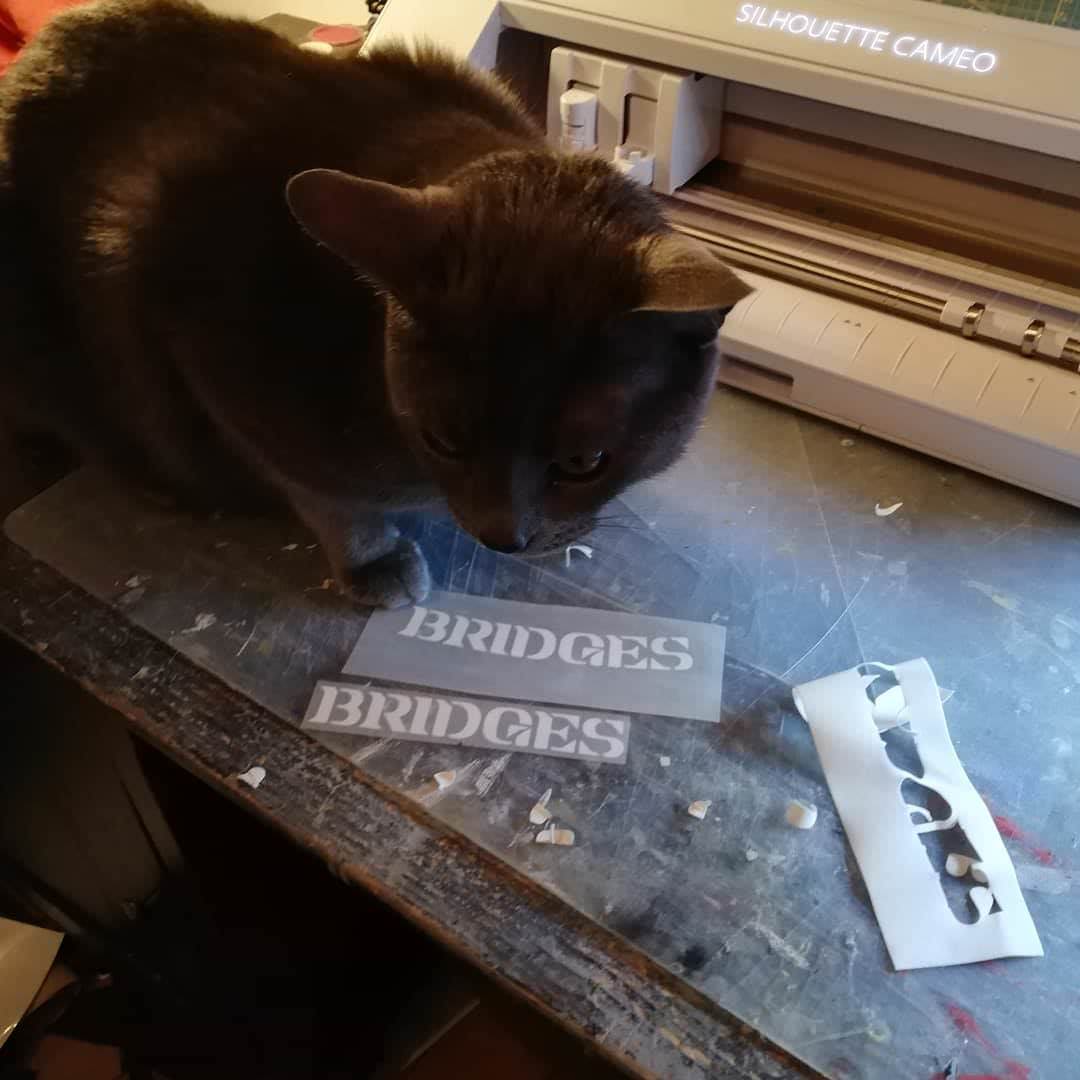
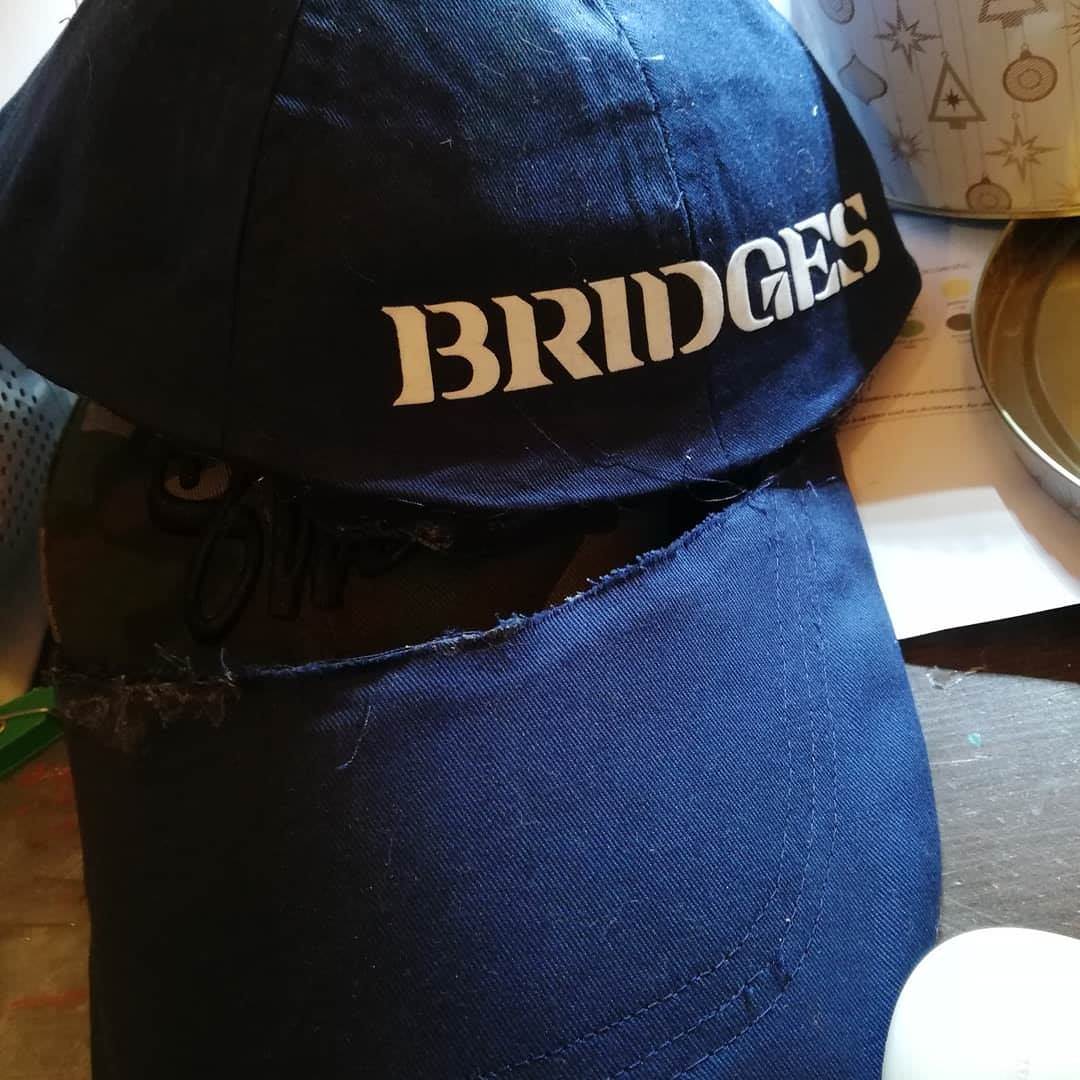

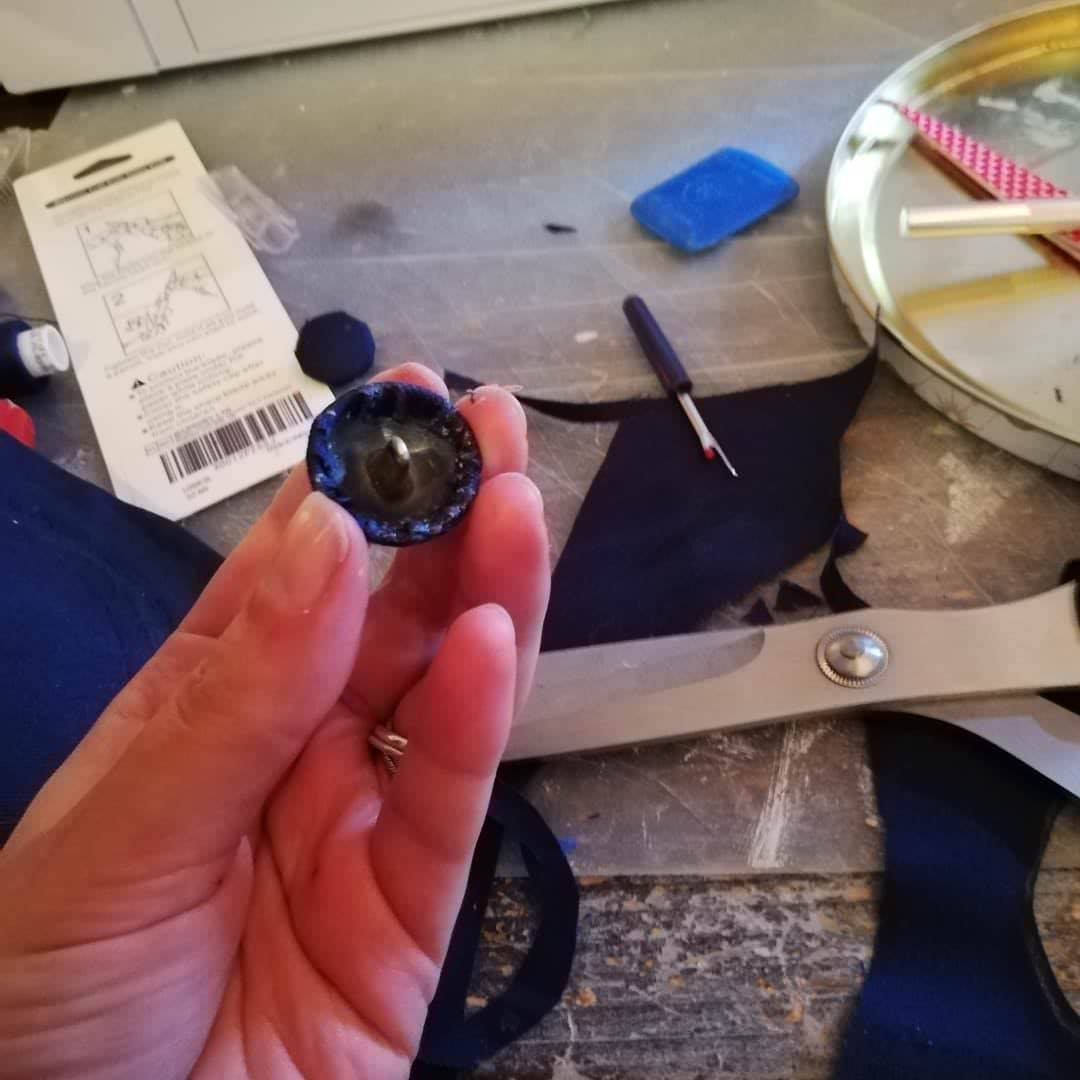

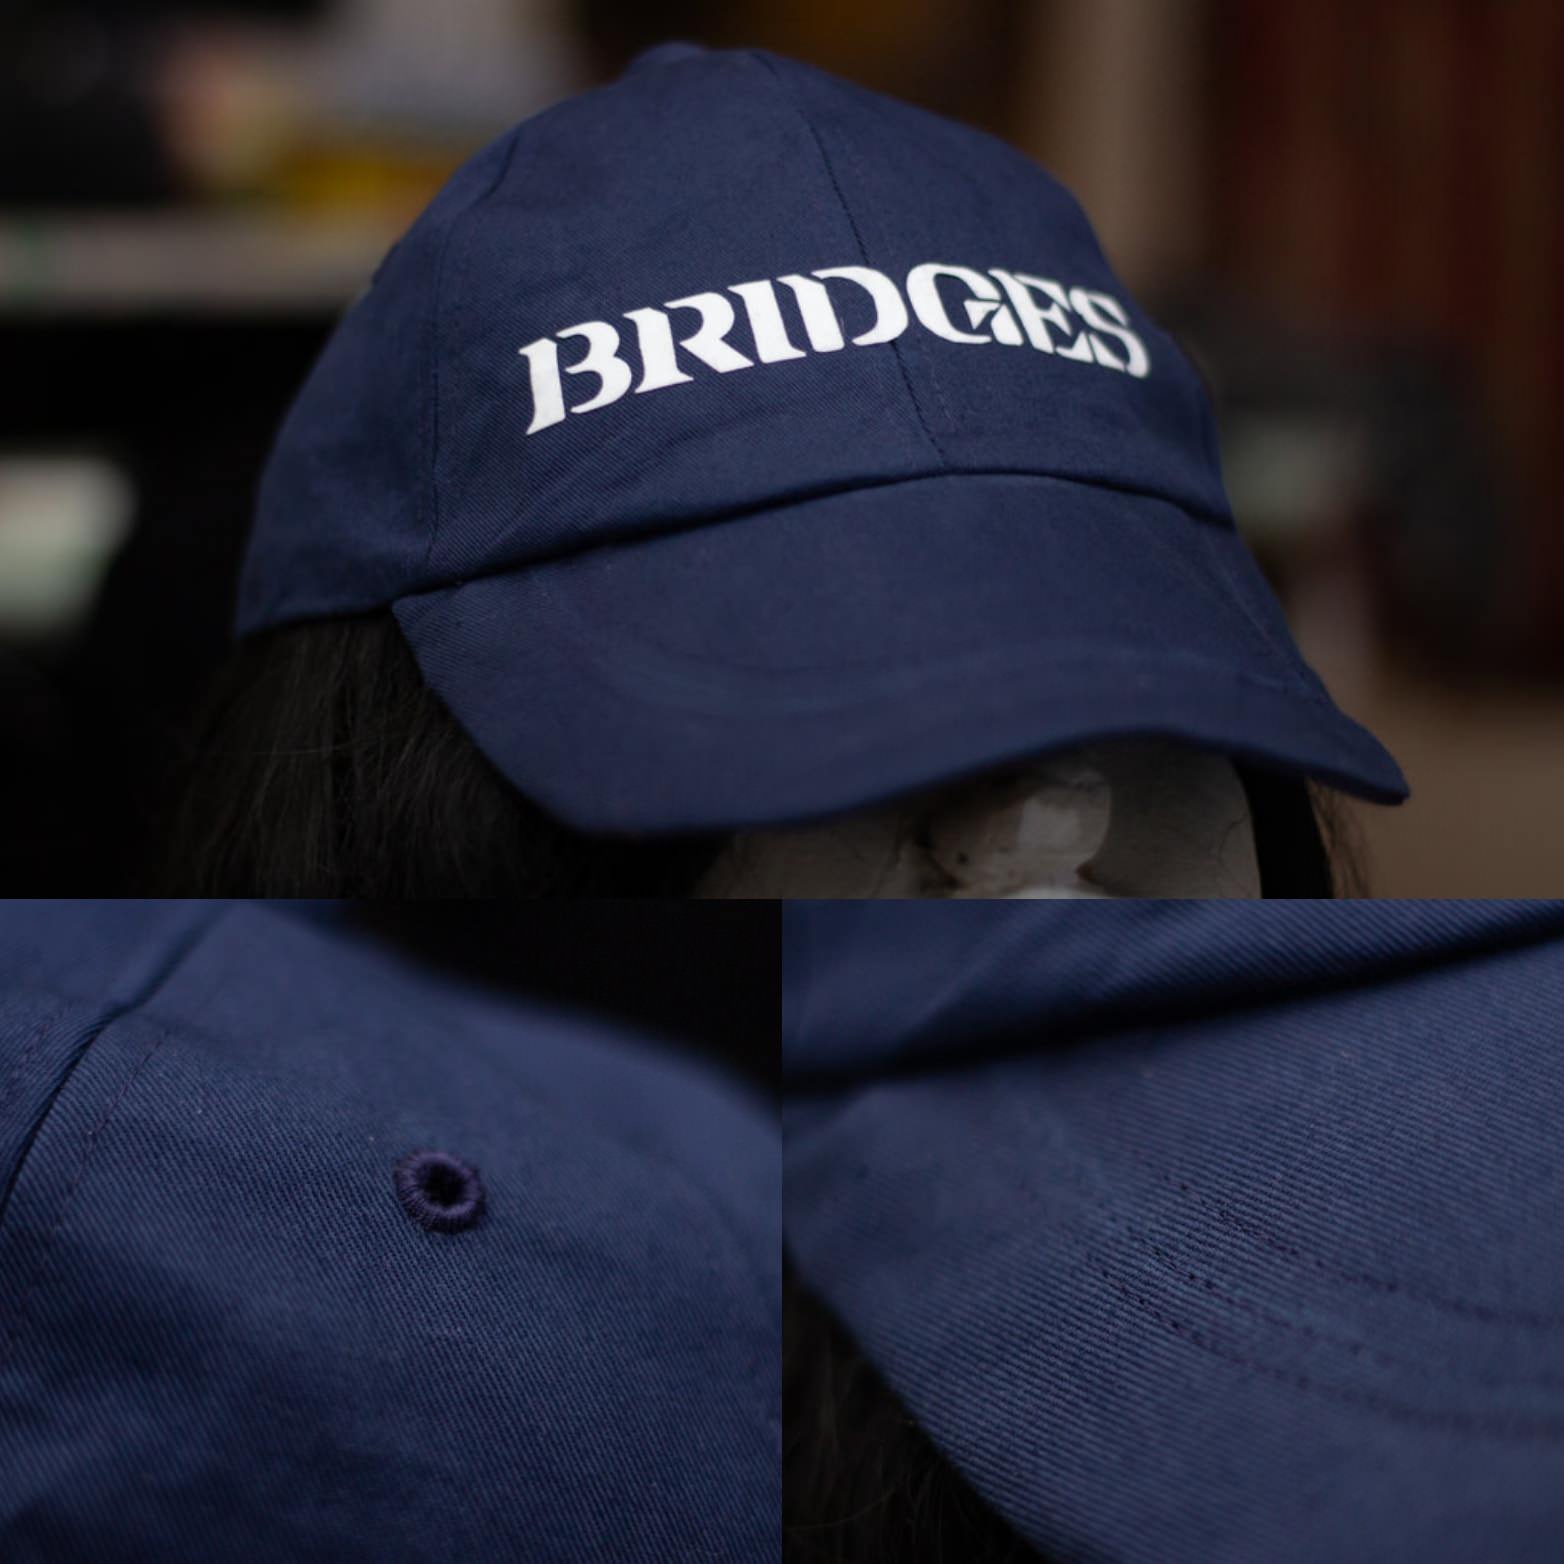


We needed to make the Brigdes cap ourselves, since the regular Kojima Productions cap wouldn’t have fit. We always wear wigs to our costumes, so a voluminous wig and our real hair bunched up underneath it made us need a bigger cap. We still used a regular cap as our base pattern for that and simply scaled up the pieces, before sewing it together. The fabric was stiffened with some interfacing fleece. The brim has a Worbla core that we heat-shaped for the perfect form. The Bridges logo was created as a vector in Adobe Illustrator, cut out by our plotter in a flock material and then ironed onto the cap. We also wrapped a button in the same fabric and hand-stitched some eyelets as details.
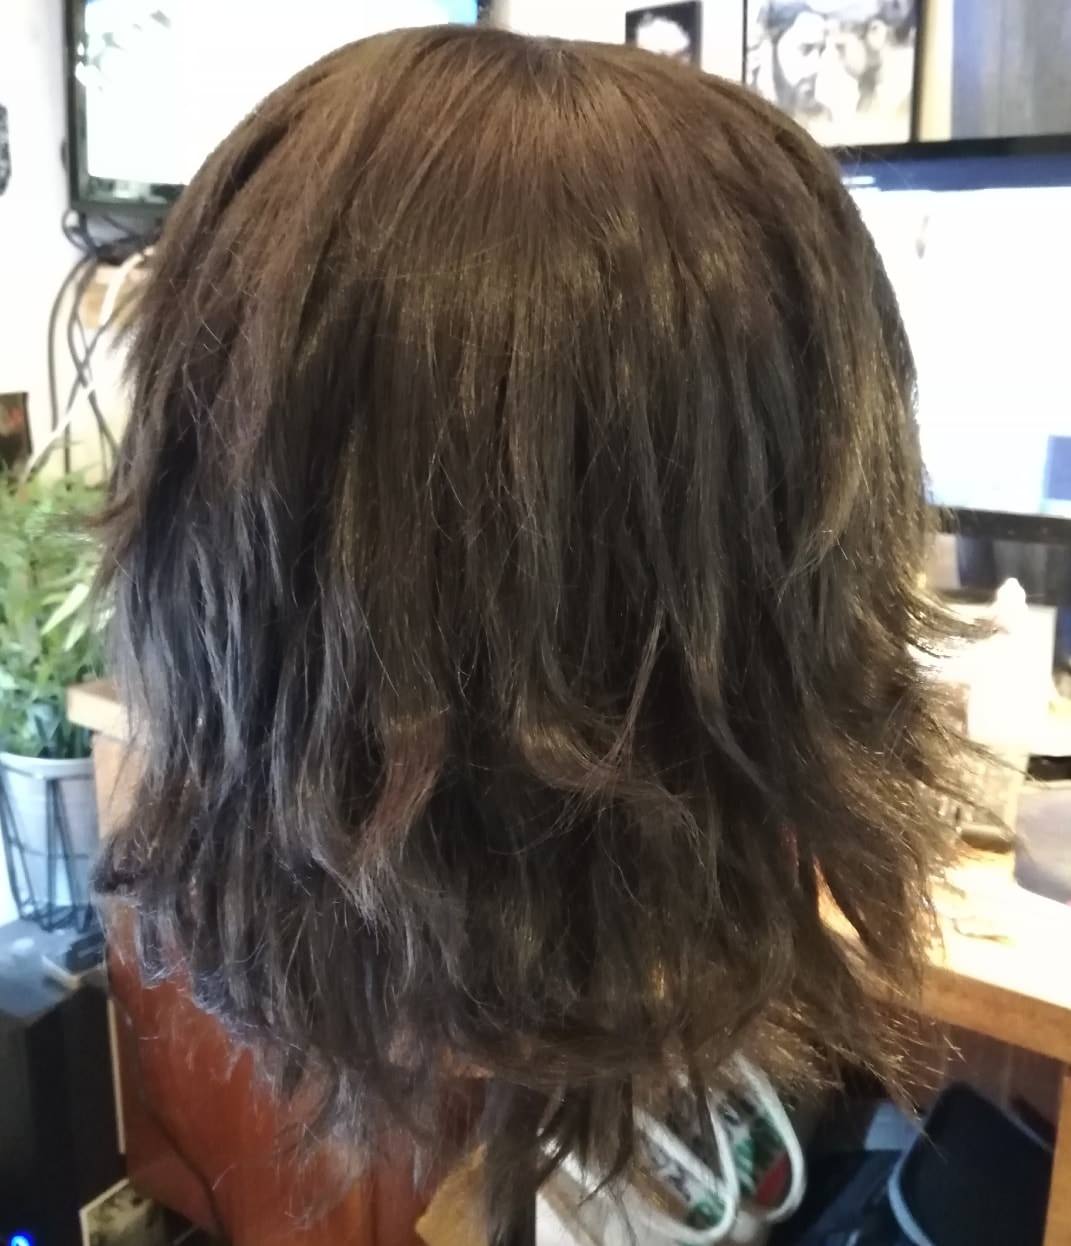
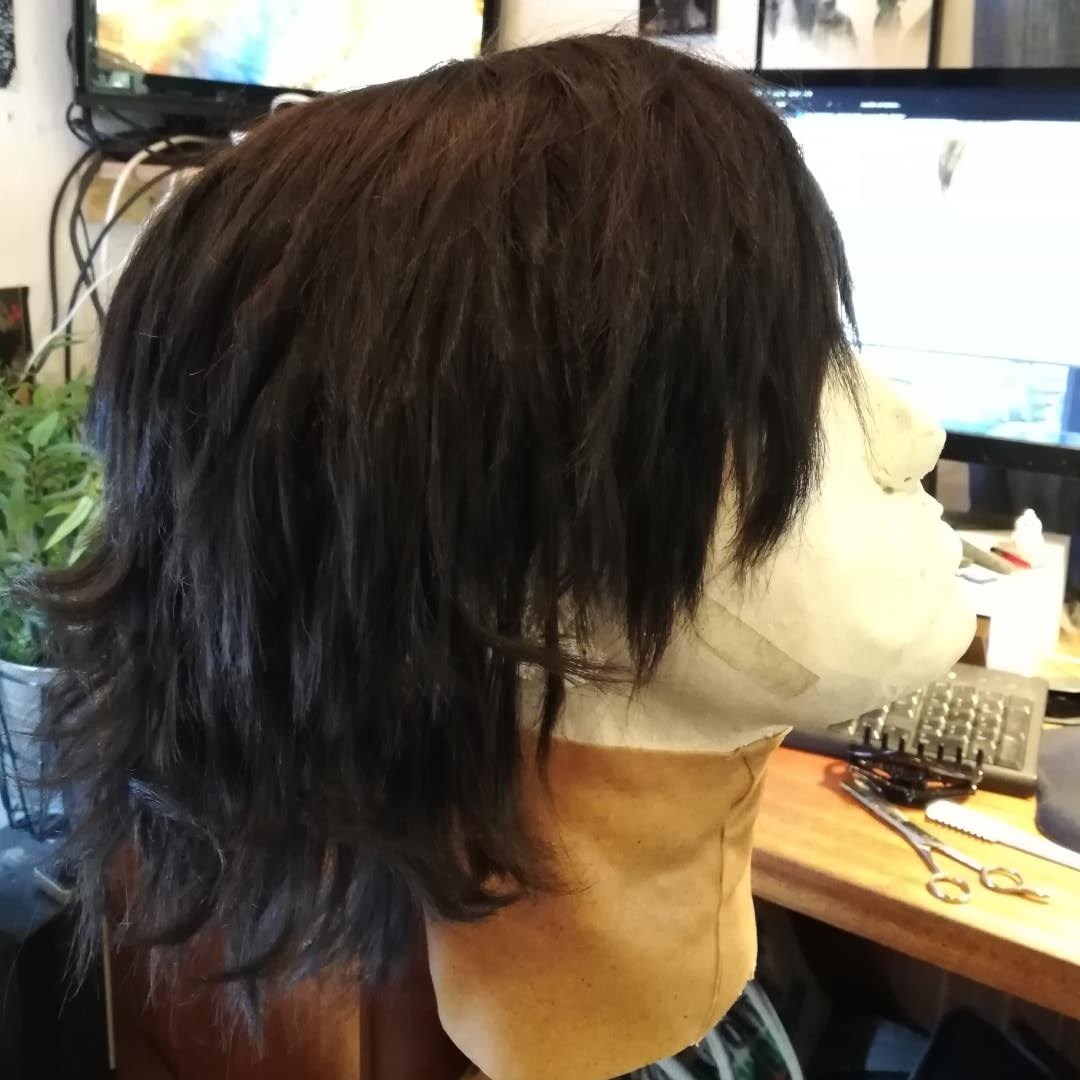
The base wig we bought was an Ash from Coscraft in natural black, but looking at it now we could’ve chosen a slightly lighter color maybe. We cut it slightly, thinned it out a lot and created some layers and a generally gruff looking hairstyle by randomly heating it up with a flat iron.
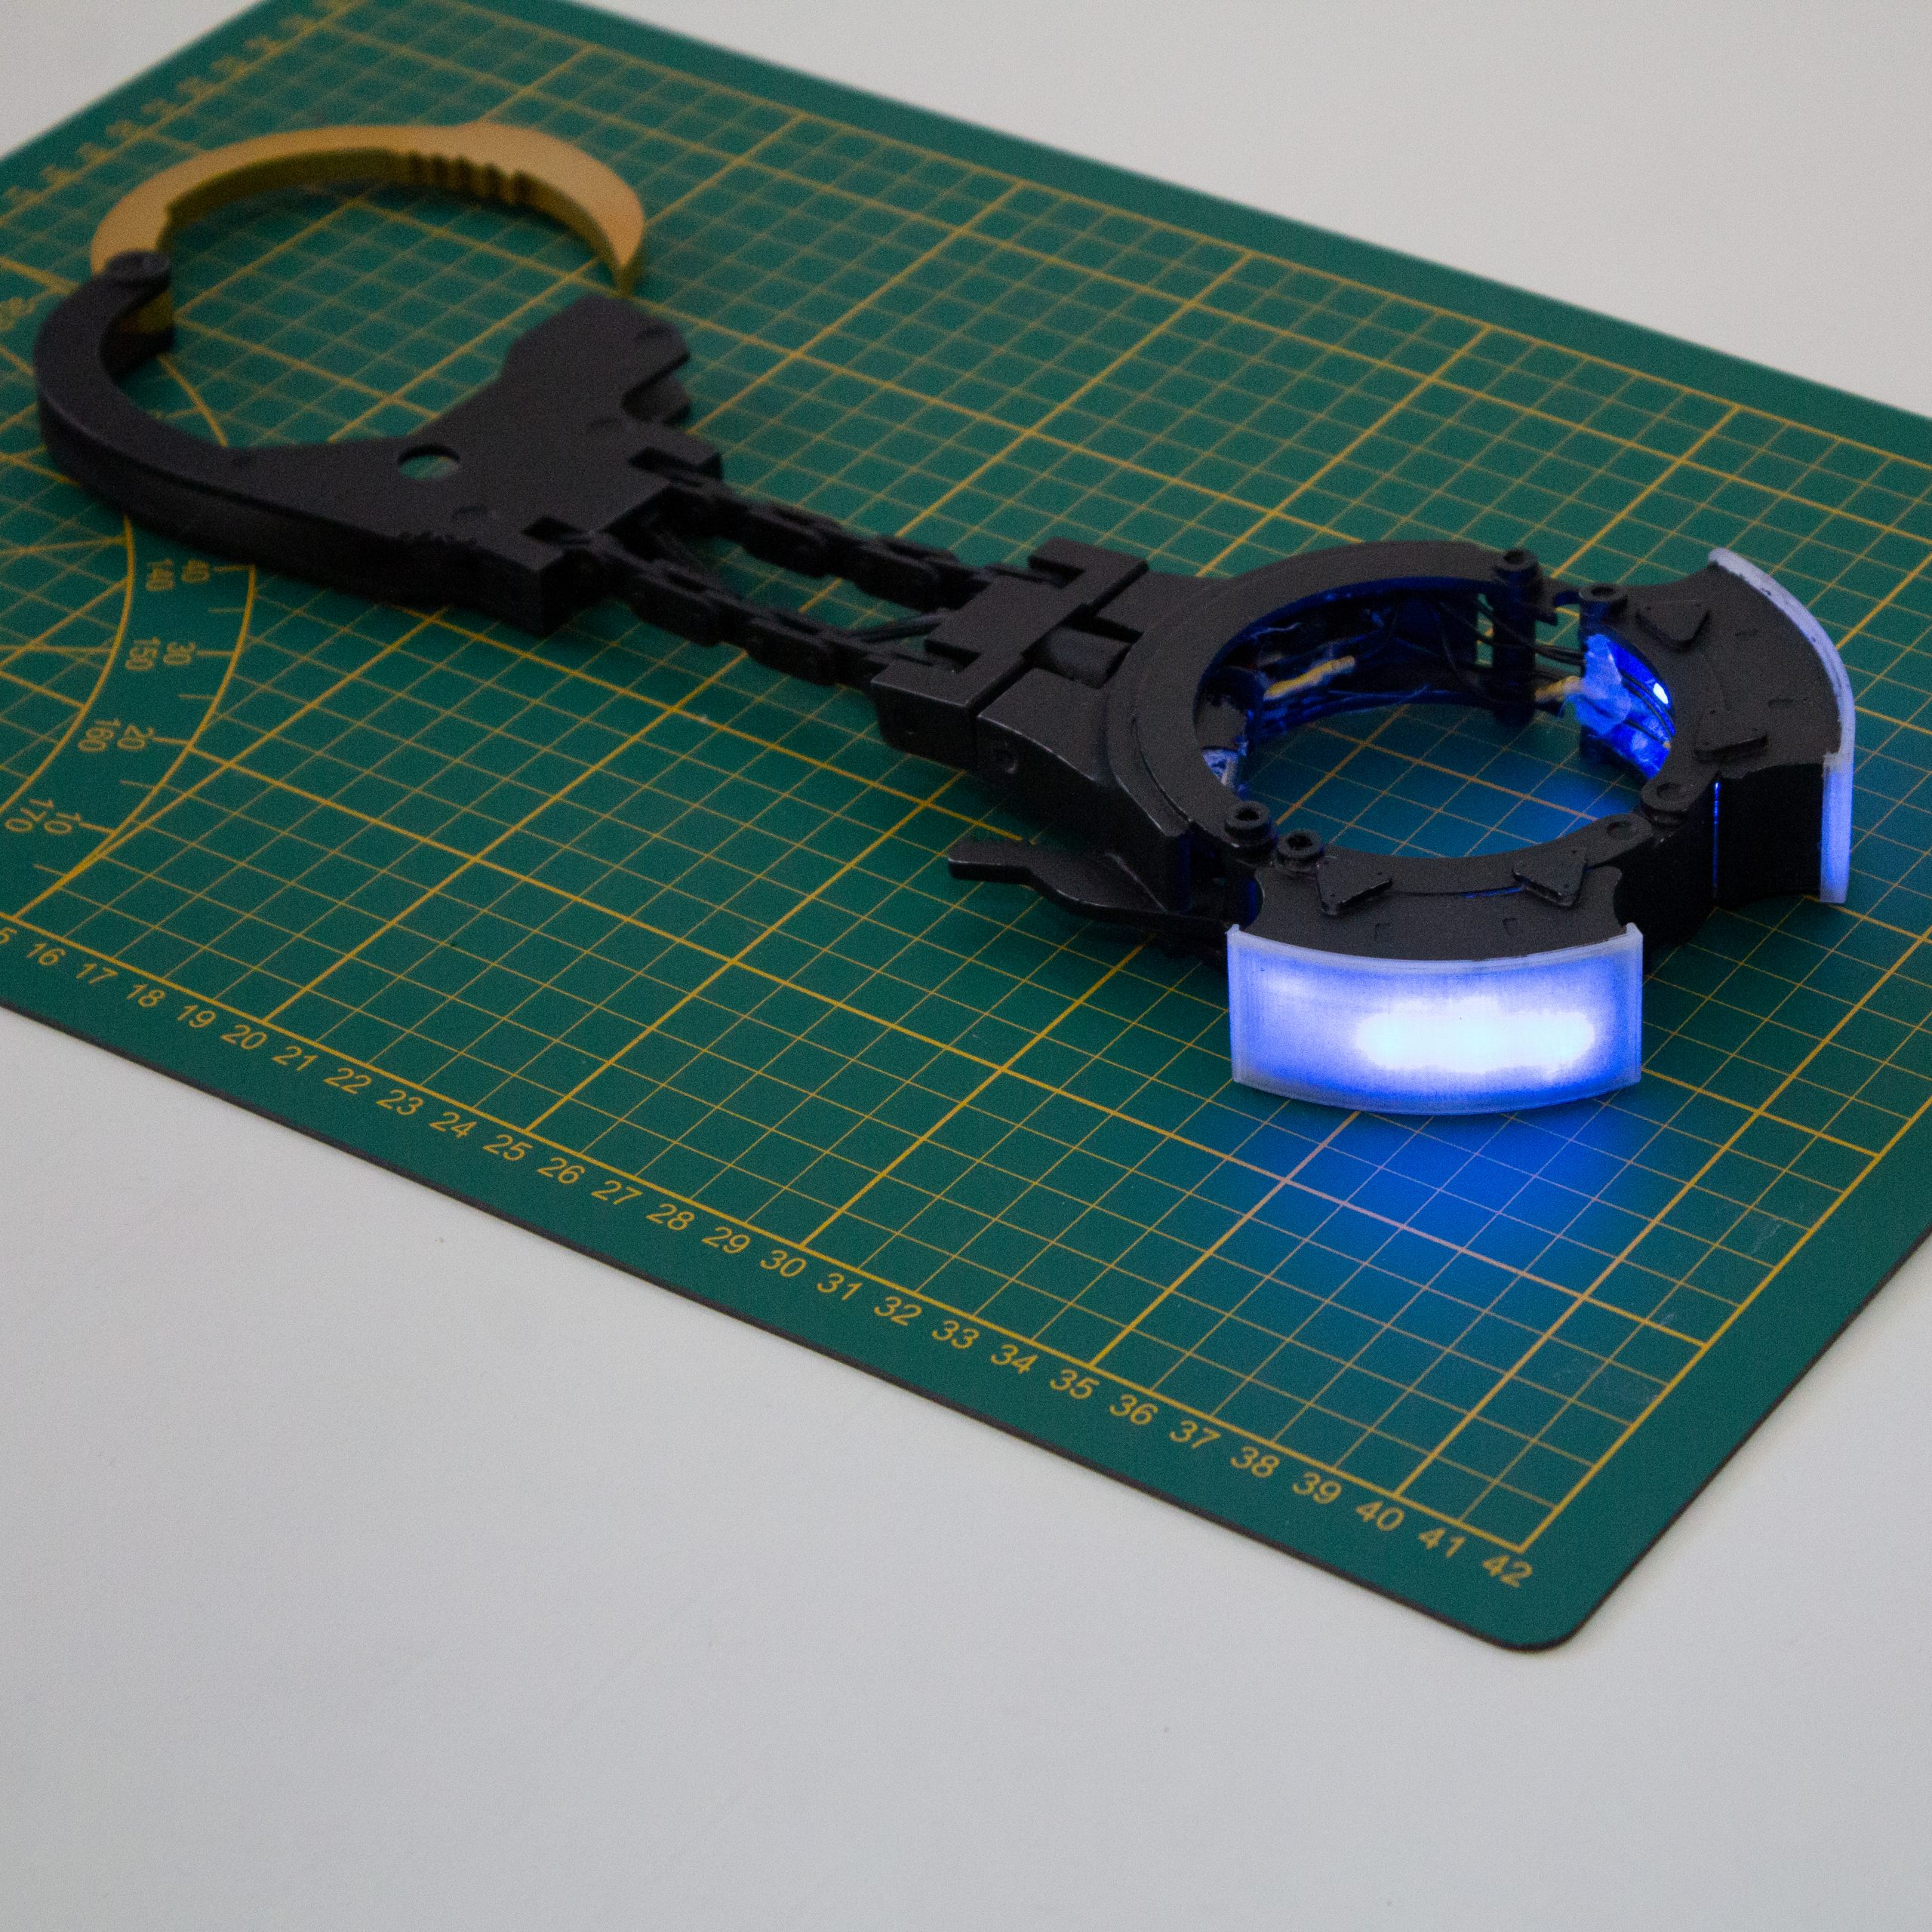
Cufflinks

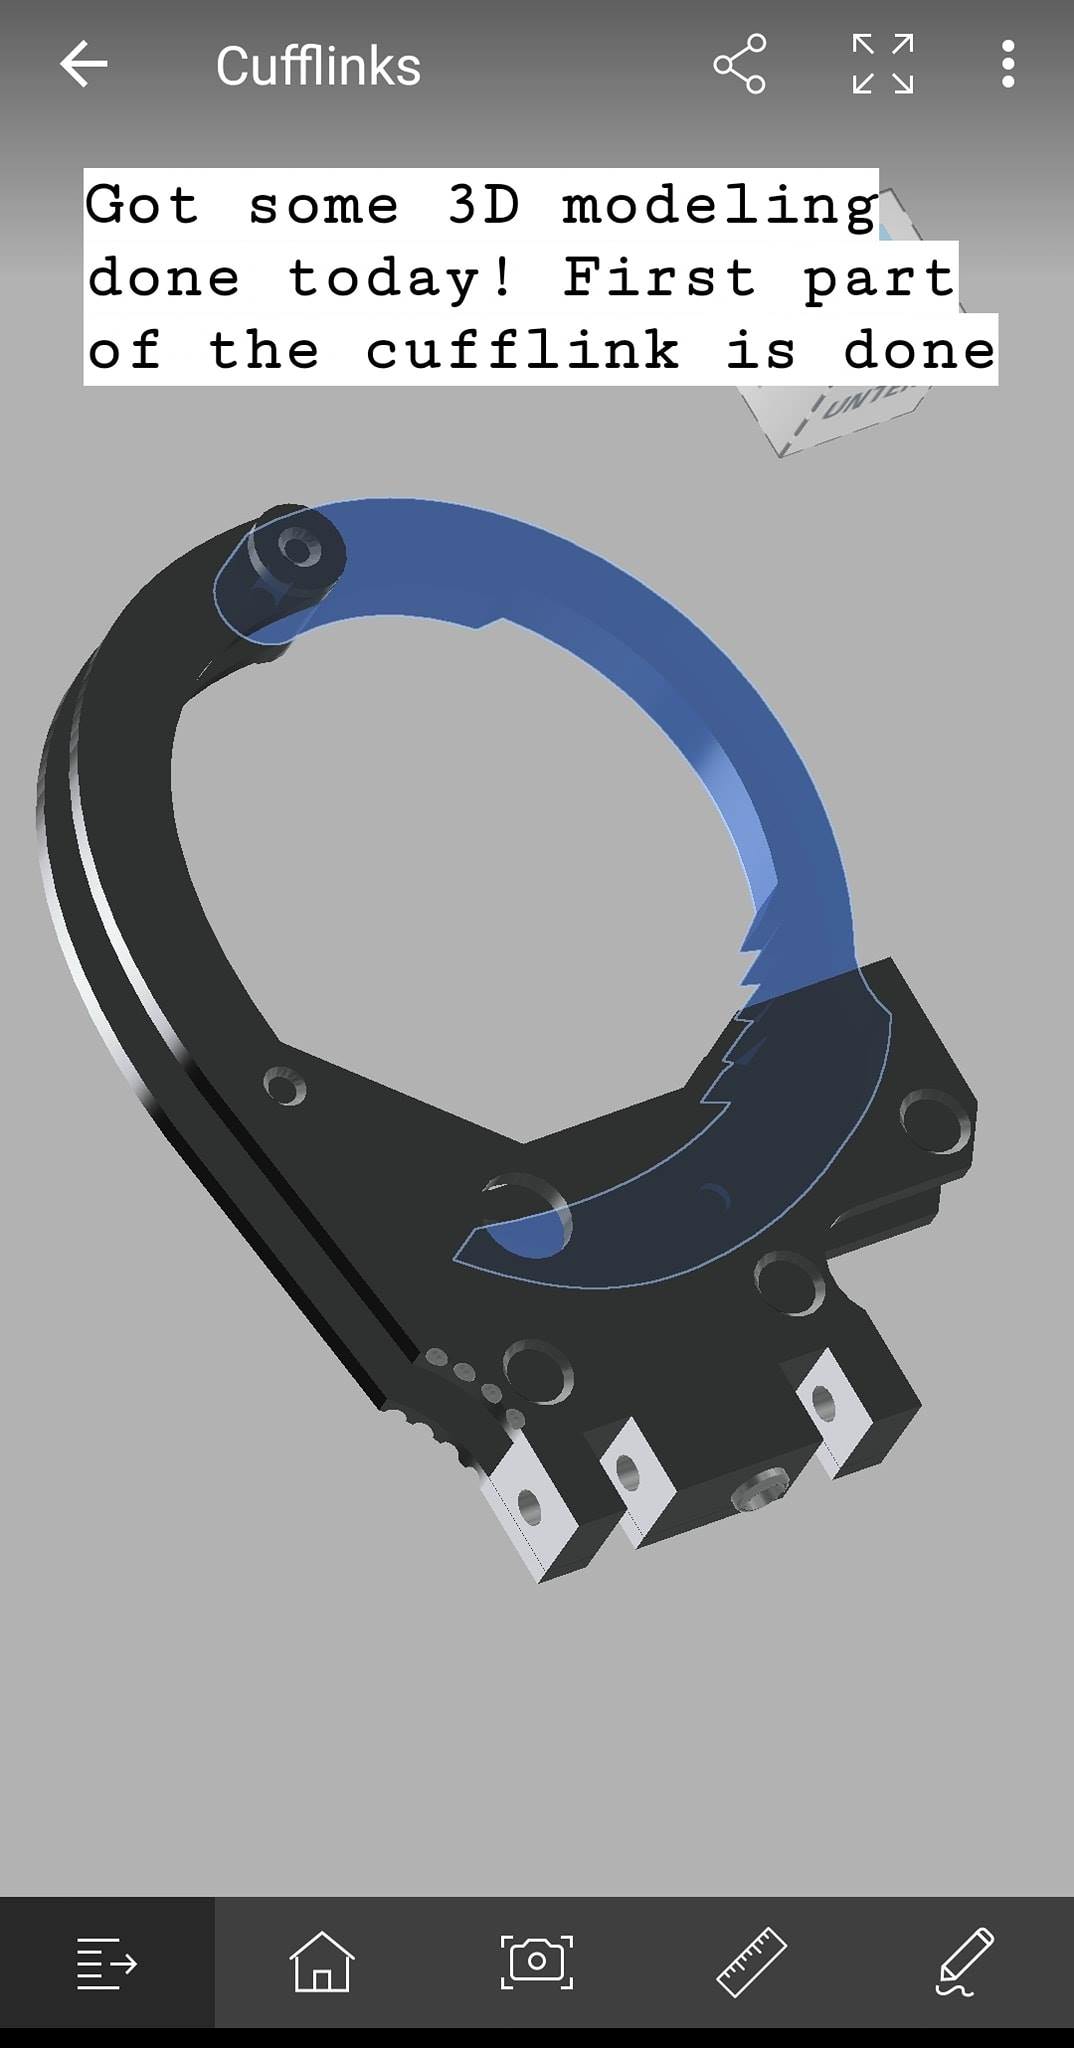
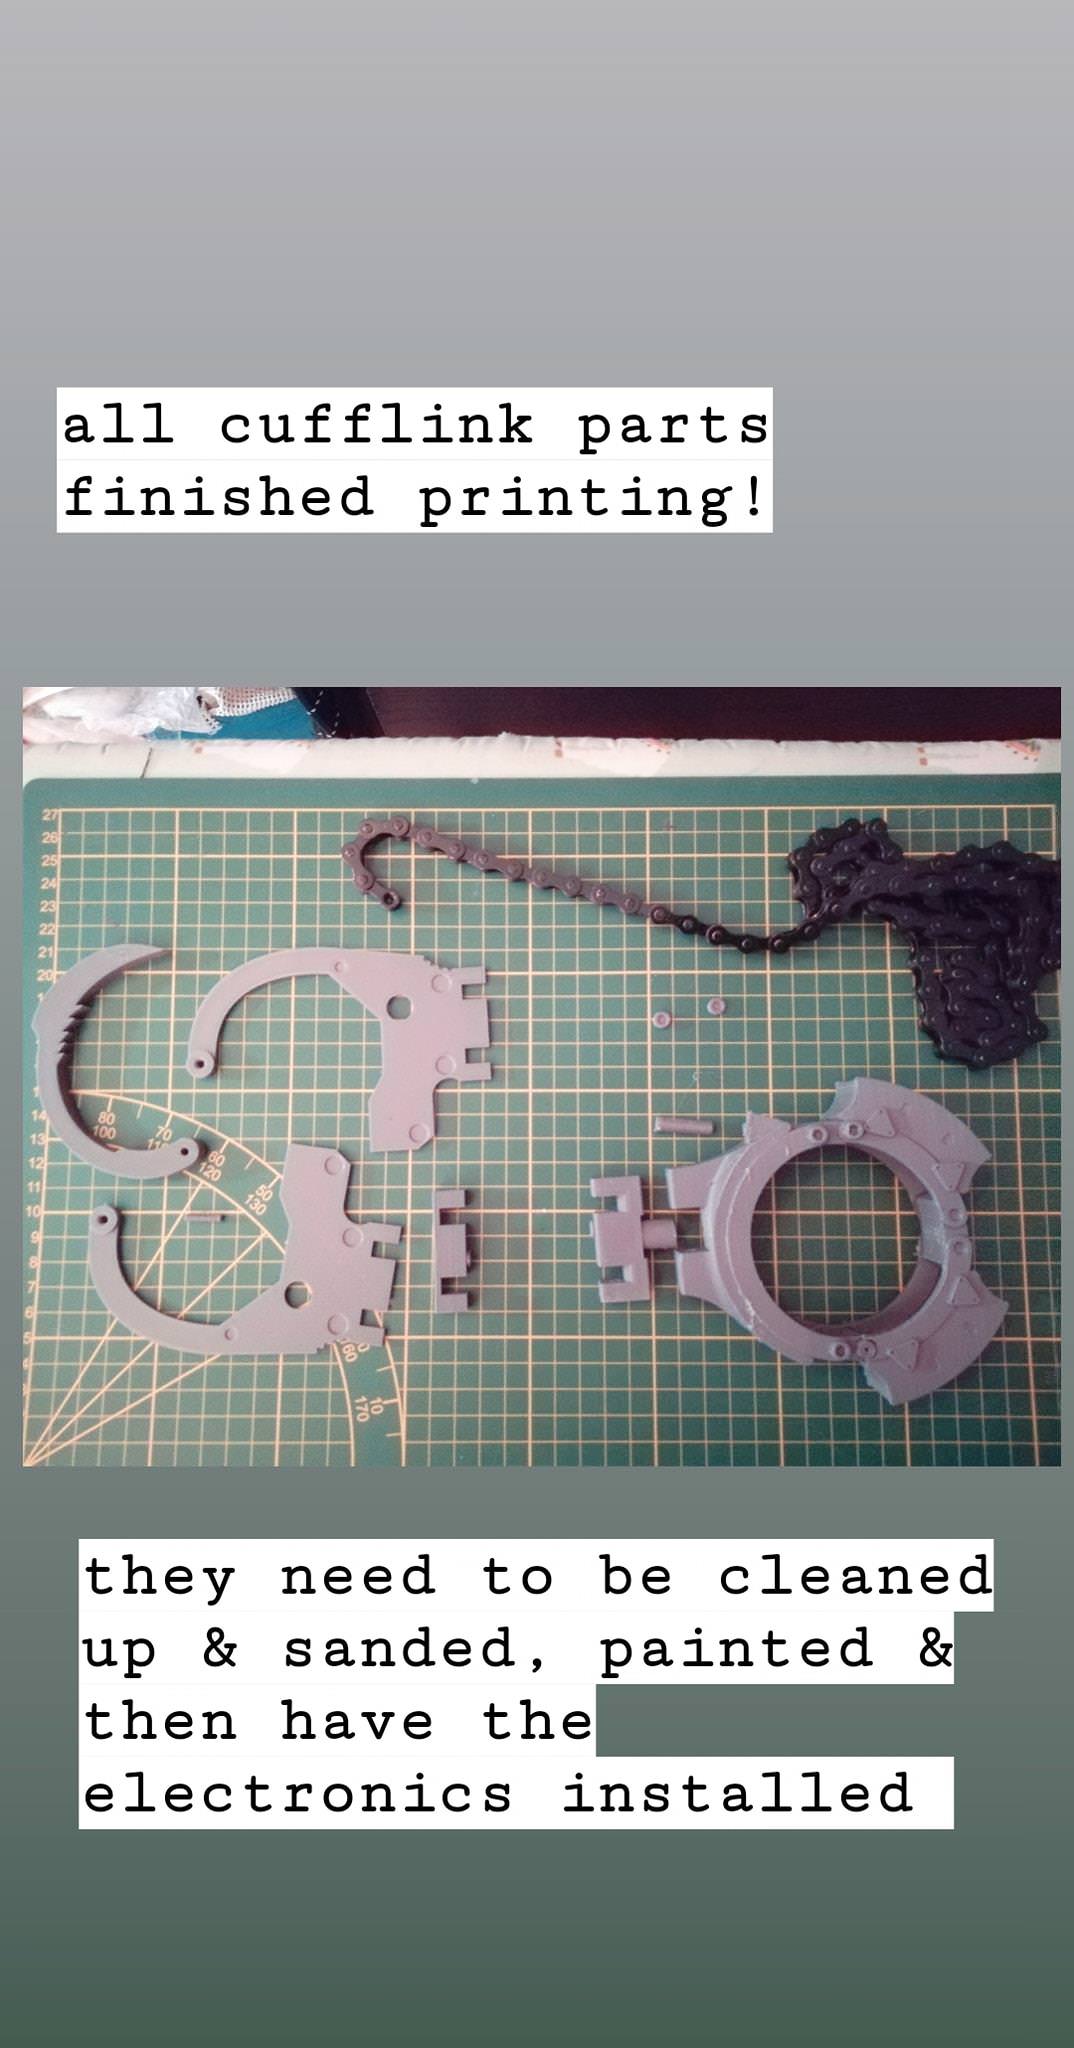
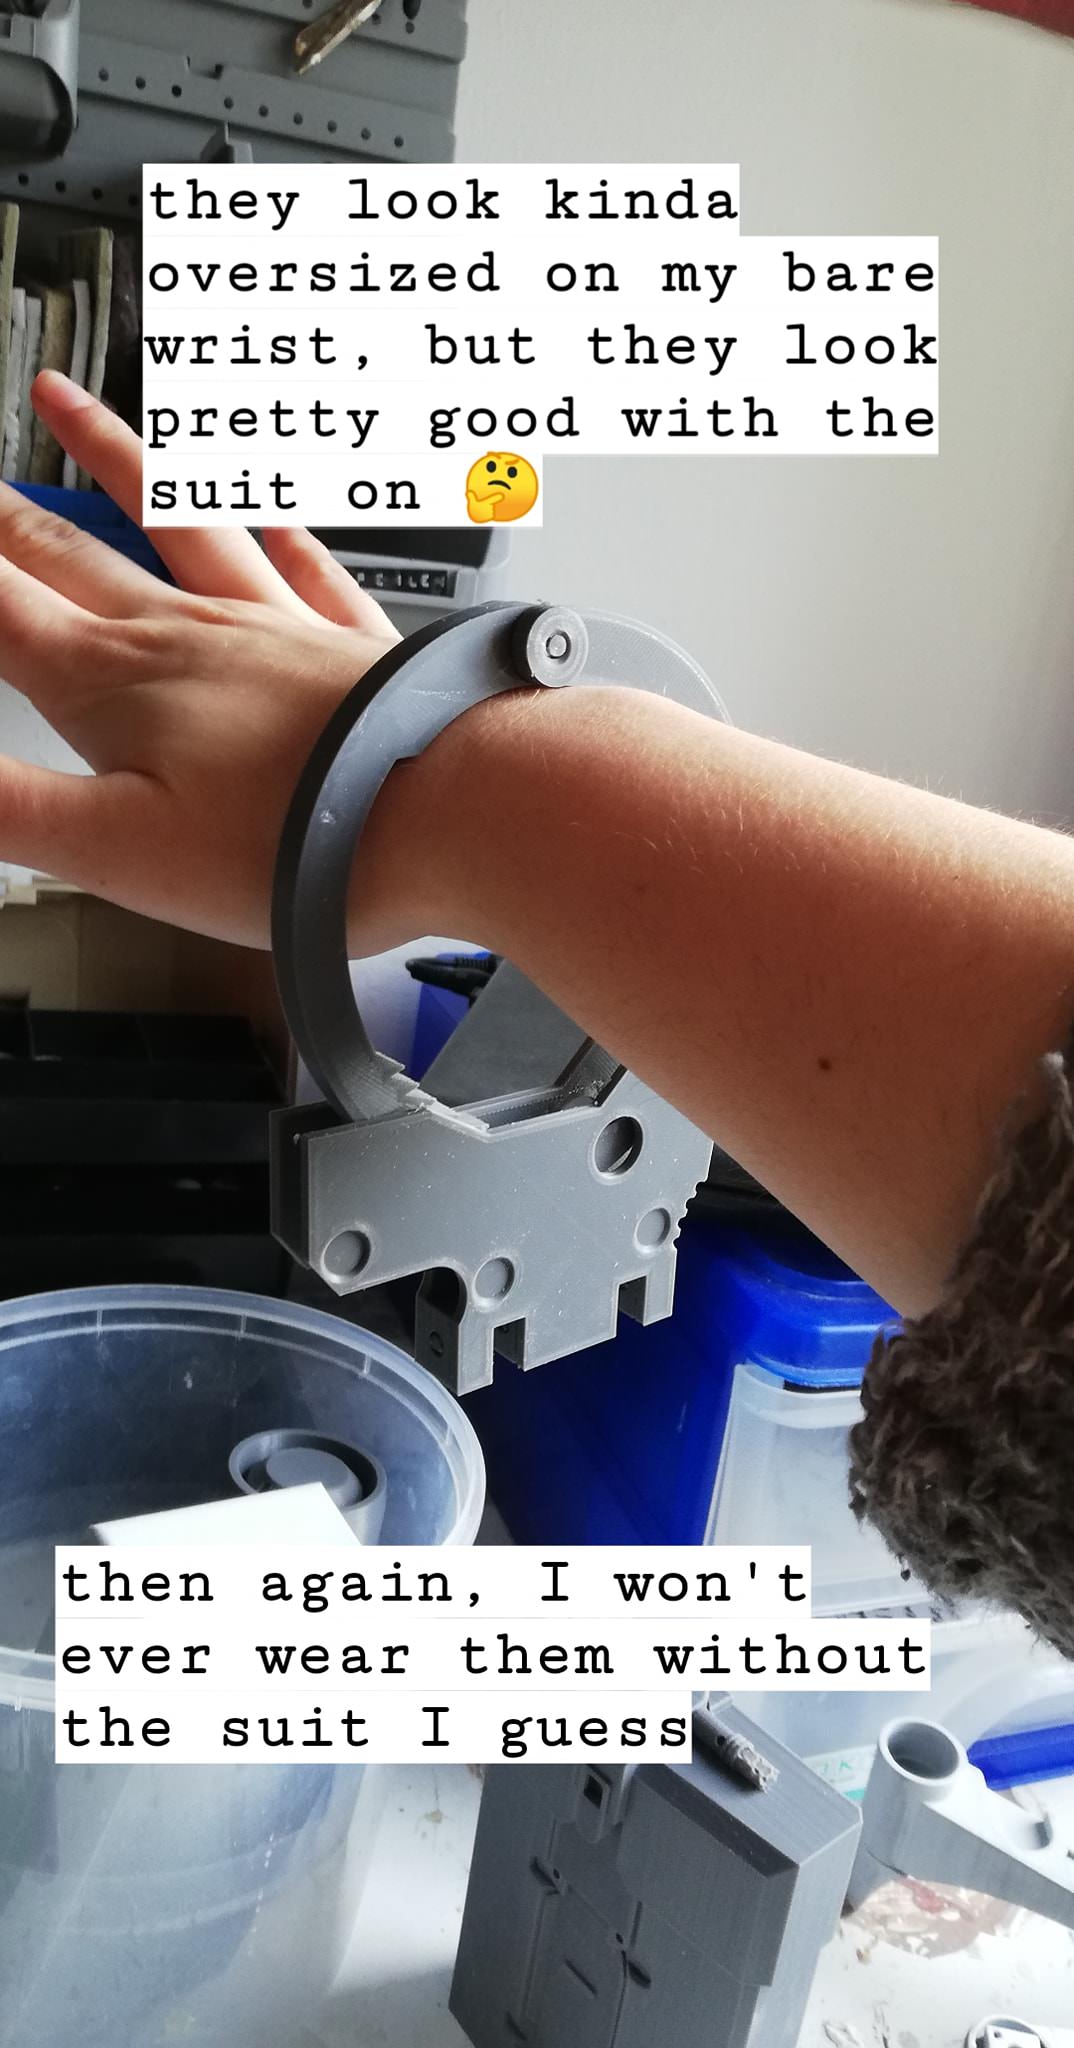
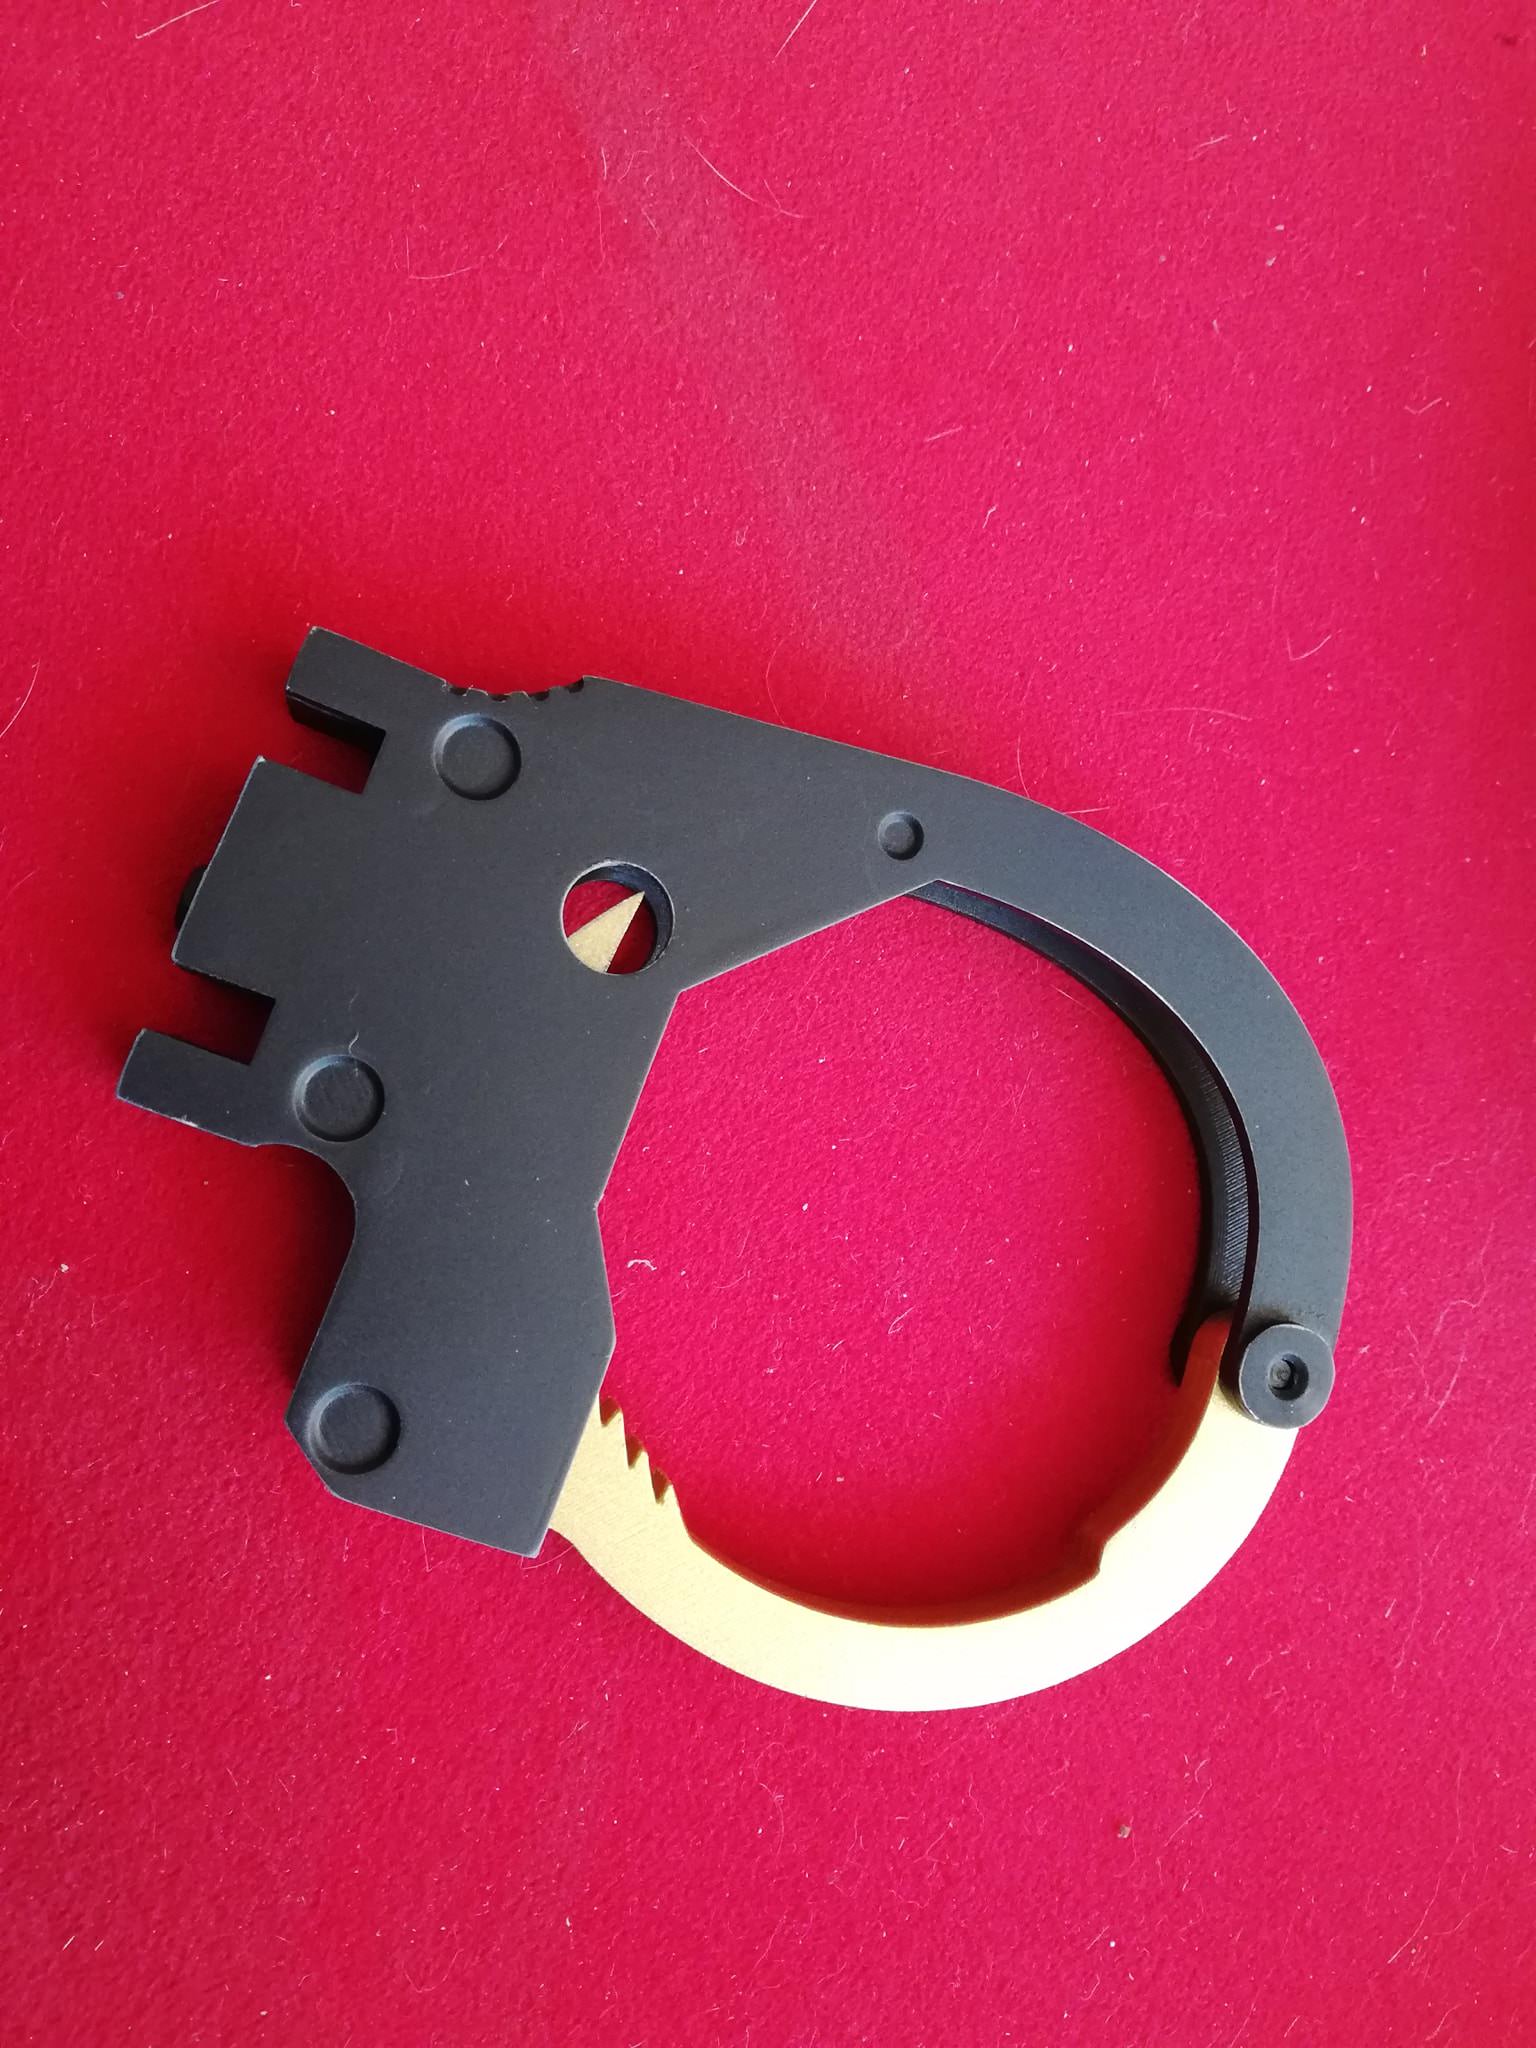
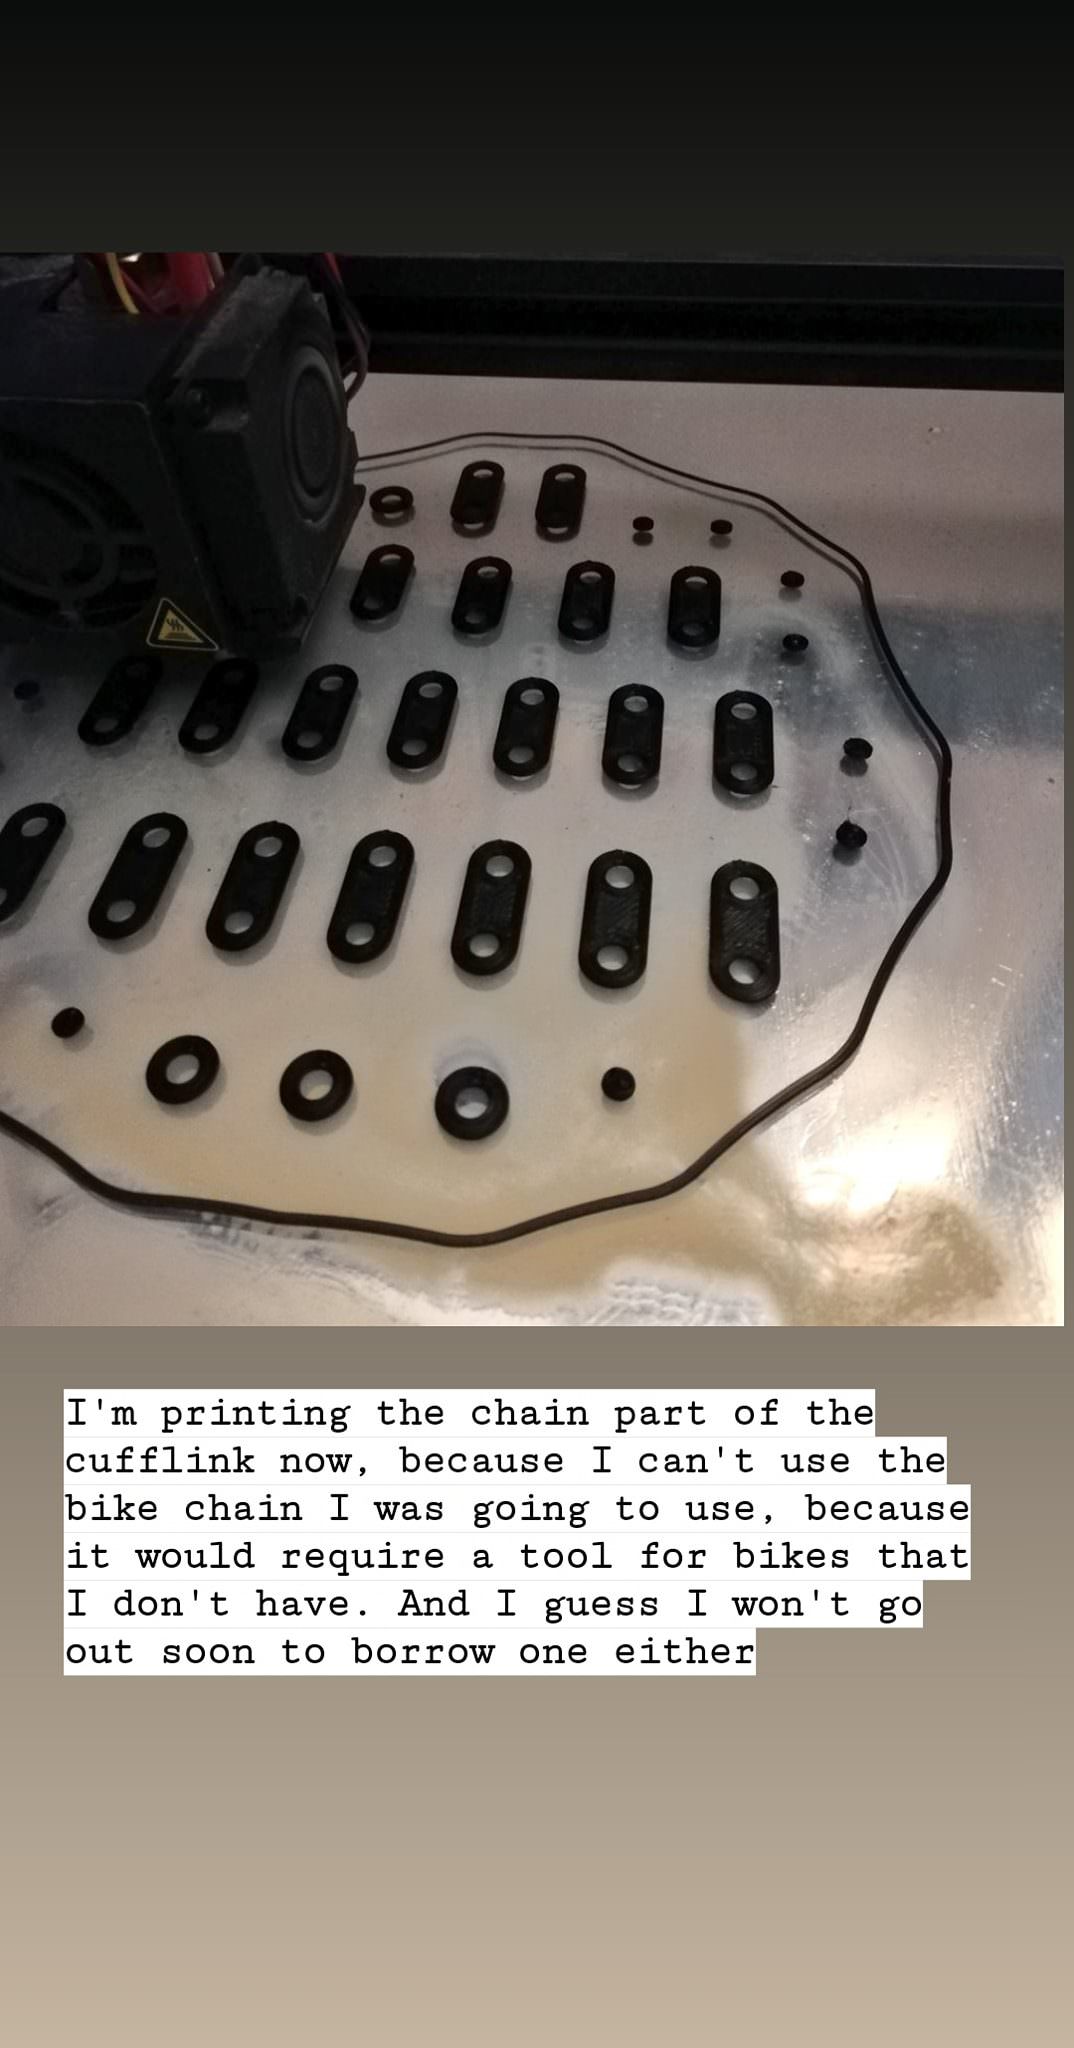
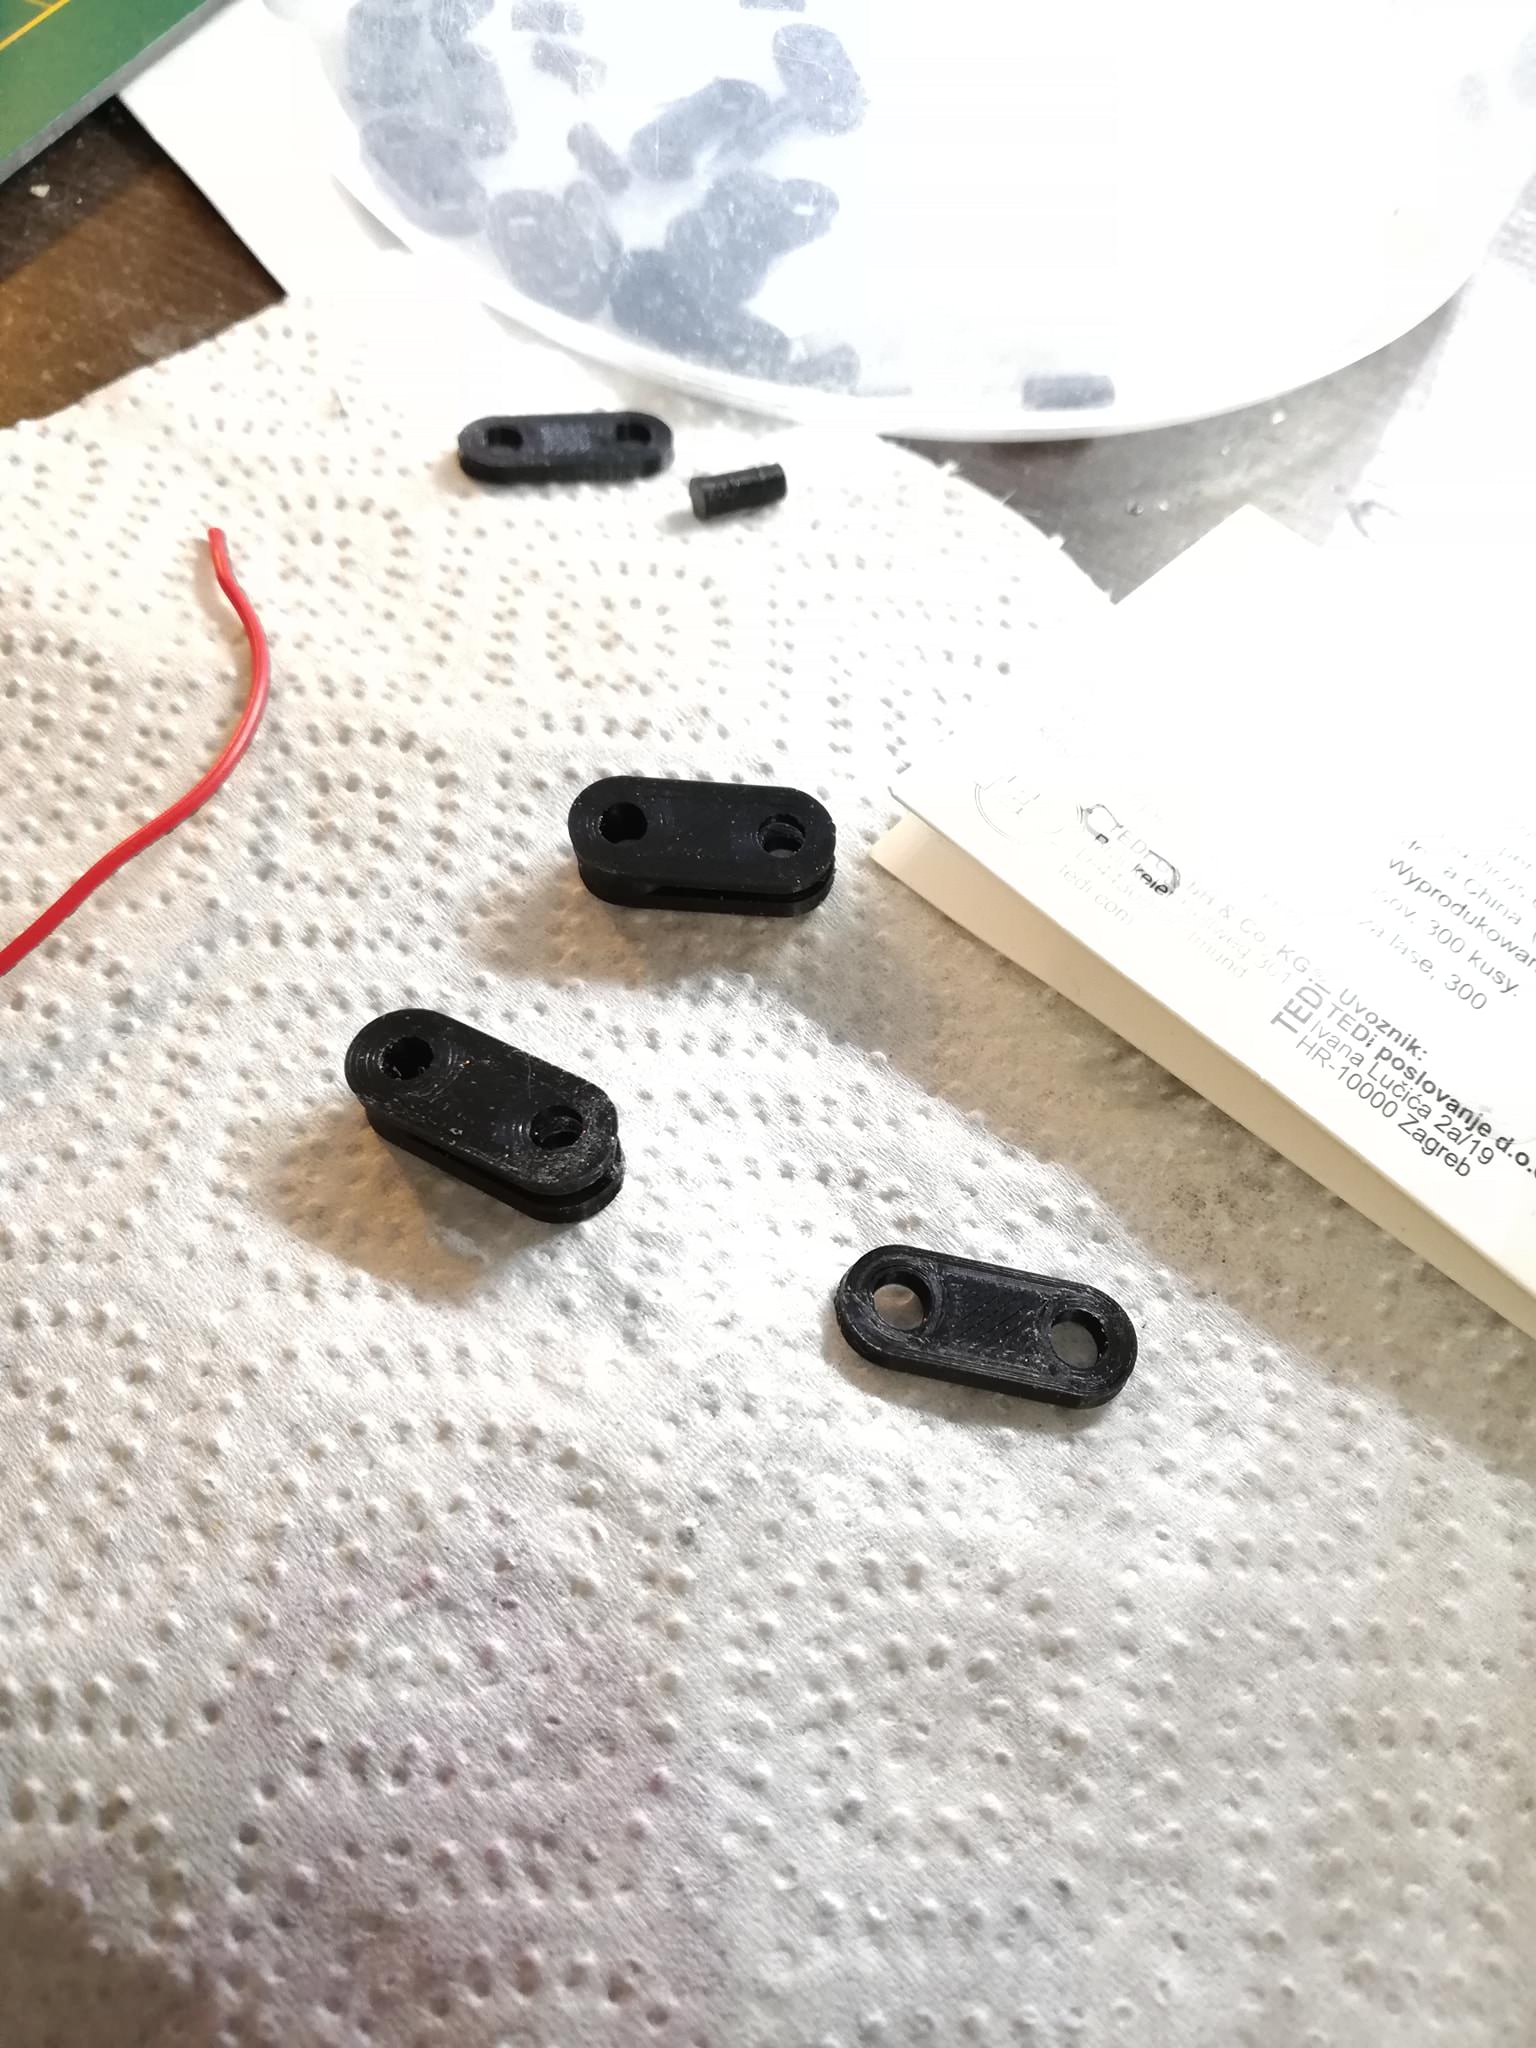
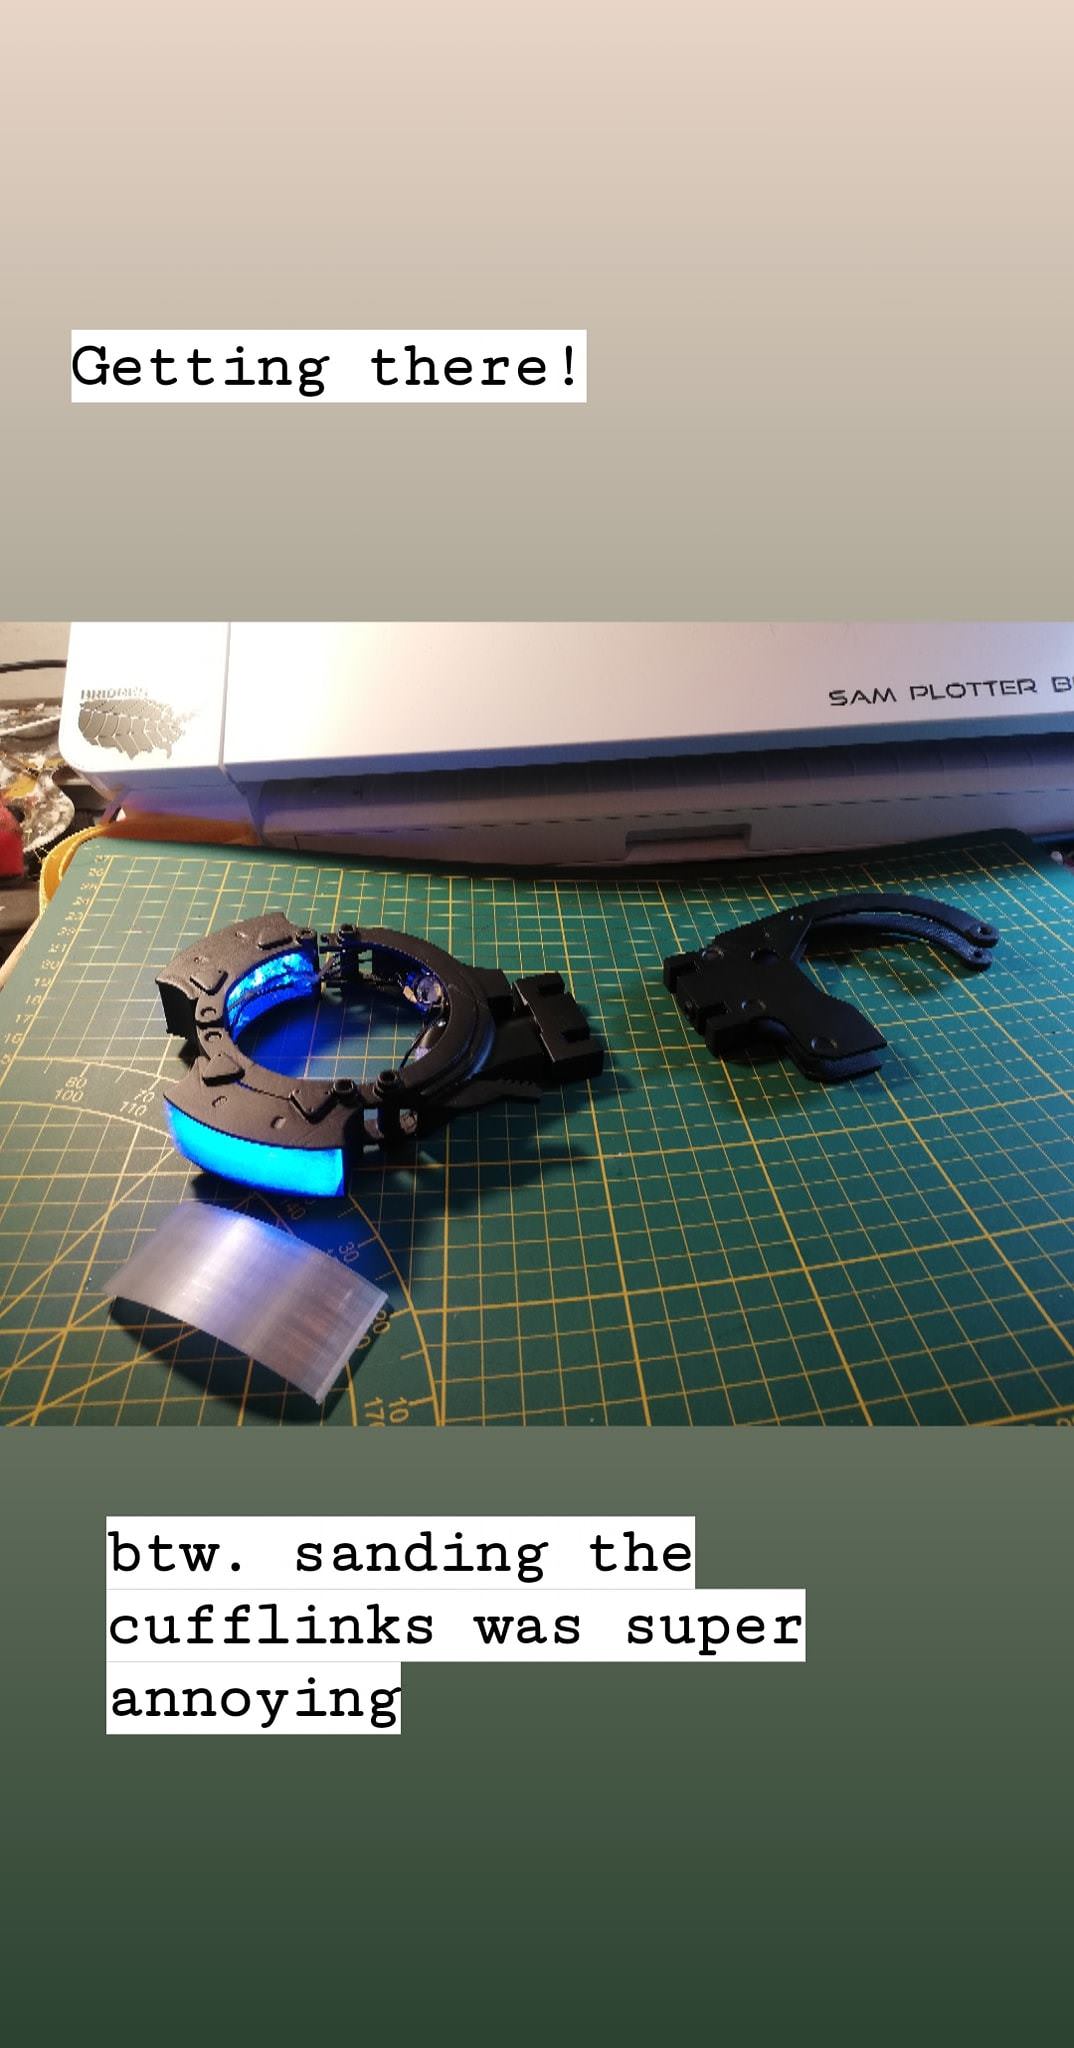
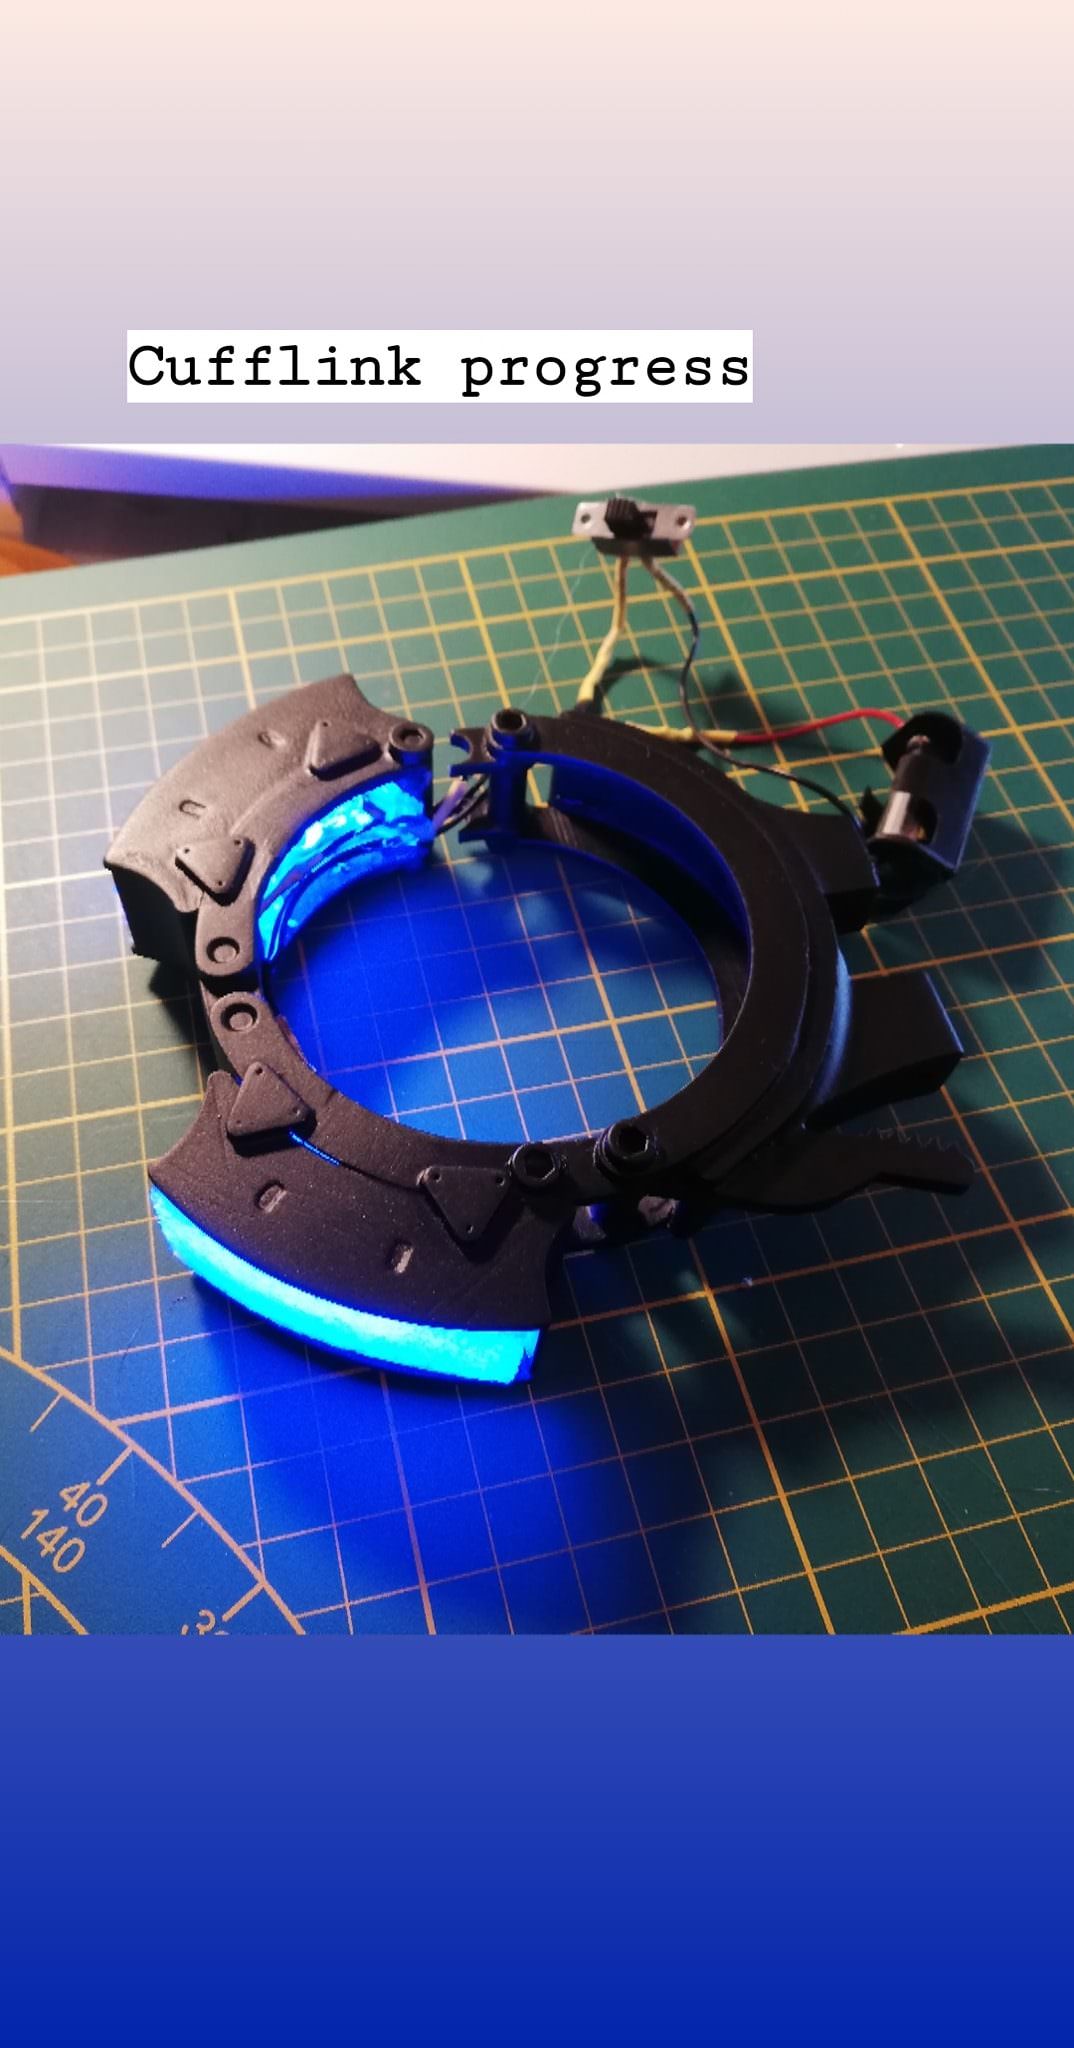
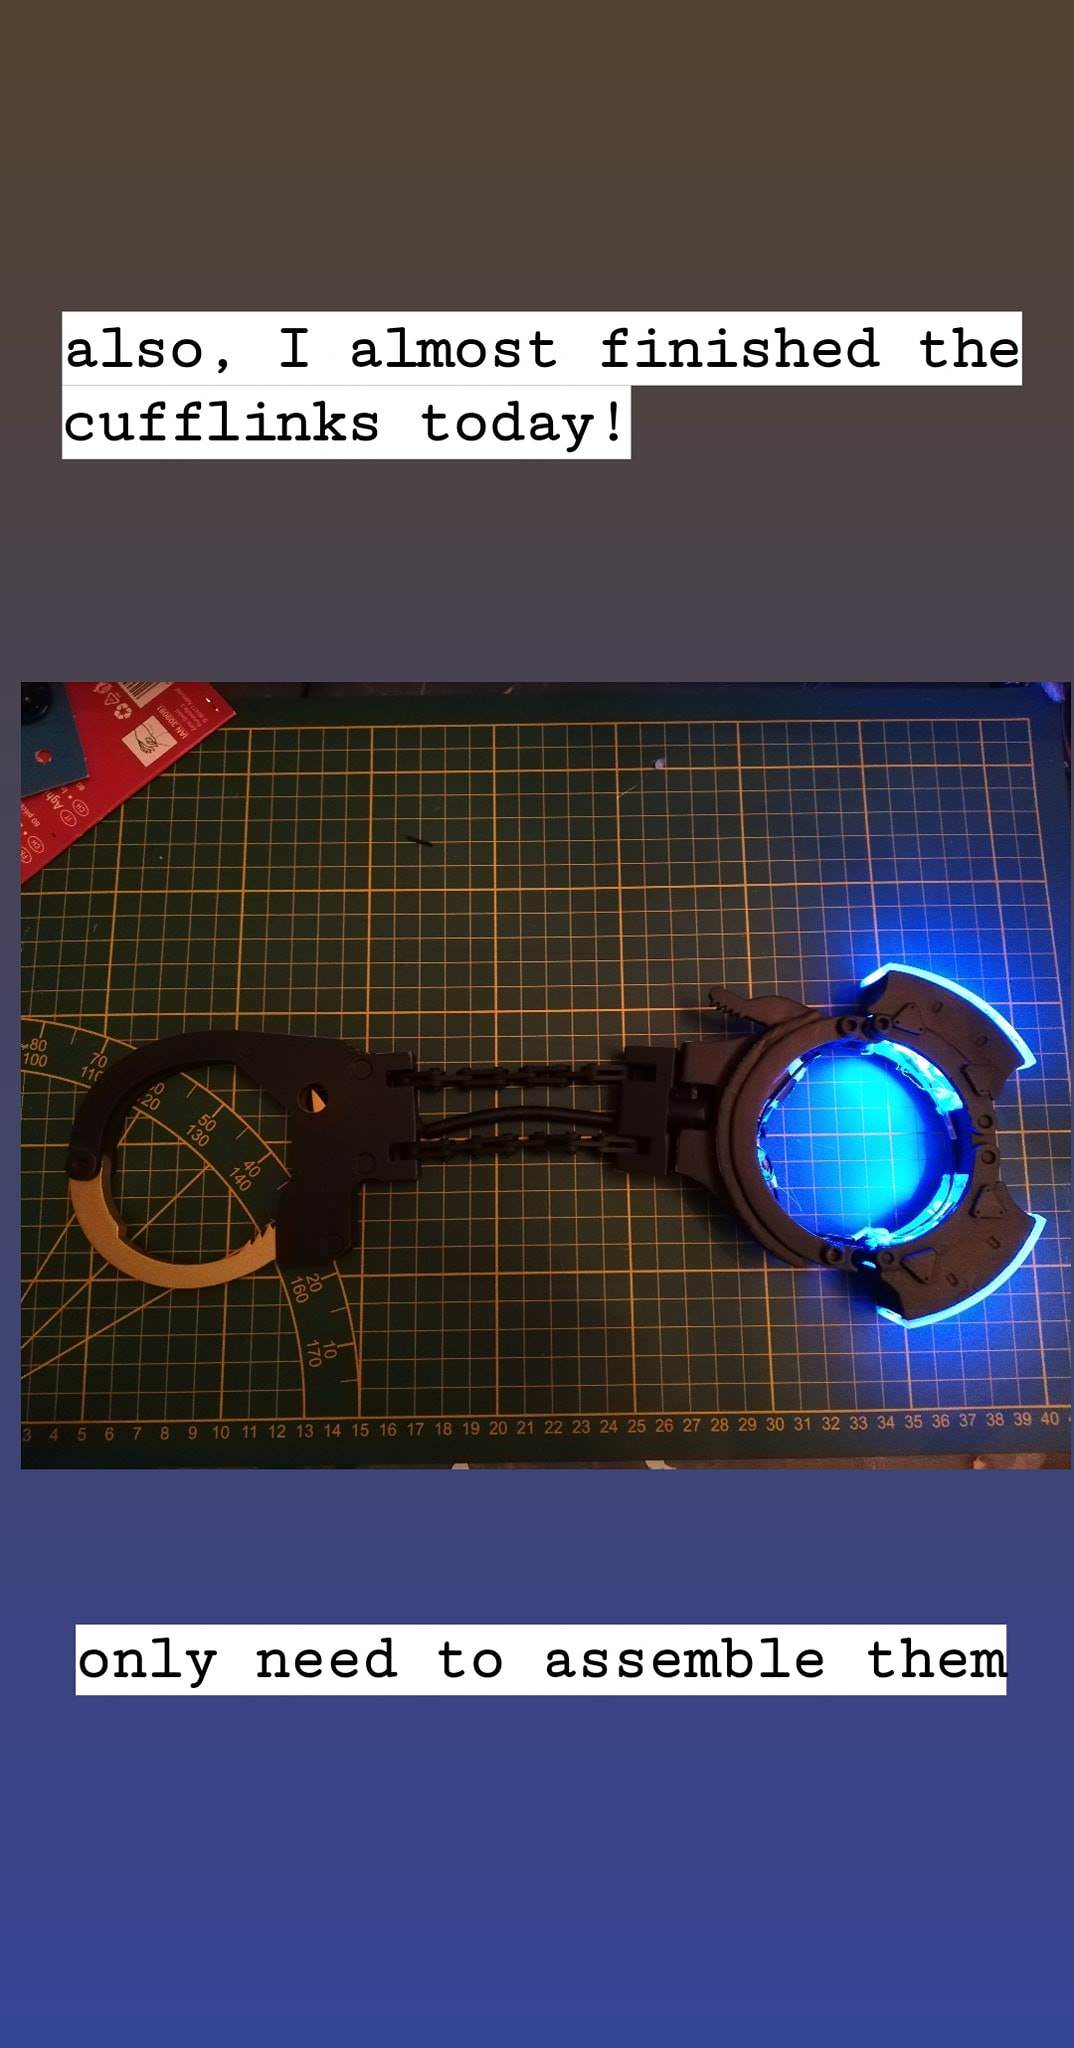
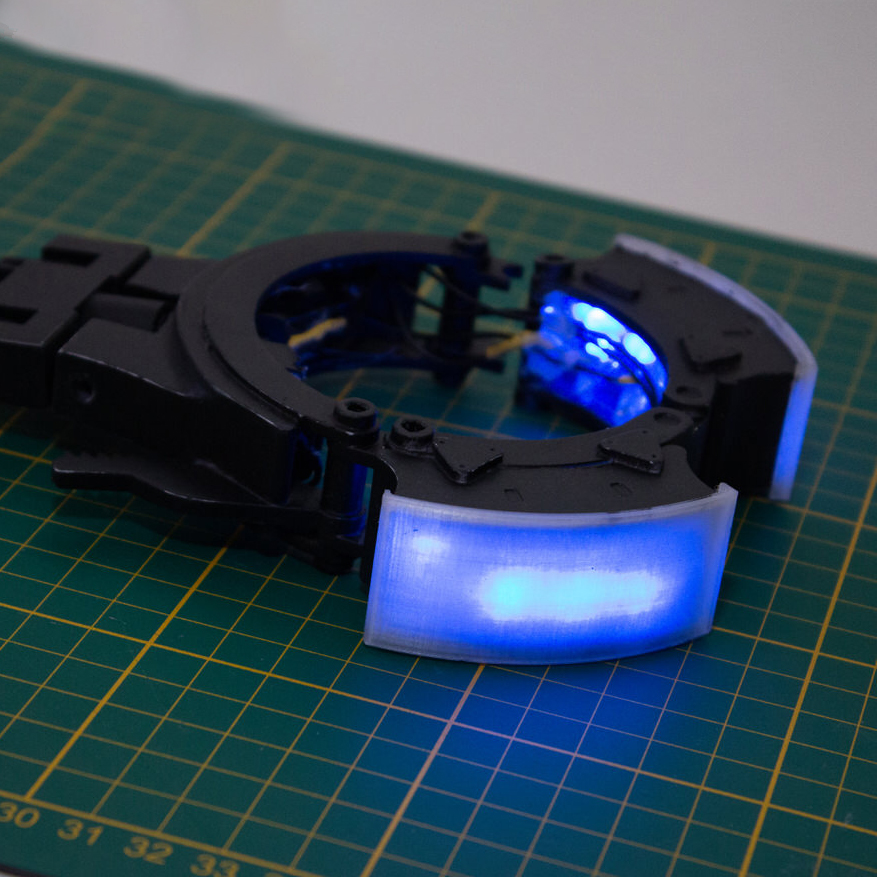
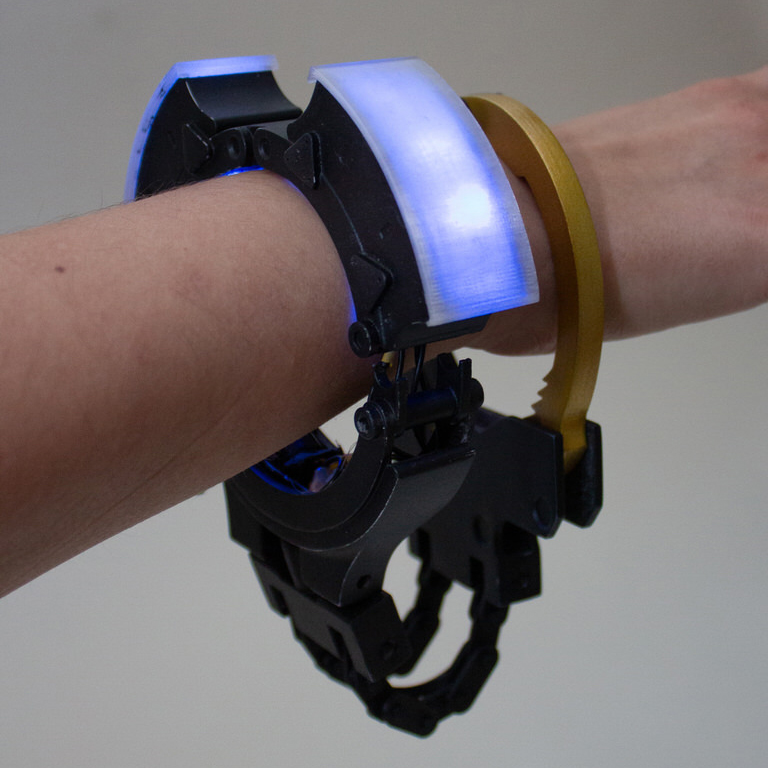
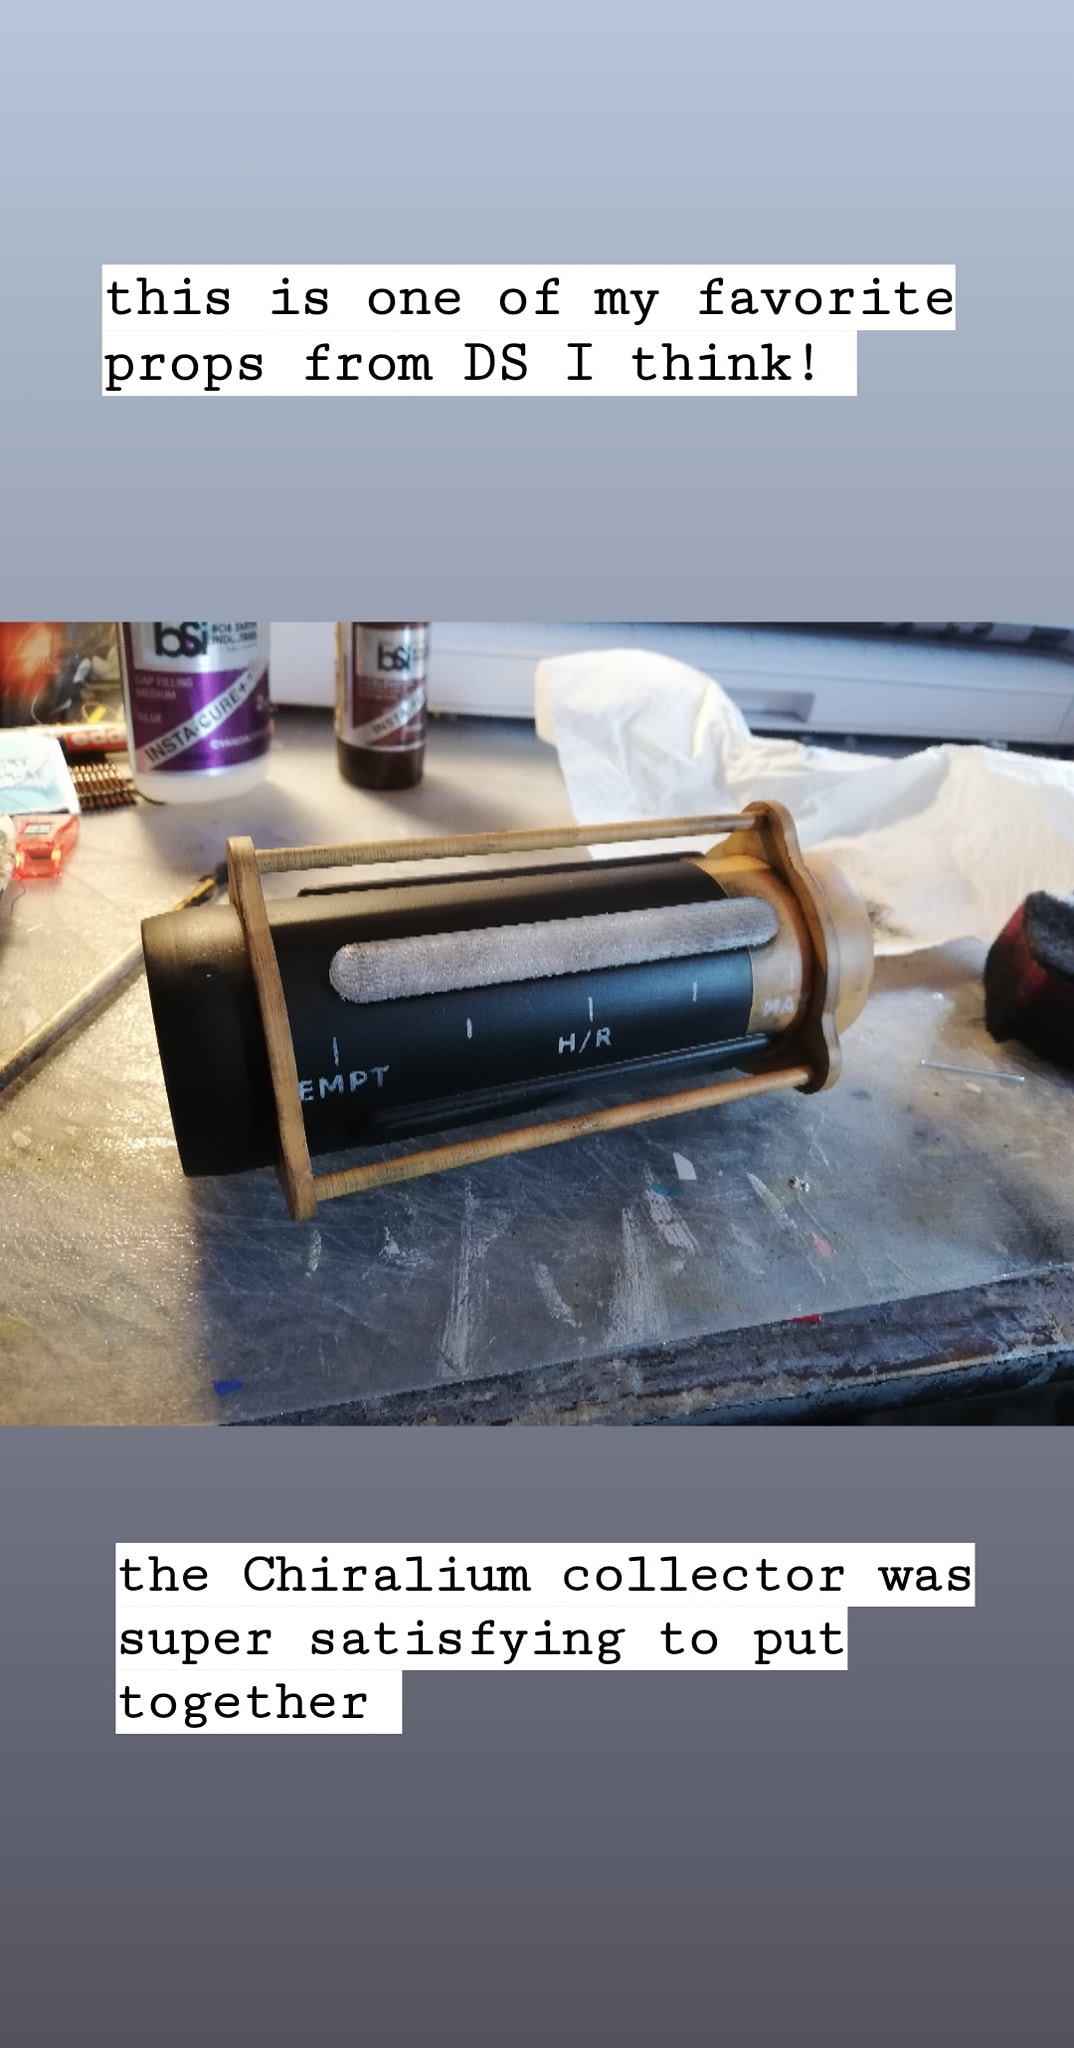
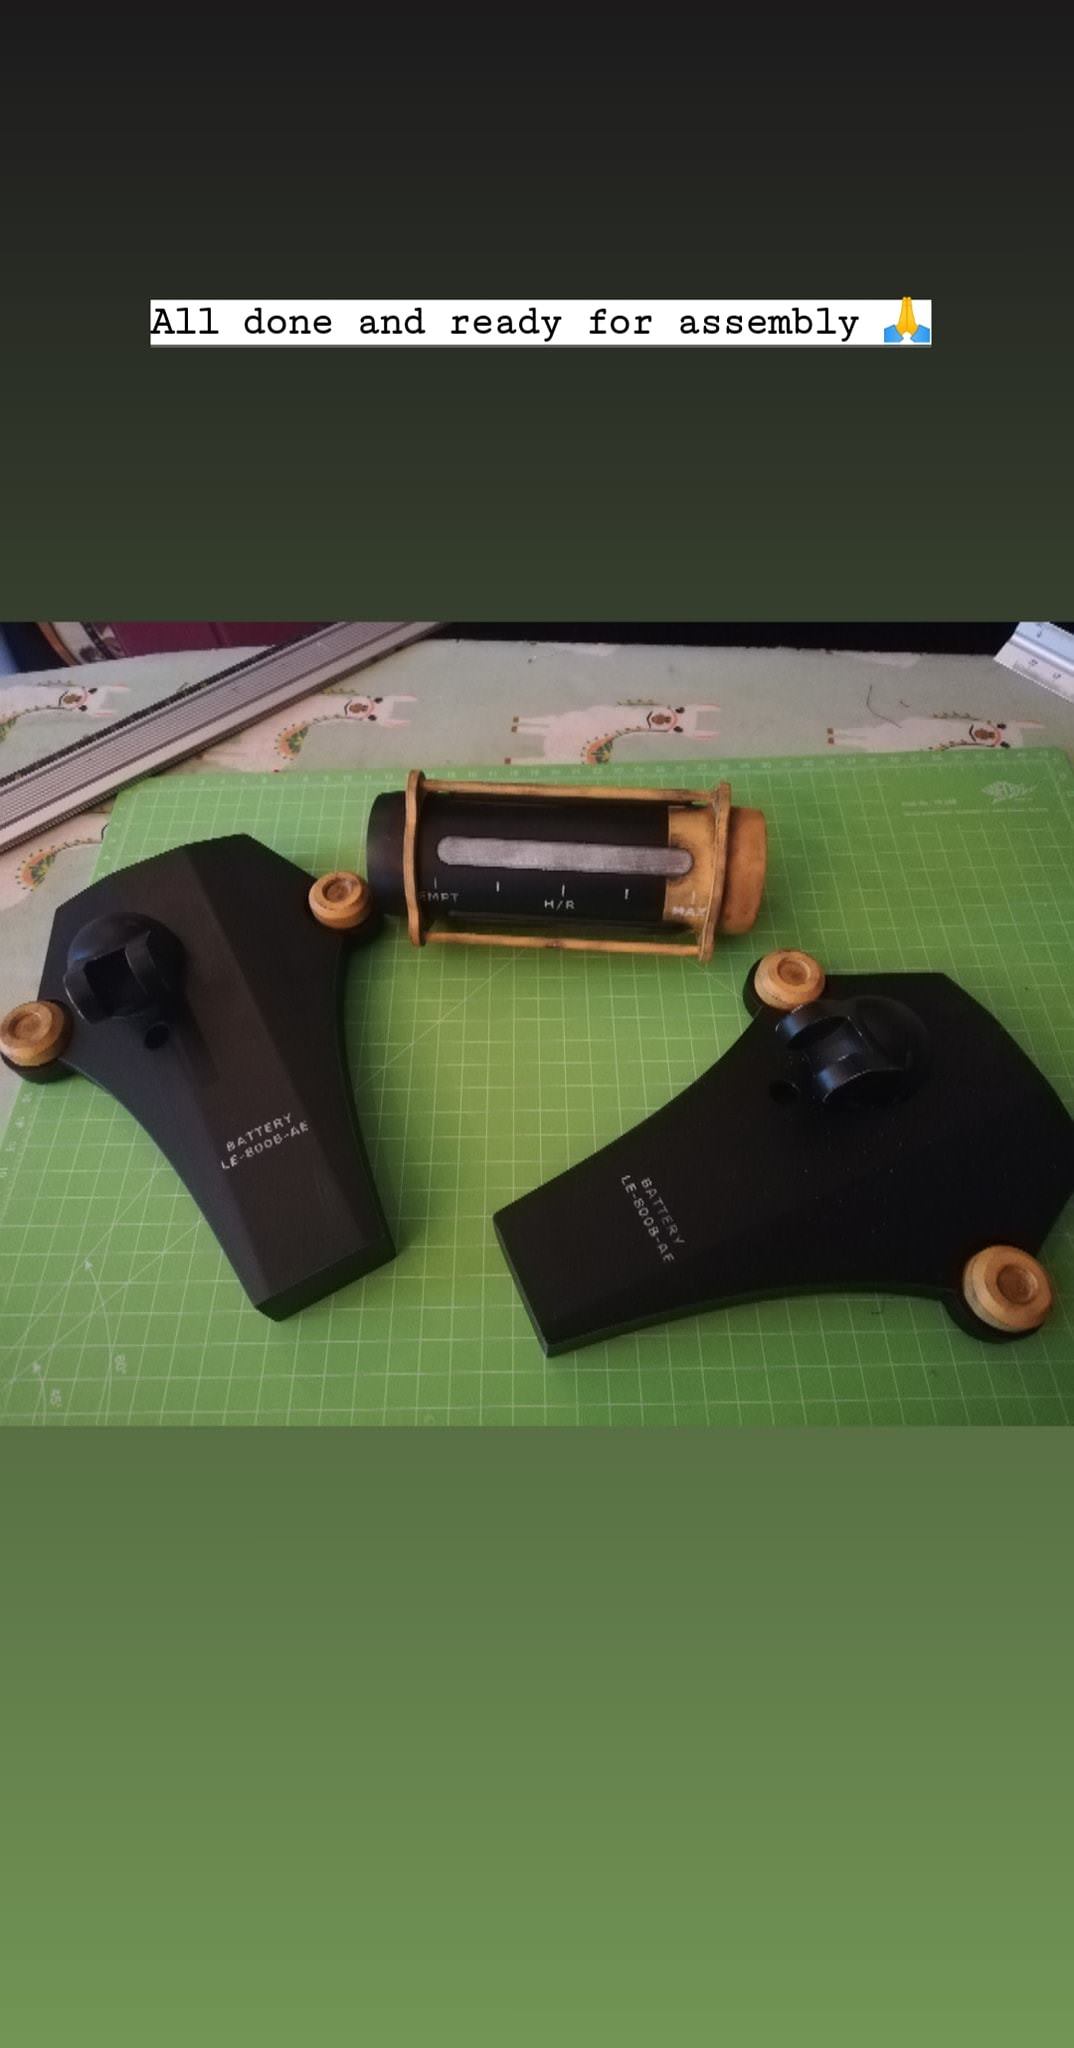
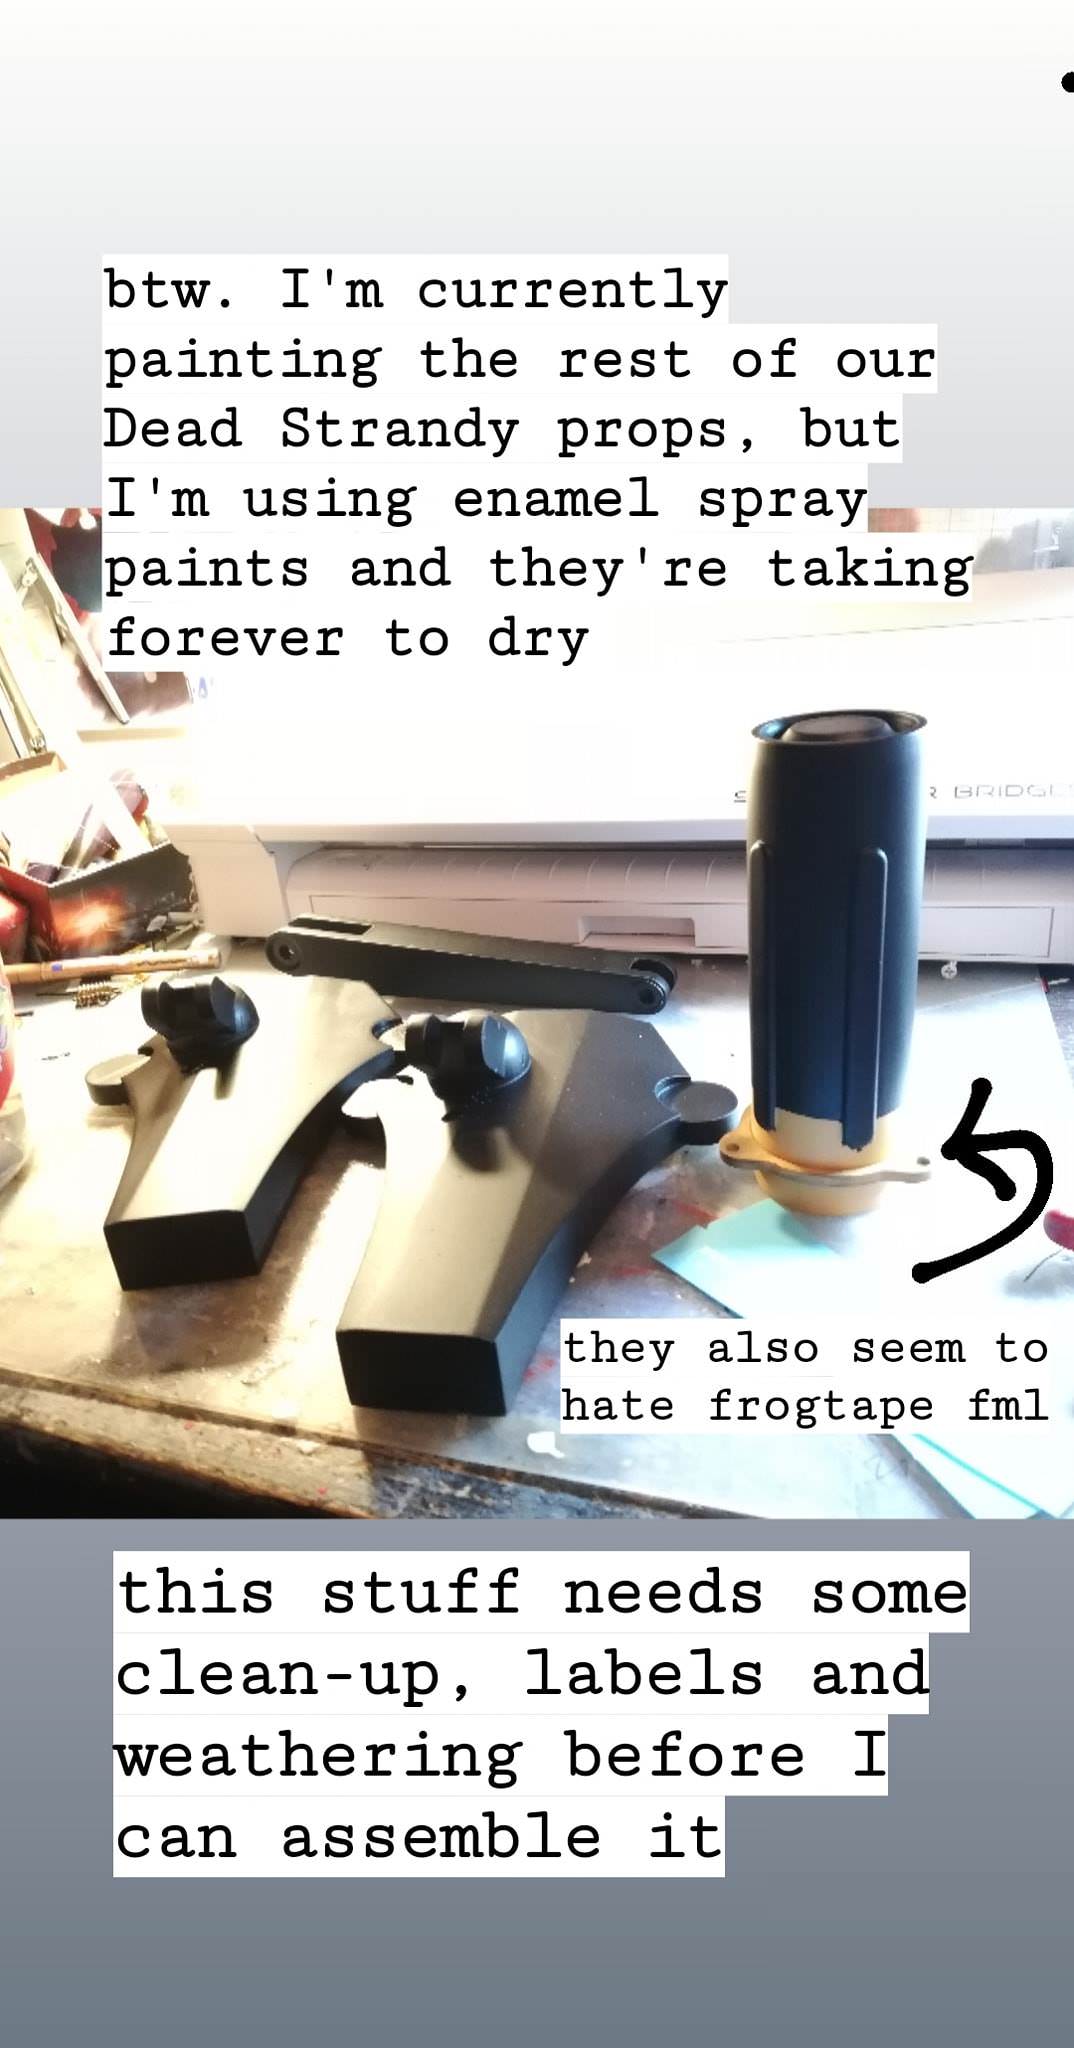
The cufflinks were also 3D-modeled in Fusion360 and printed. We wanted to make these somewhat “functional” as they had to slide over Sam’s wrist with the suit still on, so it made sense to make them able to open up. To achieve that, we used small magnets in the golden blade and in the cuff counterpart. The glowing part of the cuff needed some electronics. Again, we used simple LEDs, 8 blue LEDs wired to a switch and a 12V battery.
To link both parts of the cuff, we printed something like a bike chain and glued the parts together. That way, the chain is flexible enough and super light weight – which is one of the reasons we decided against using an actual bike chain. (also, we totally didn’t own a tool to work with that, haha)


Backpack and cargo
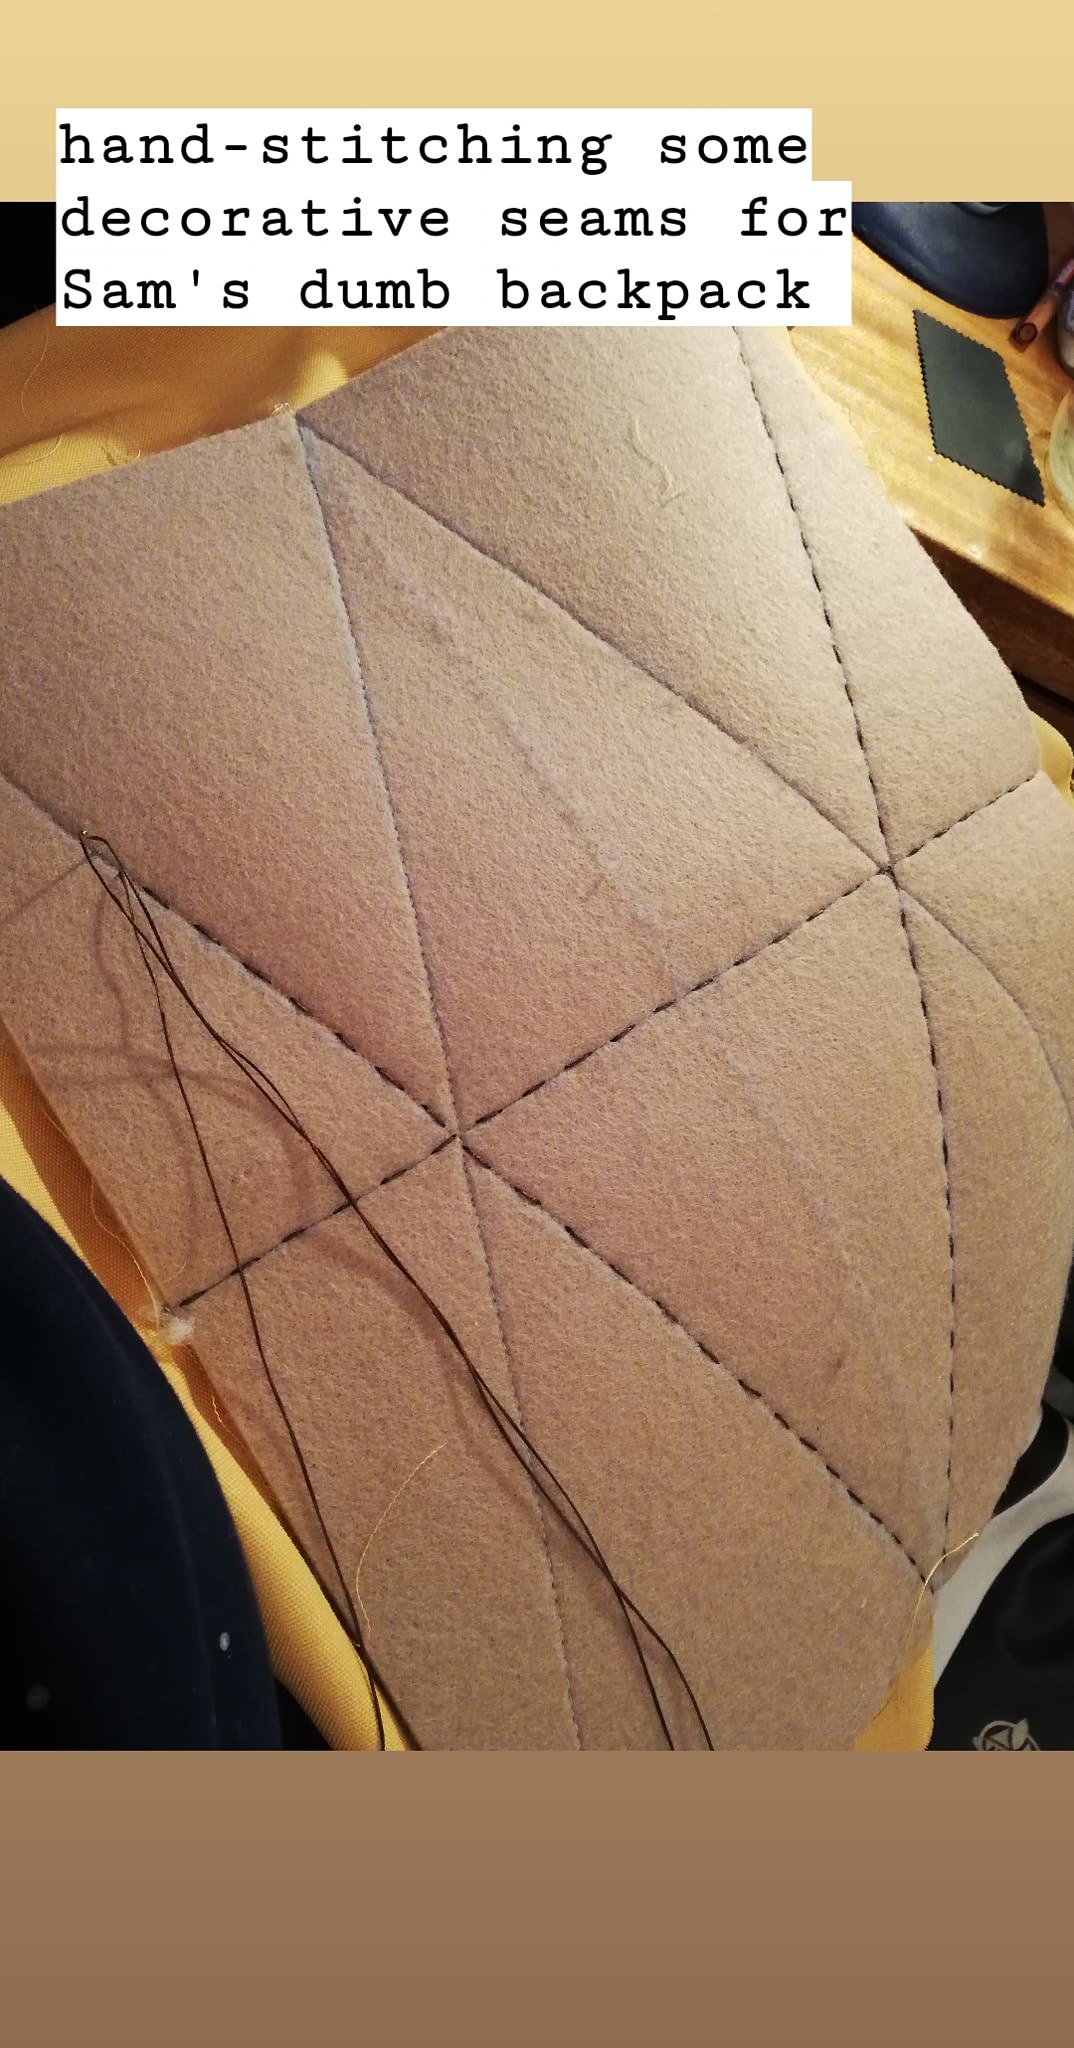

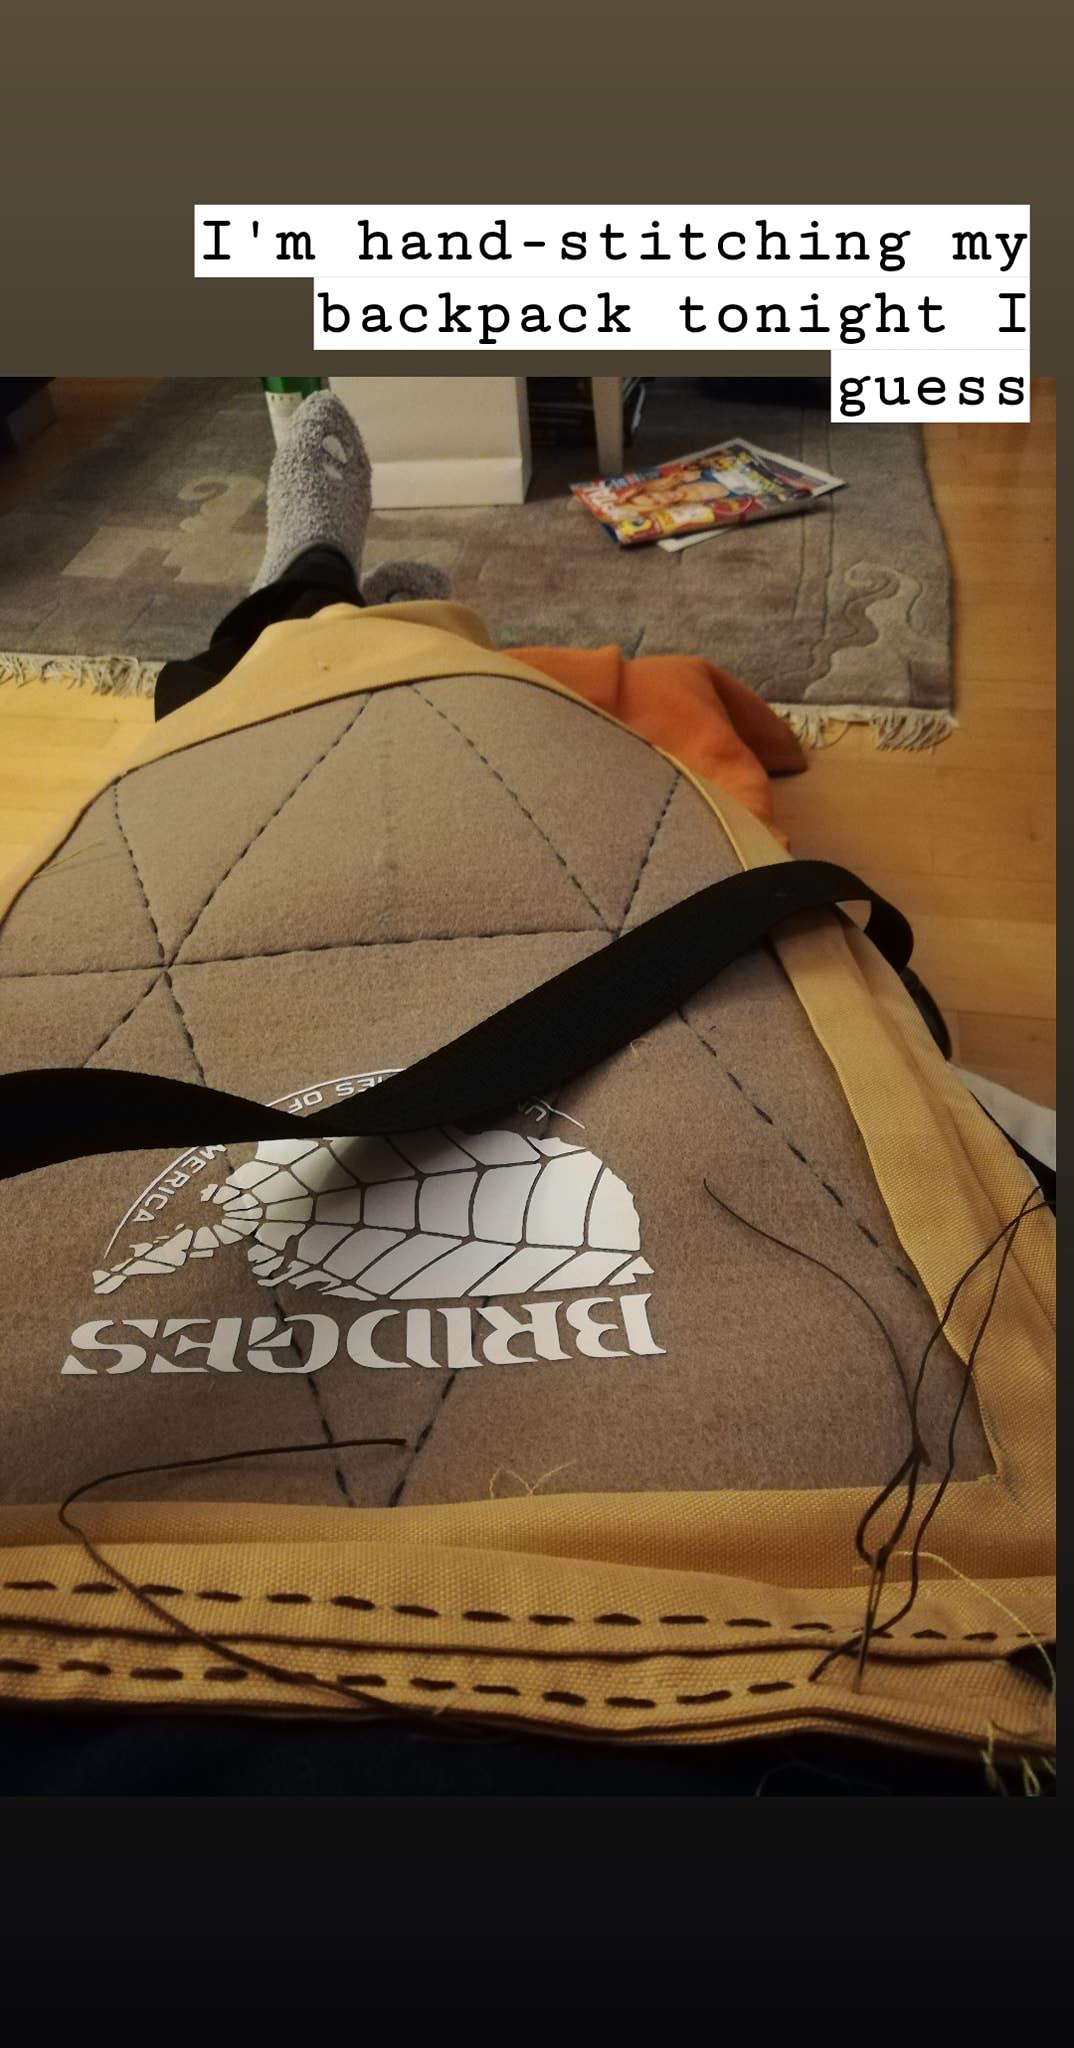
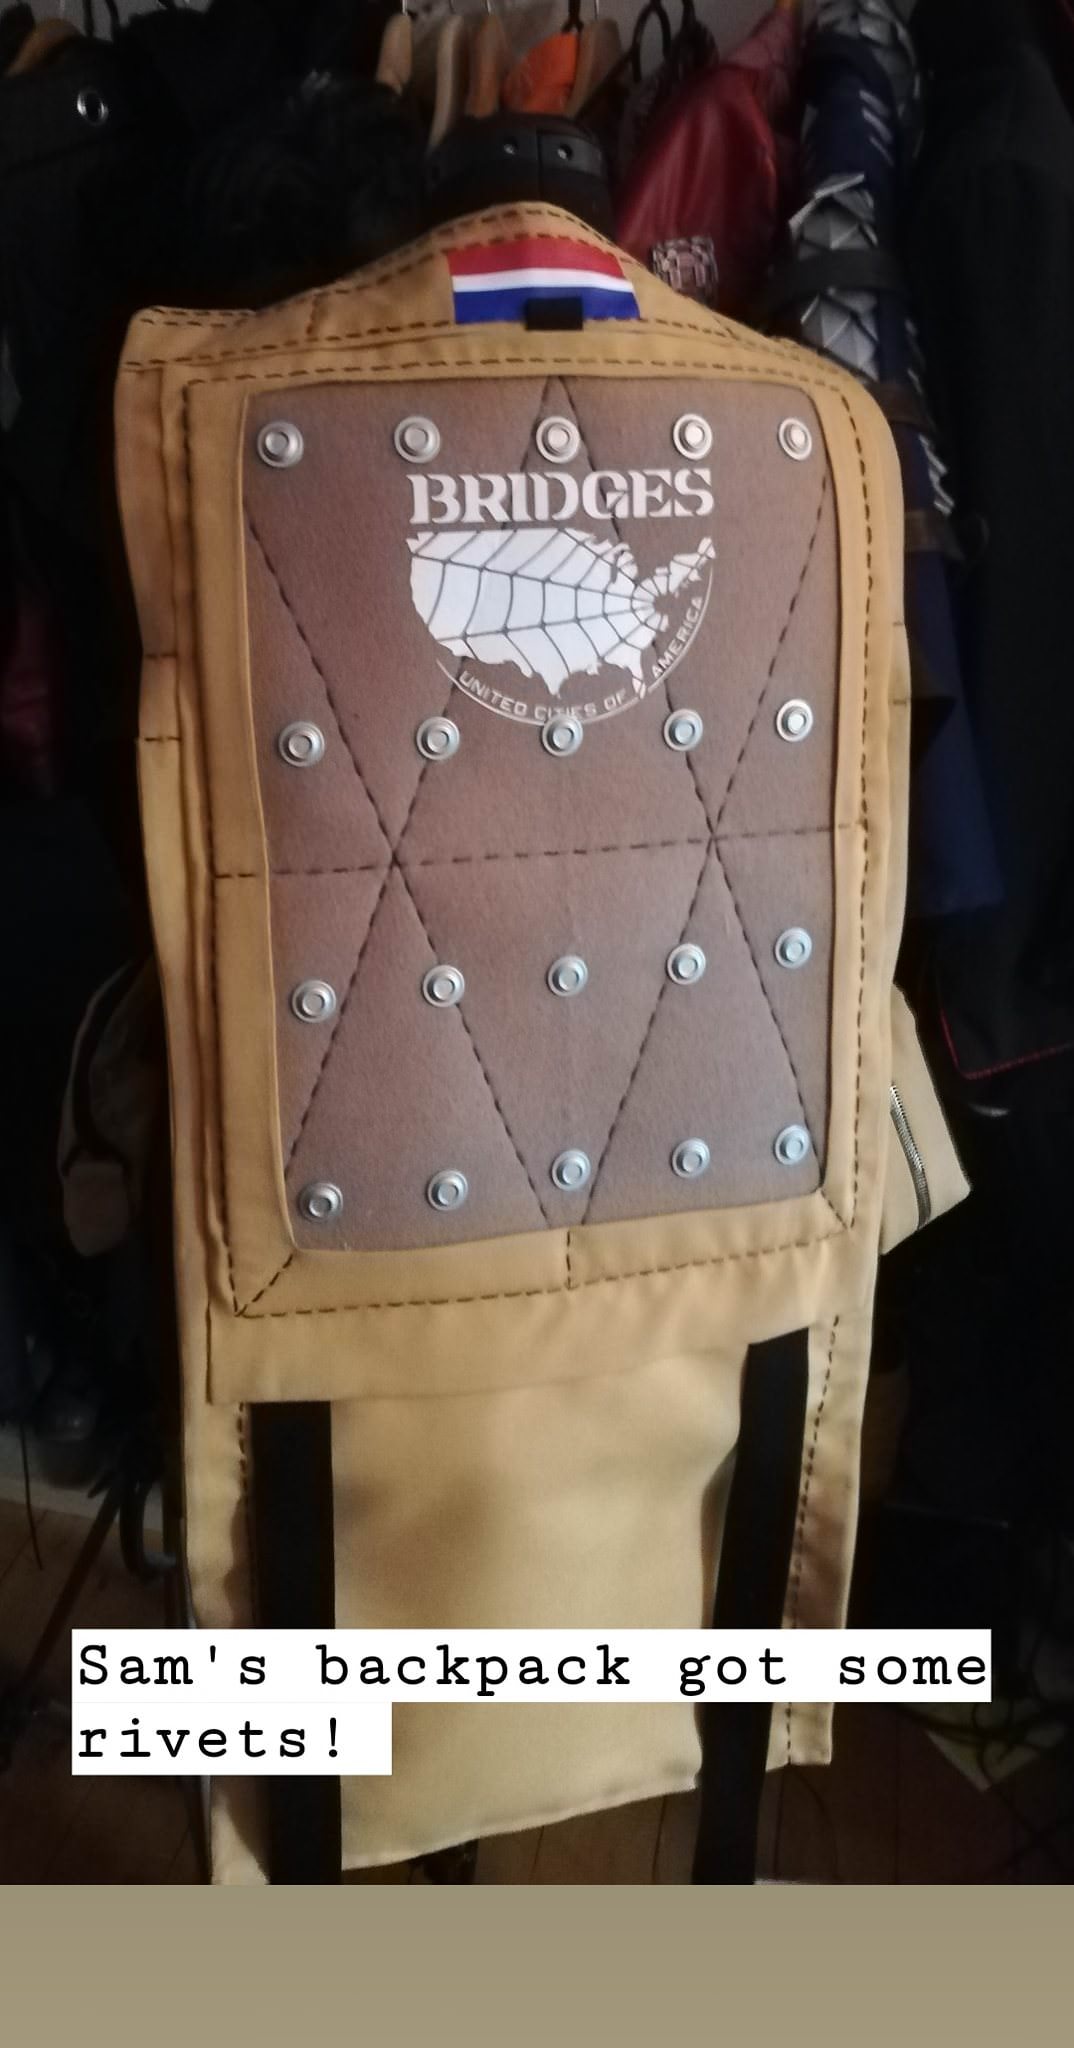
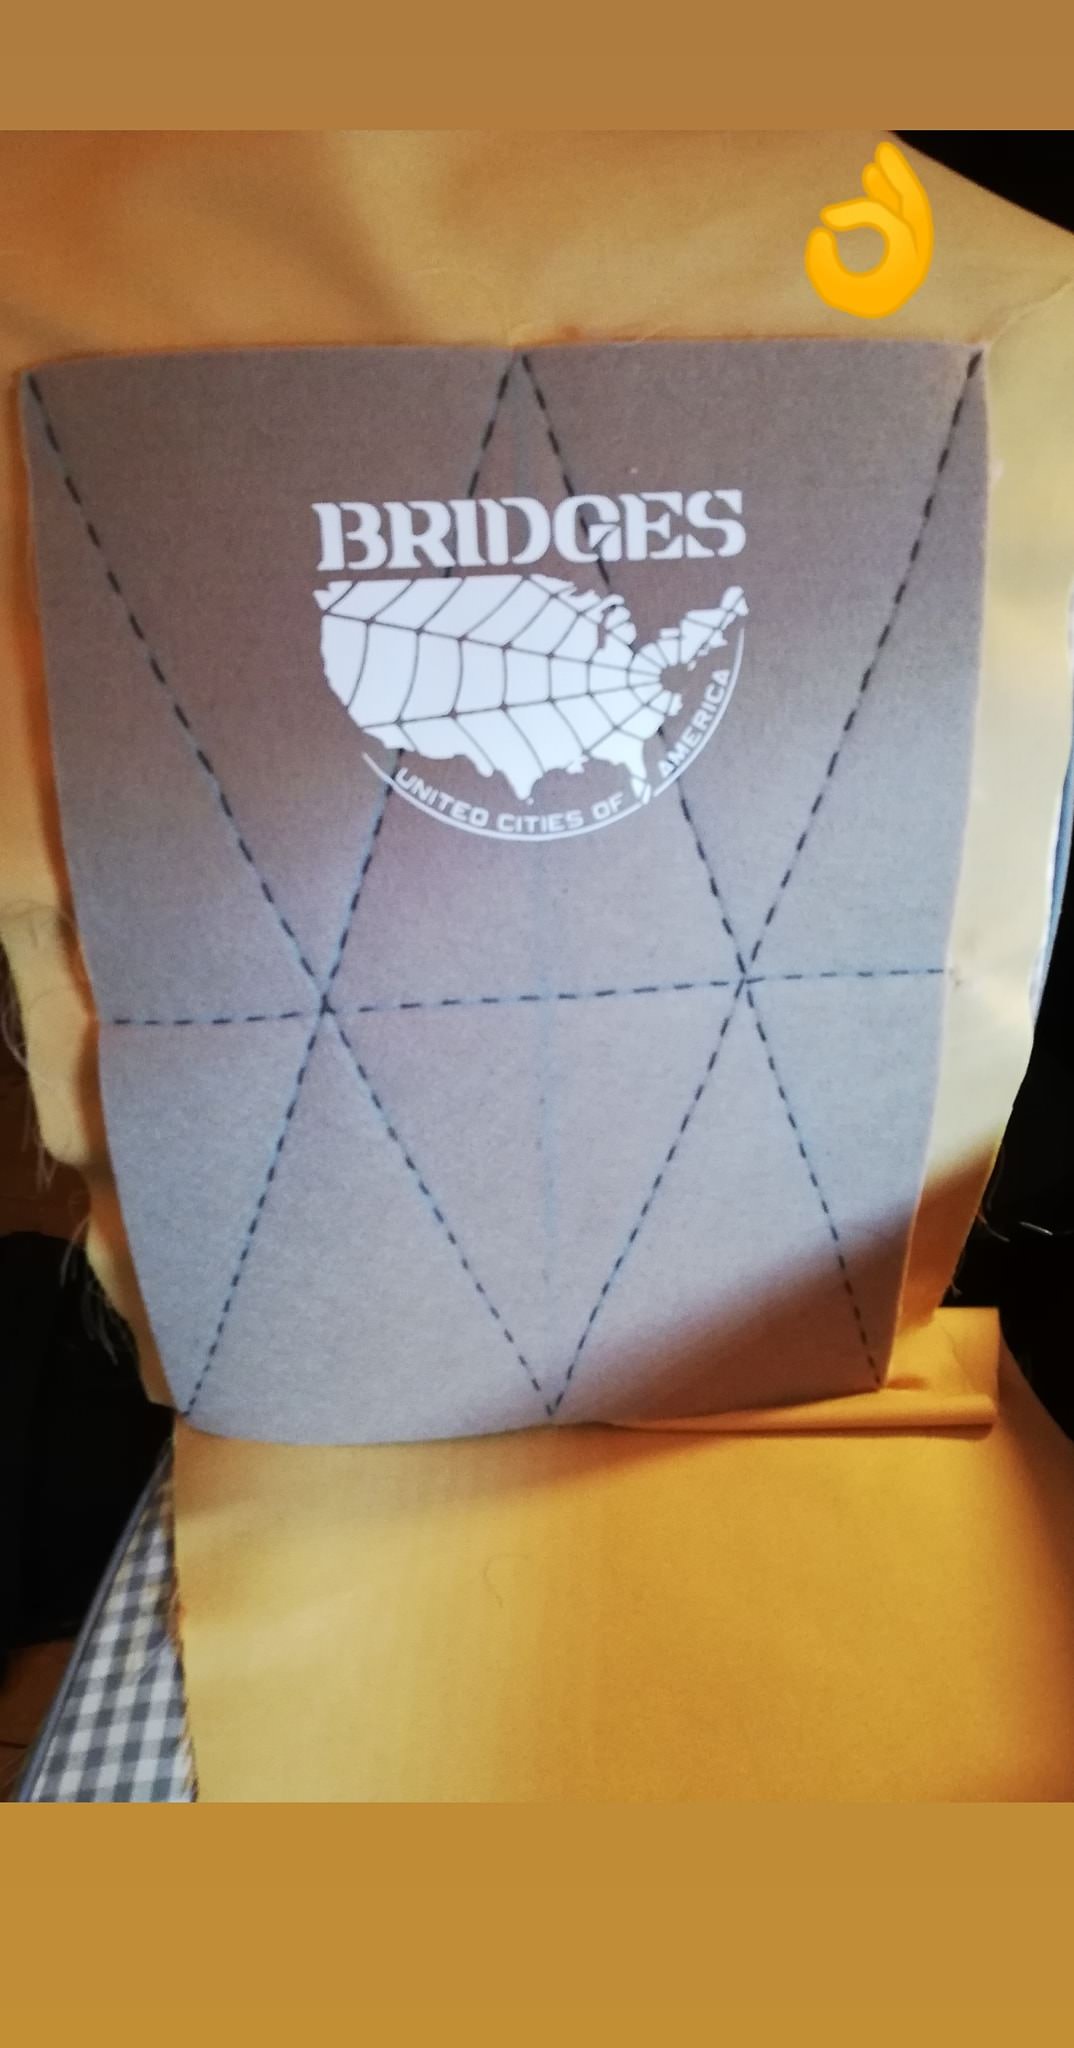
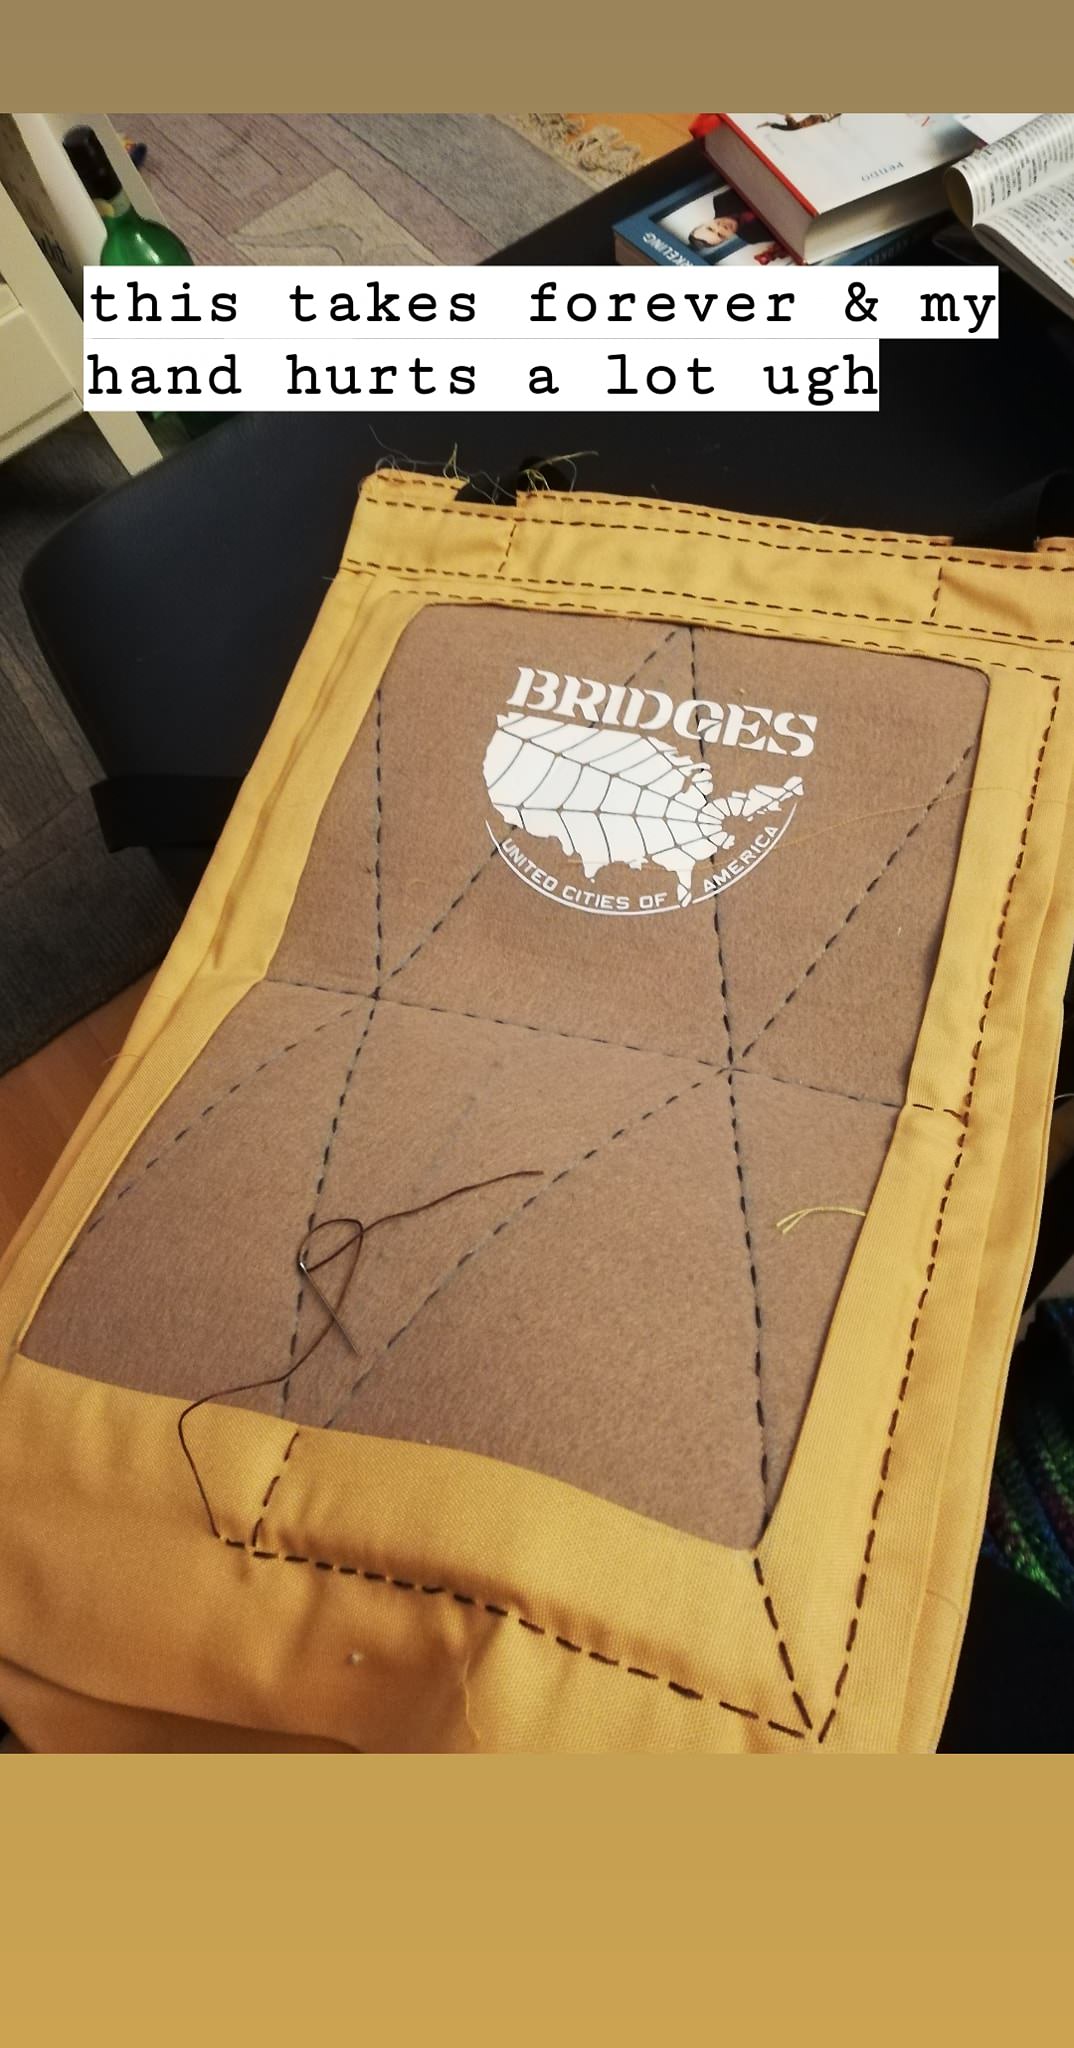


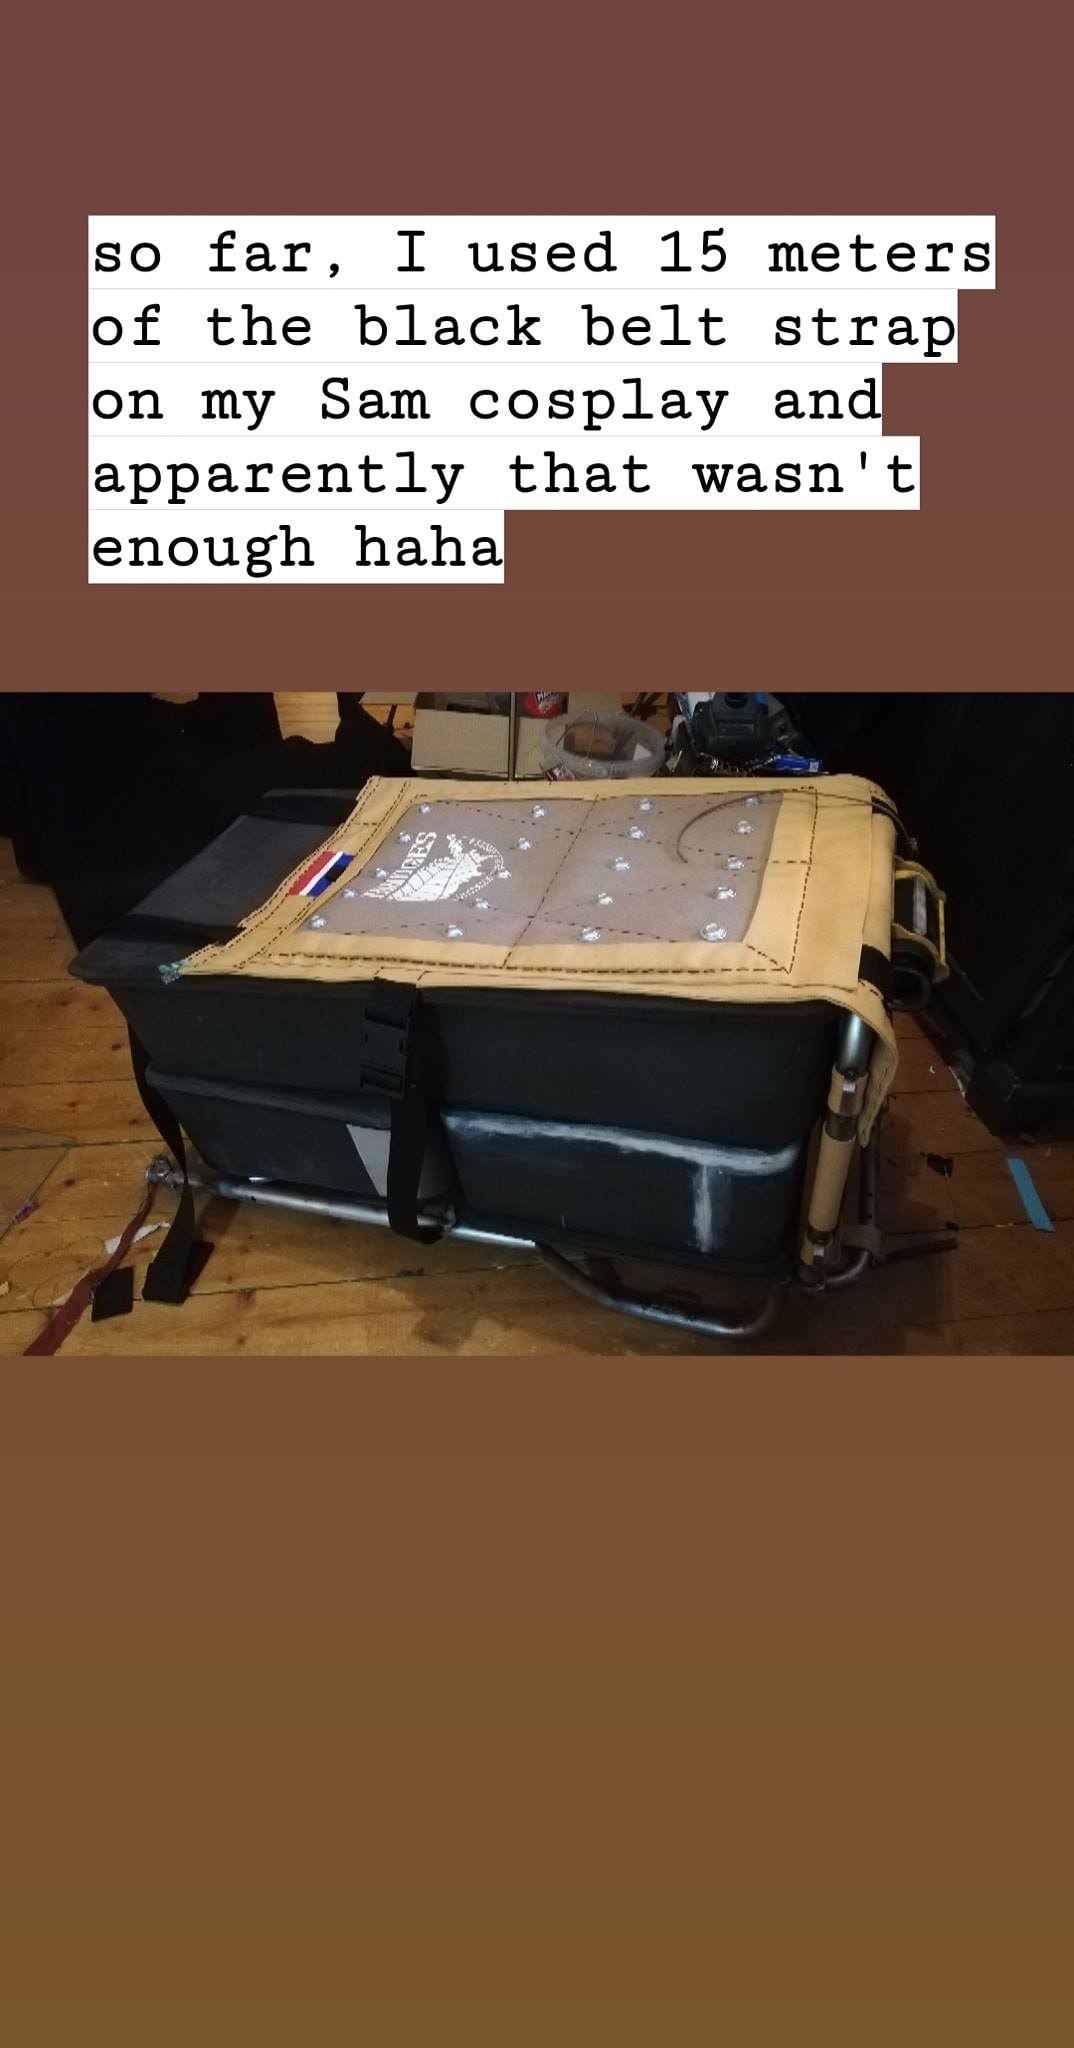
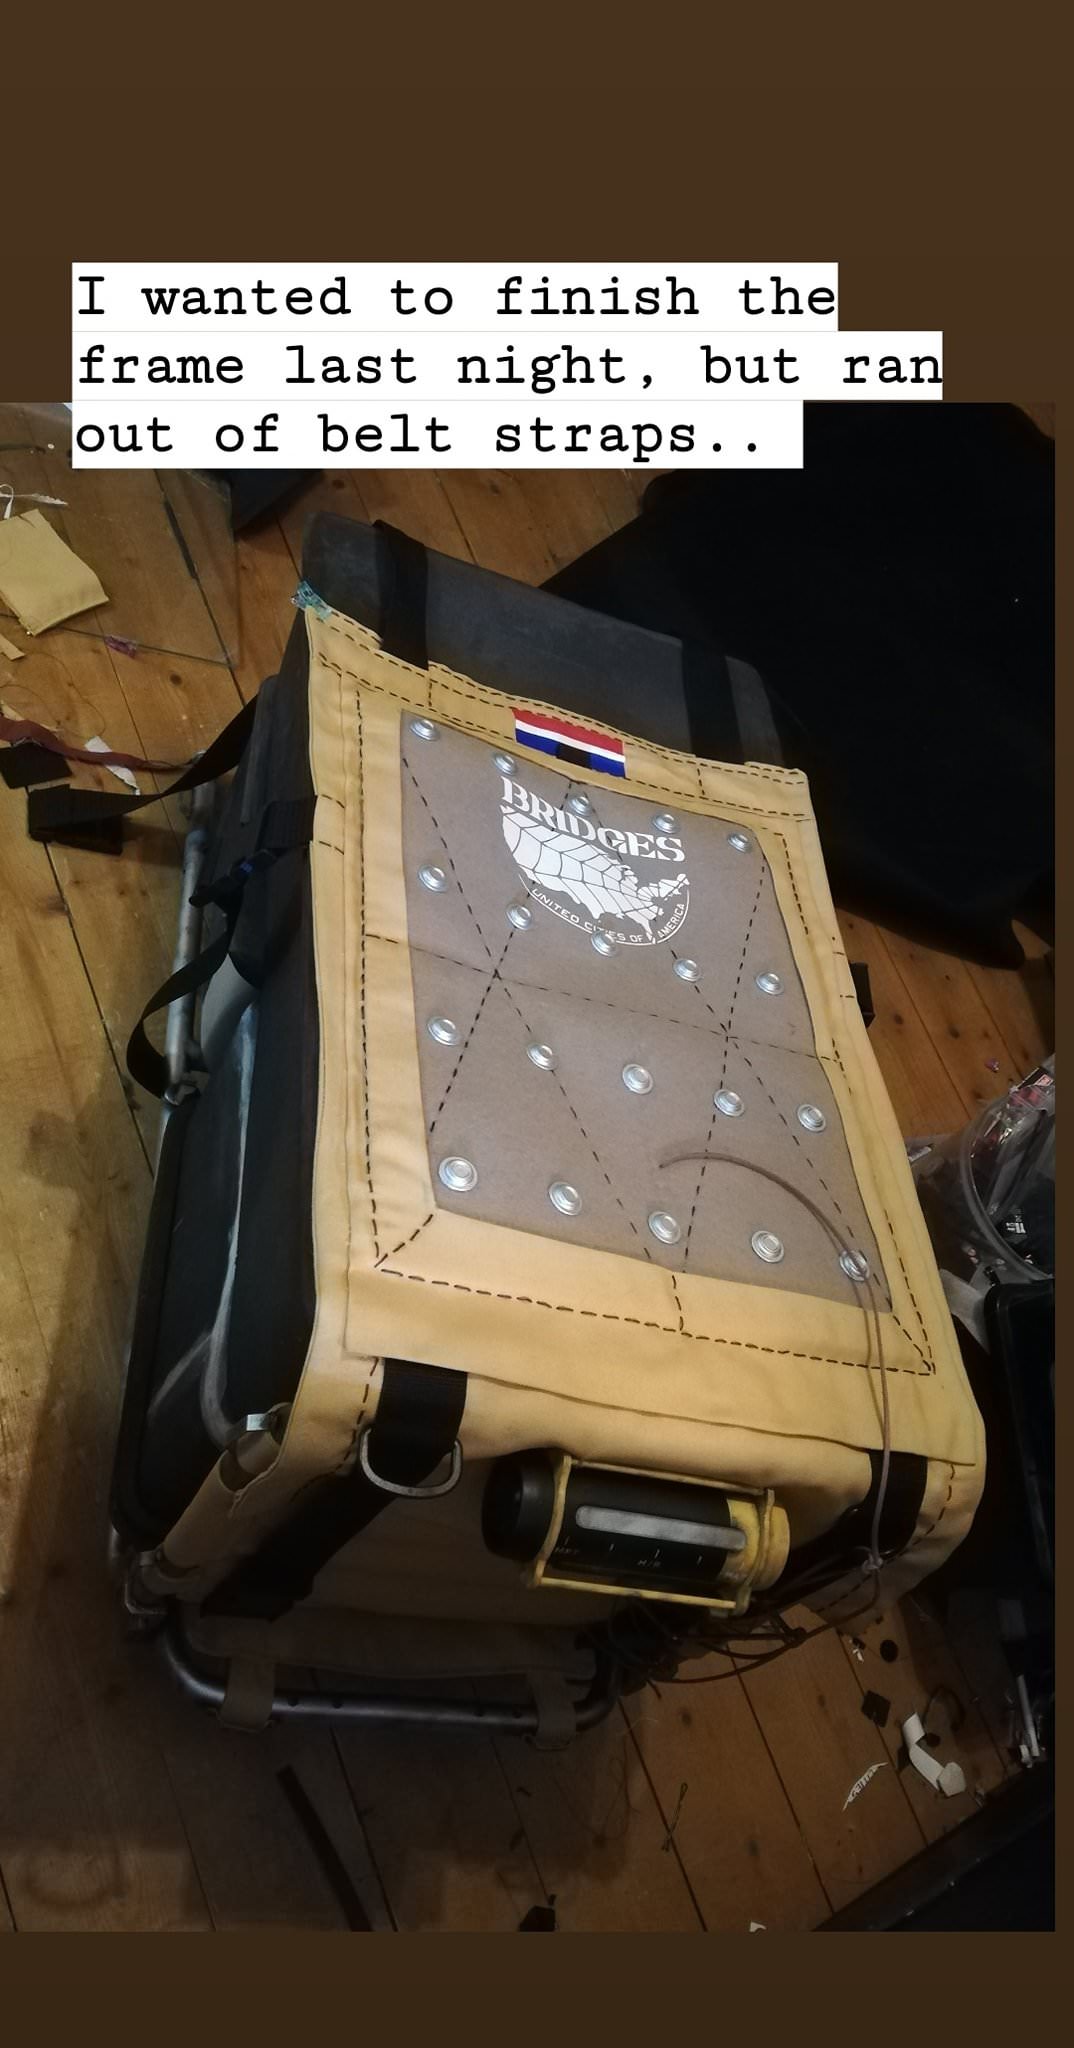
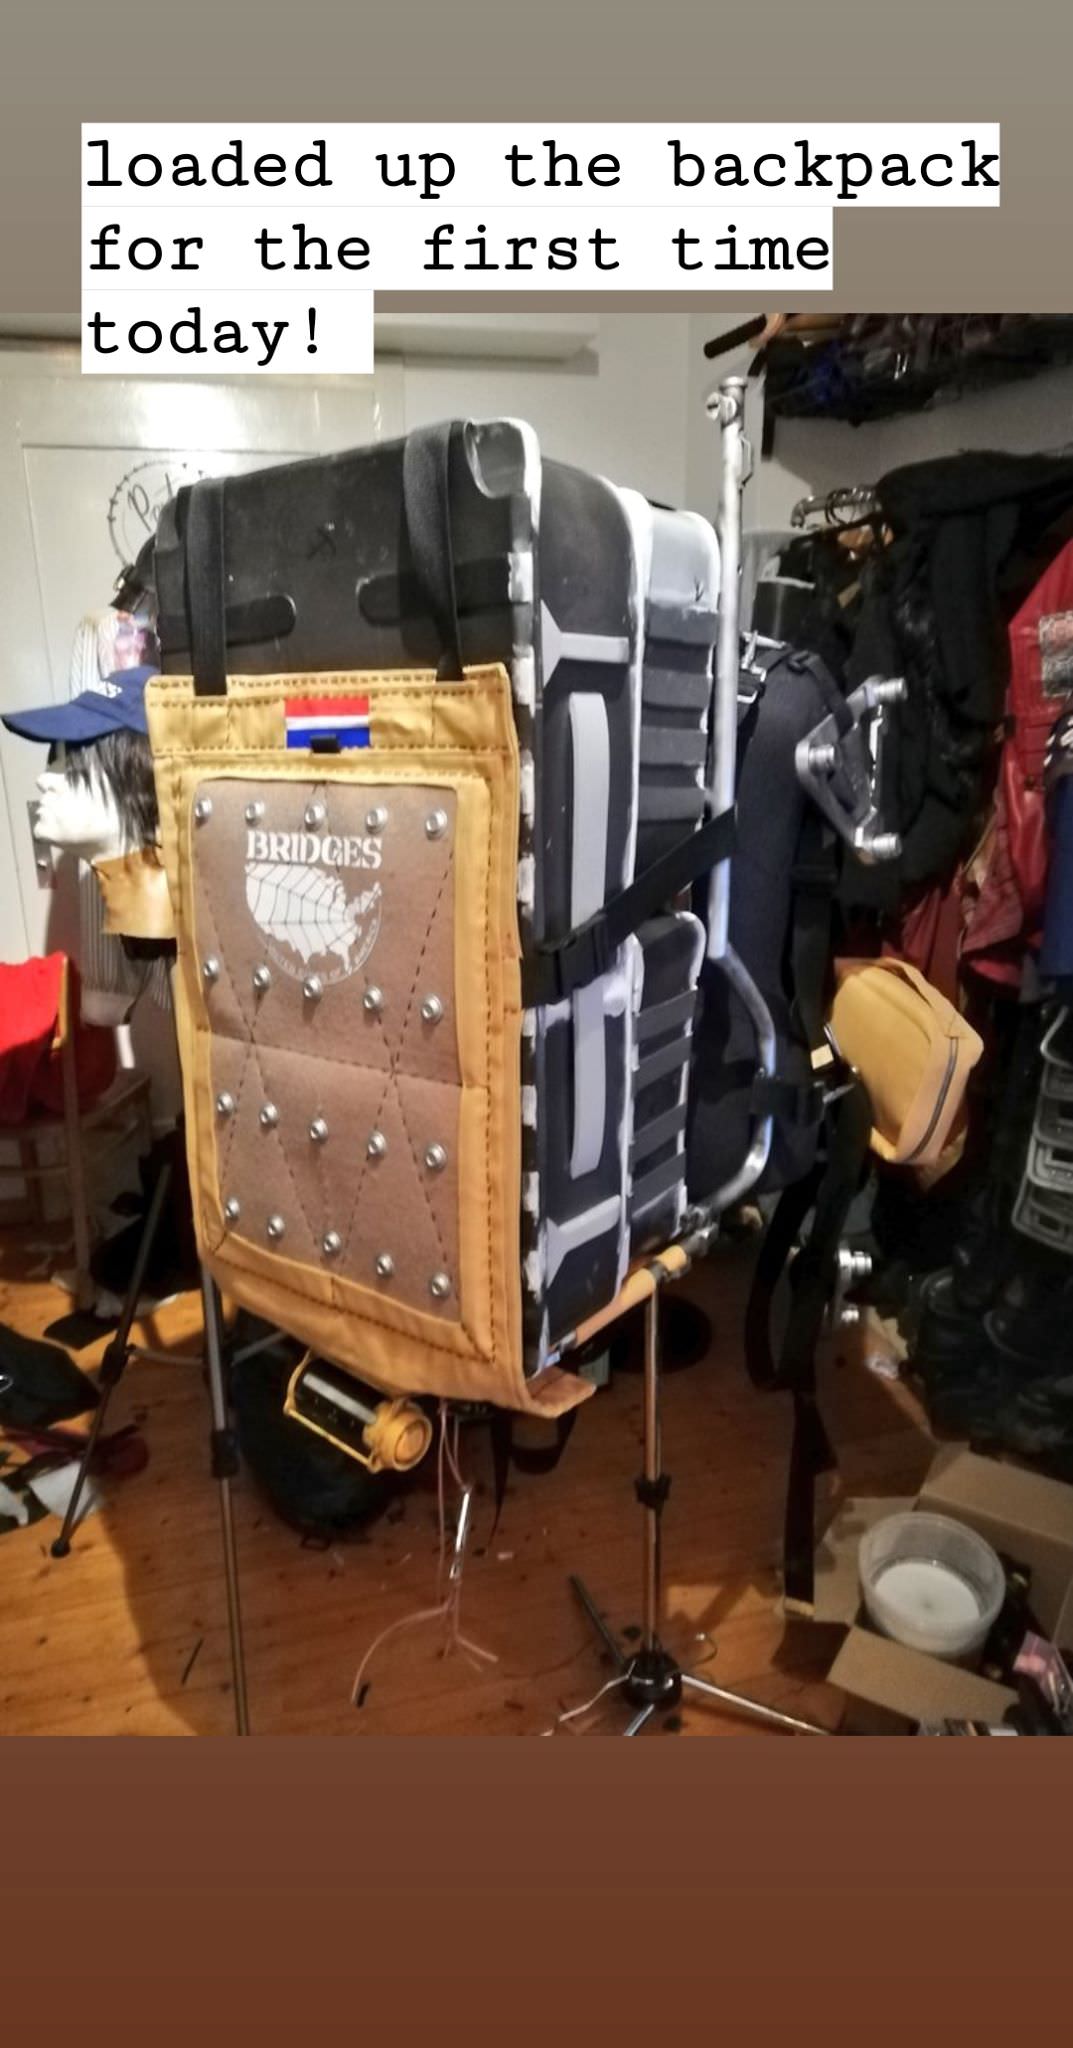


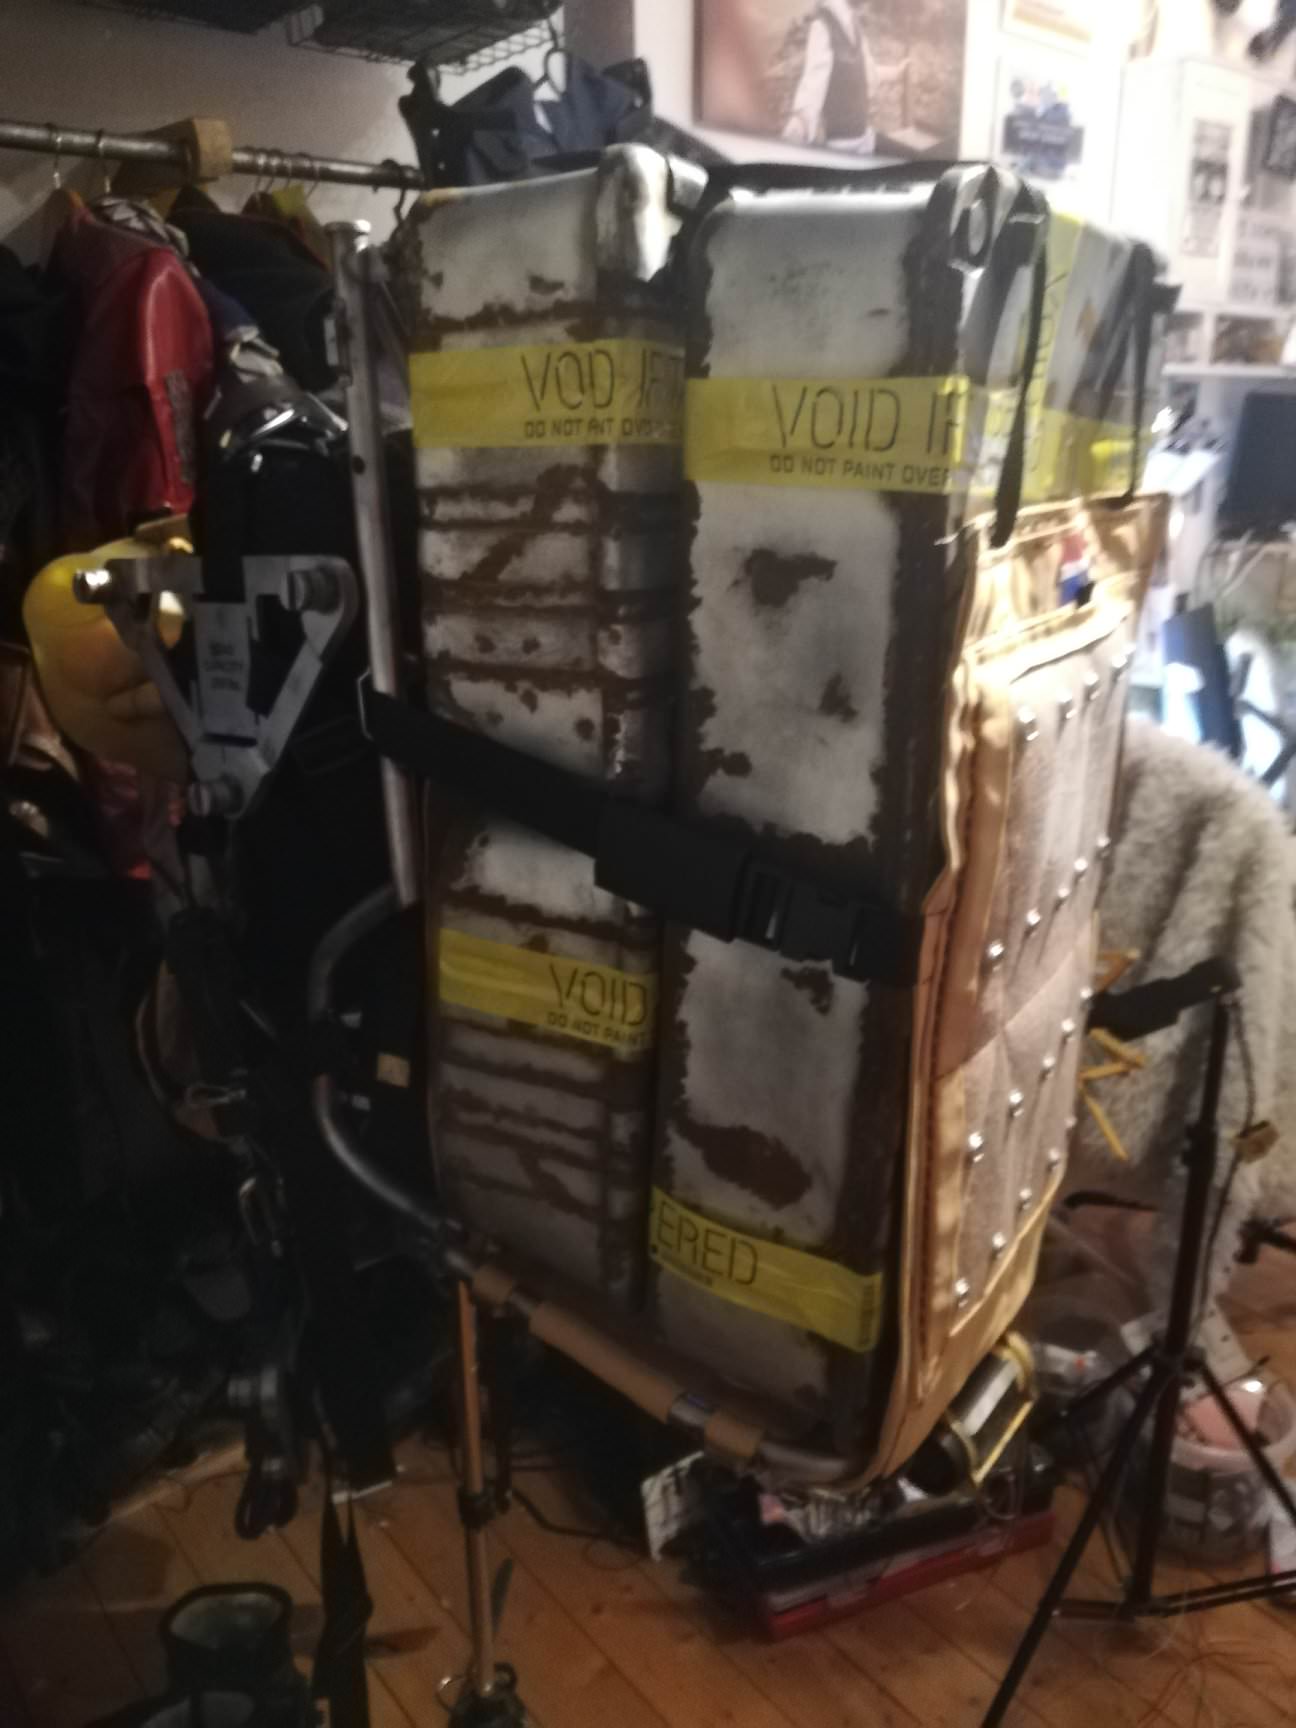
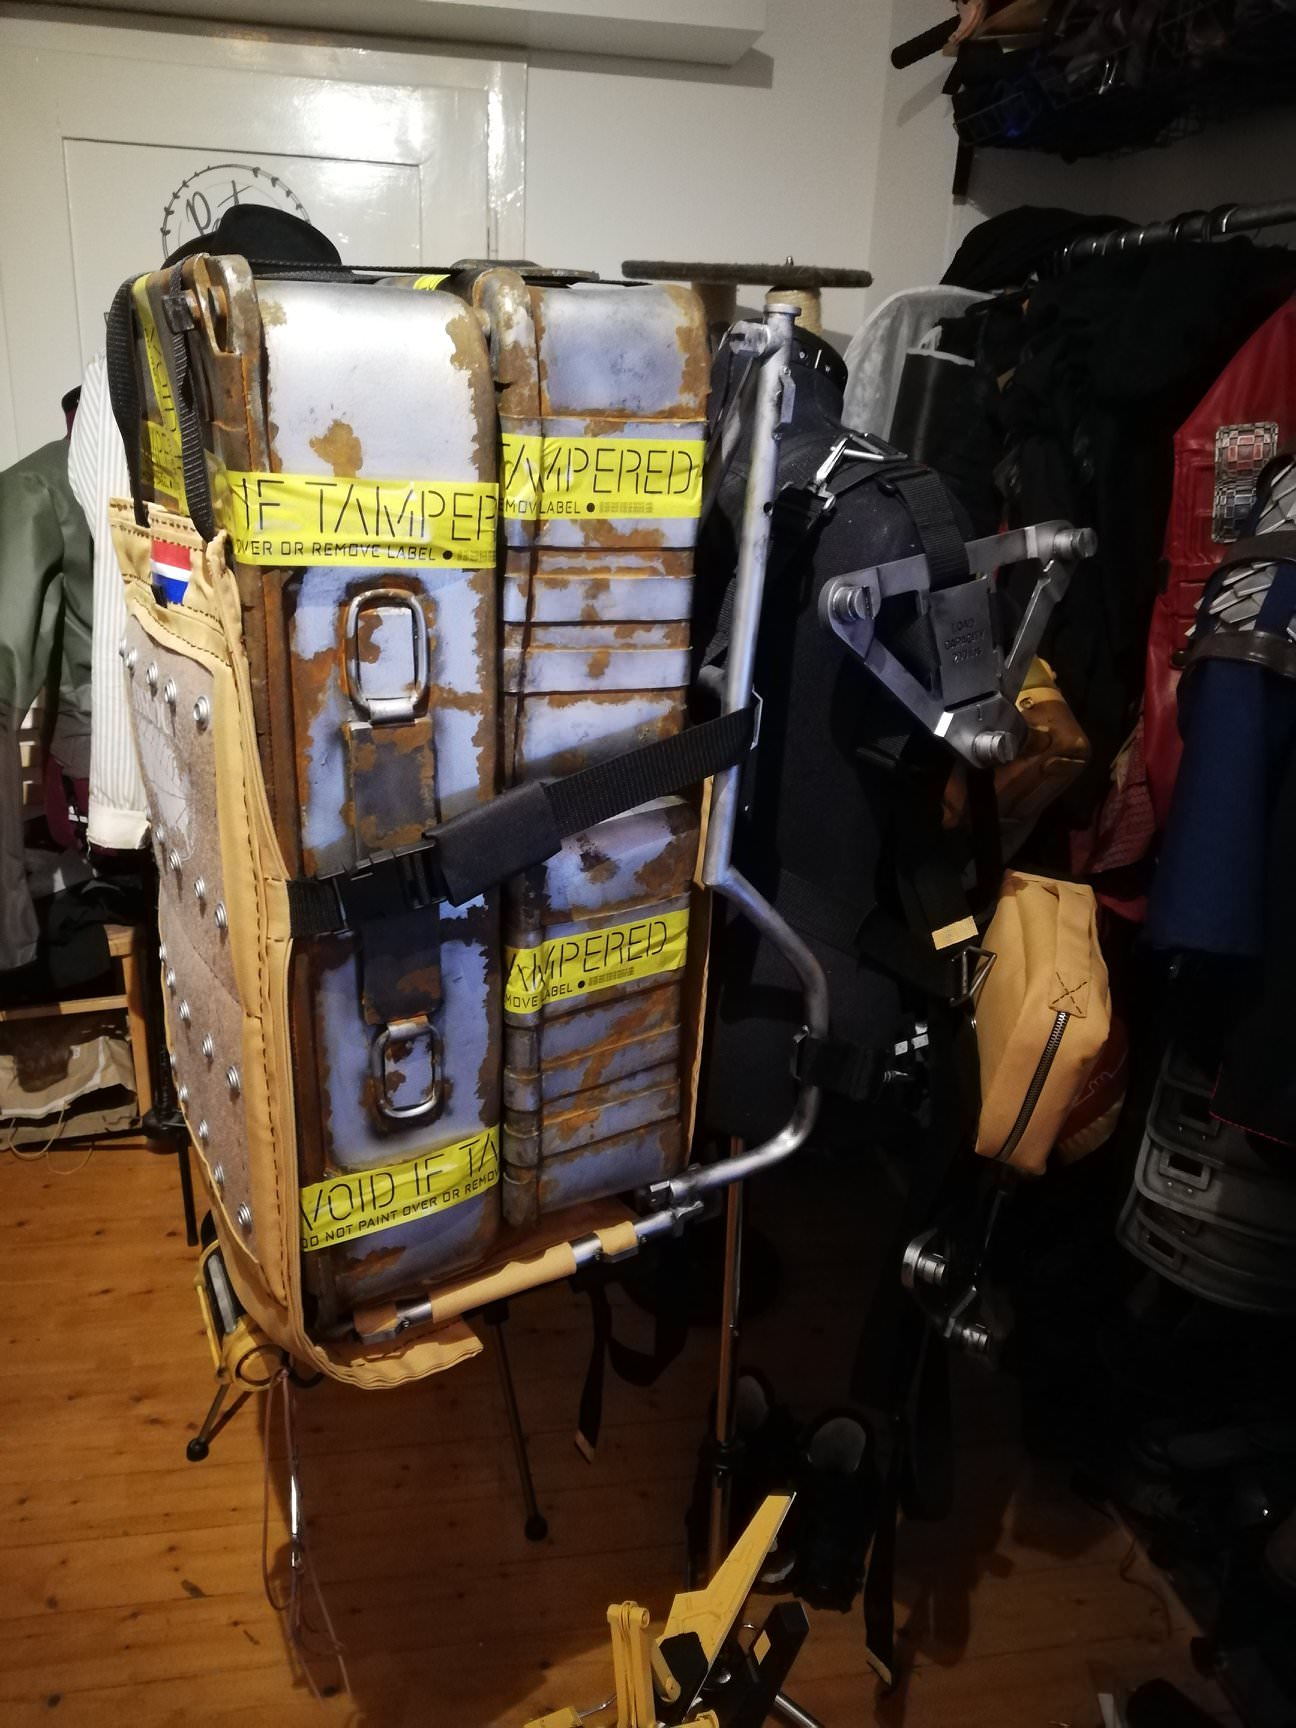
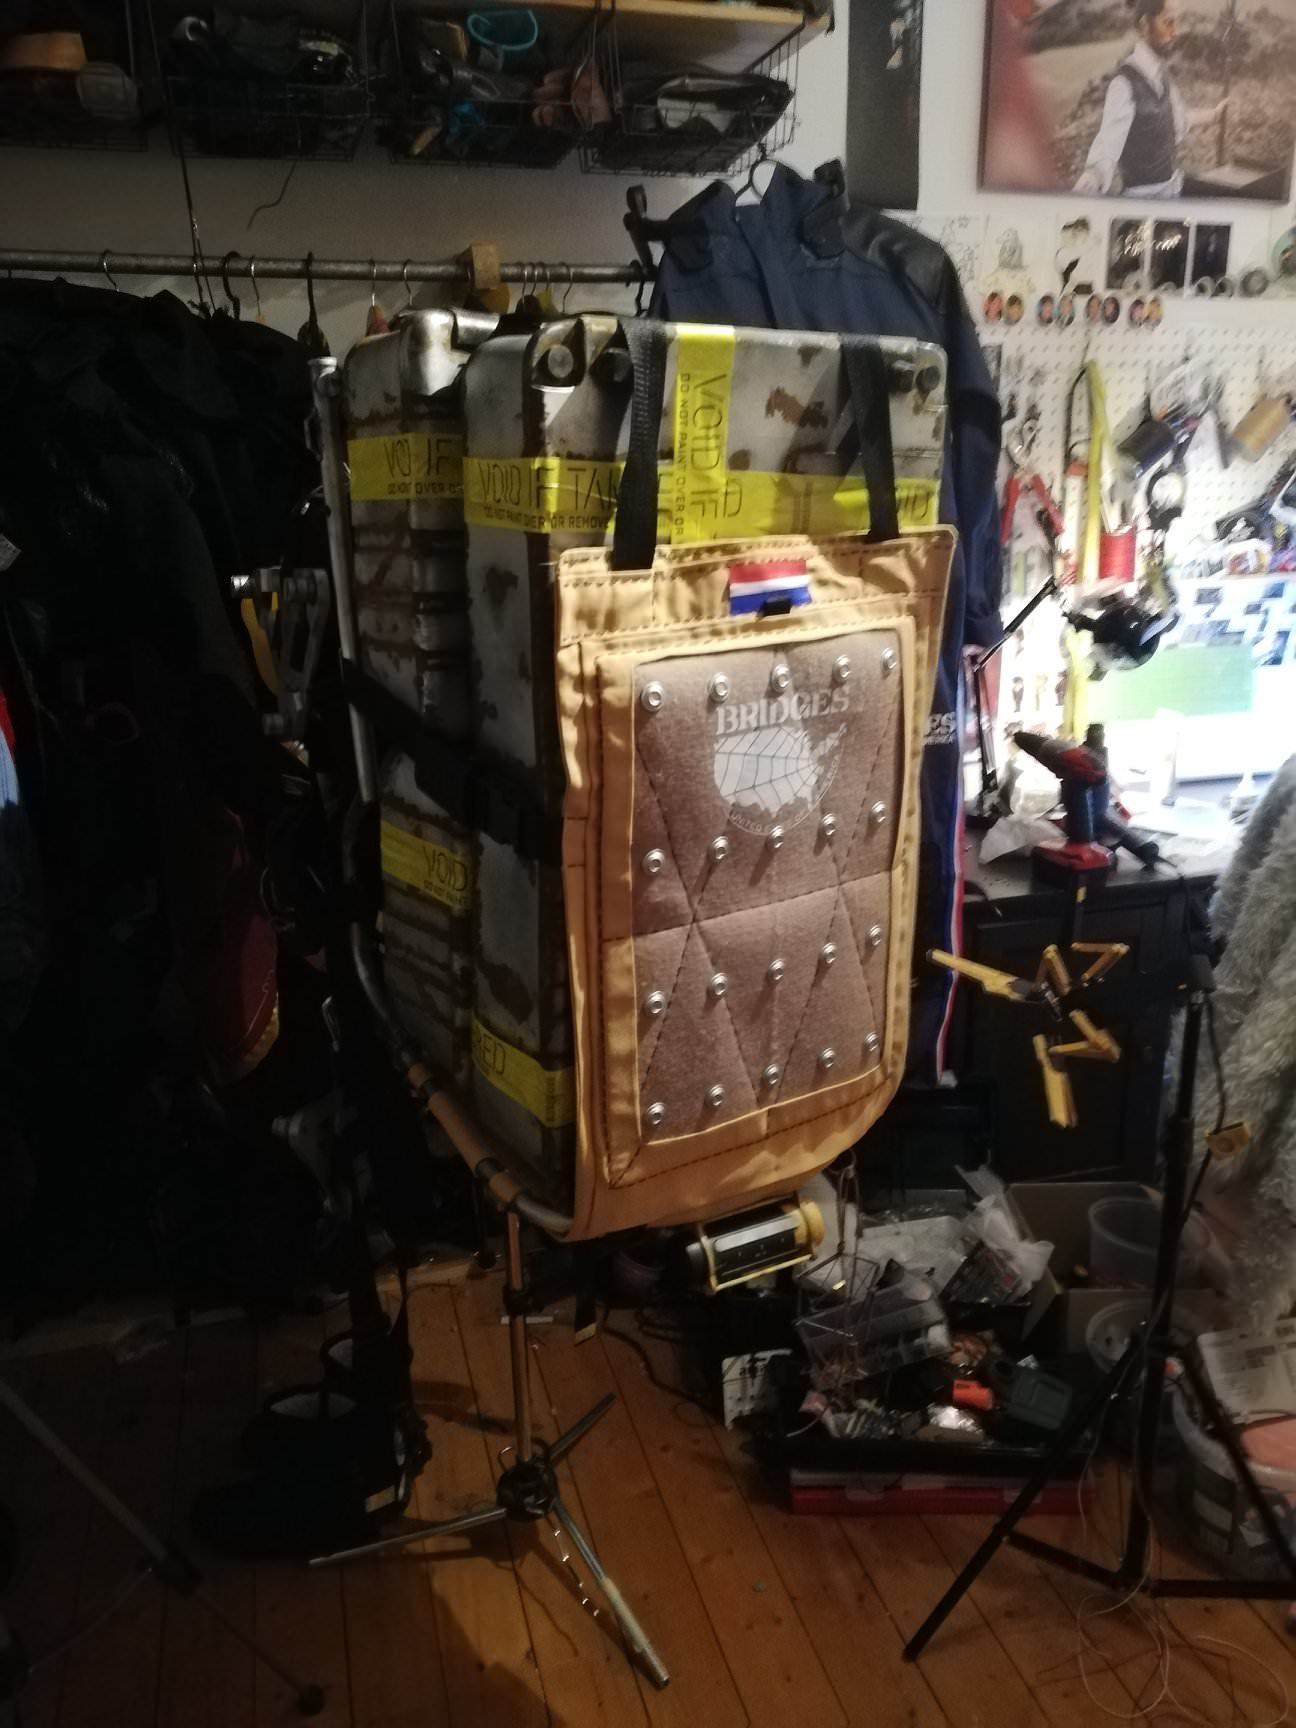

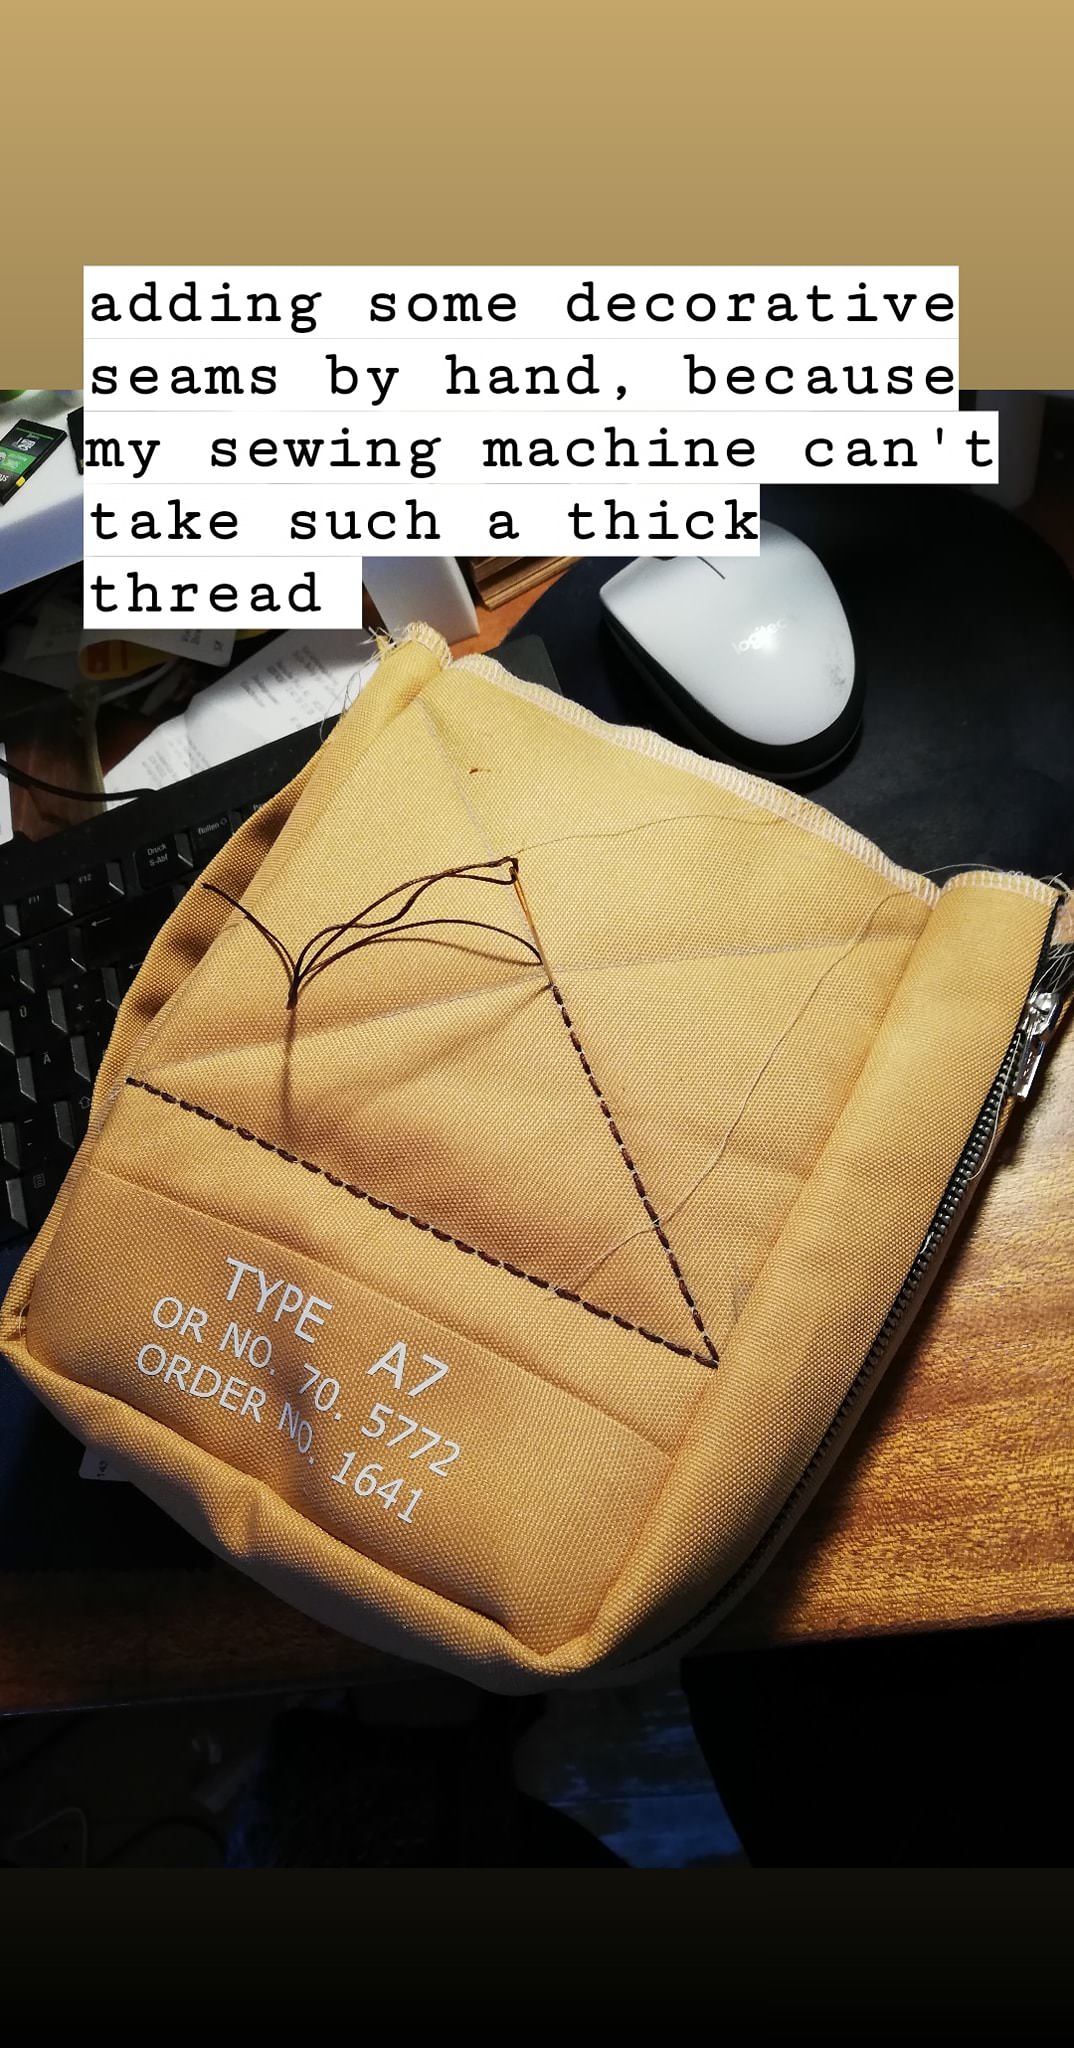
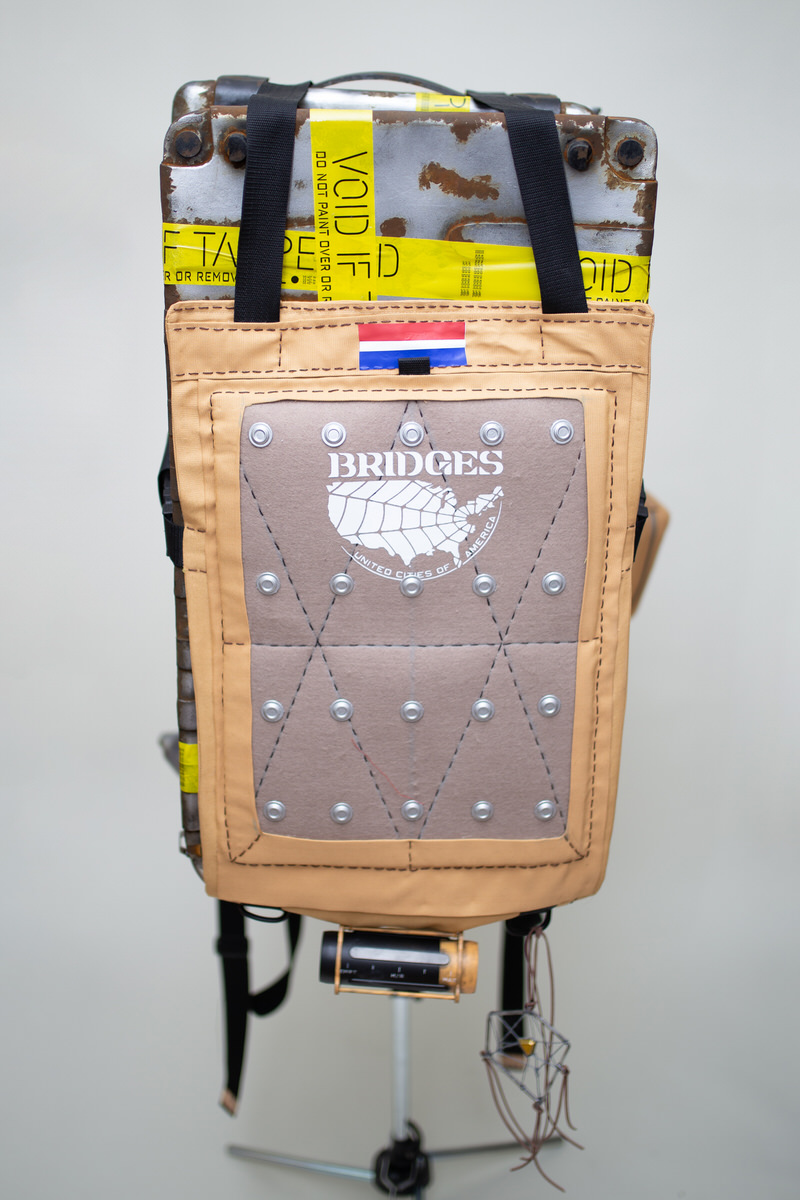
Making the backpack combined so many techniques, so it was a lot of fun to do! At first, we roughly tried to figure out how big we wanted it to be and then bought a piece of brown/beige felt that was big enough – it was the perfect base for the back of the backpack. We sewed the rest of the yellow canvas fabric around it, using the same fabric we already used for the other bags on the harness, before we hand-stitched some decorative seams into the design. The little buttons were 3D-modeled and printed, before we glued them on.
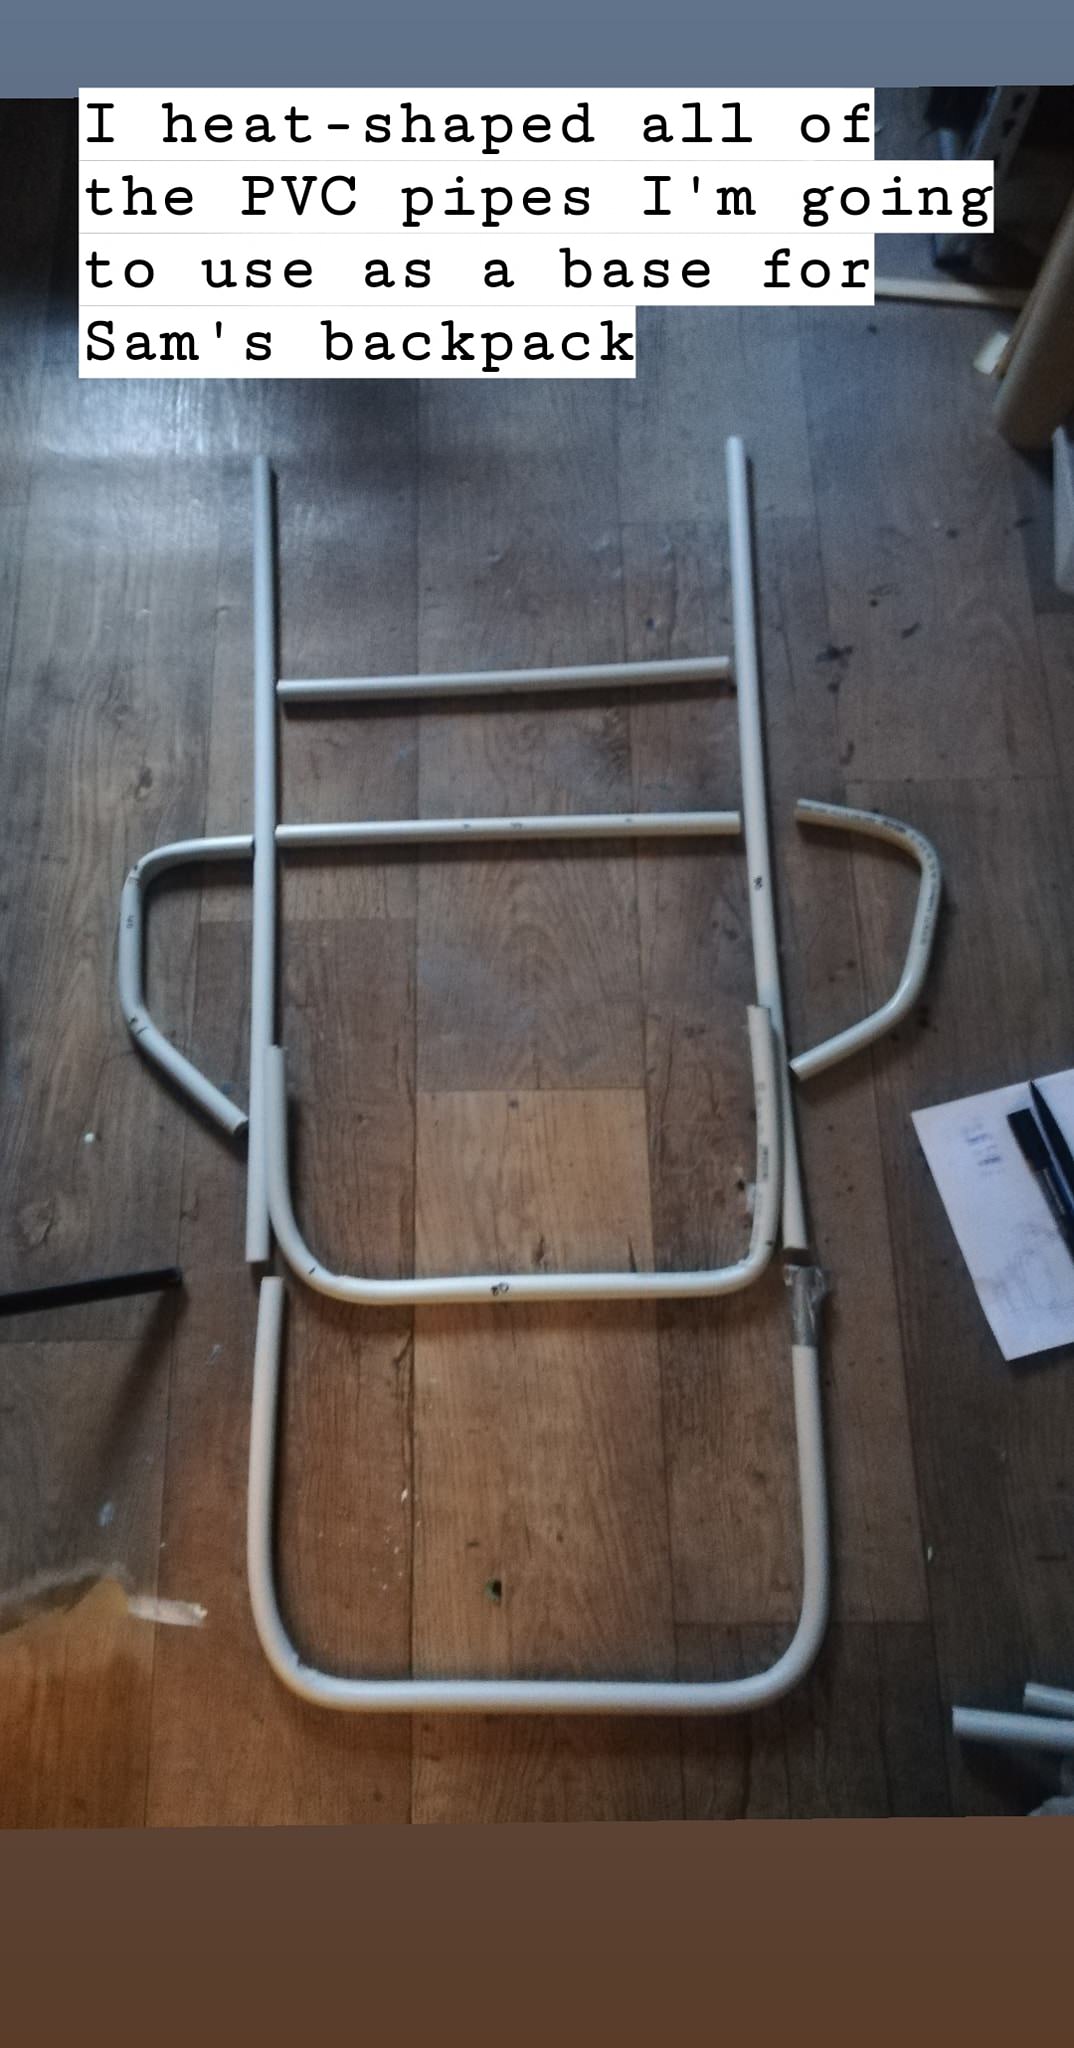
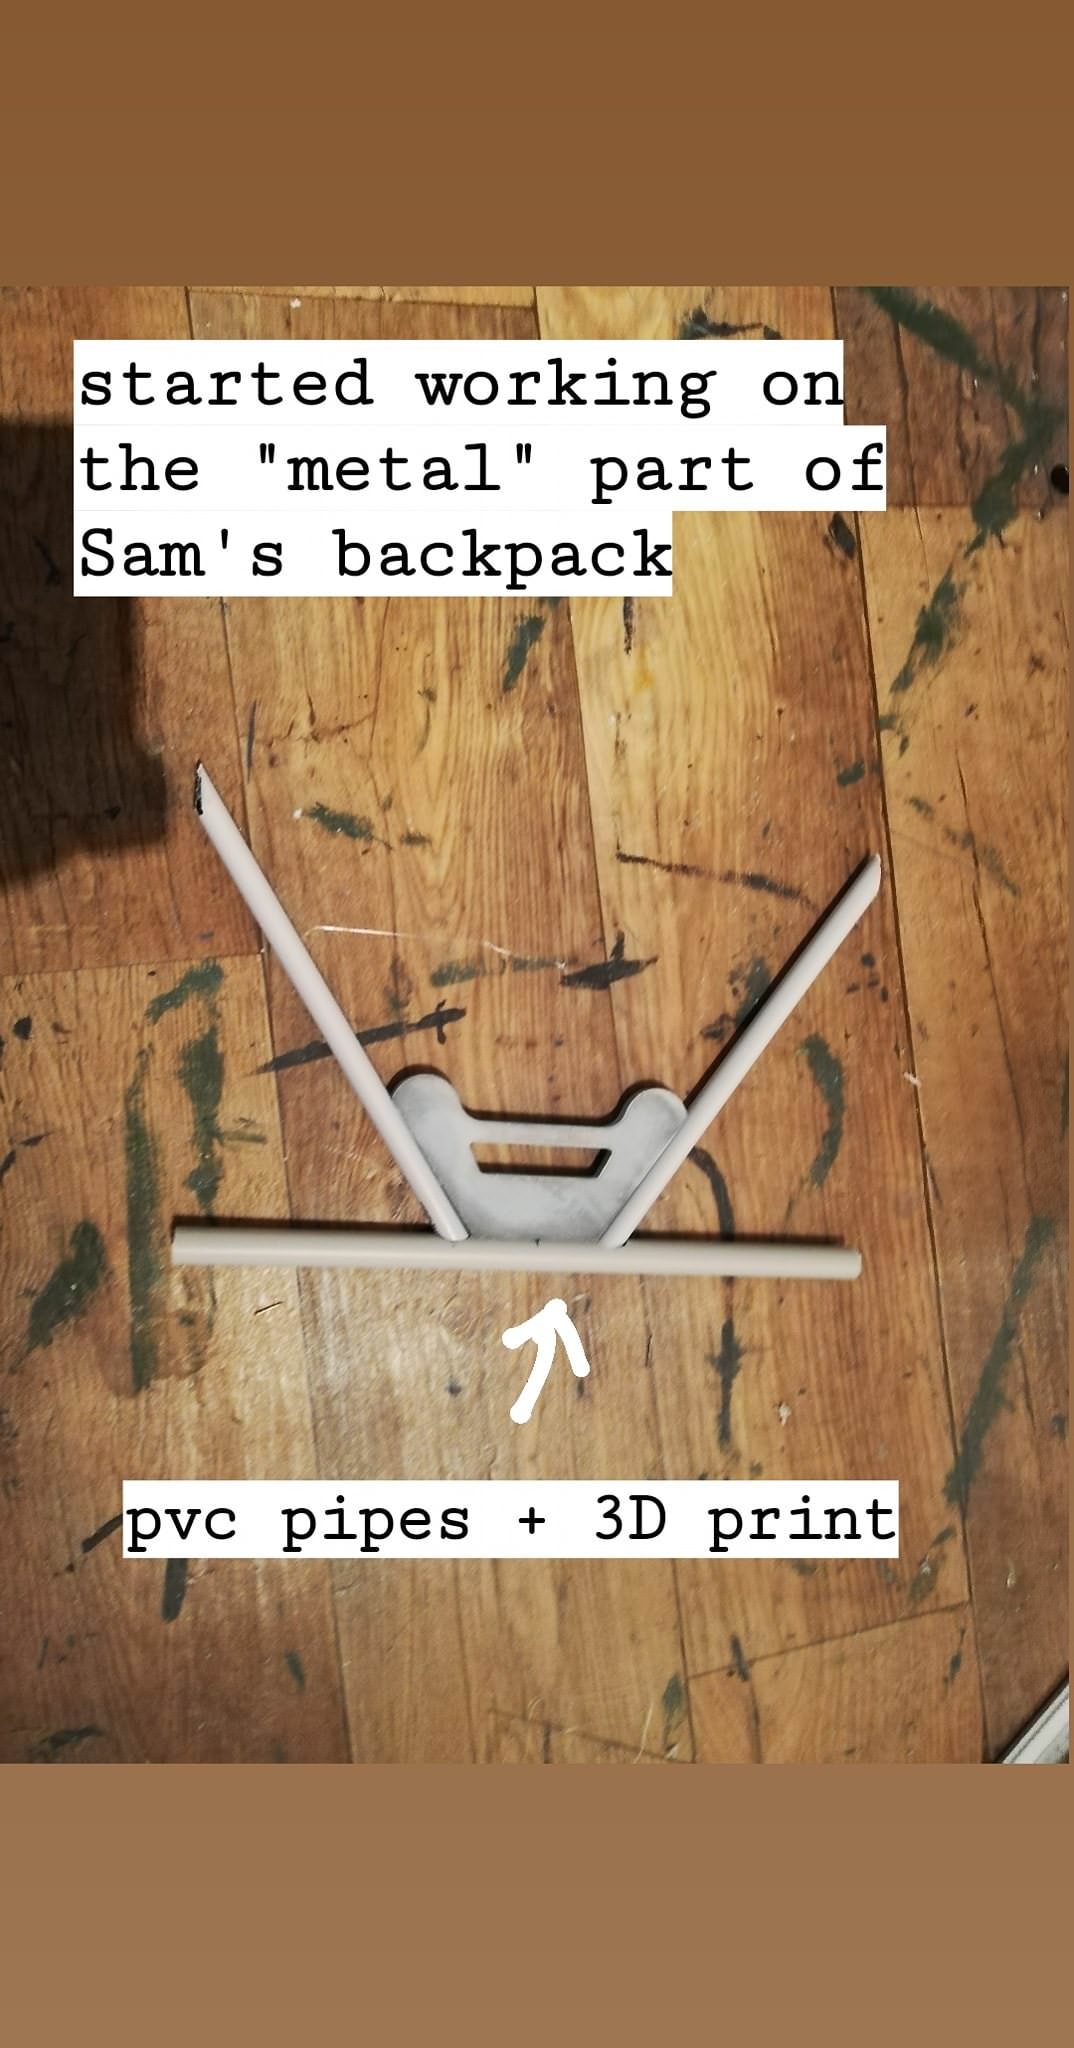
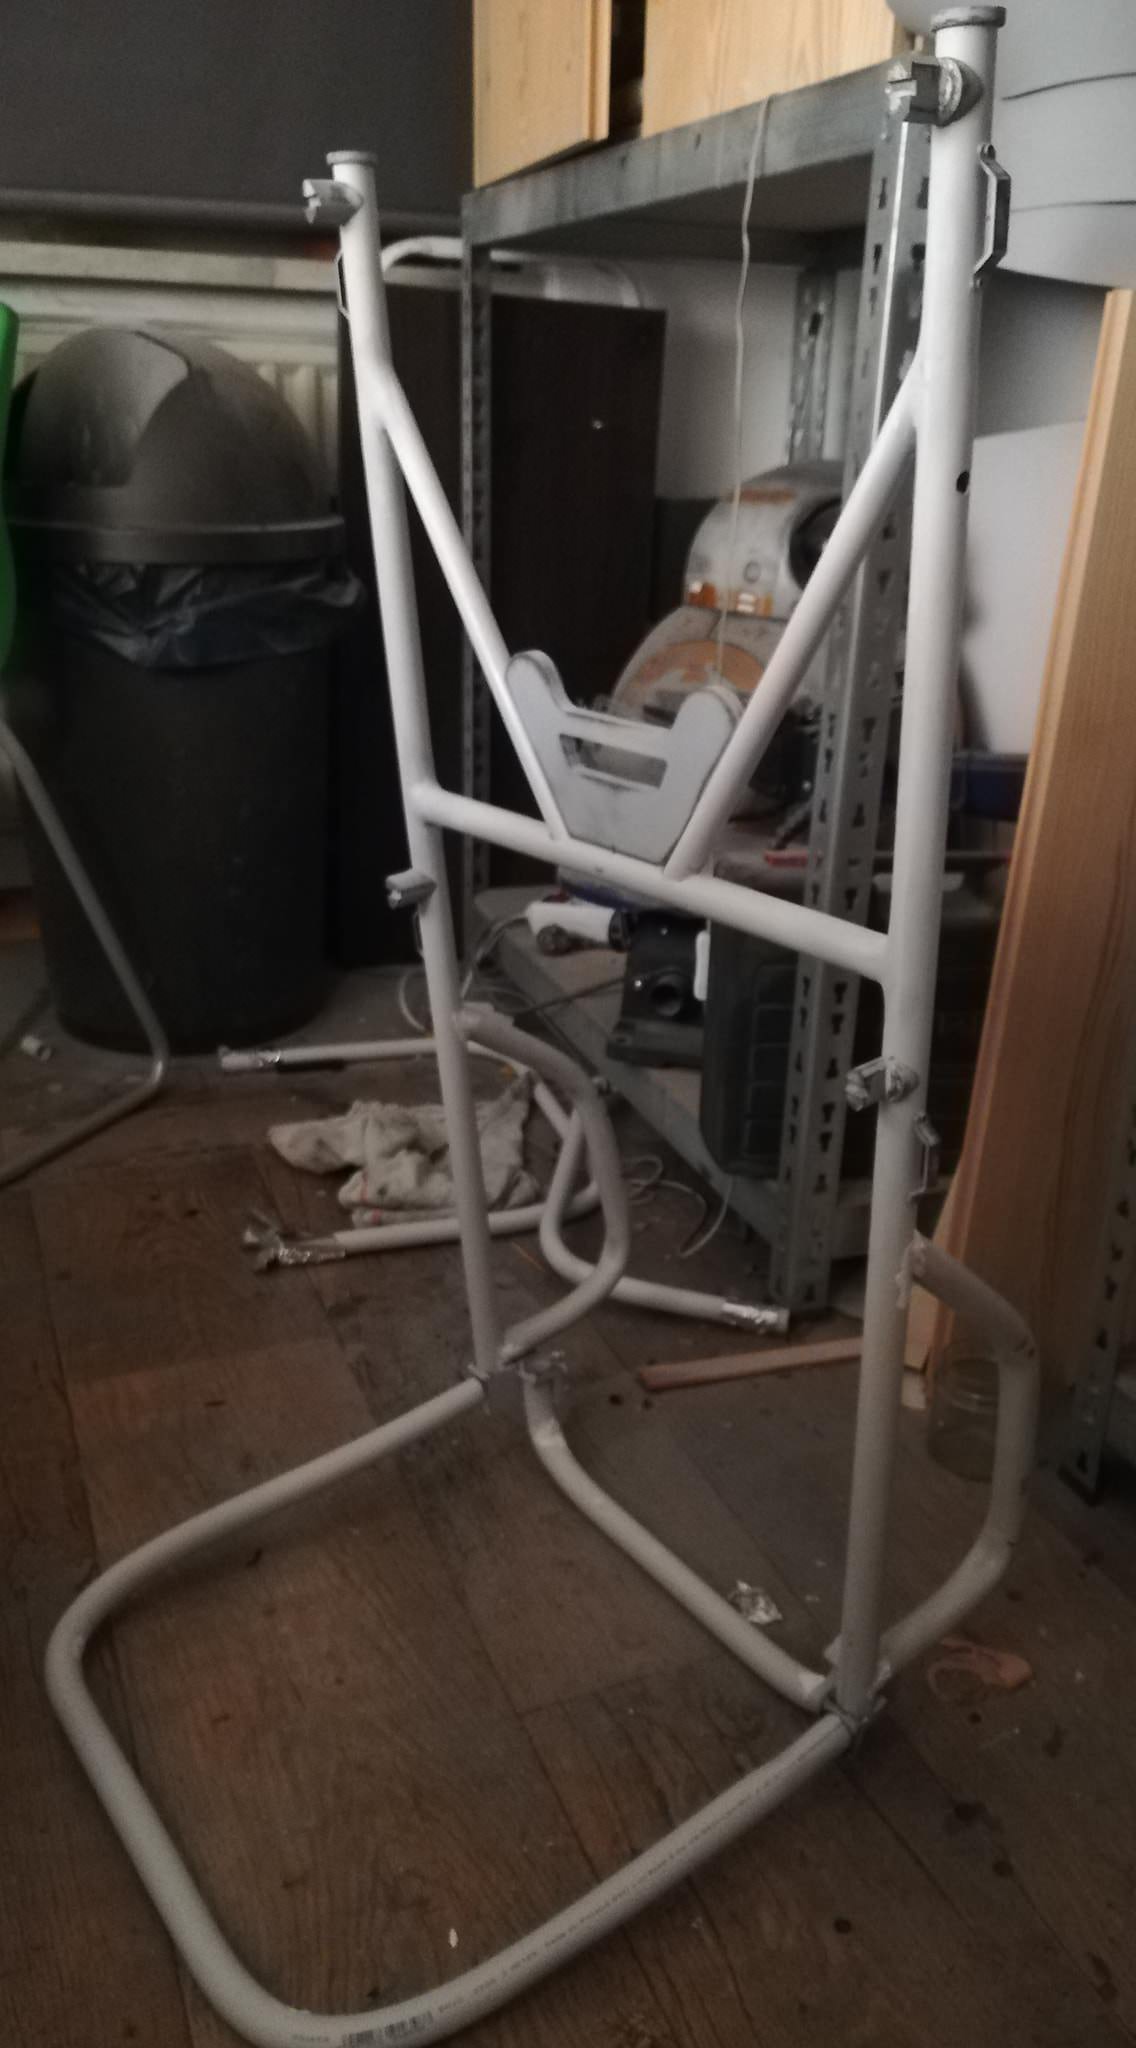
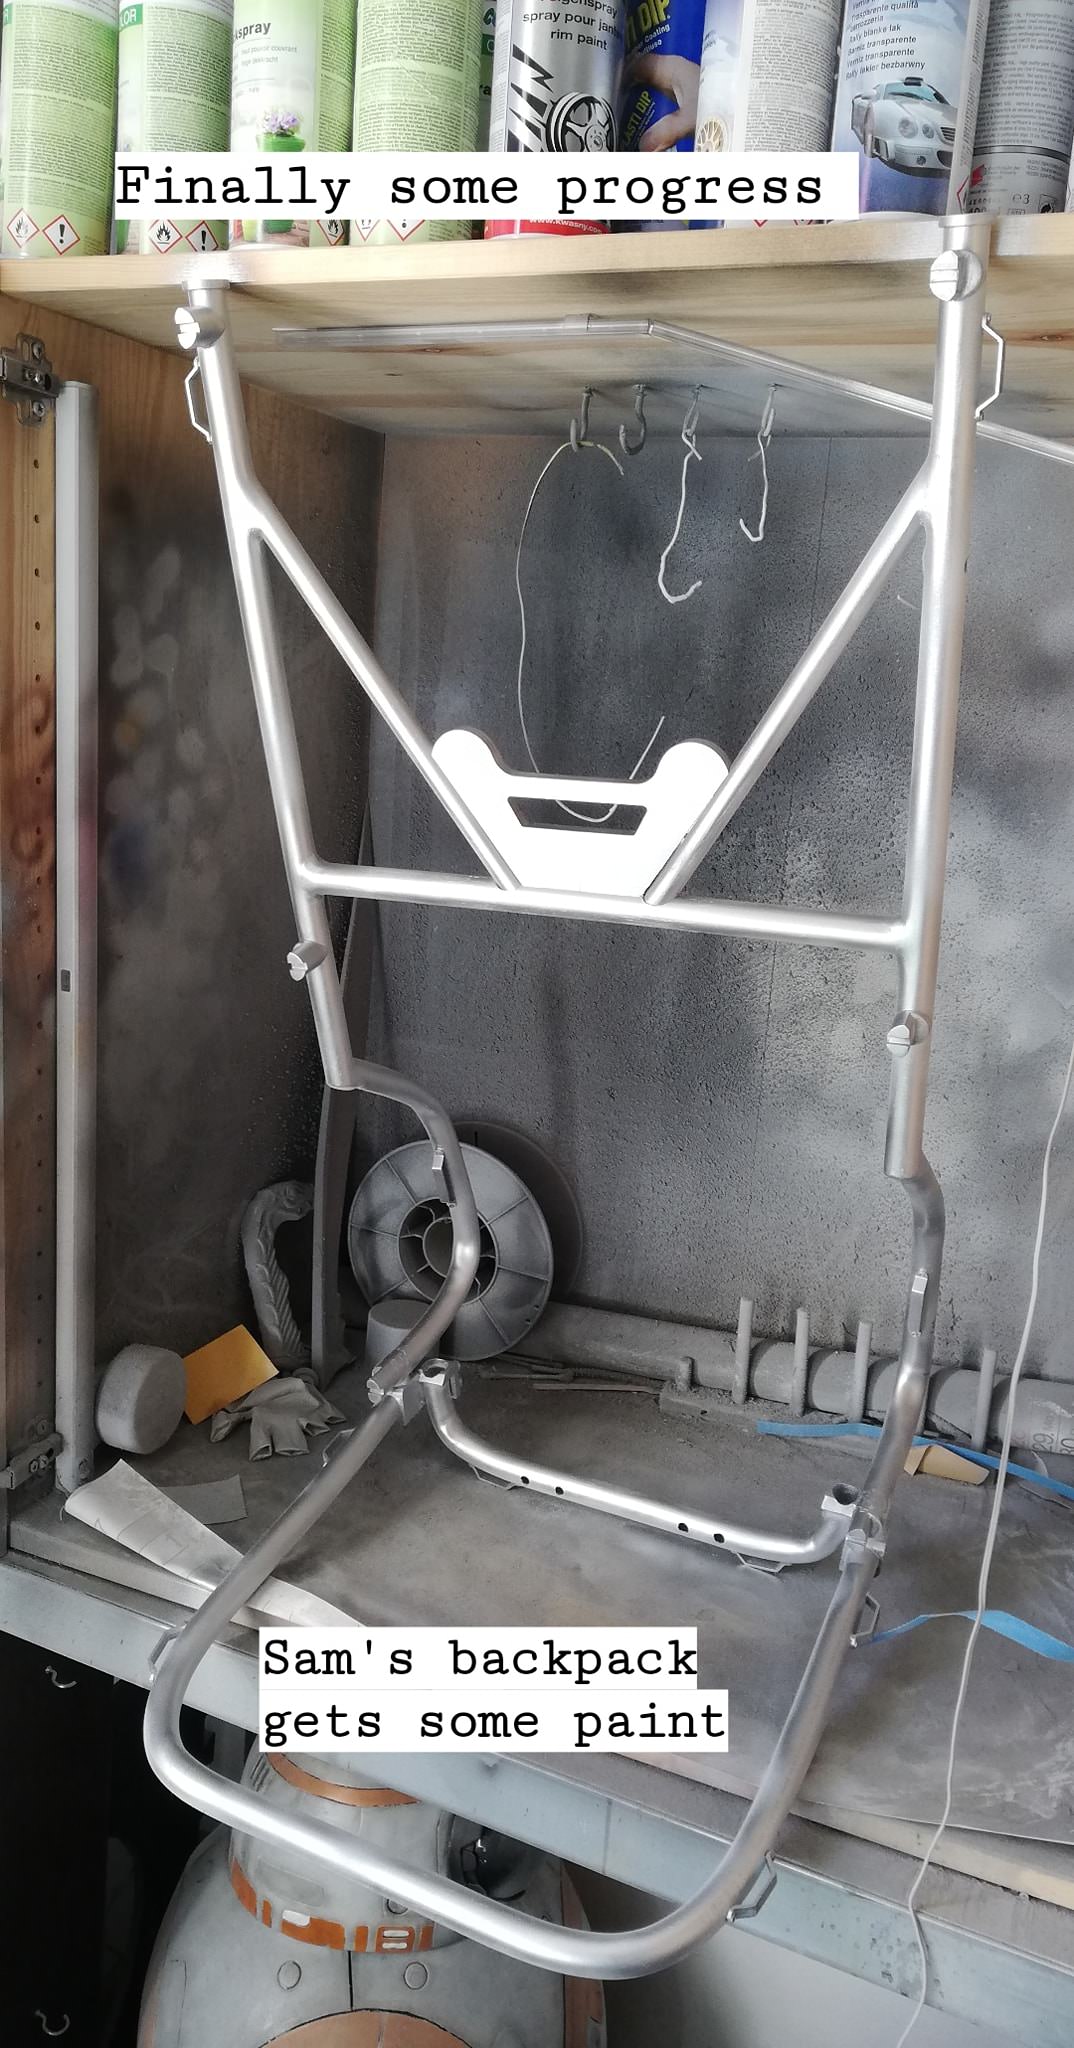
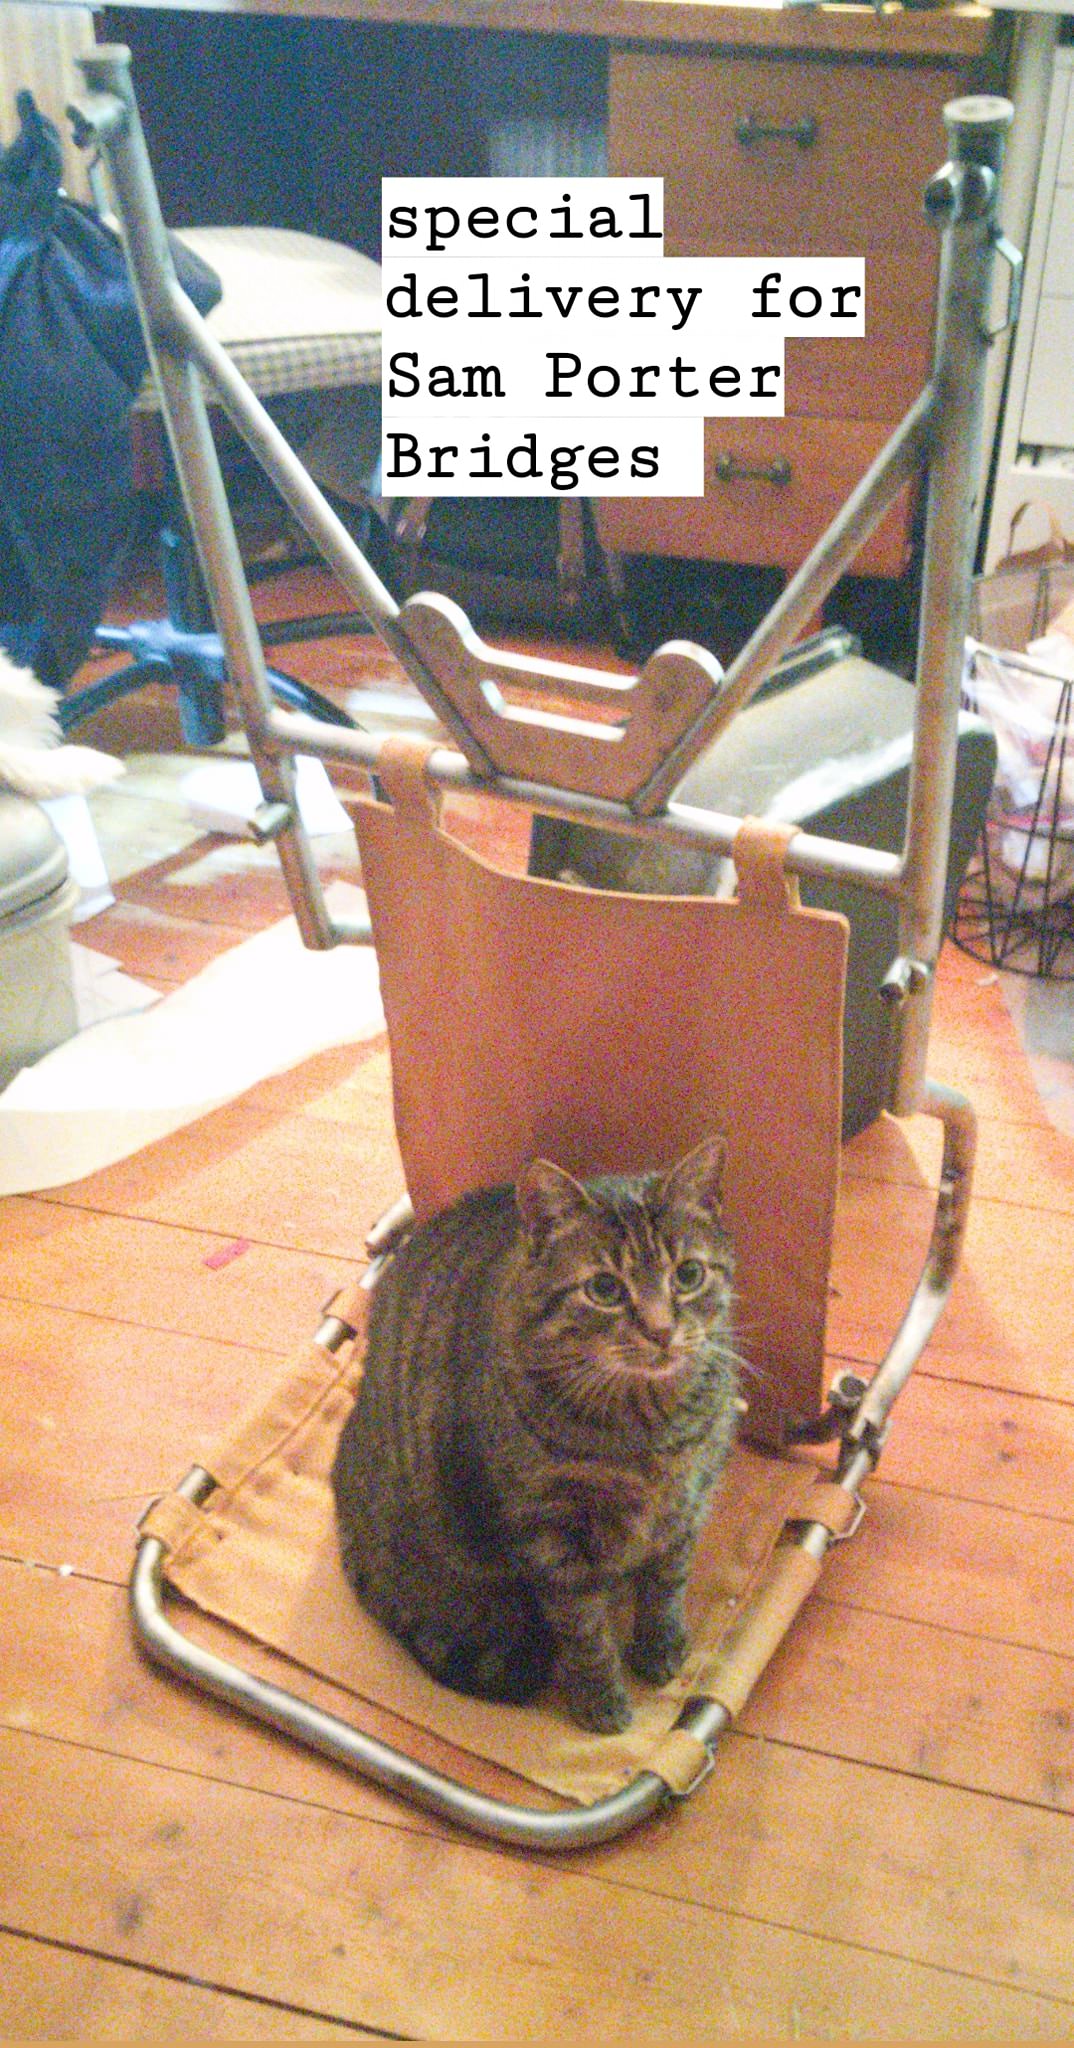
The very base of the backpack is just a bunch of PVC pipes. We heat-shaped them, glued them into place using some 3D-printed connectors and painted it. Sadly, the construction turned out a little bit too fragile (lmao) and we will probably have to redo some of these parts.
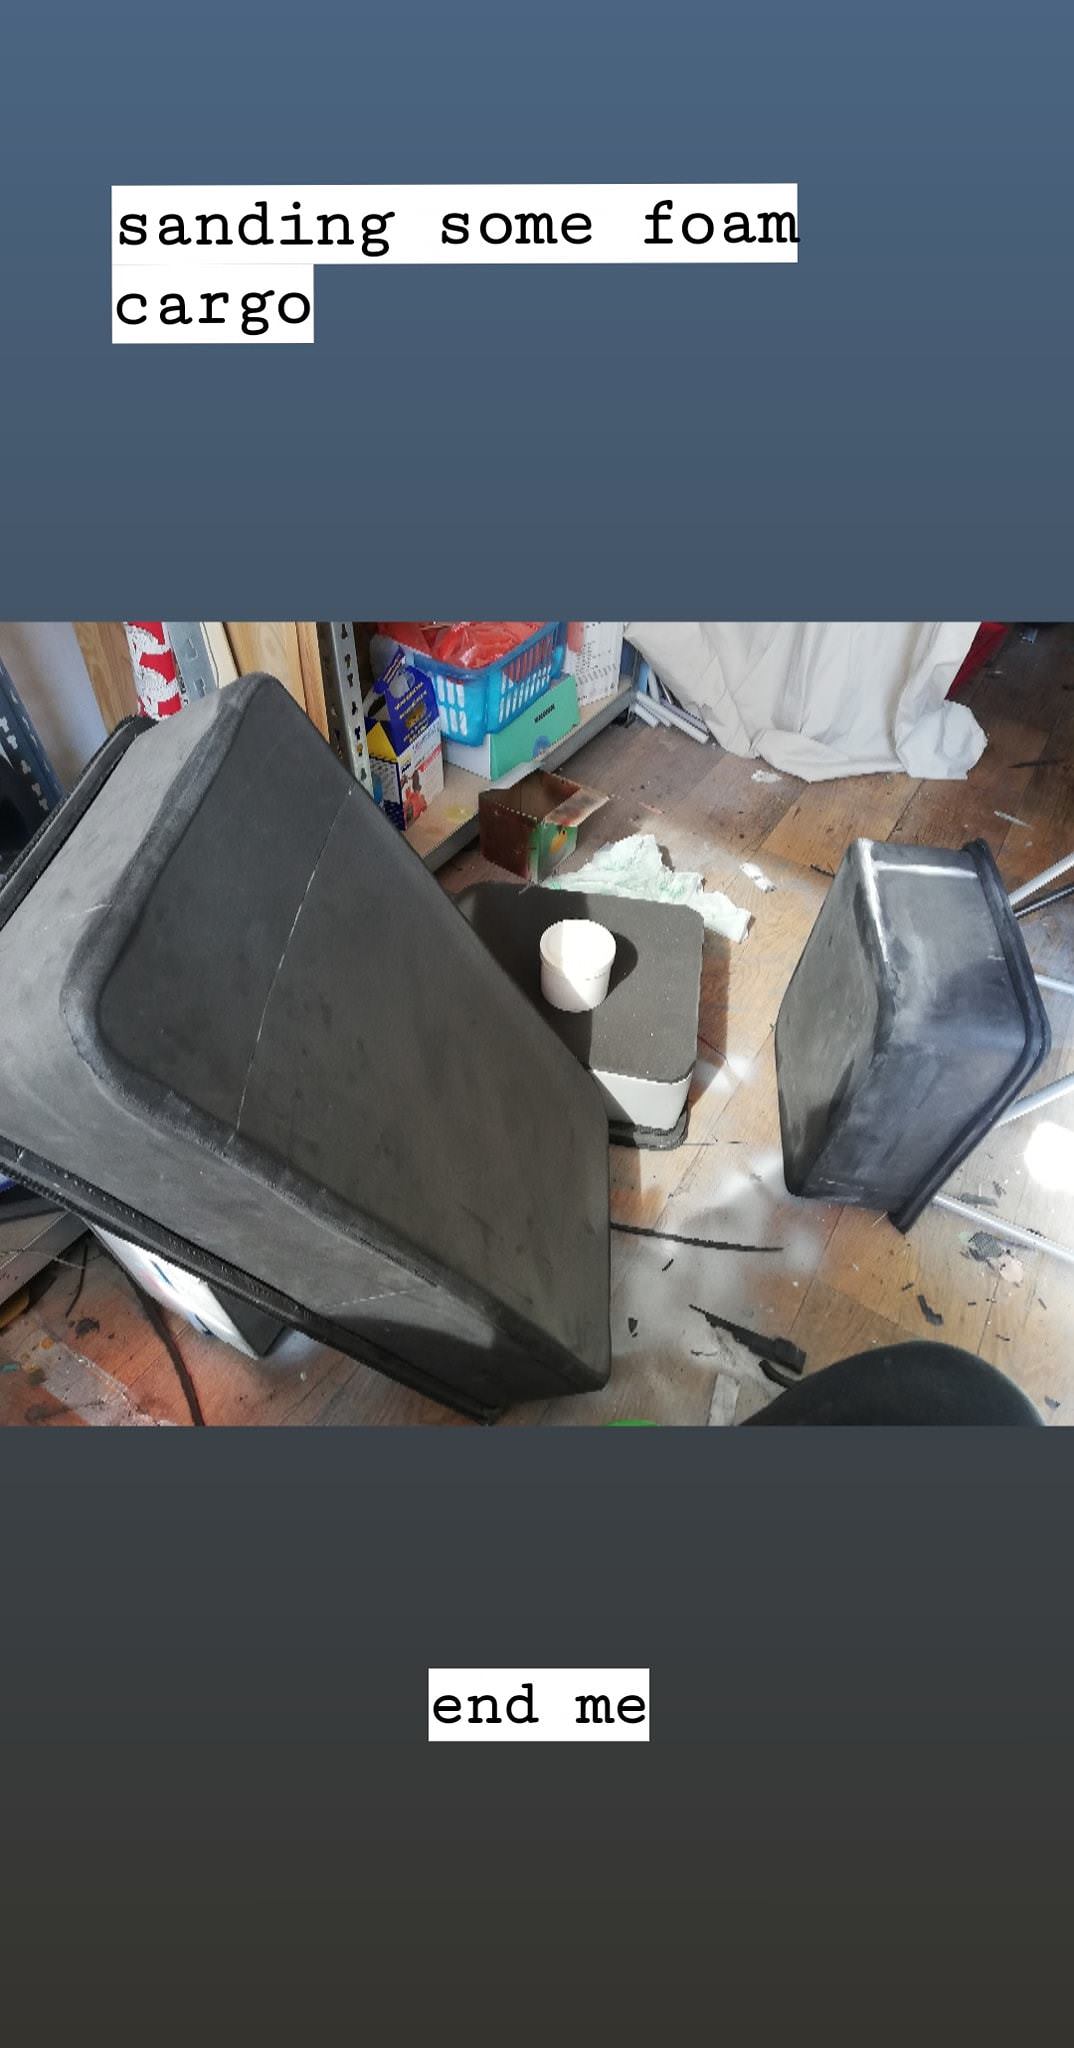
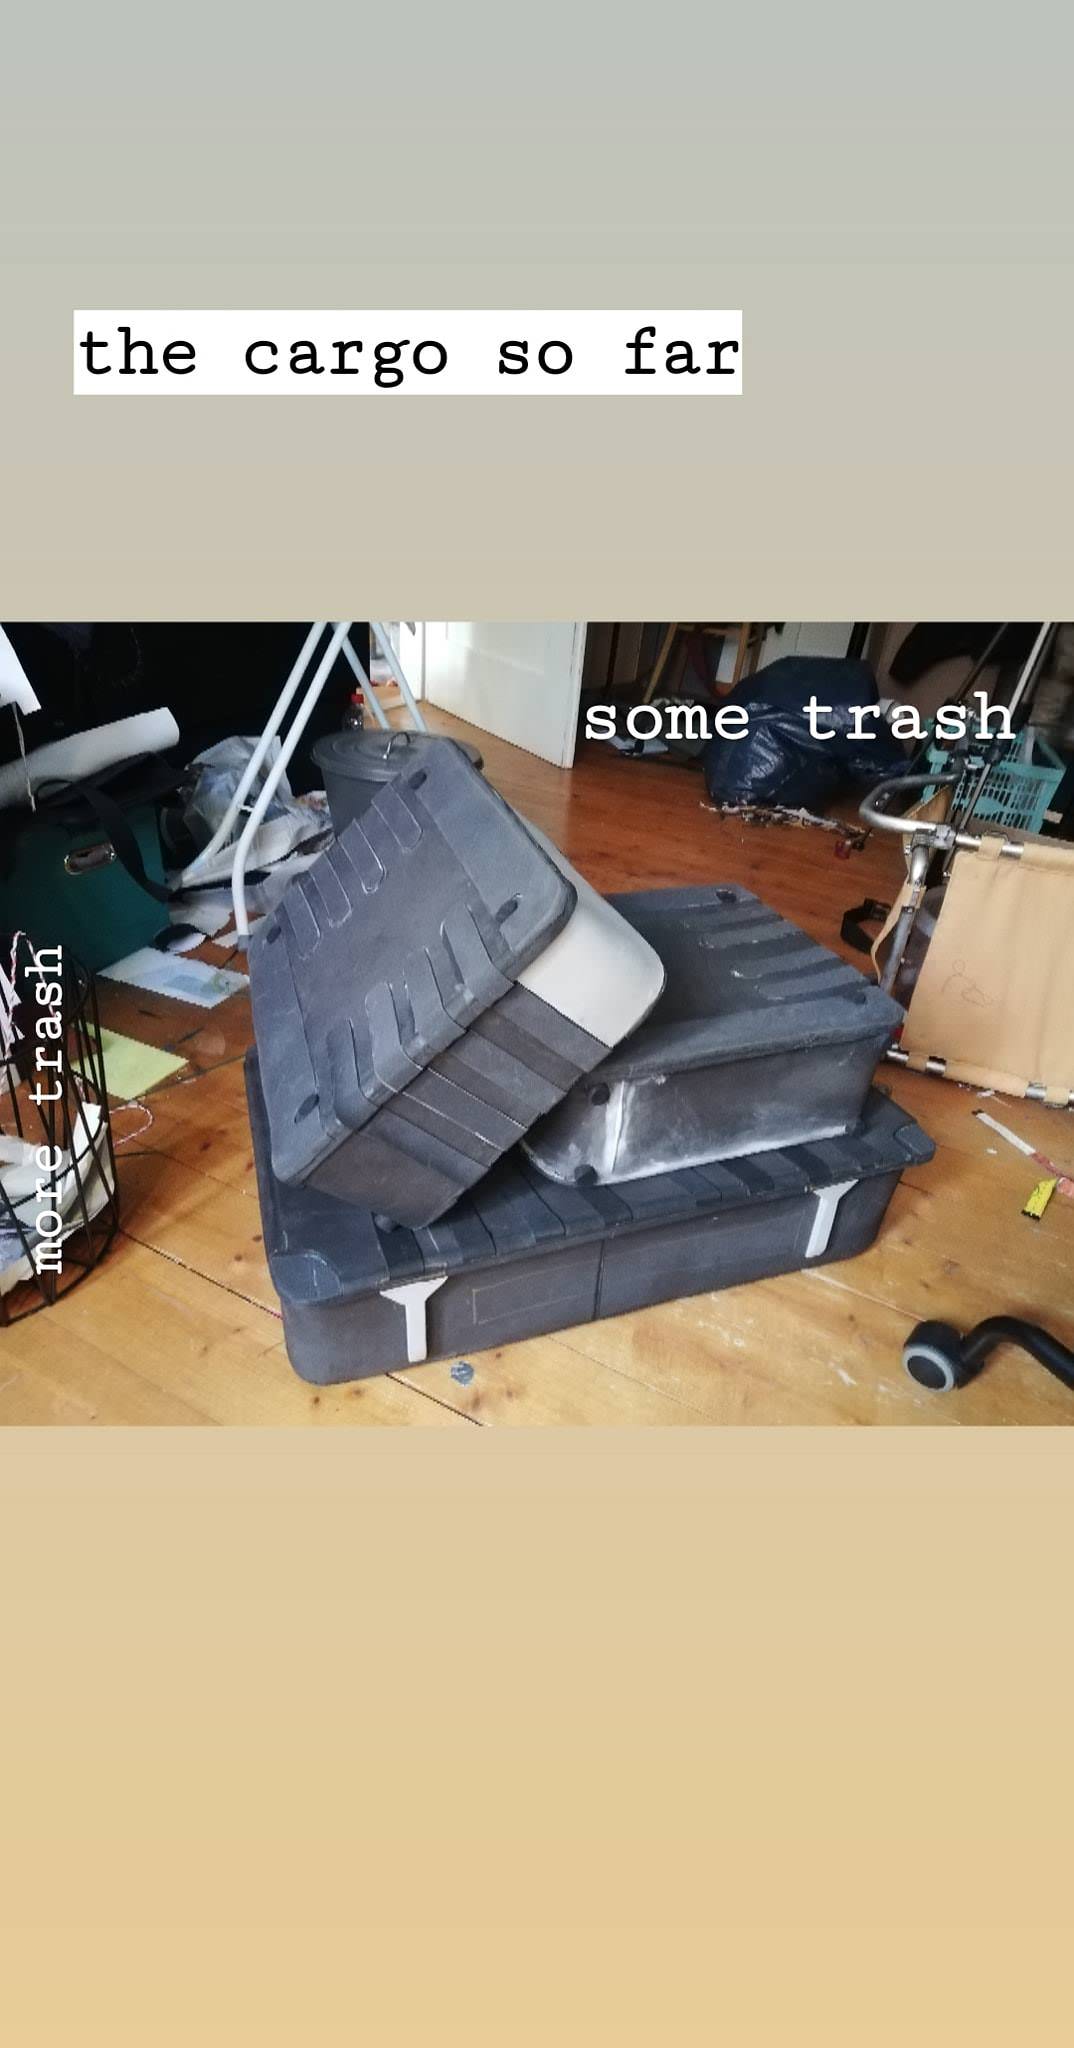
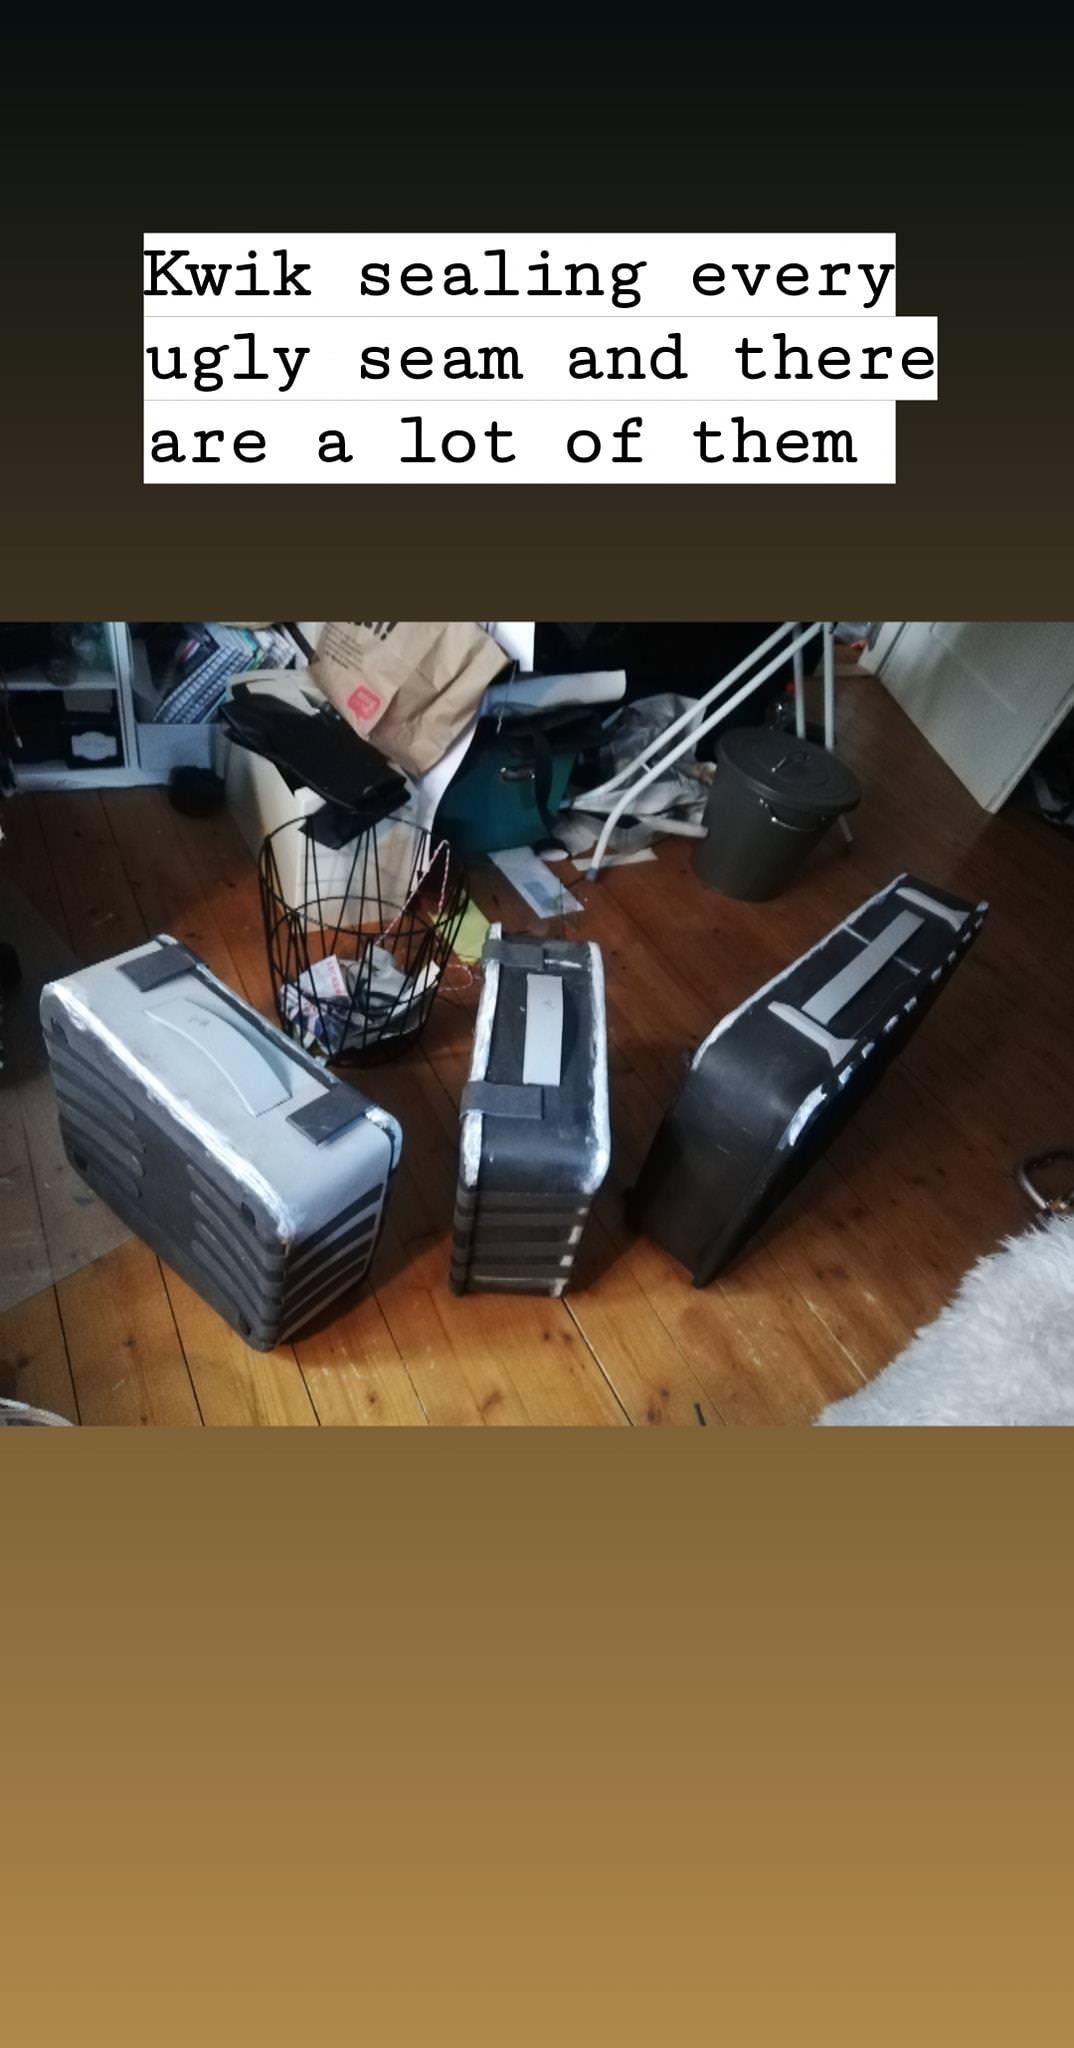
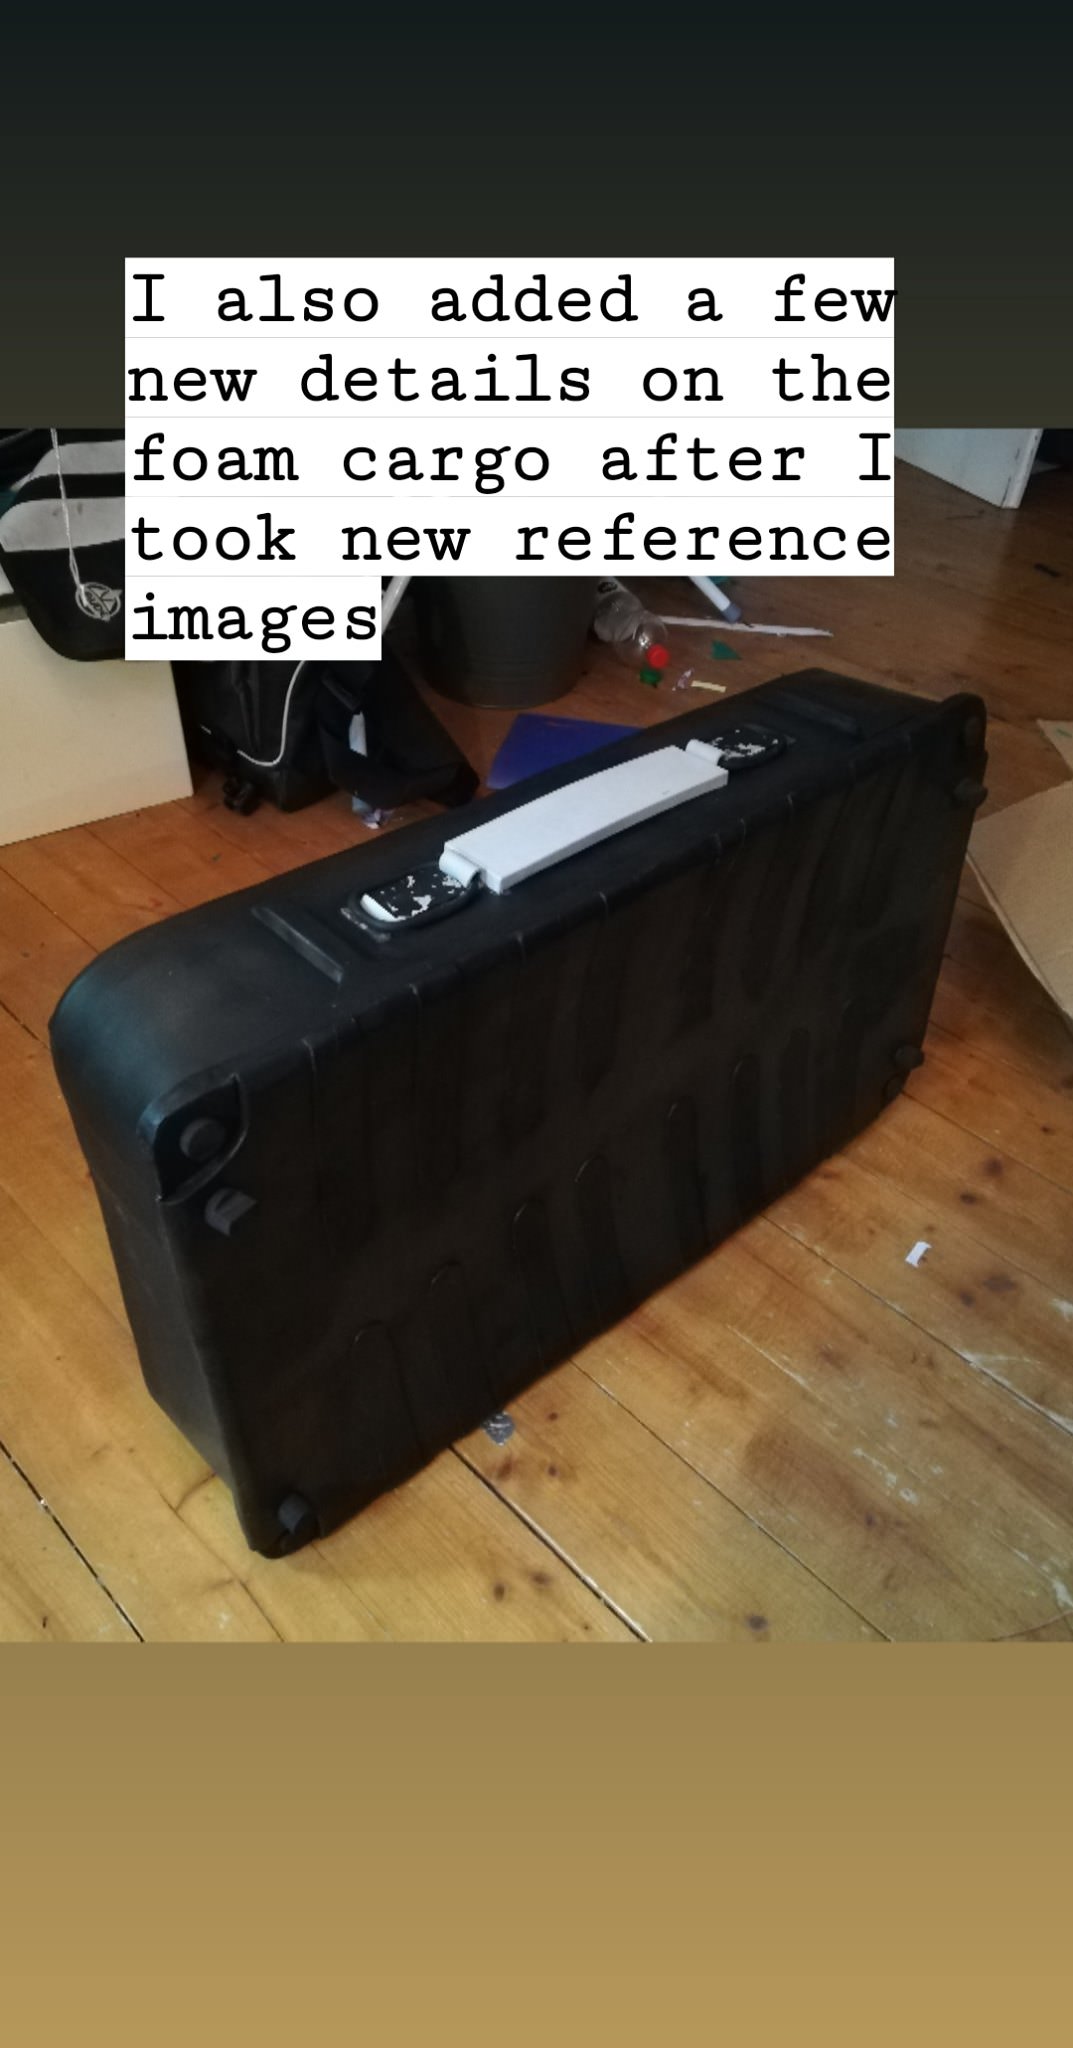
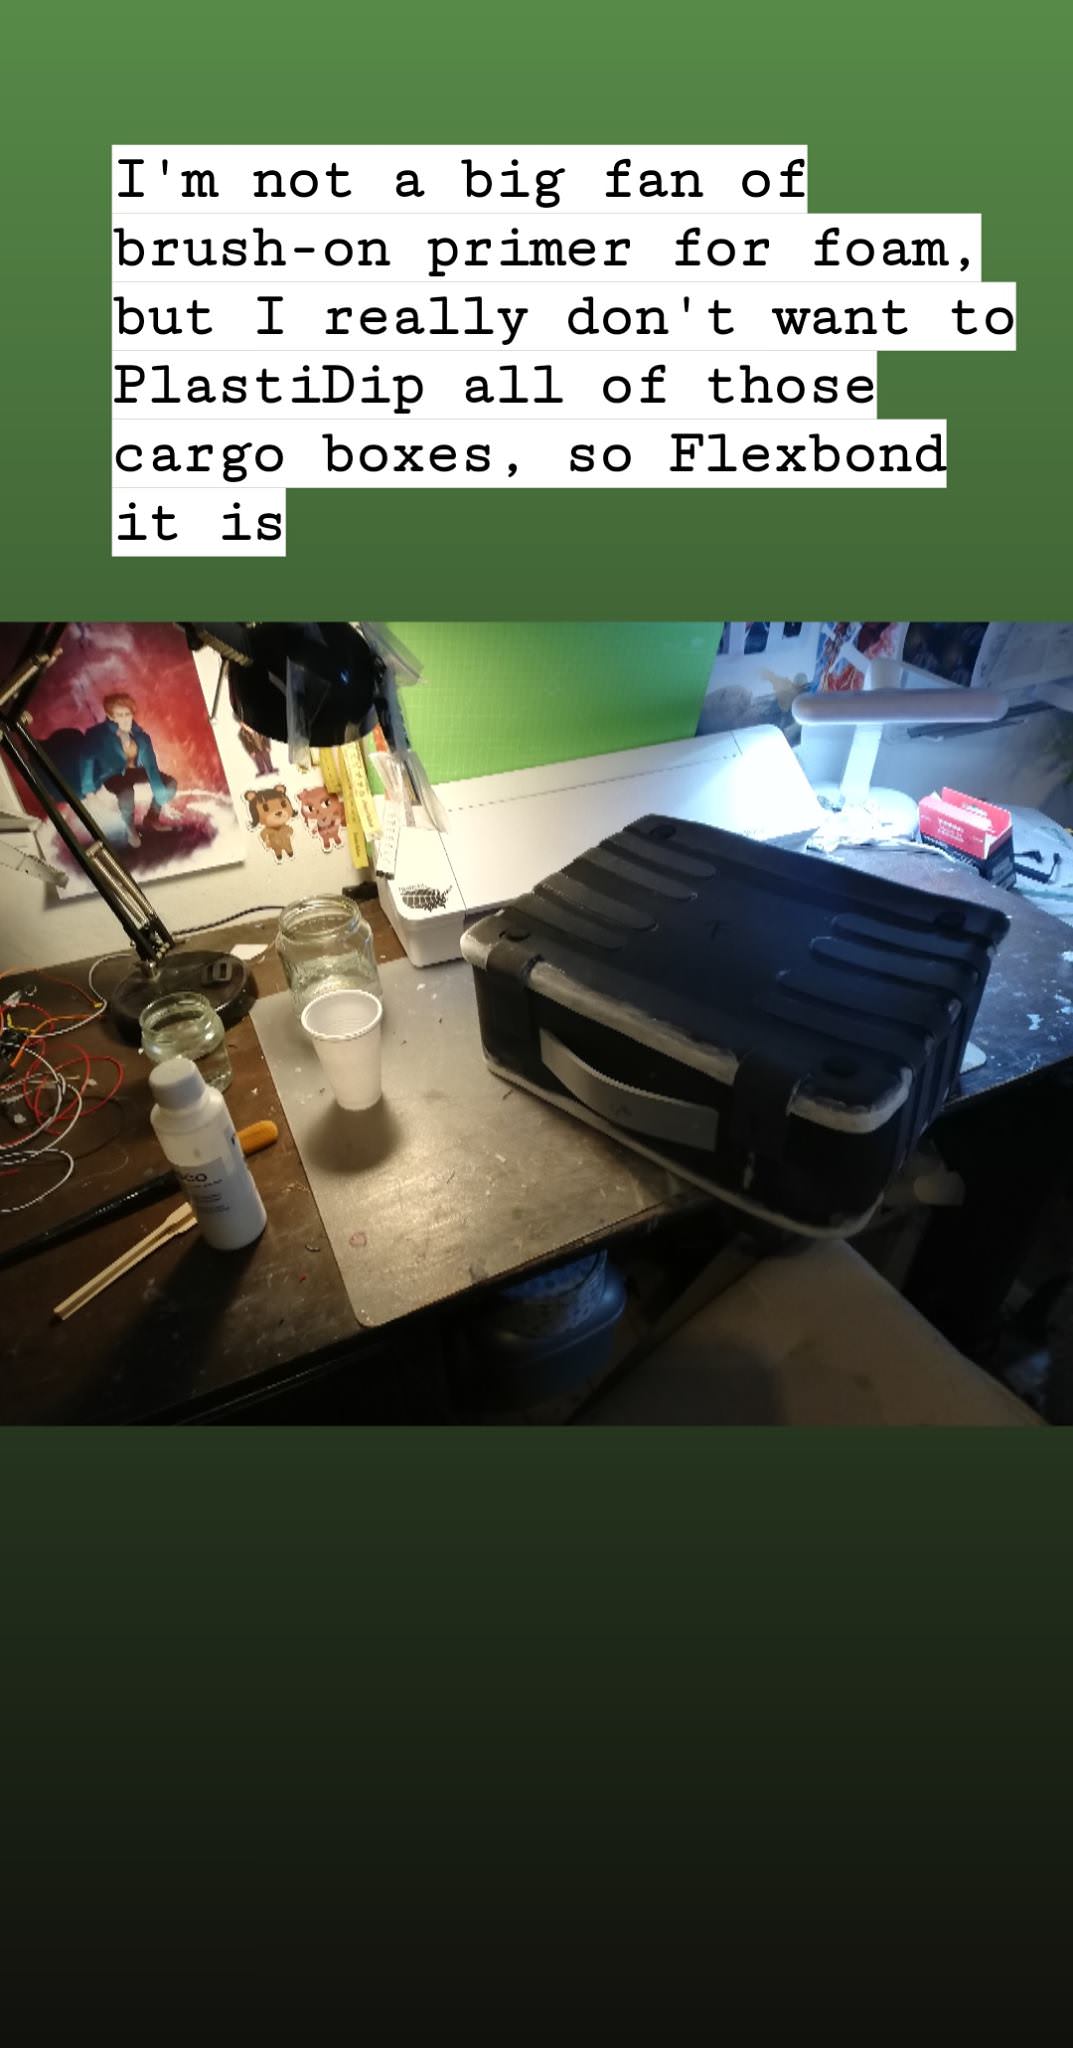
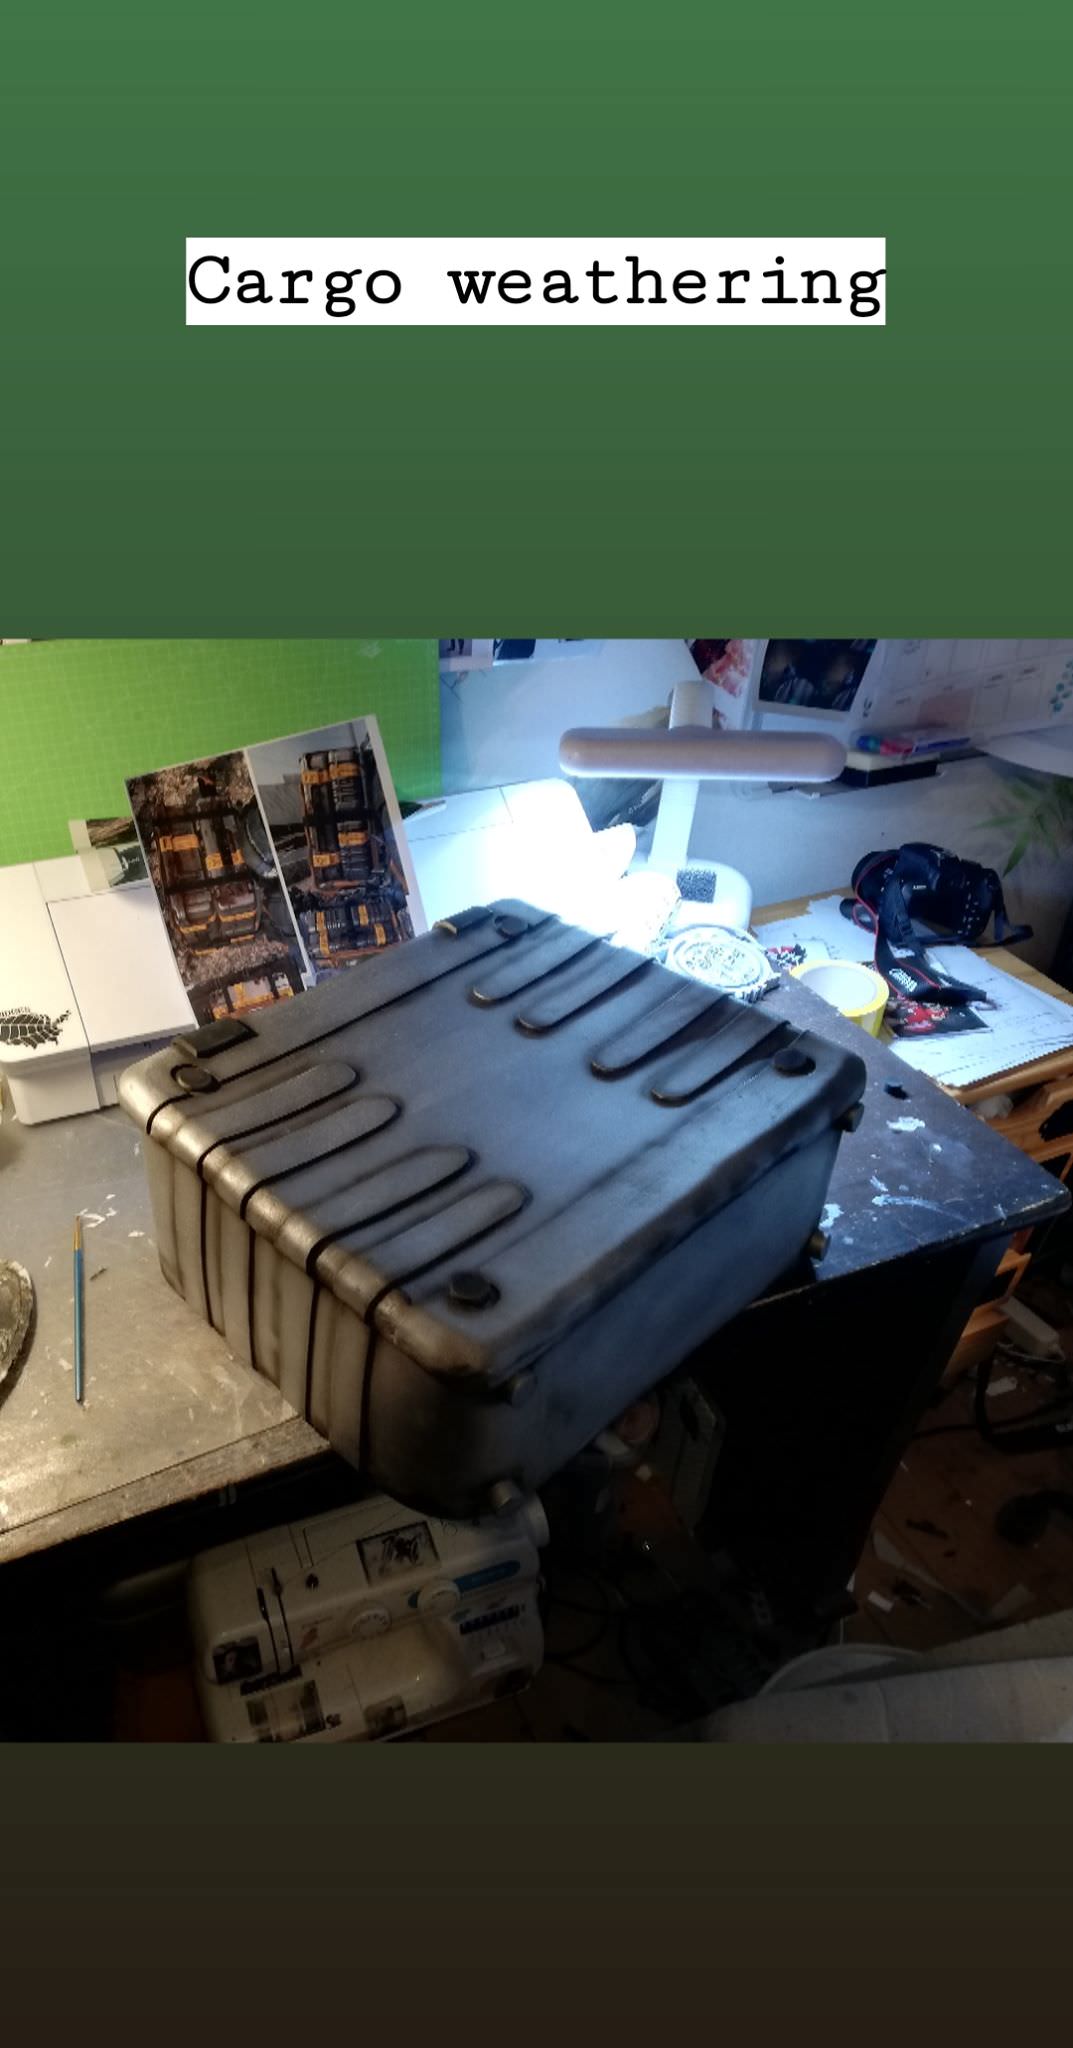
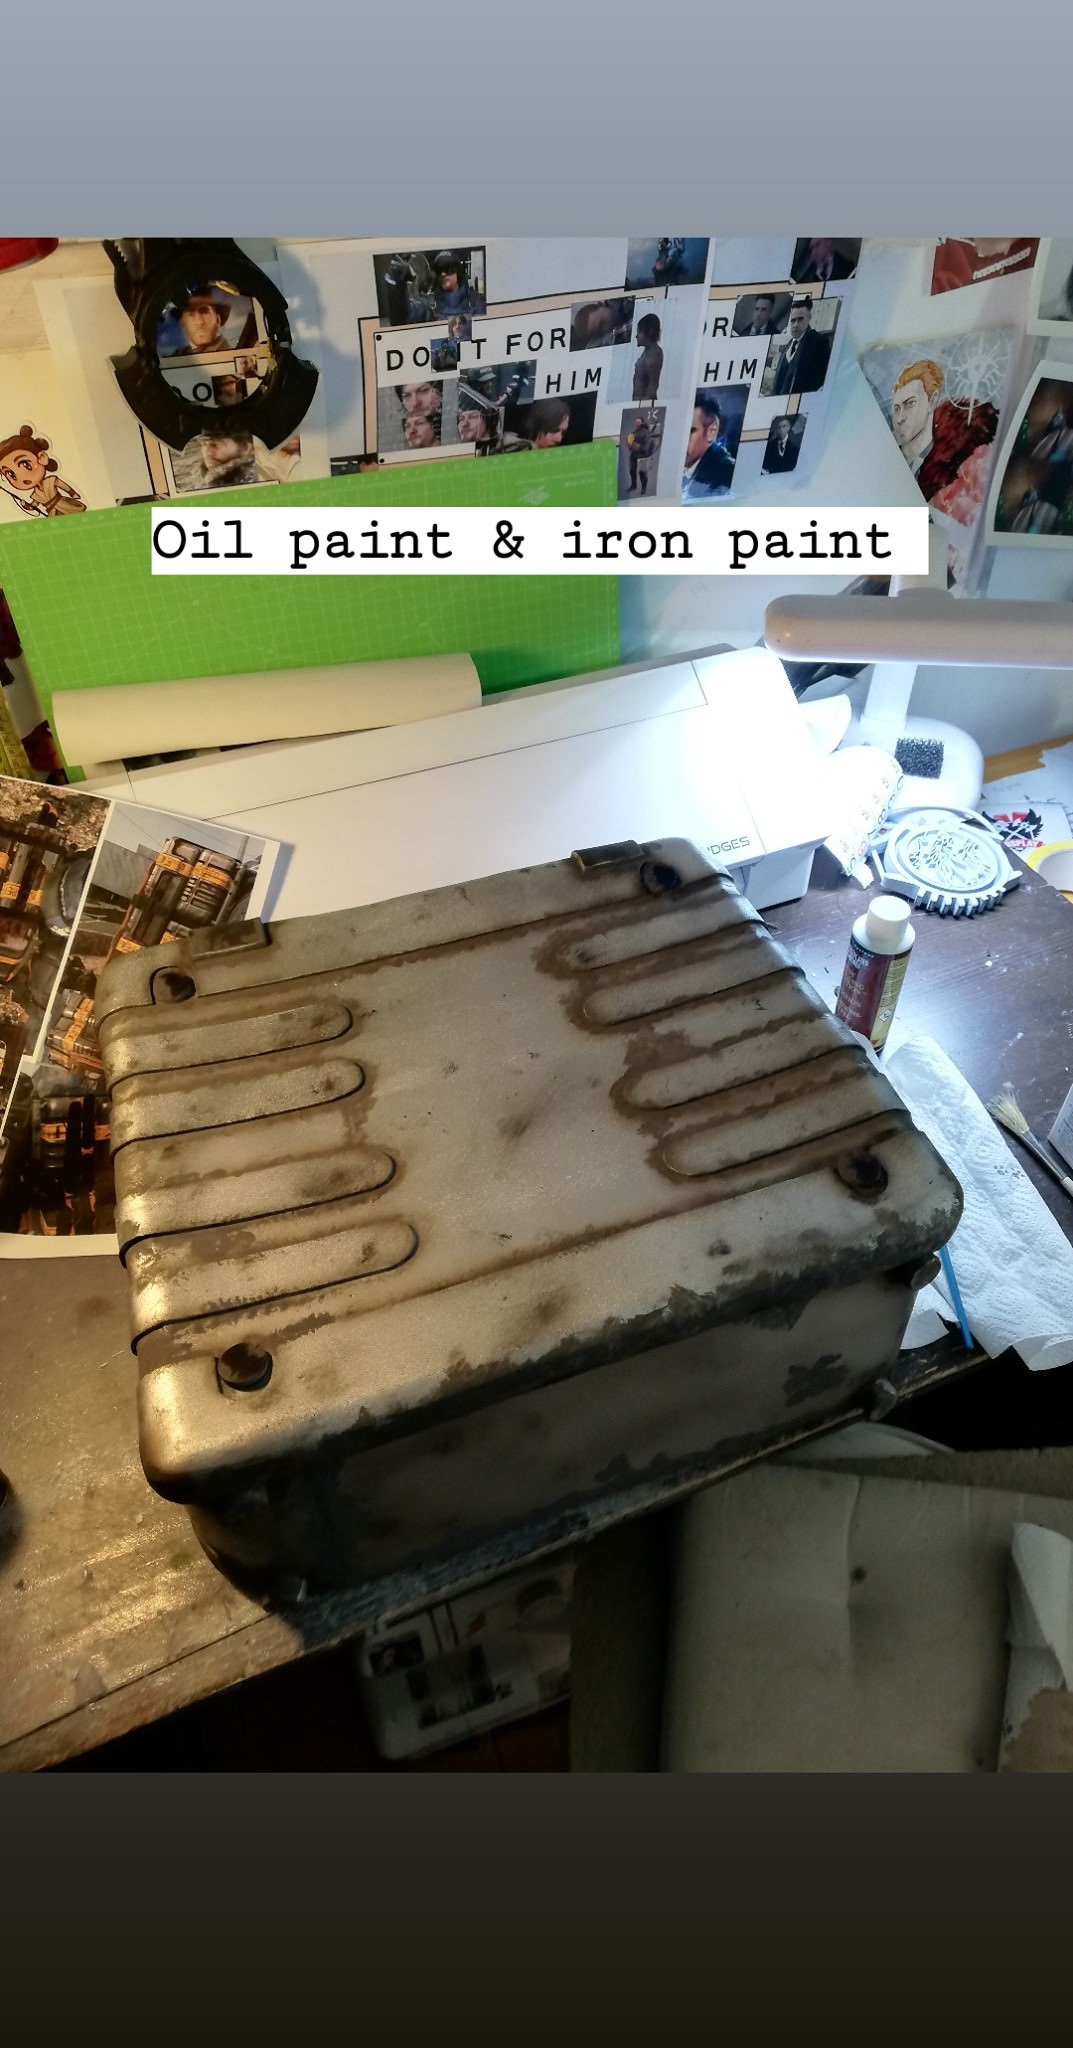
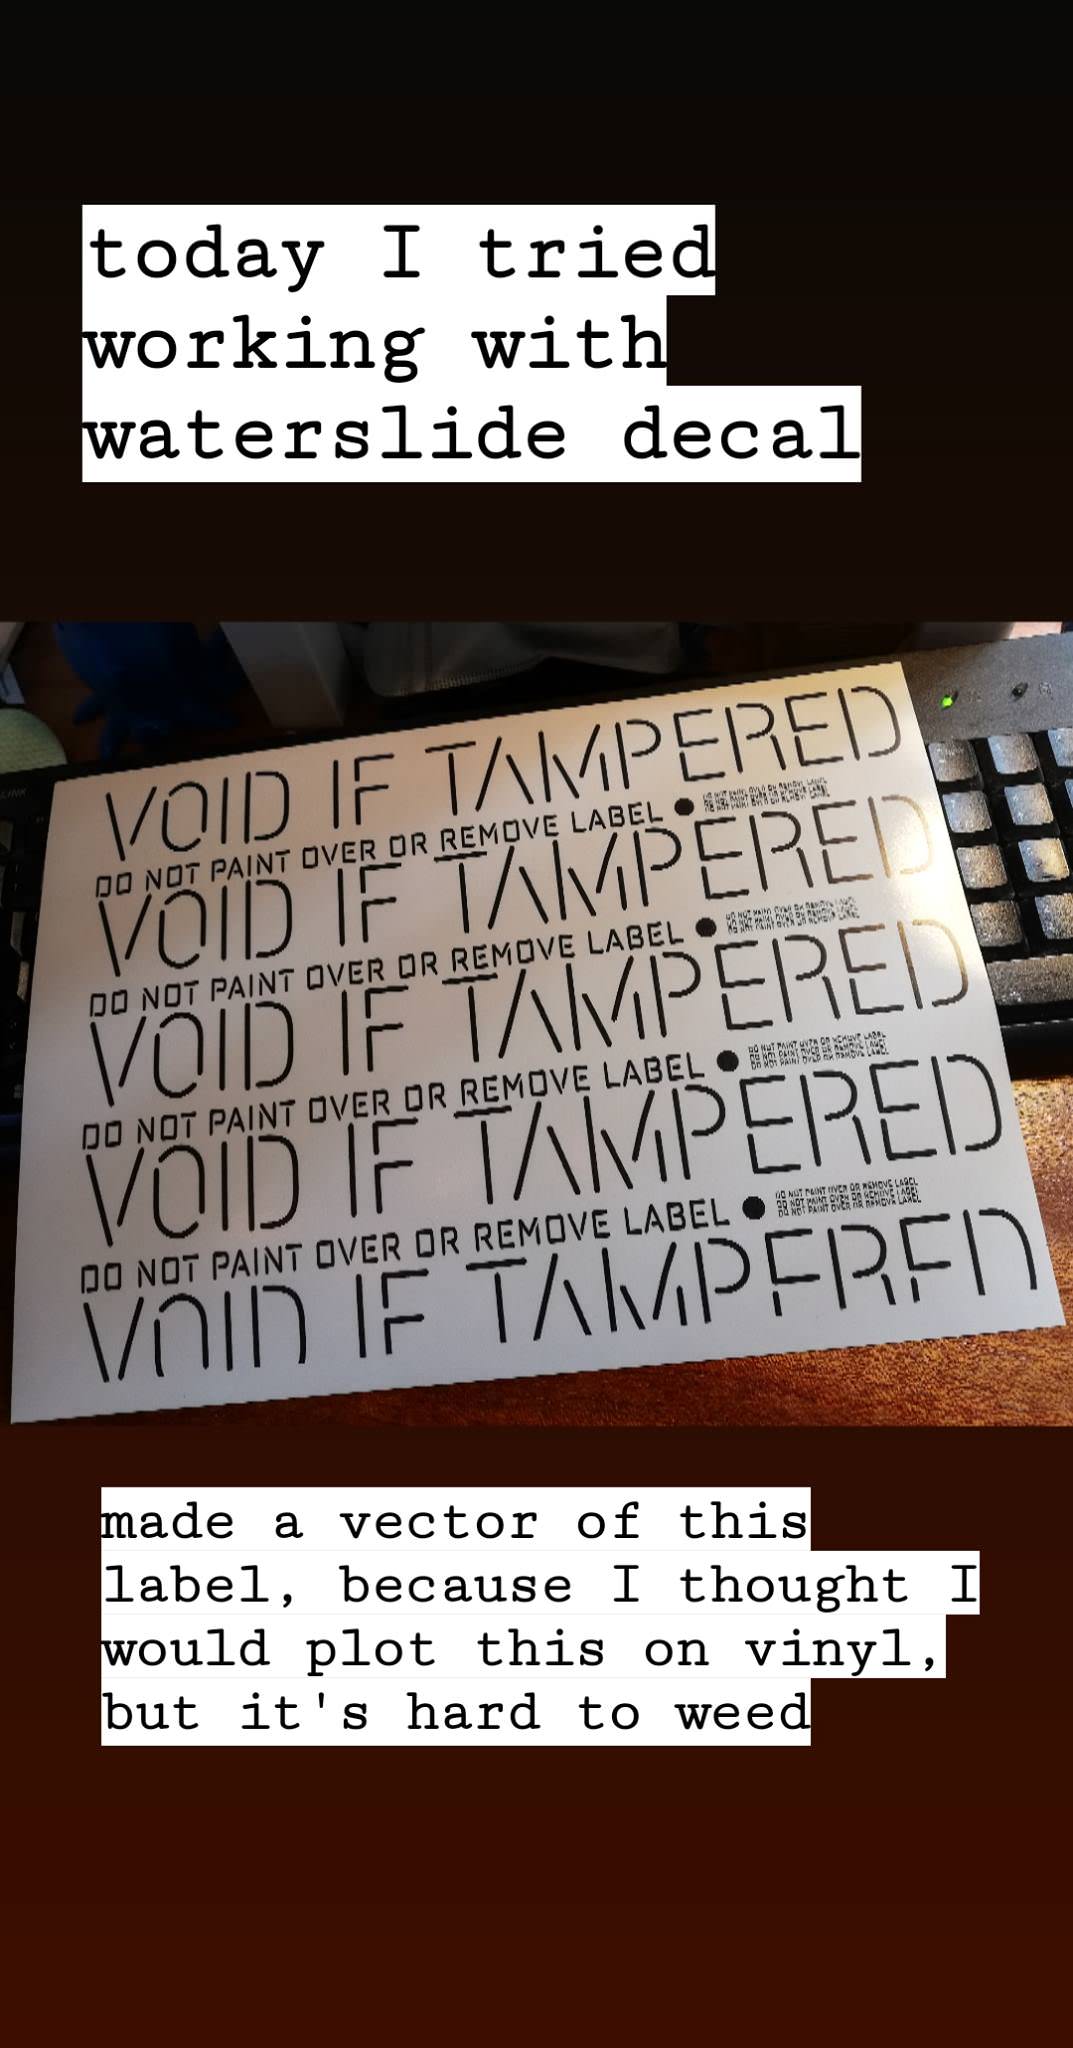
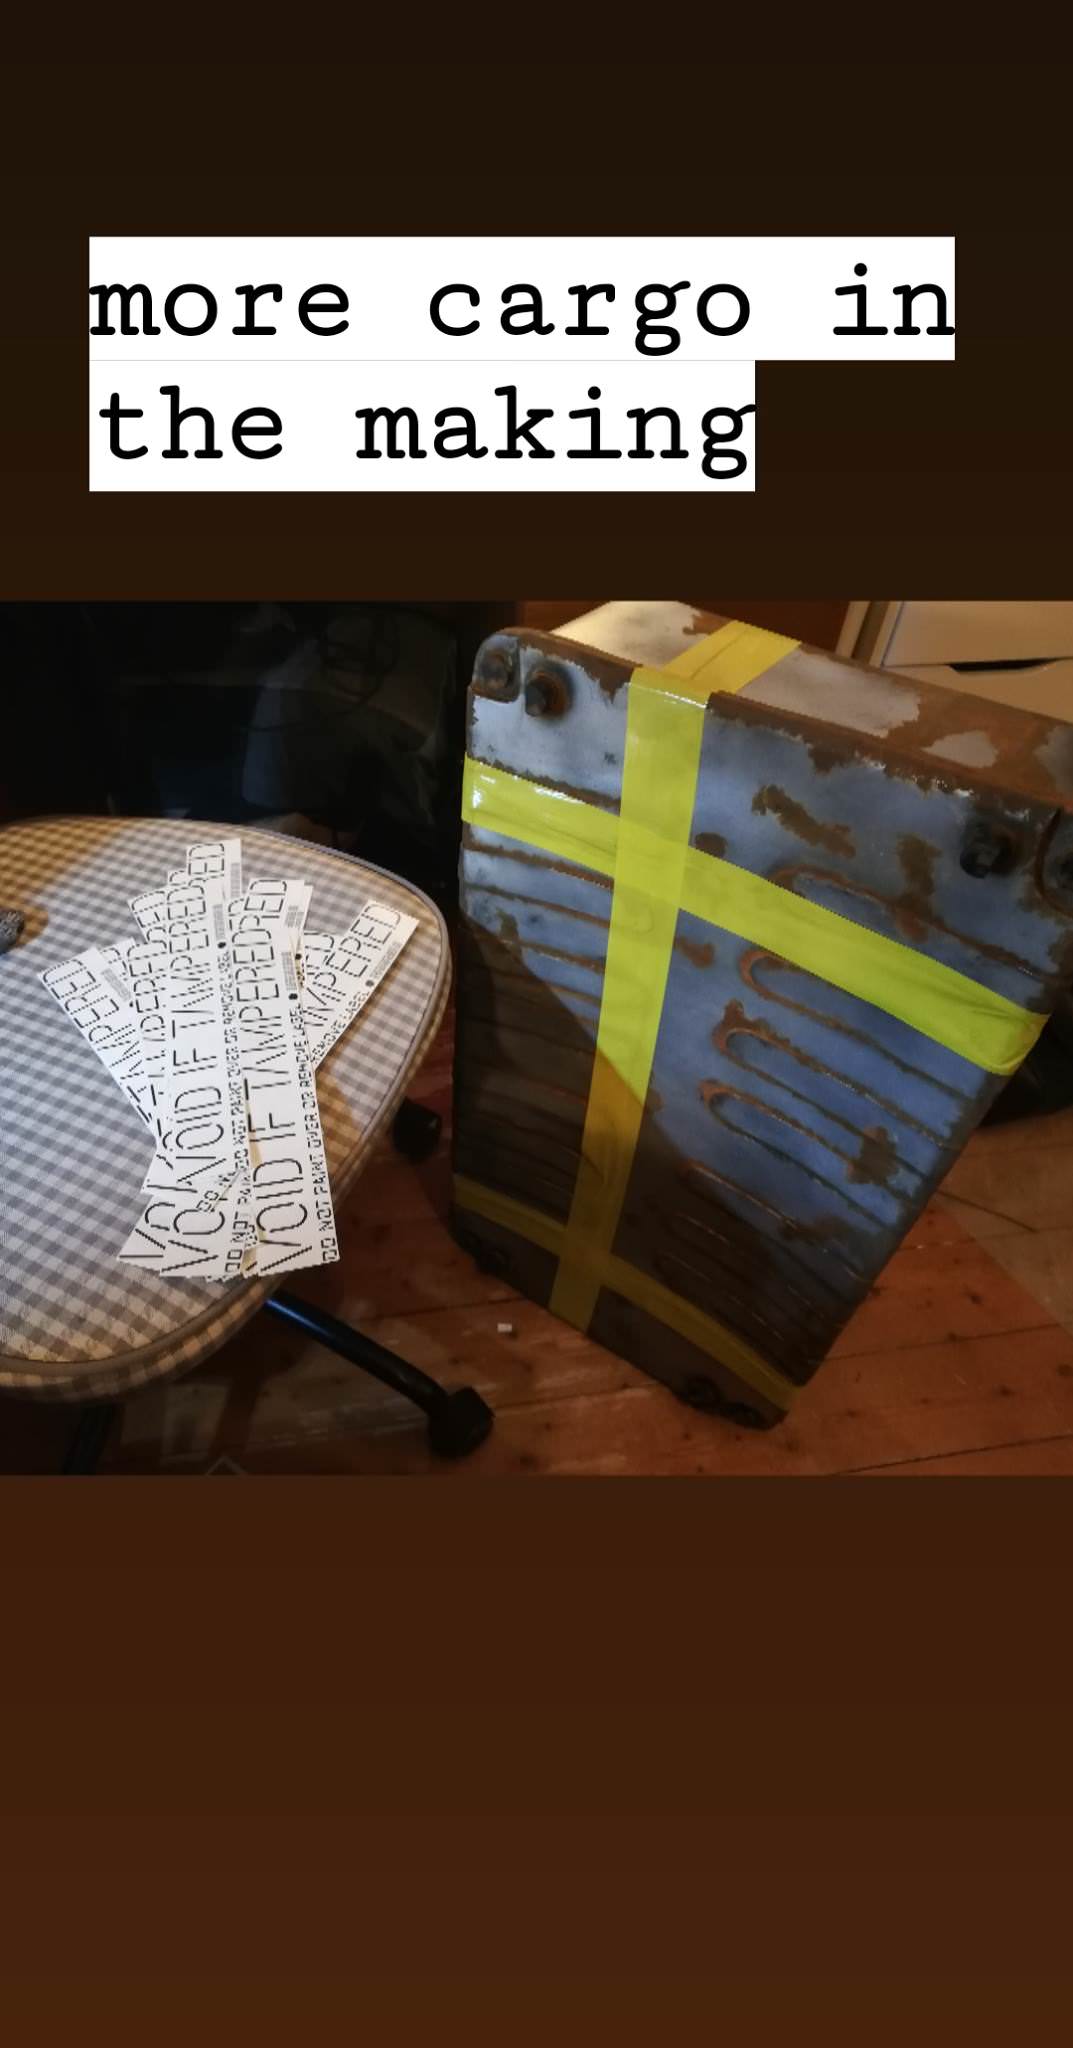
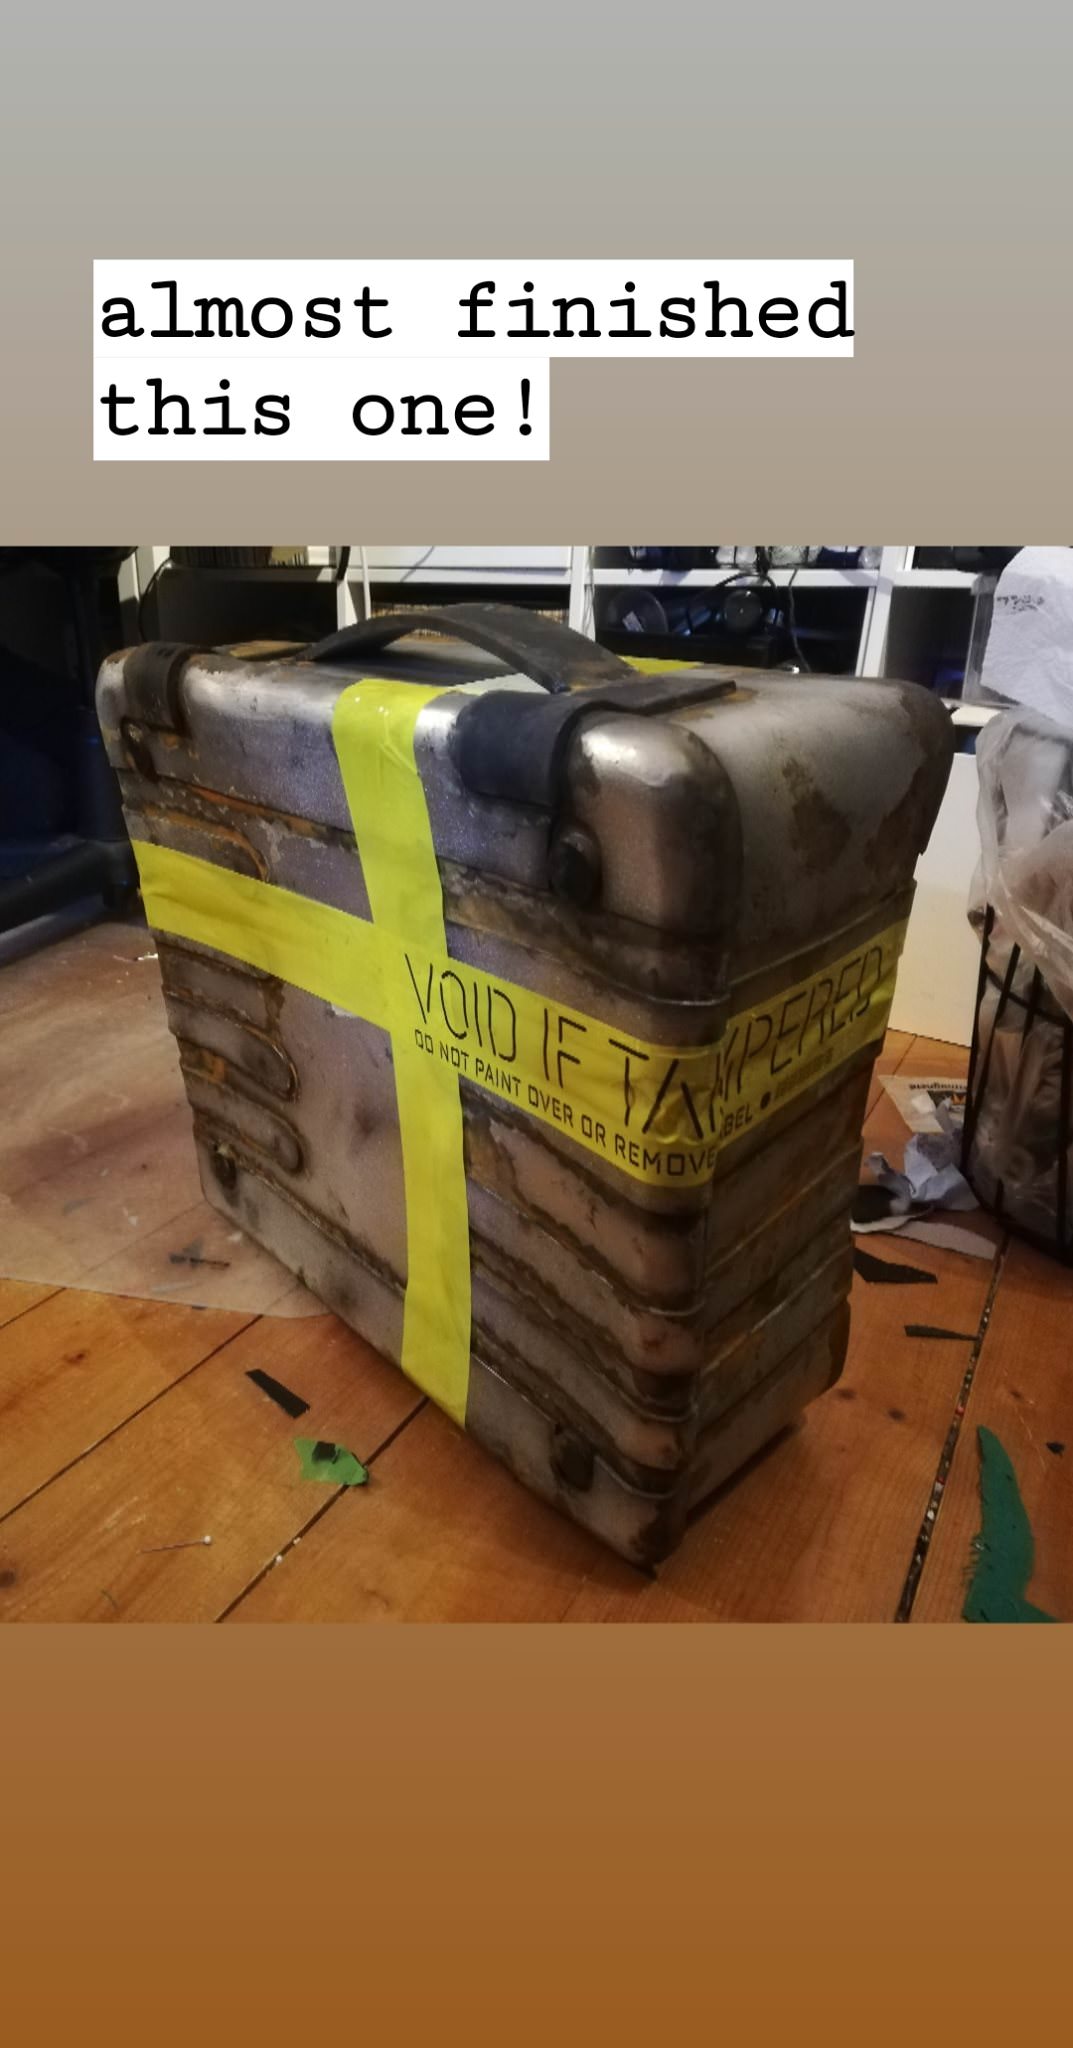
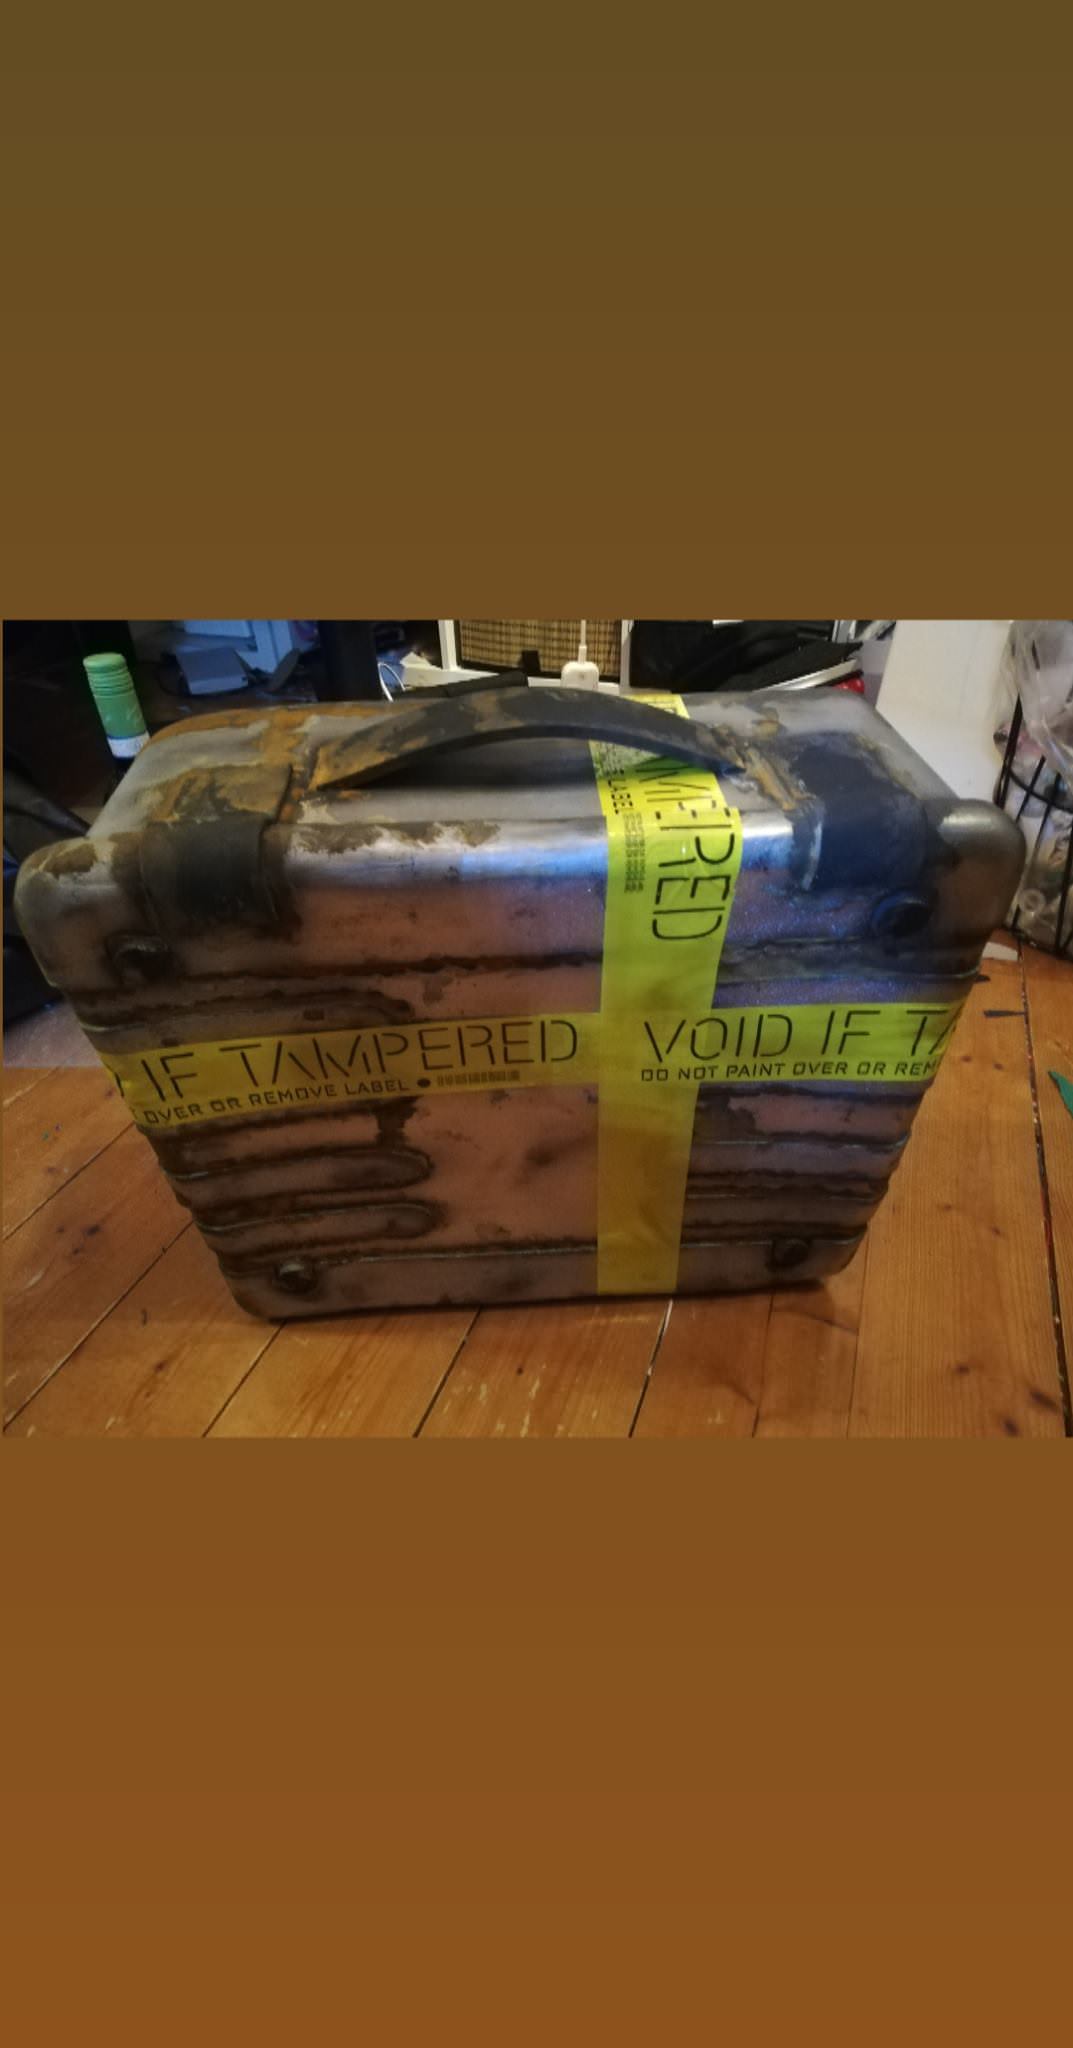
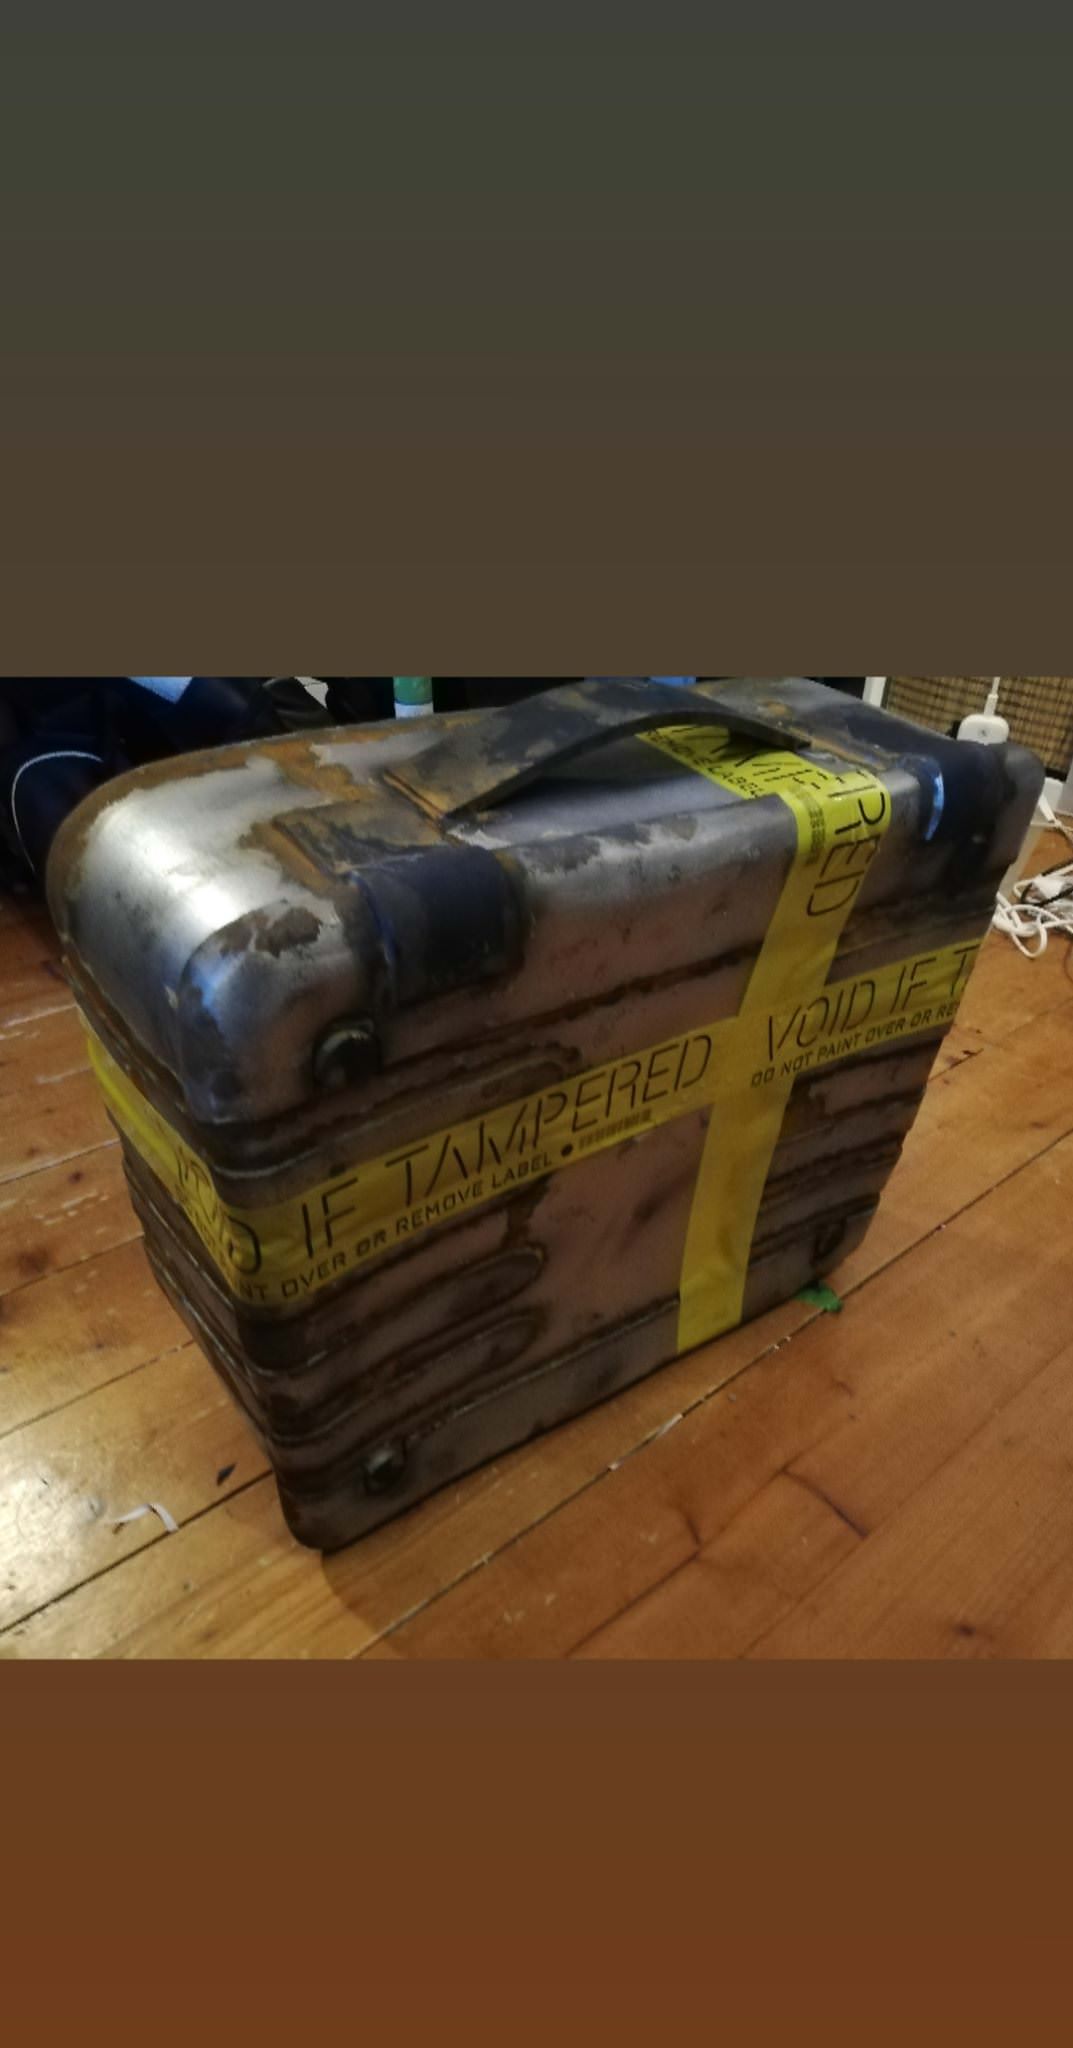
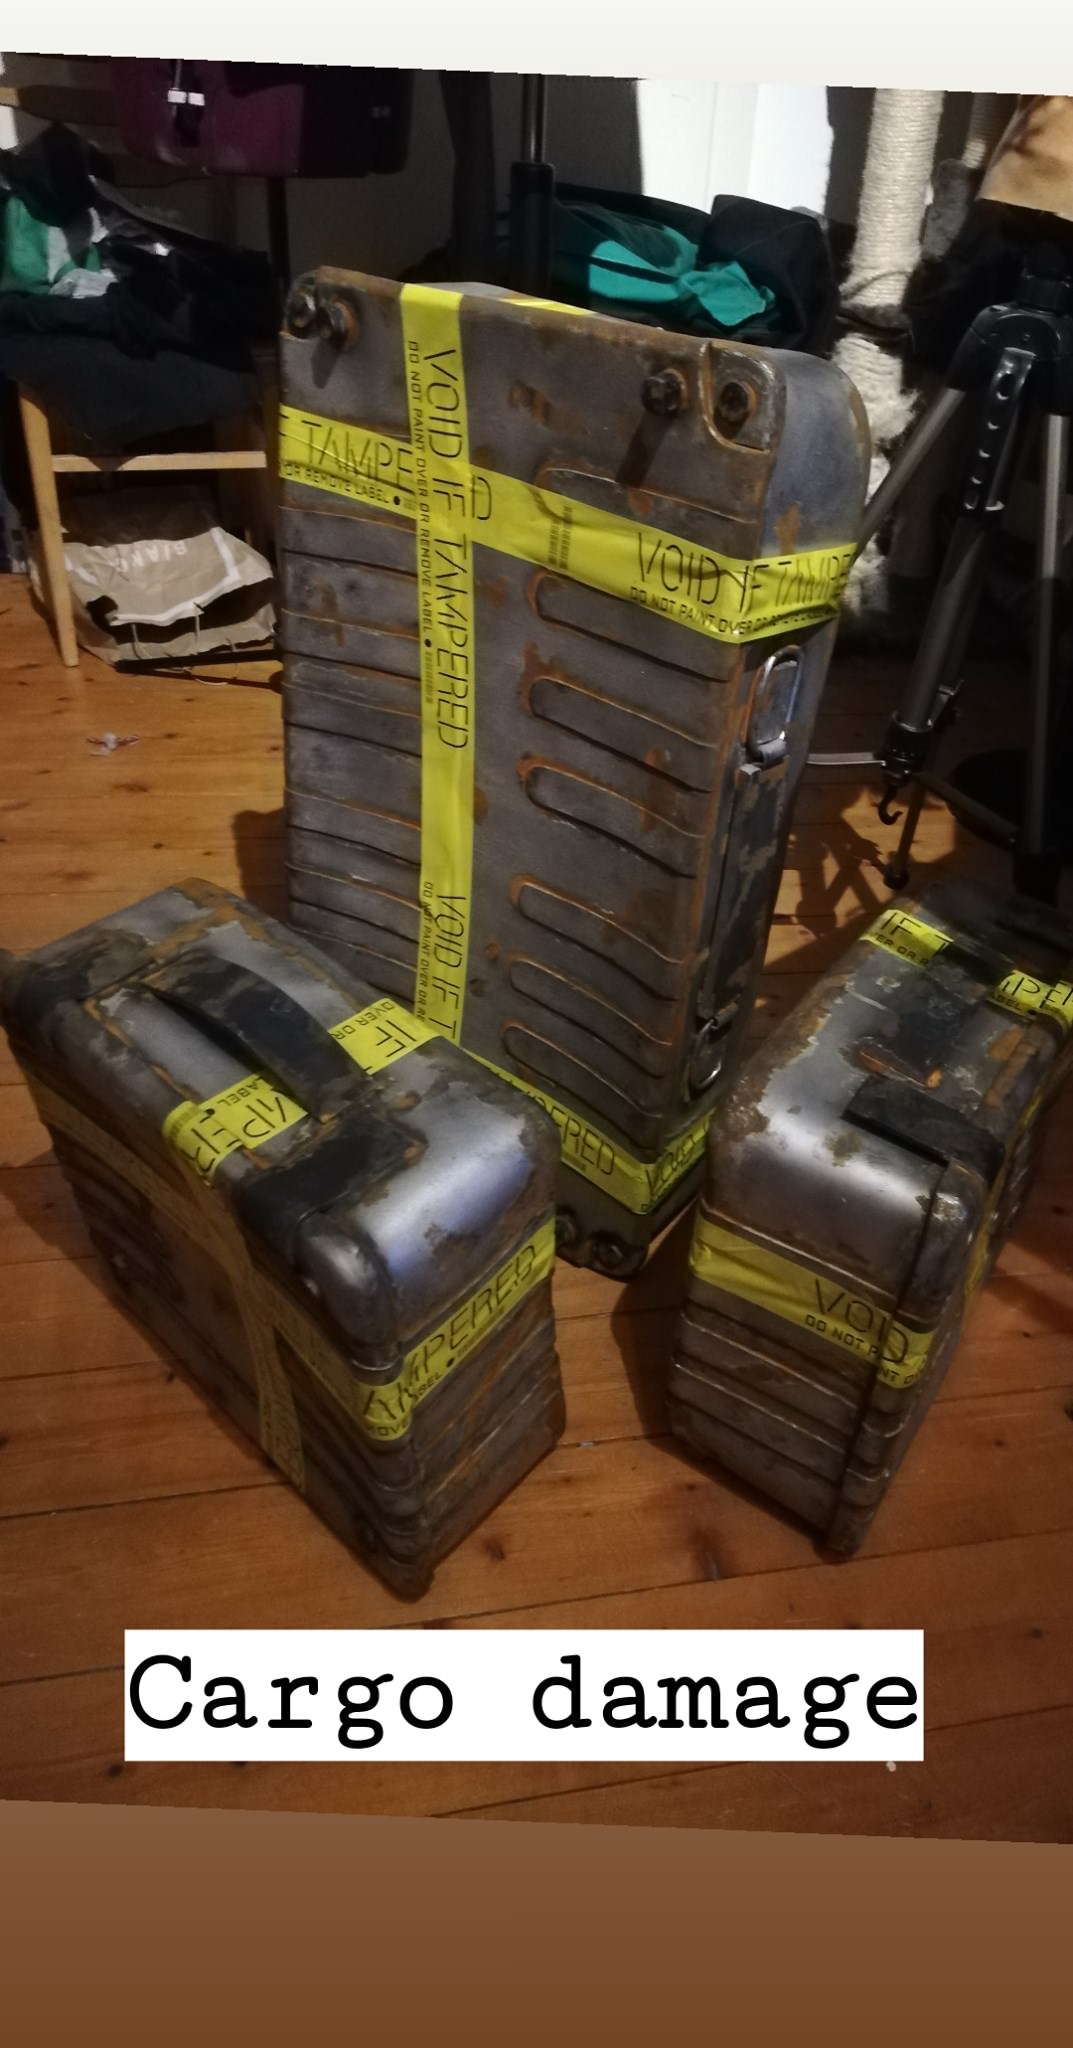
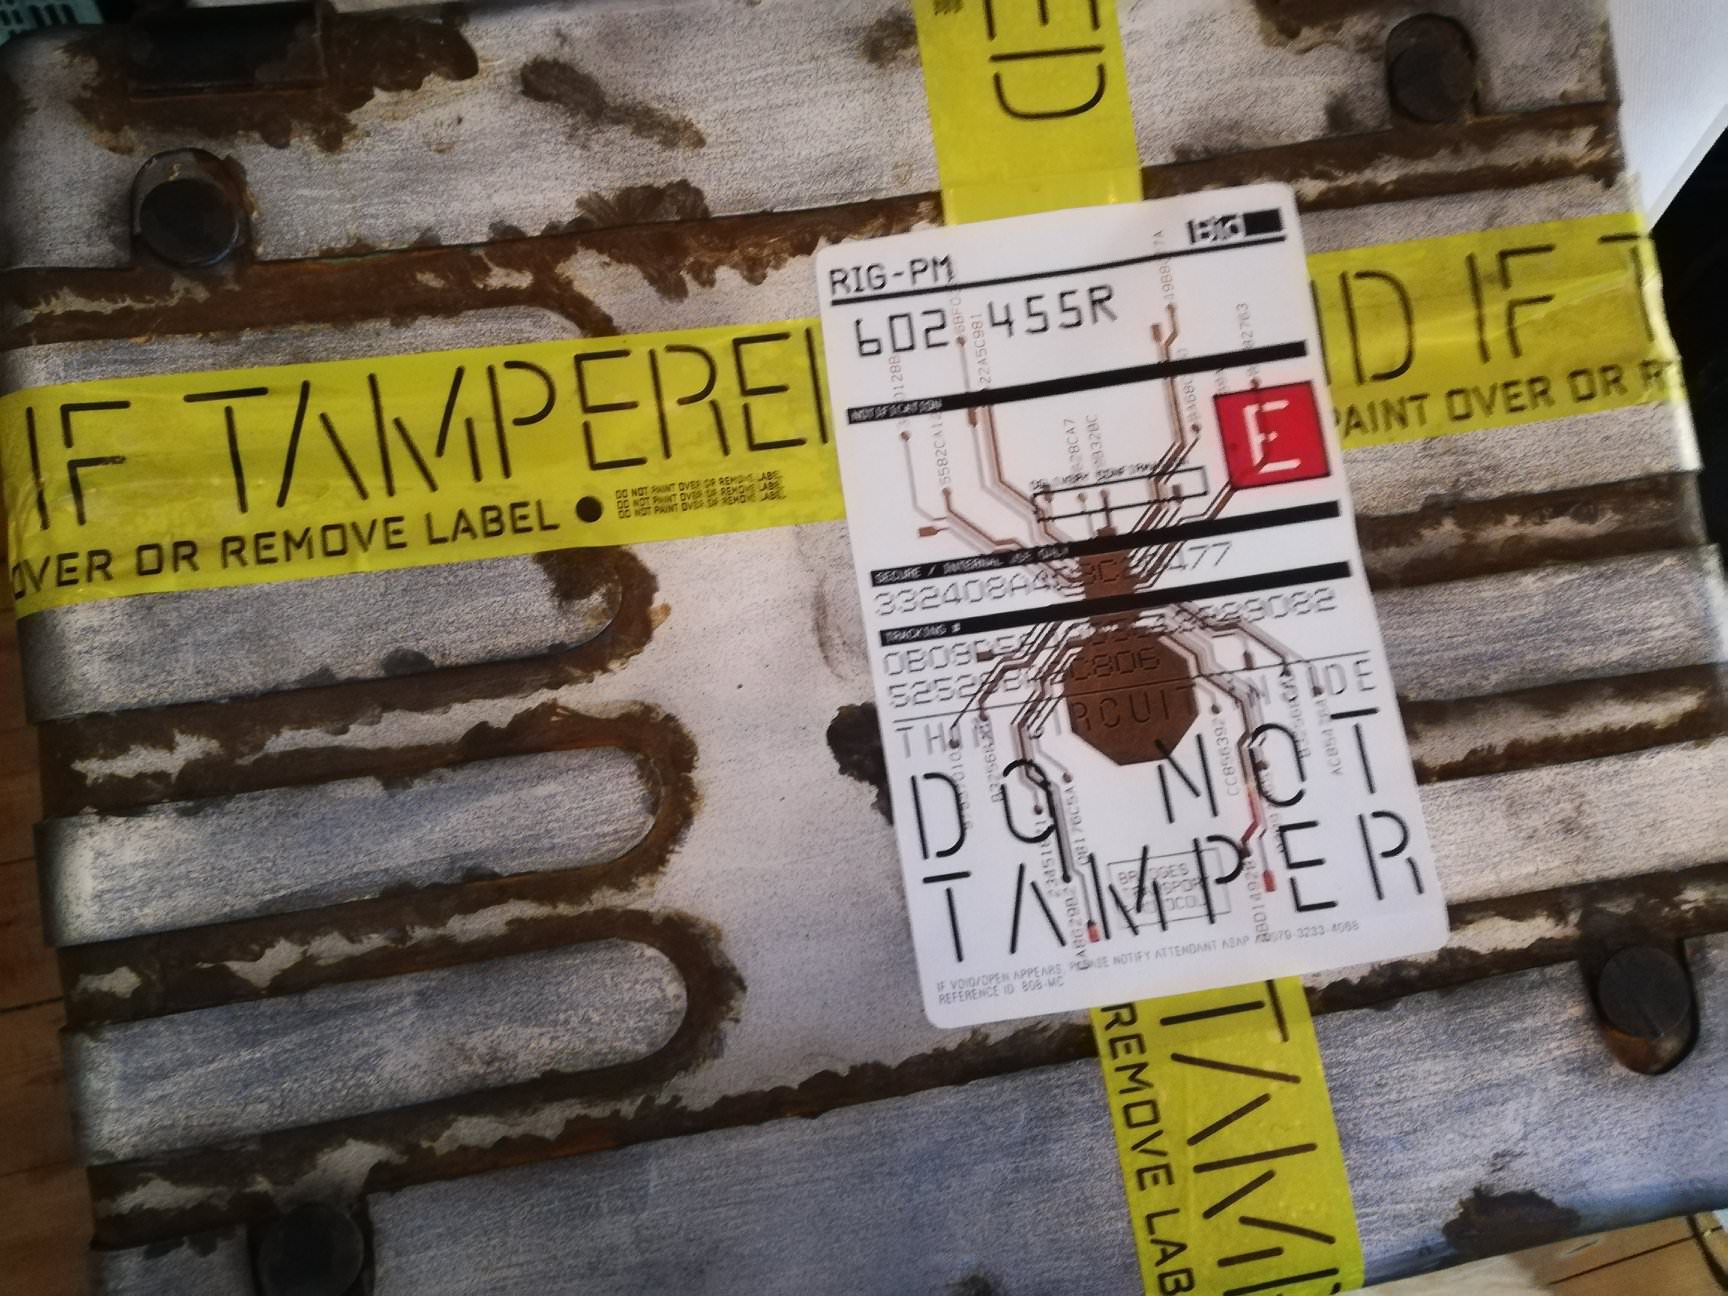
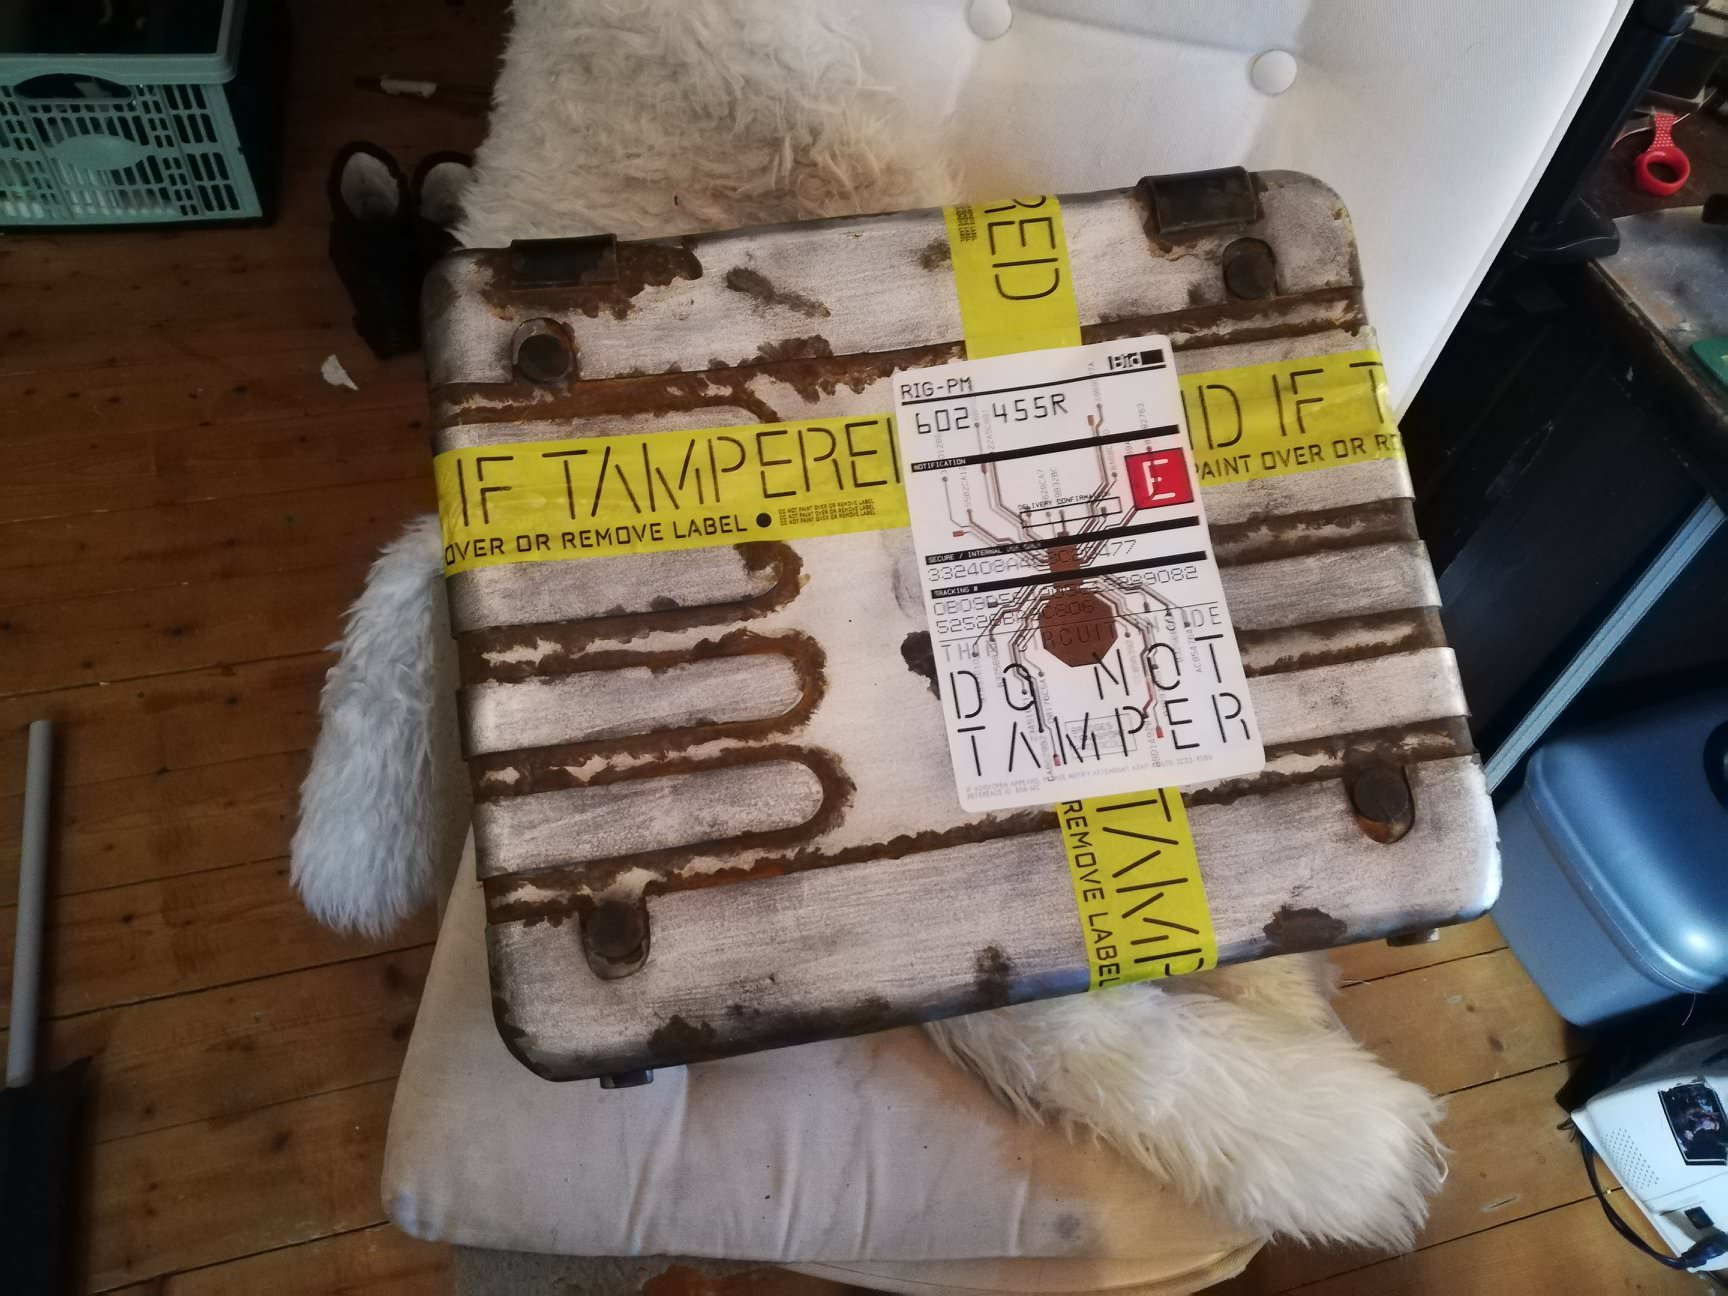
The cargo was made out of EVA foam. Since the backpack shouldn’t be too heavy in general for us to still wear it and kind of enjoy it at a convention, we decided that the cargo needed to be super lightweight. With foam, this was achievable. We had to sand the foam a lot though, paint it and then decided to go with a heavy weathering aka a cargo damage of 67%. The look was made using acrylic airbrush colors, oil paints and actual rust(paint). The tape we used is just simple yellow package tape and then we covered it with waterslide decals to get the lettering done. Later we weathered the entire backpack with airbrush acrylics.


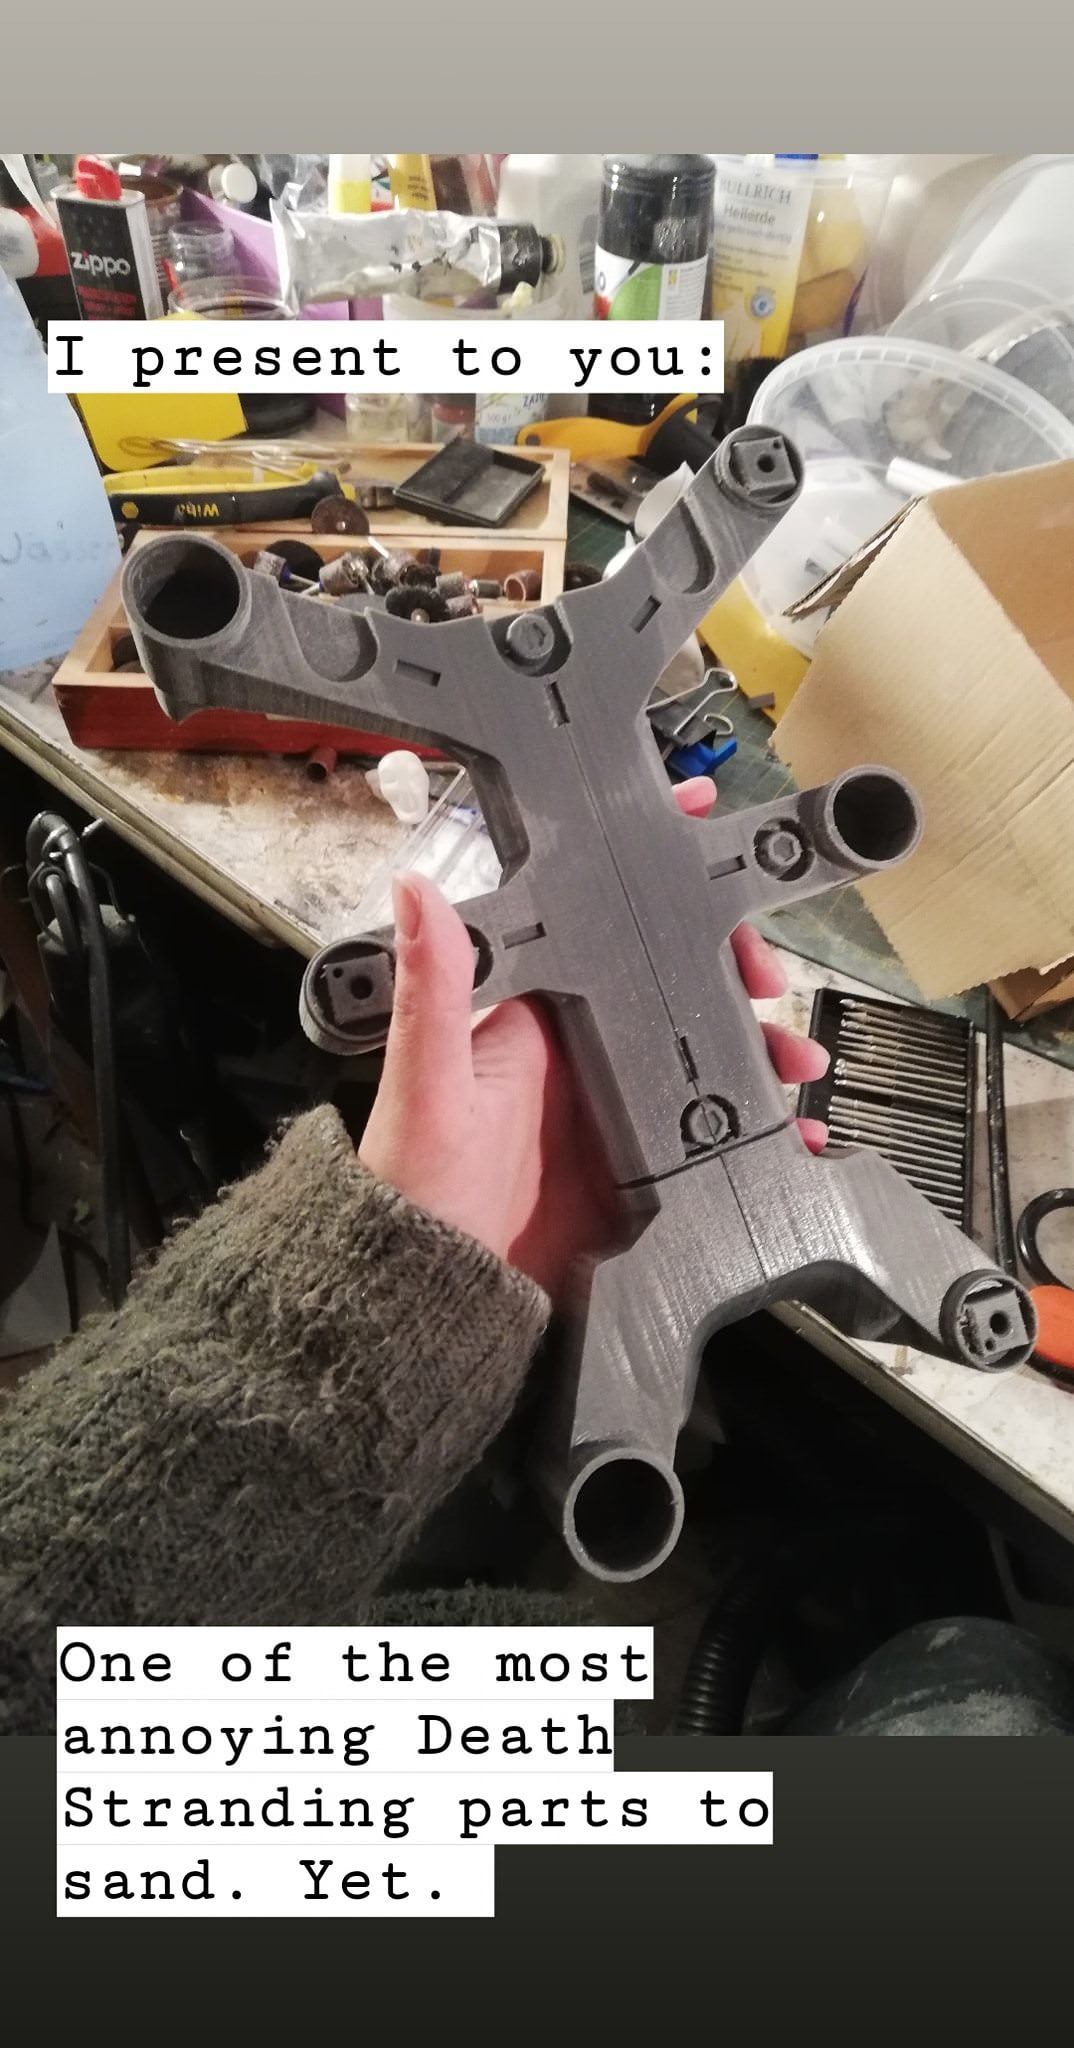
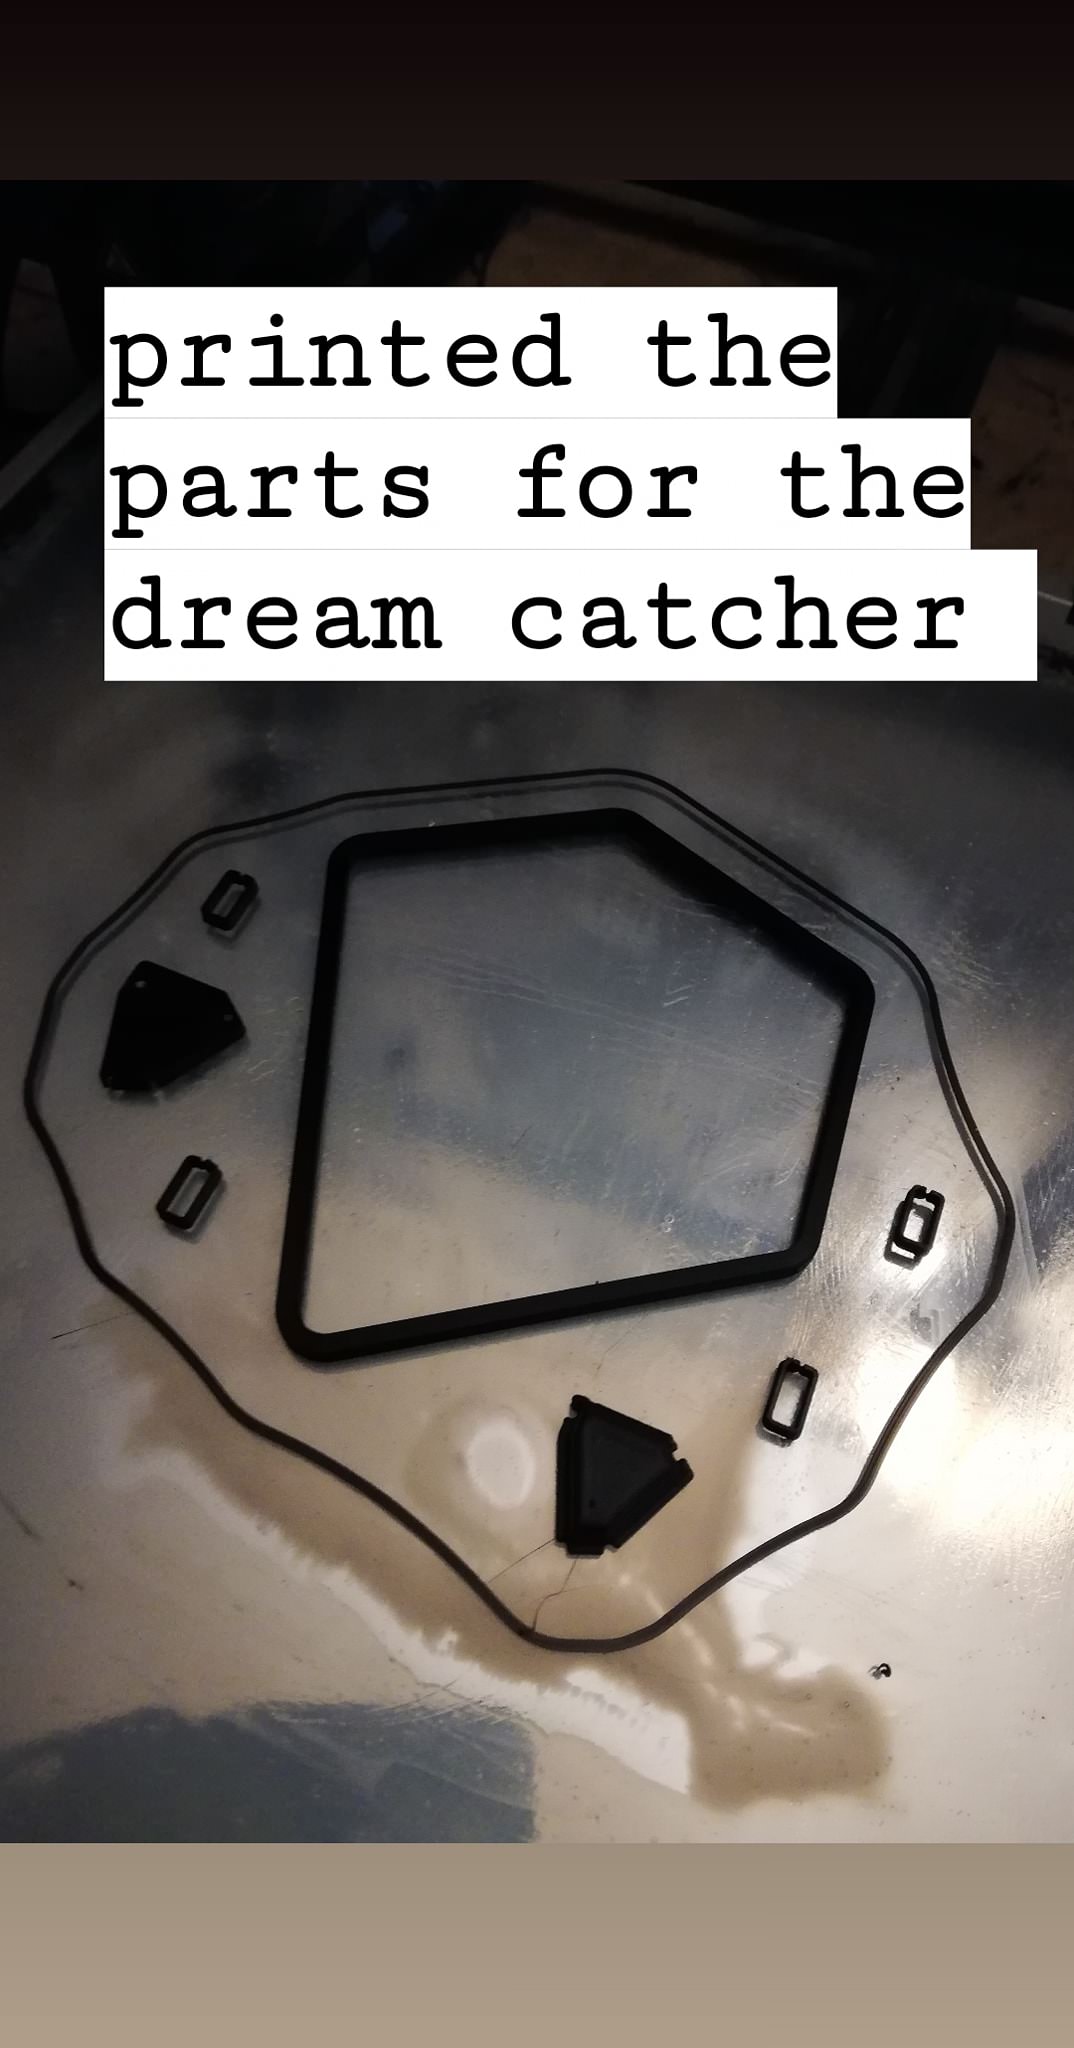
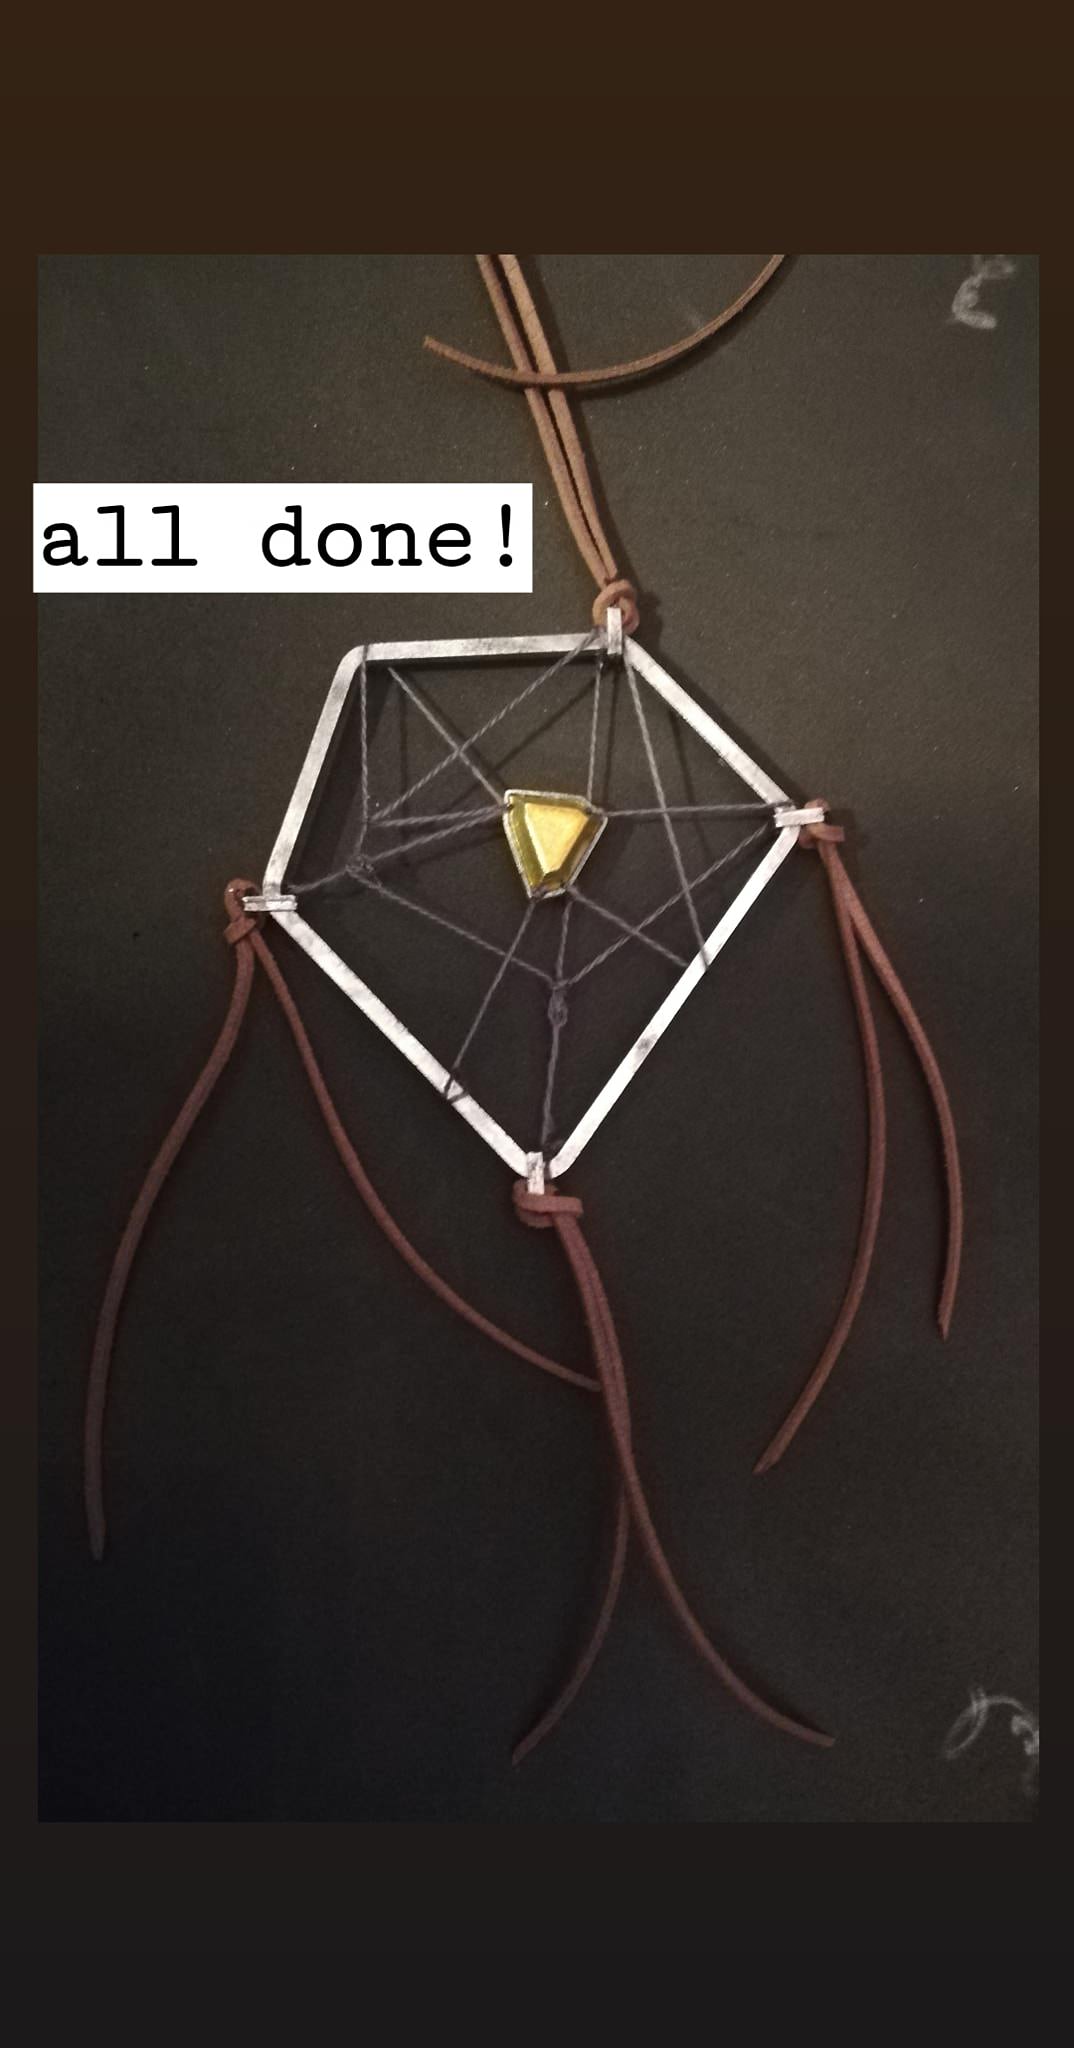
Odradek

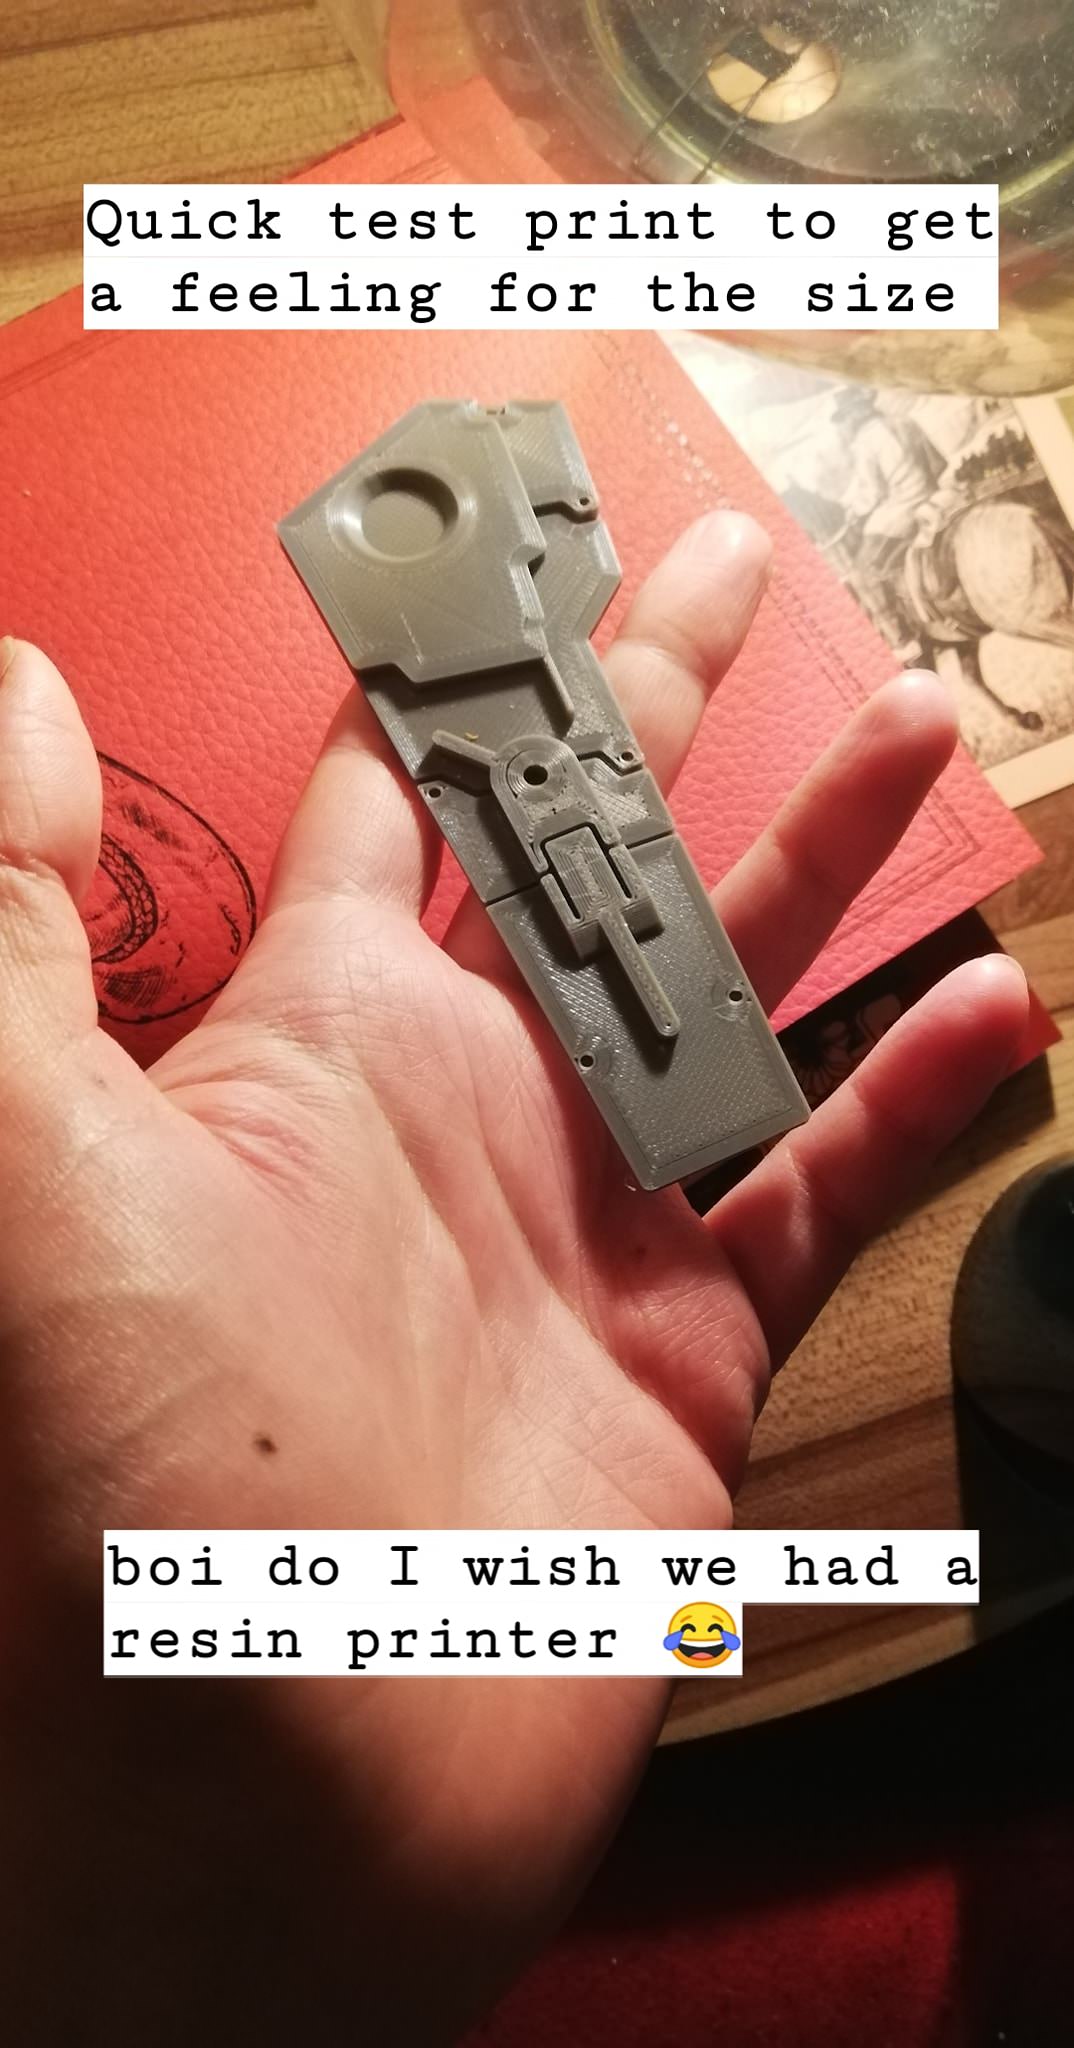

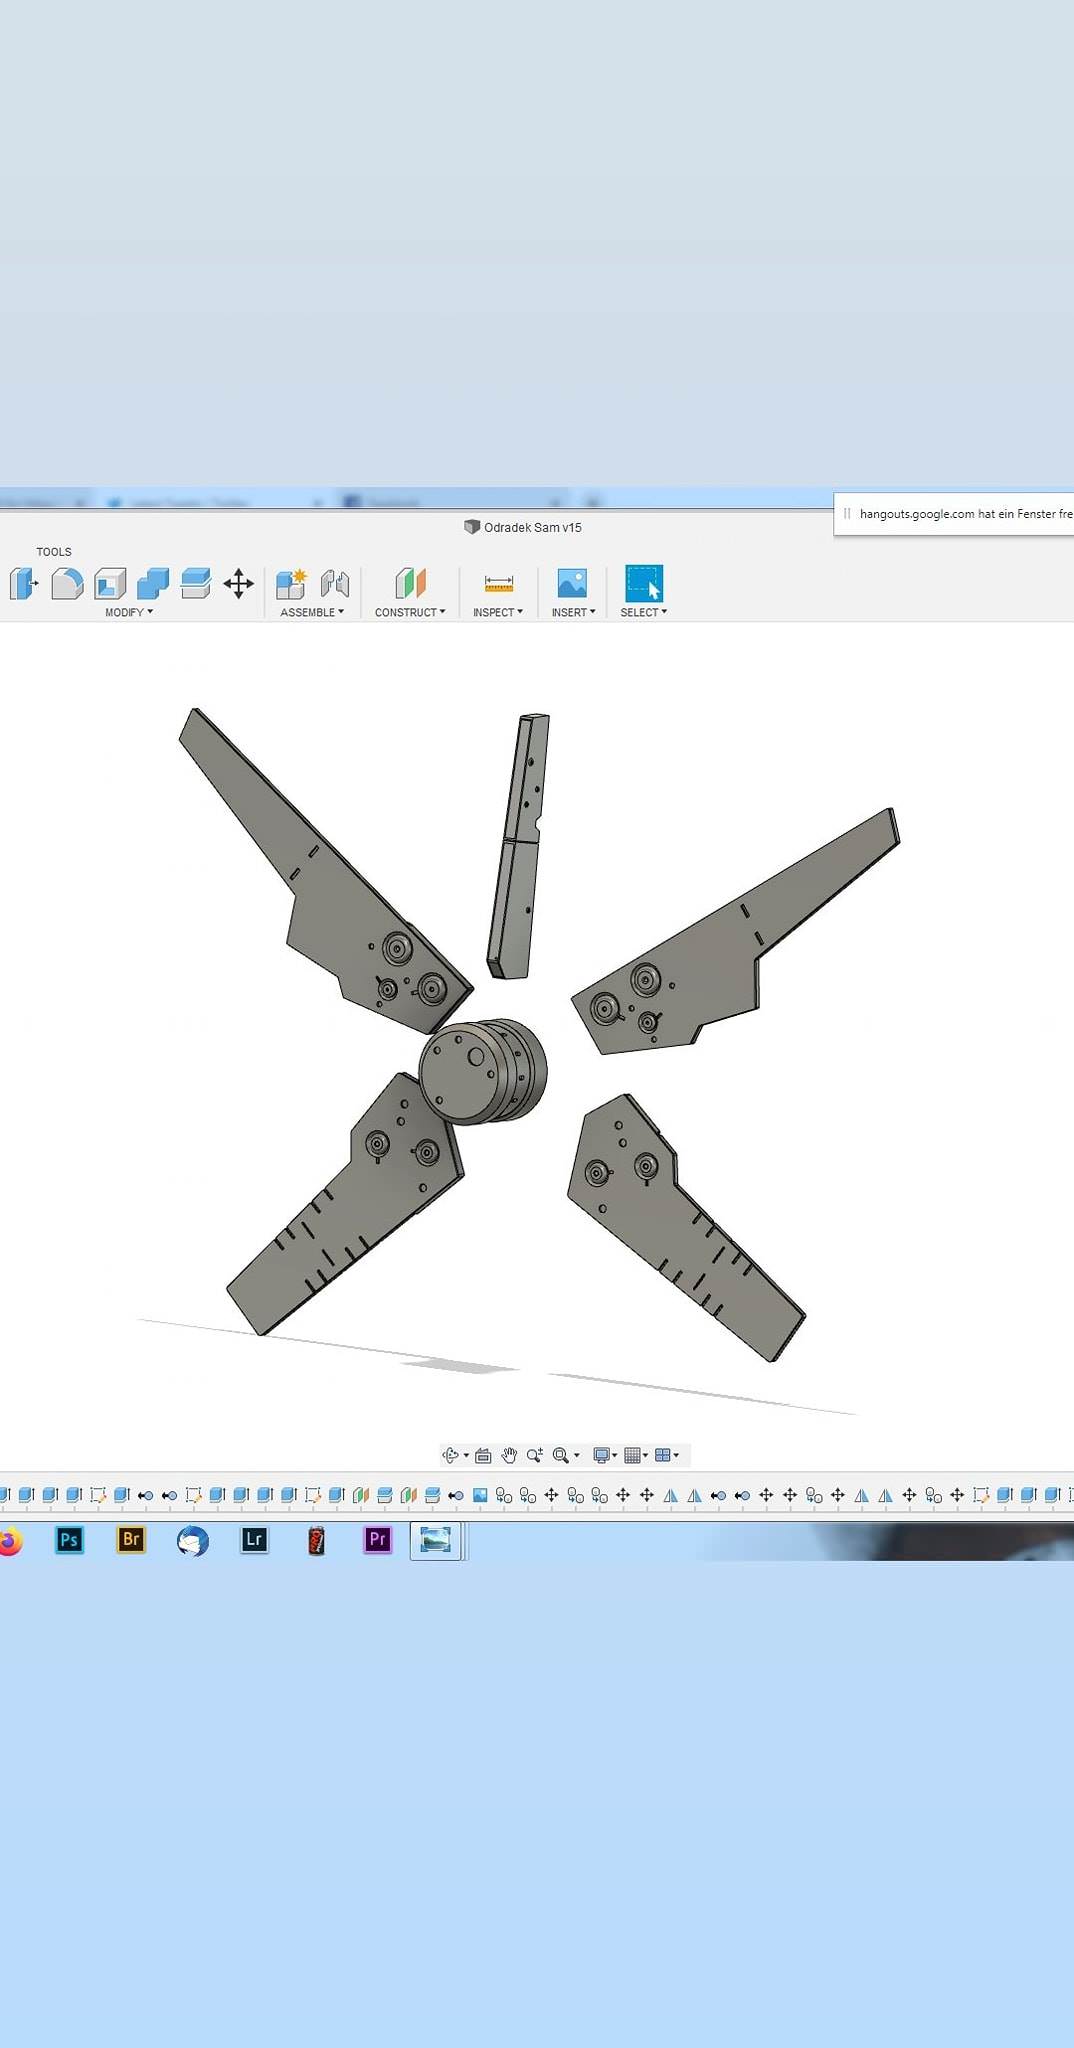

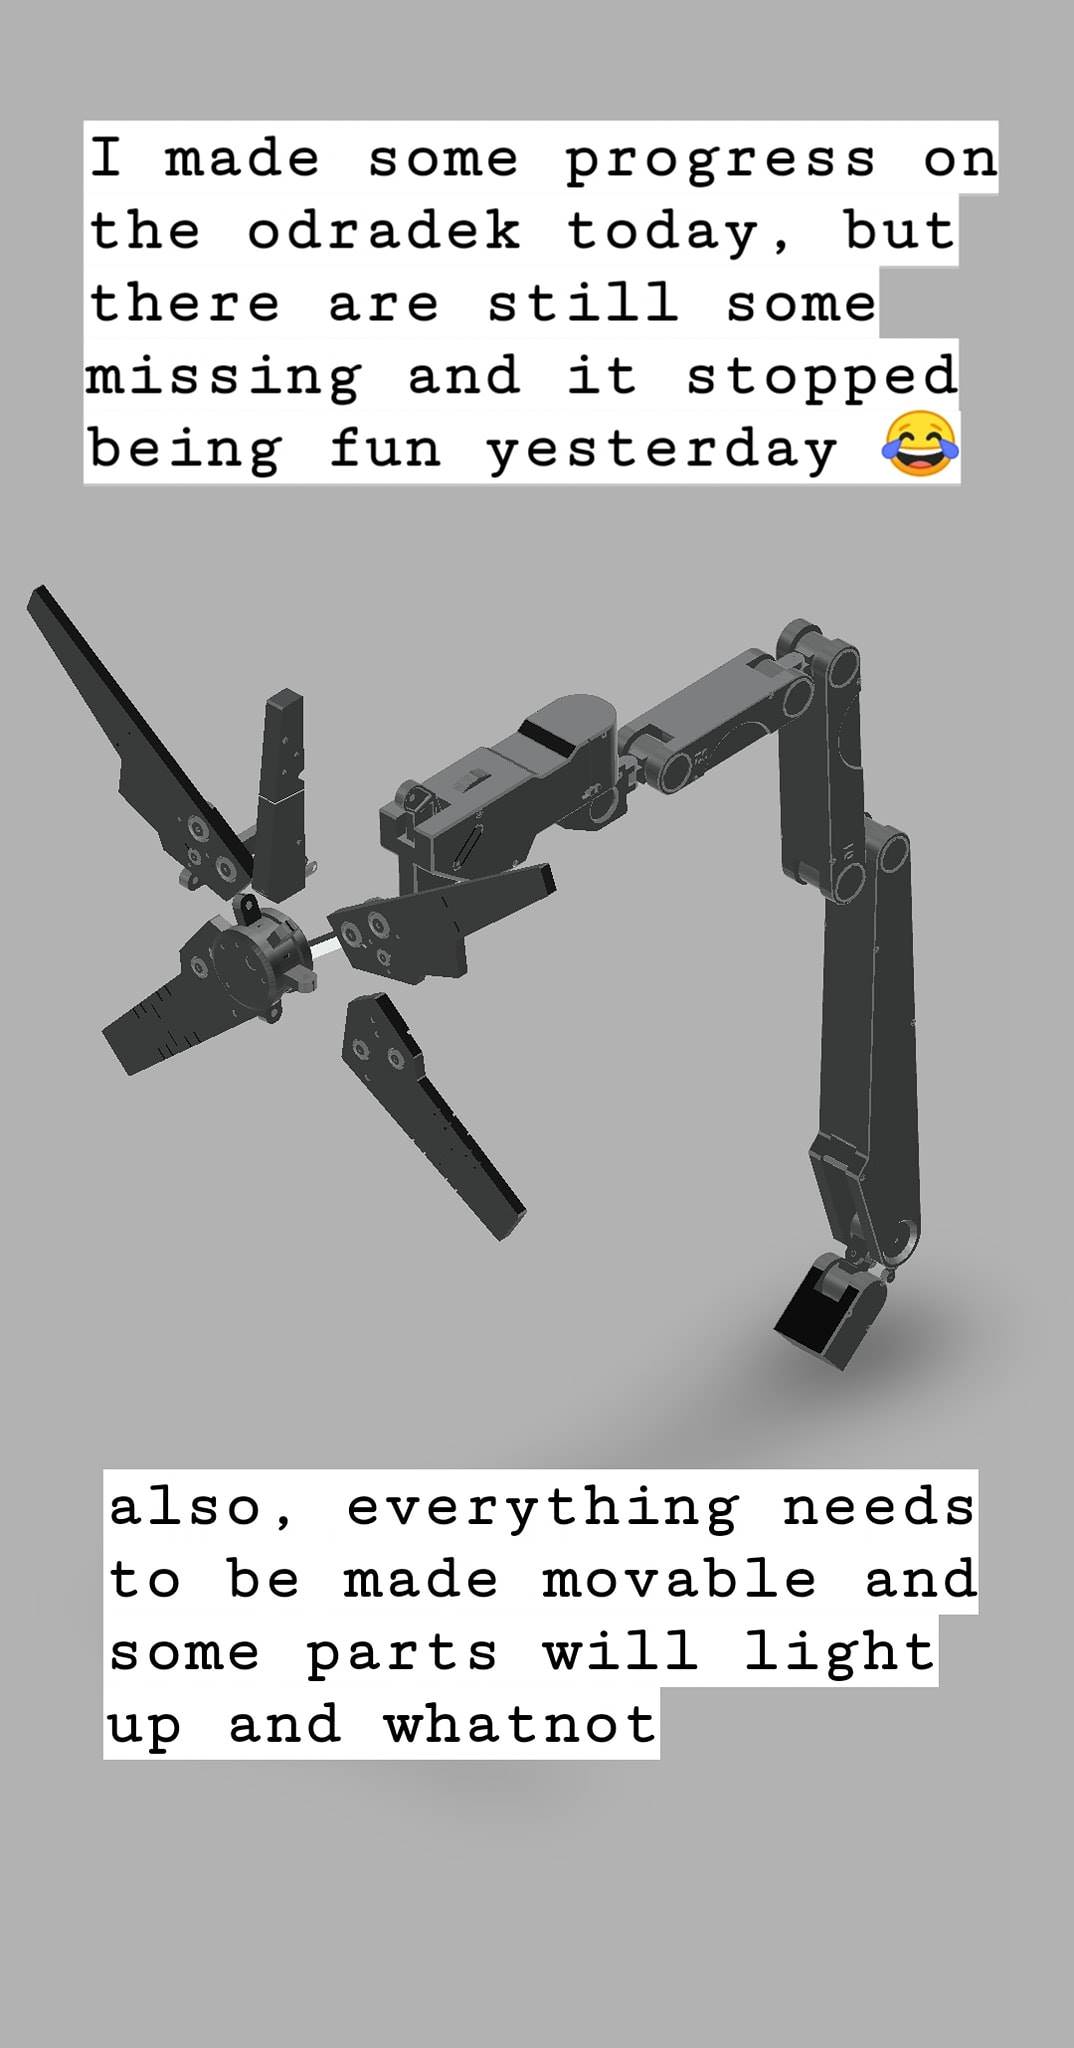

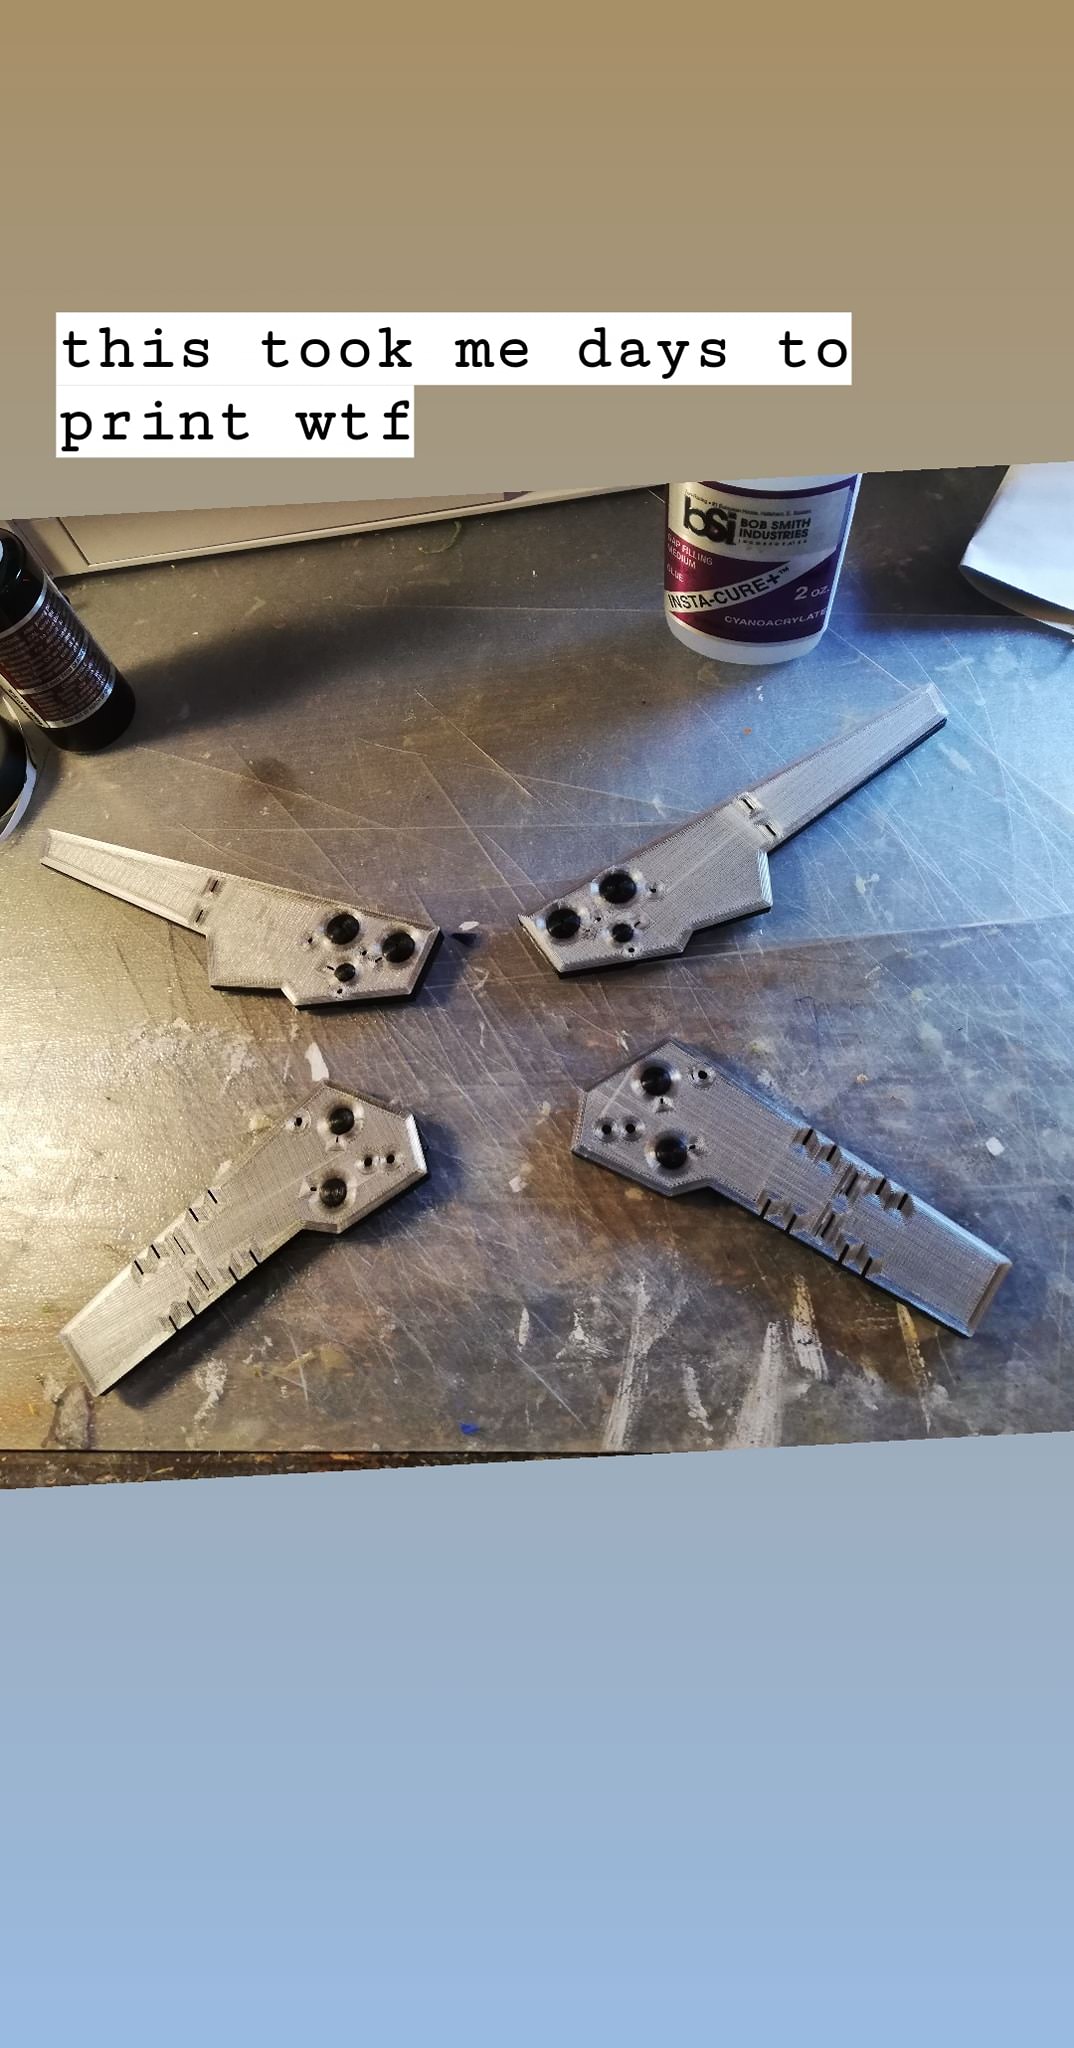
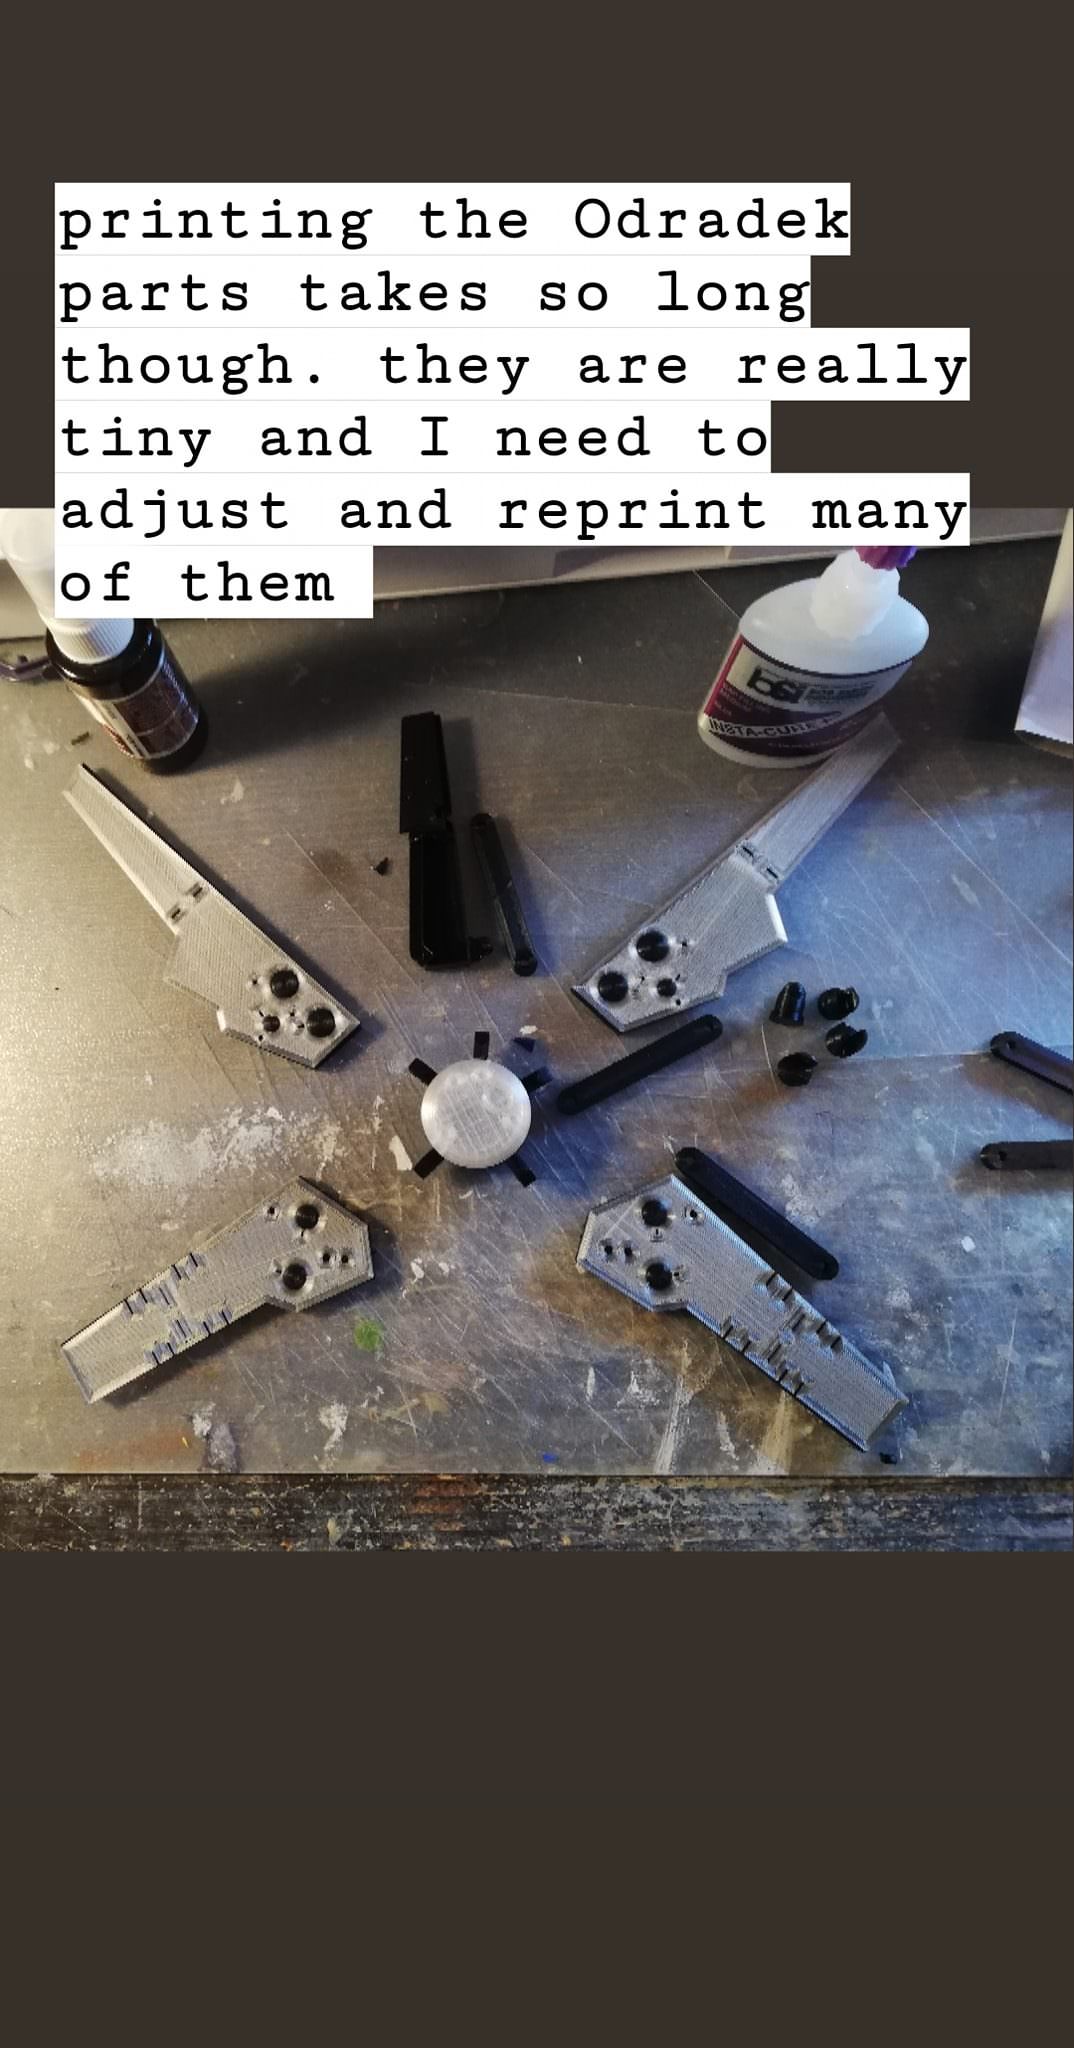


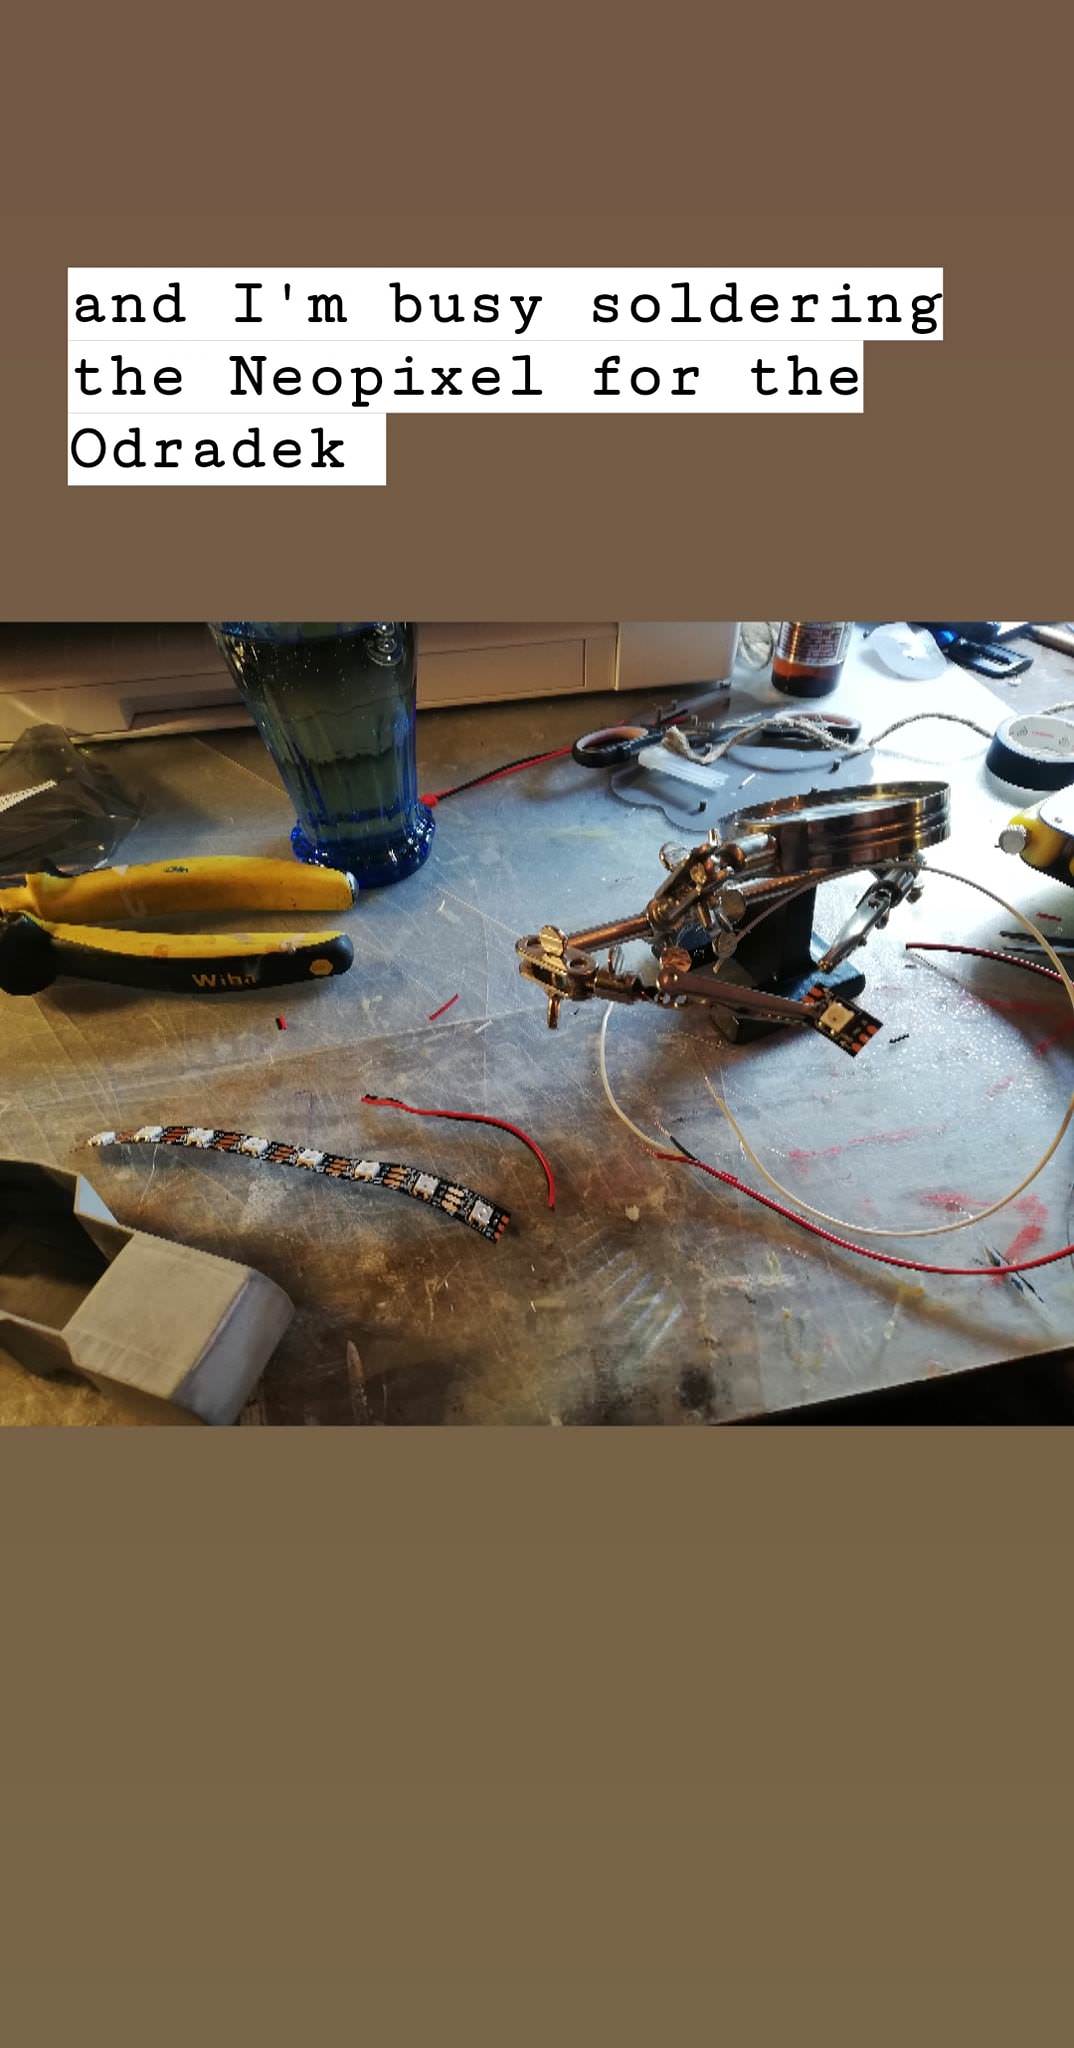
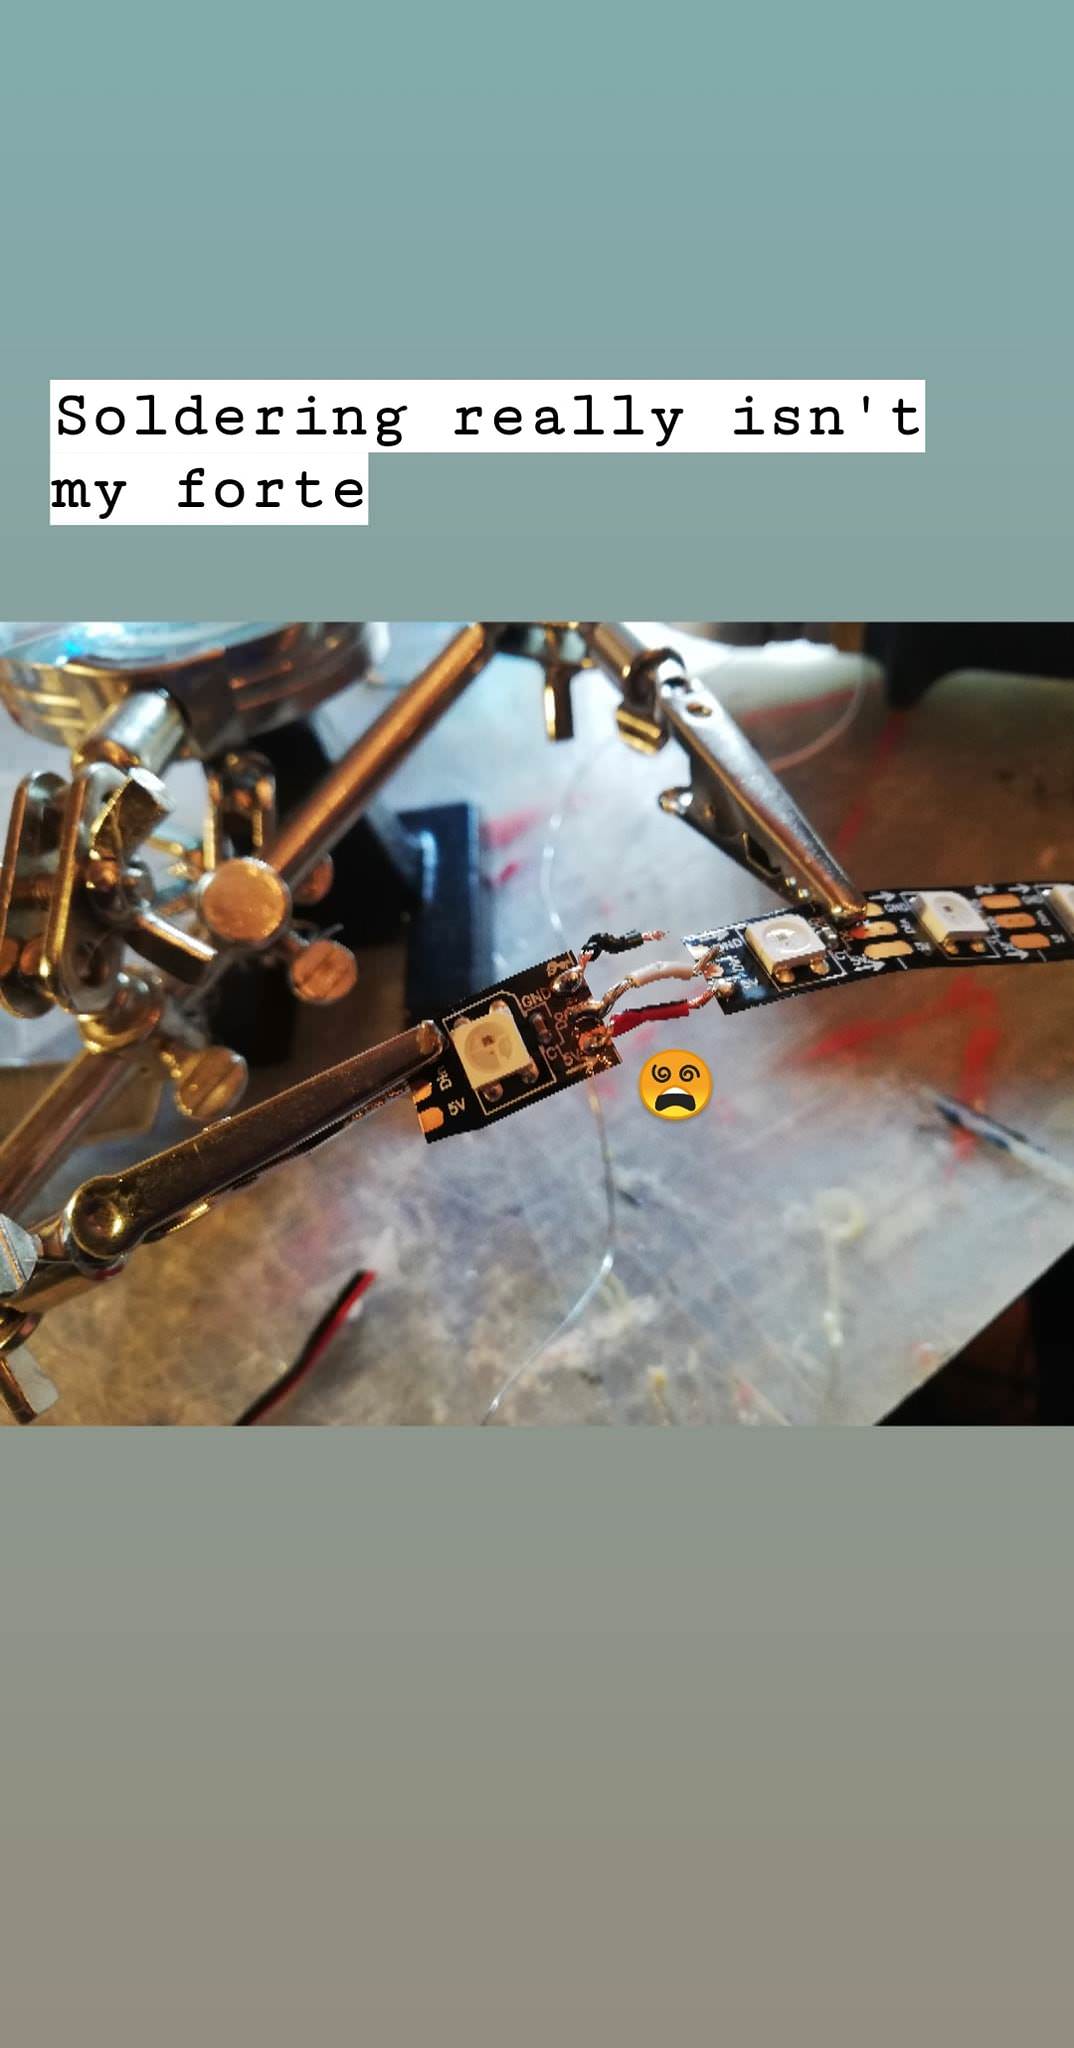
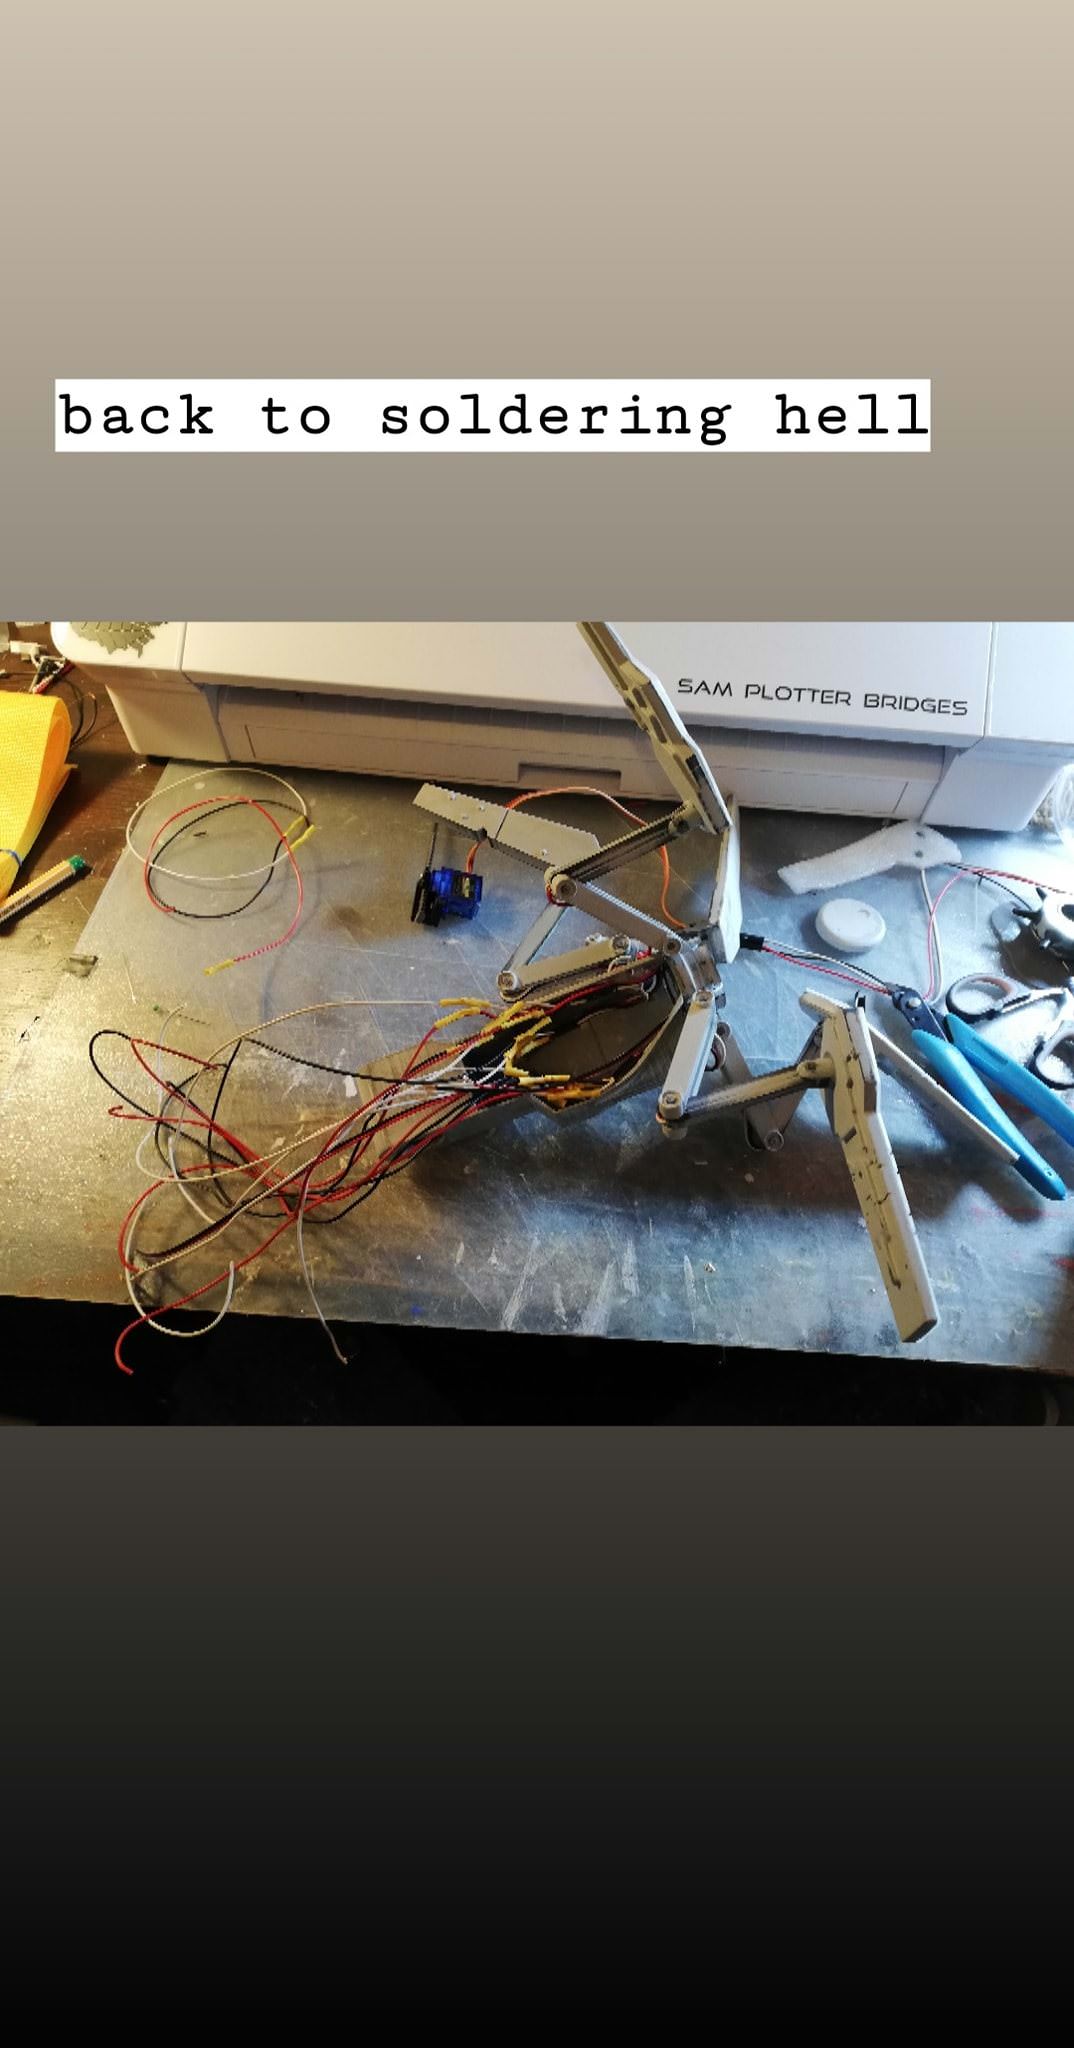
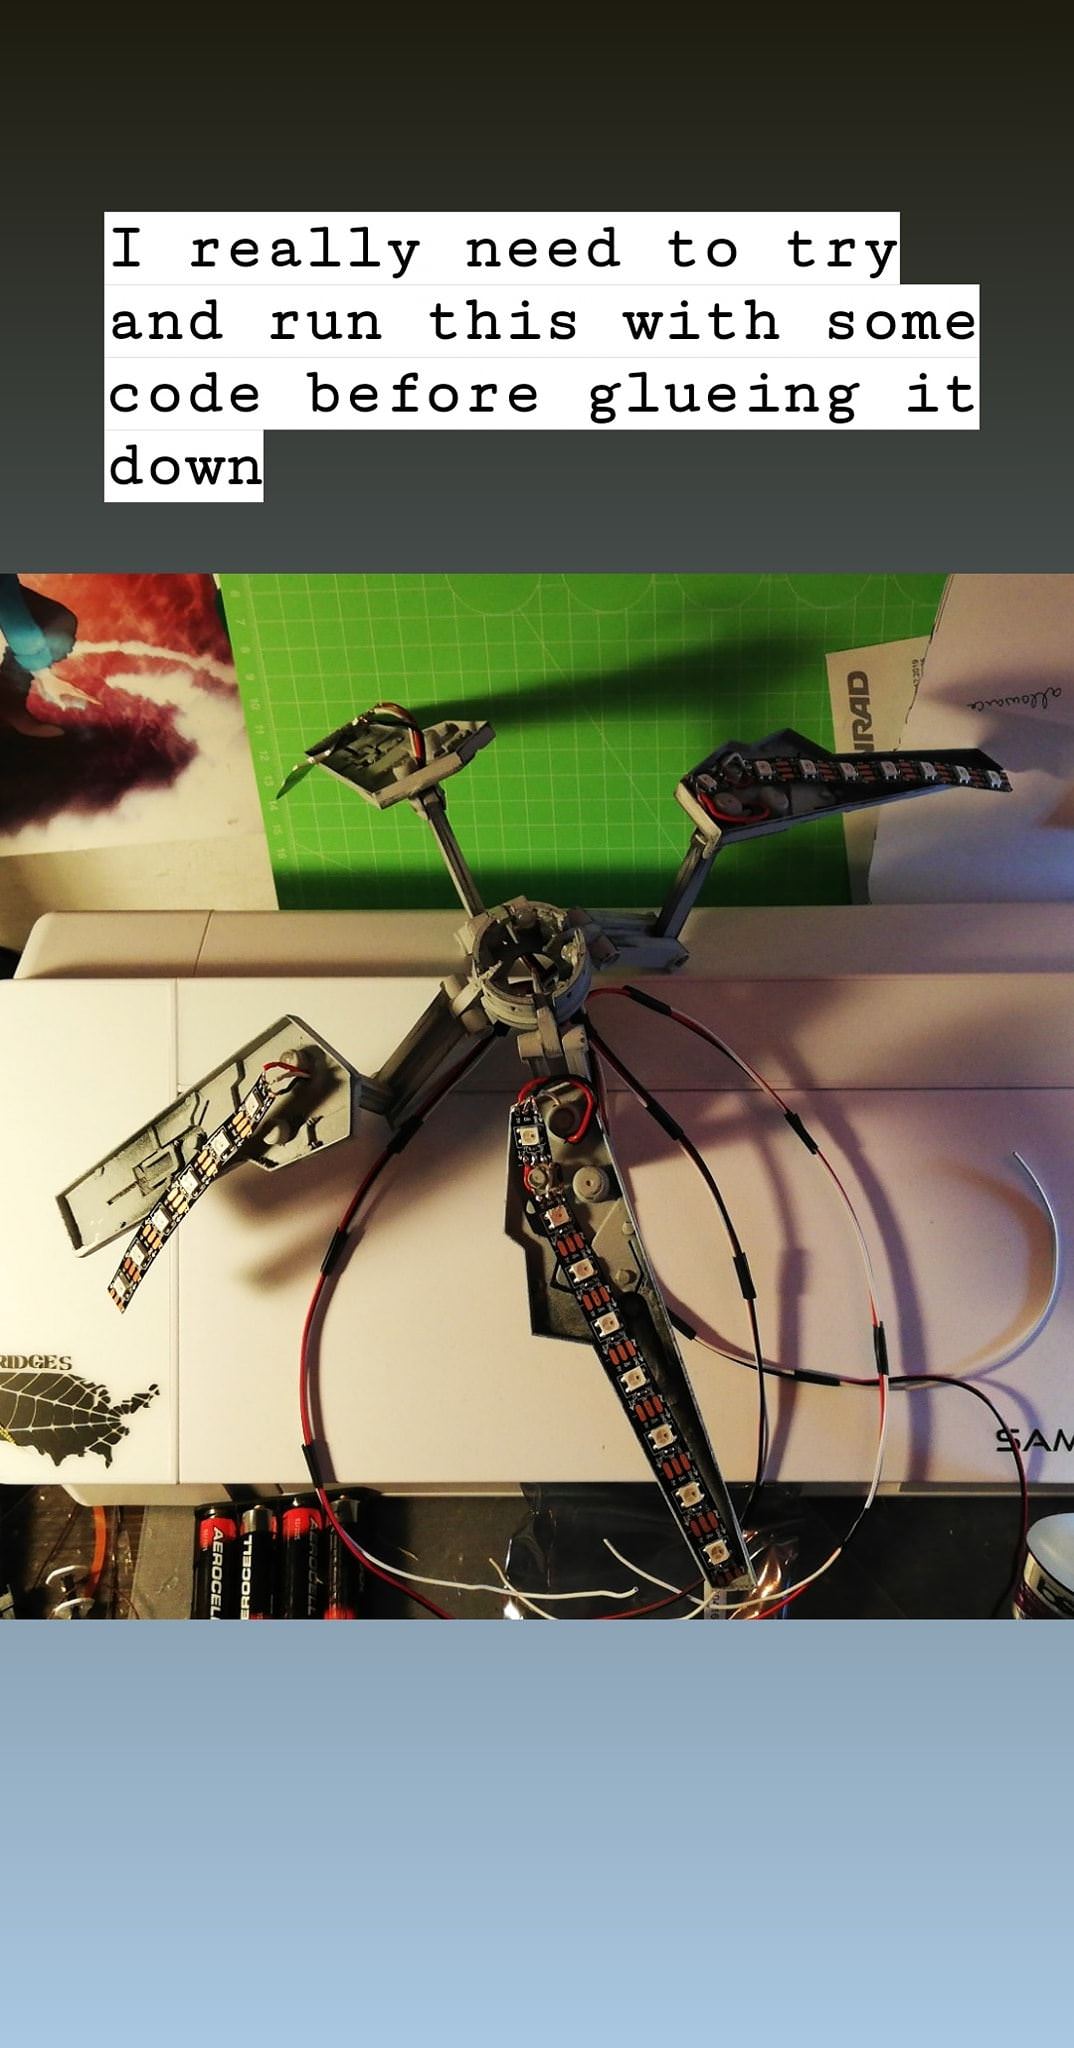
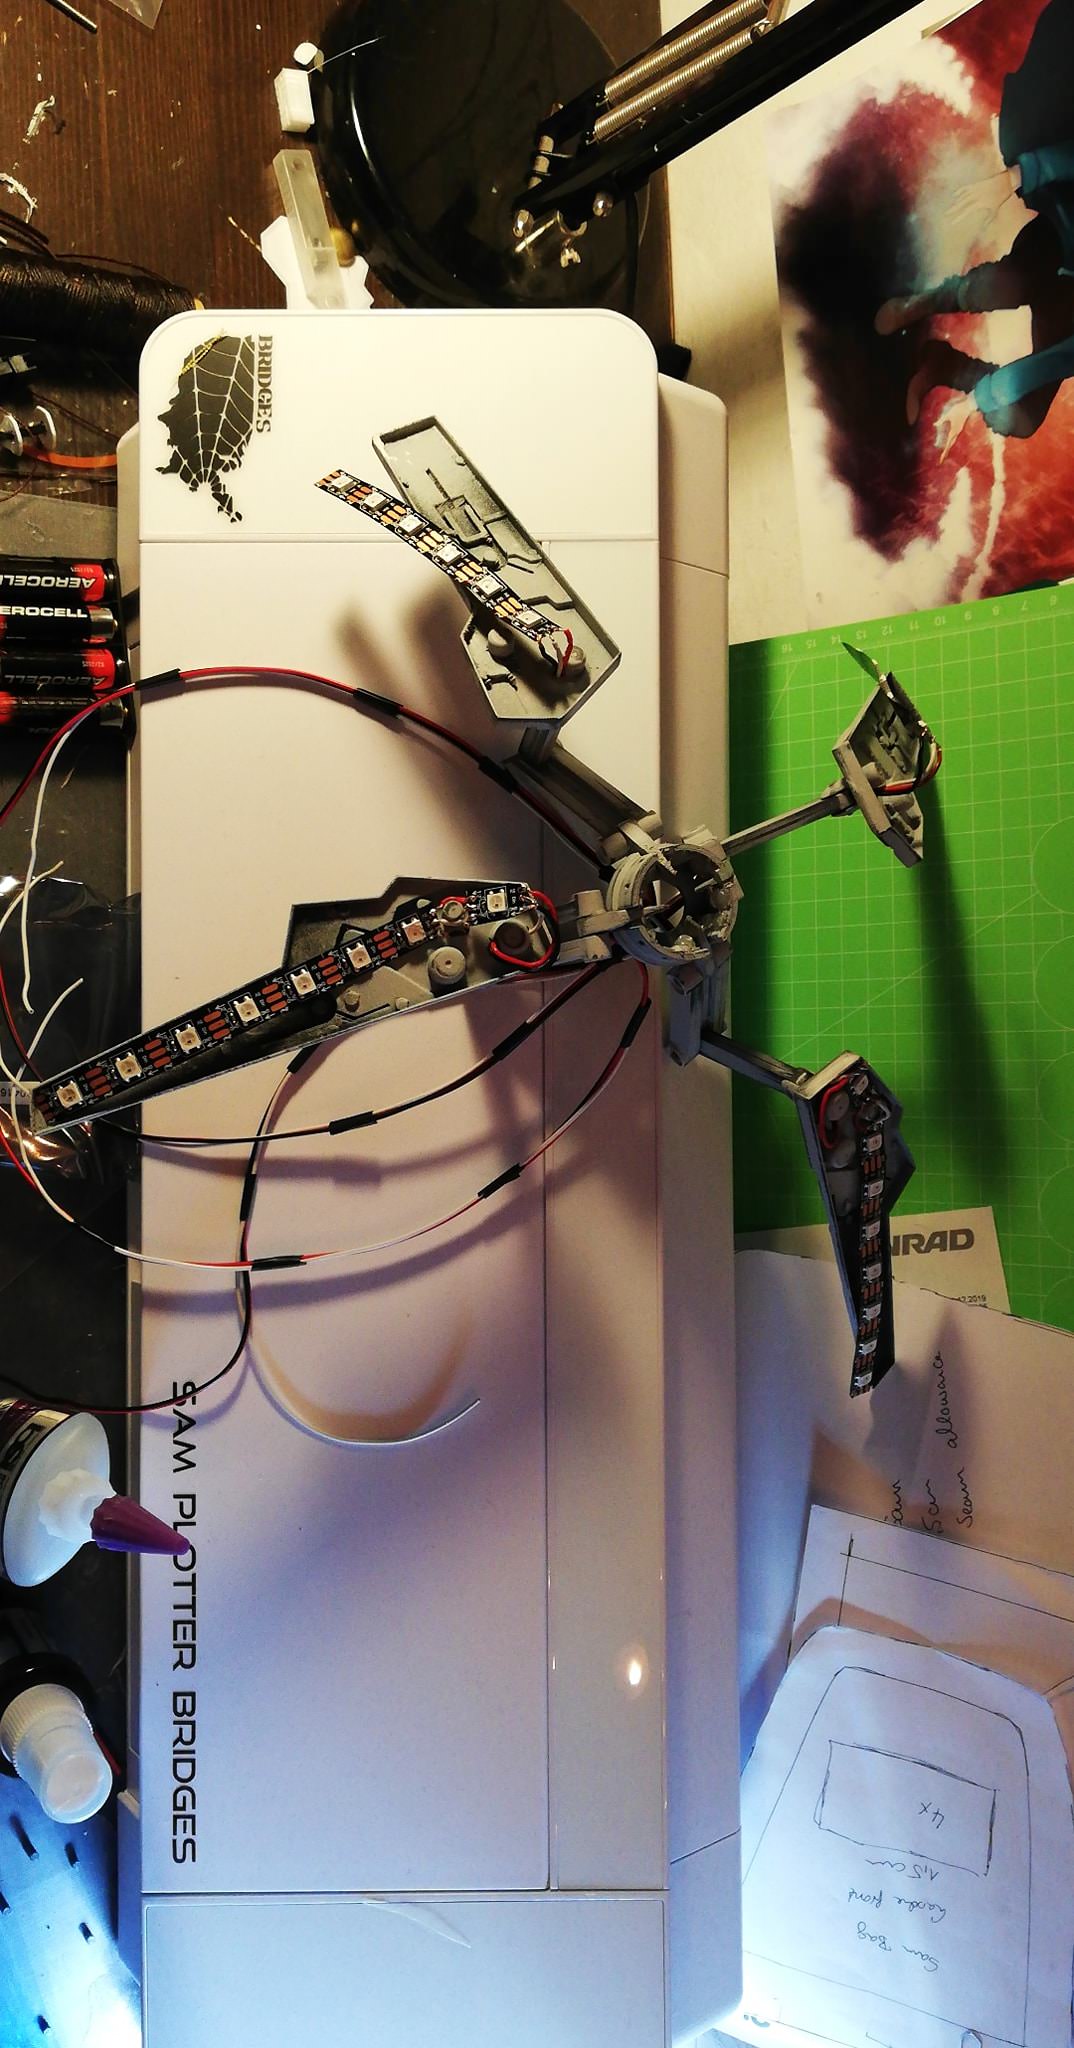
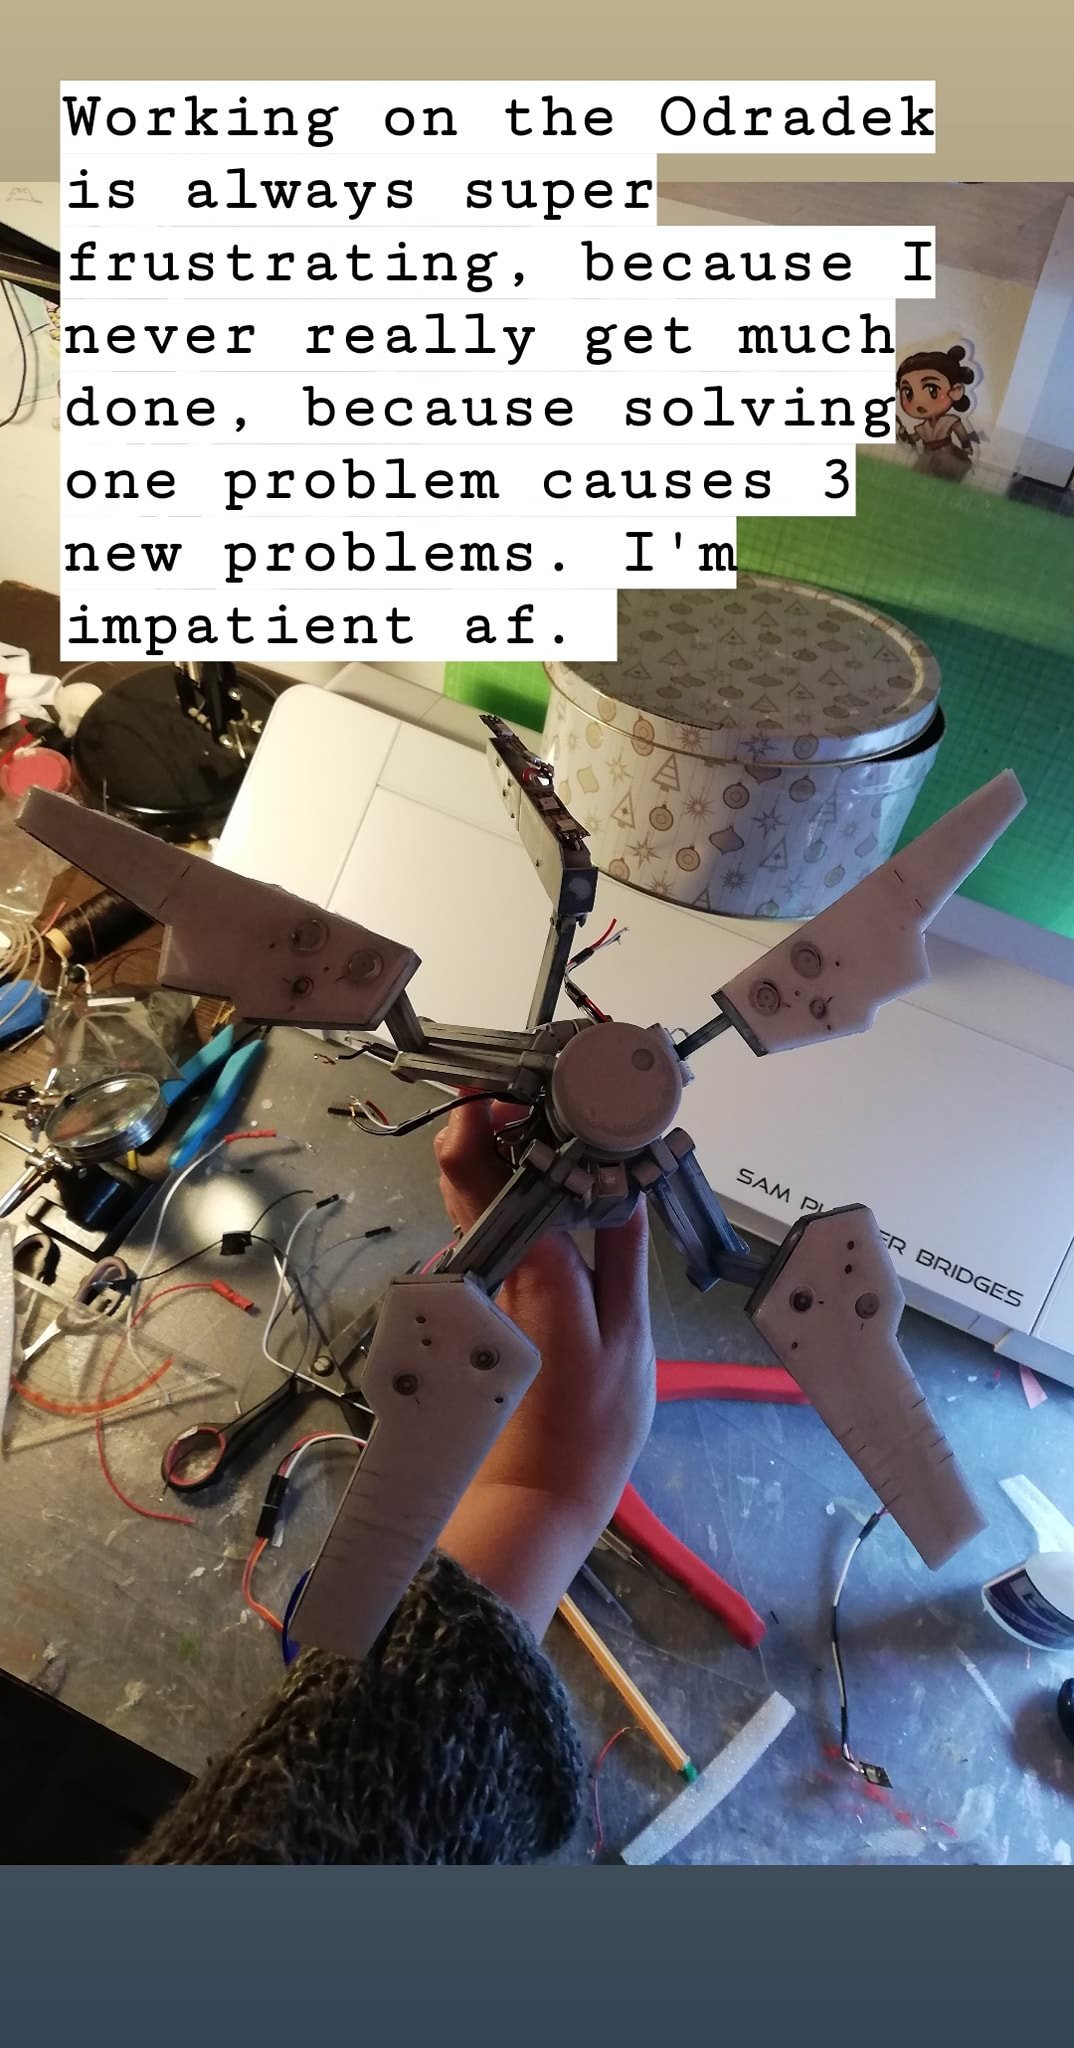

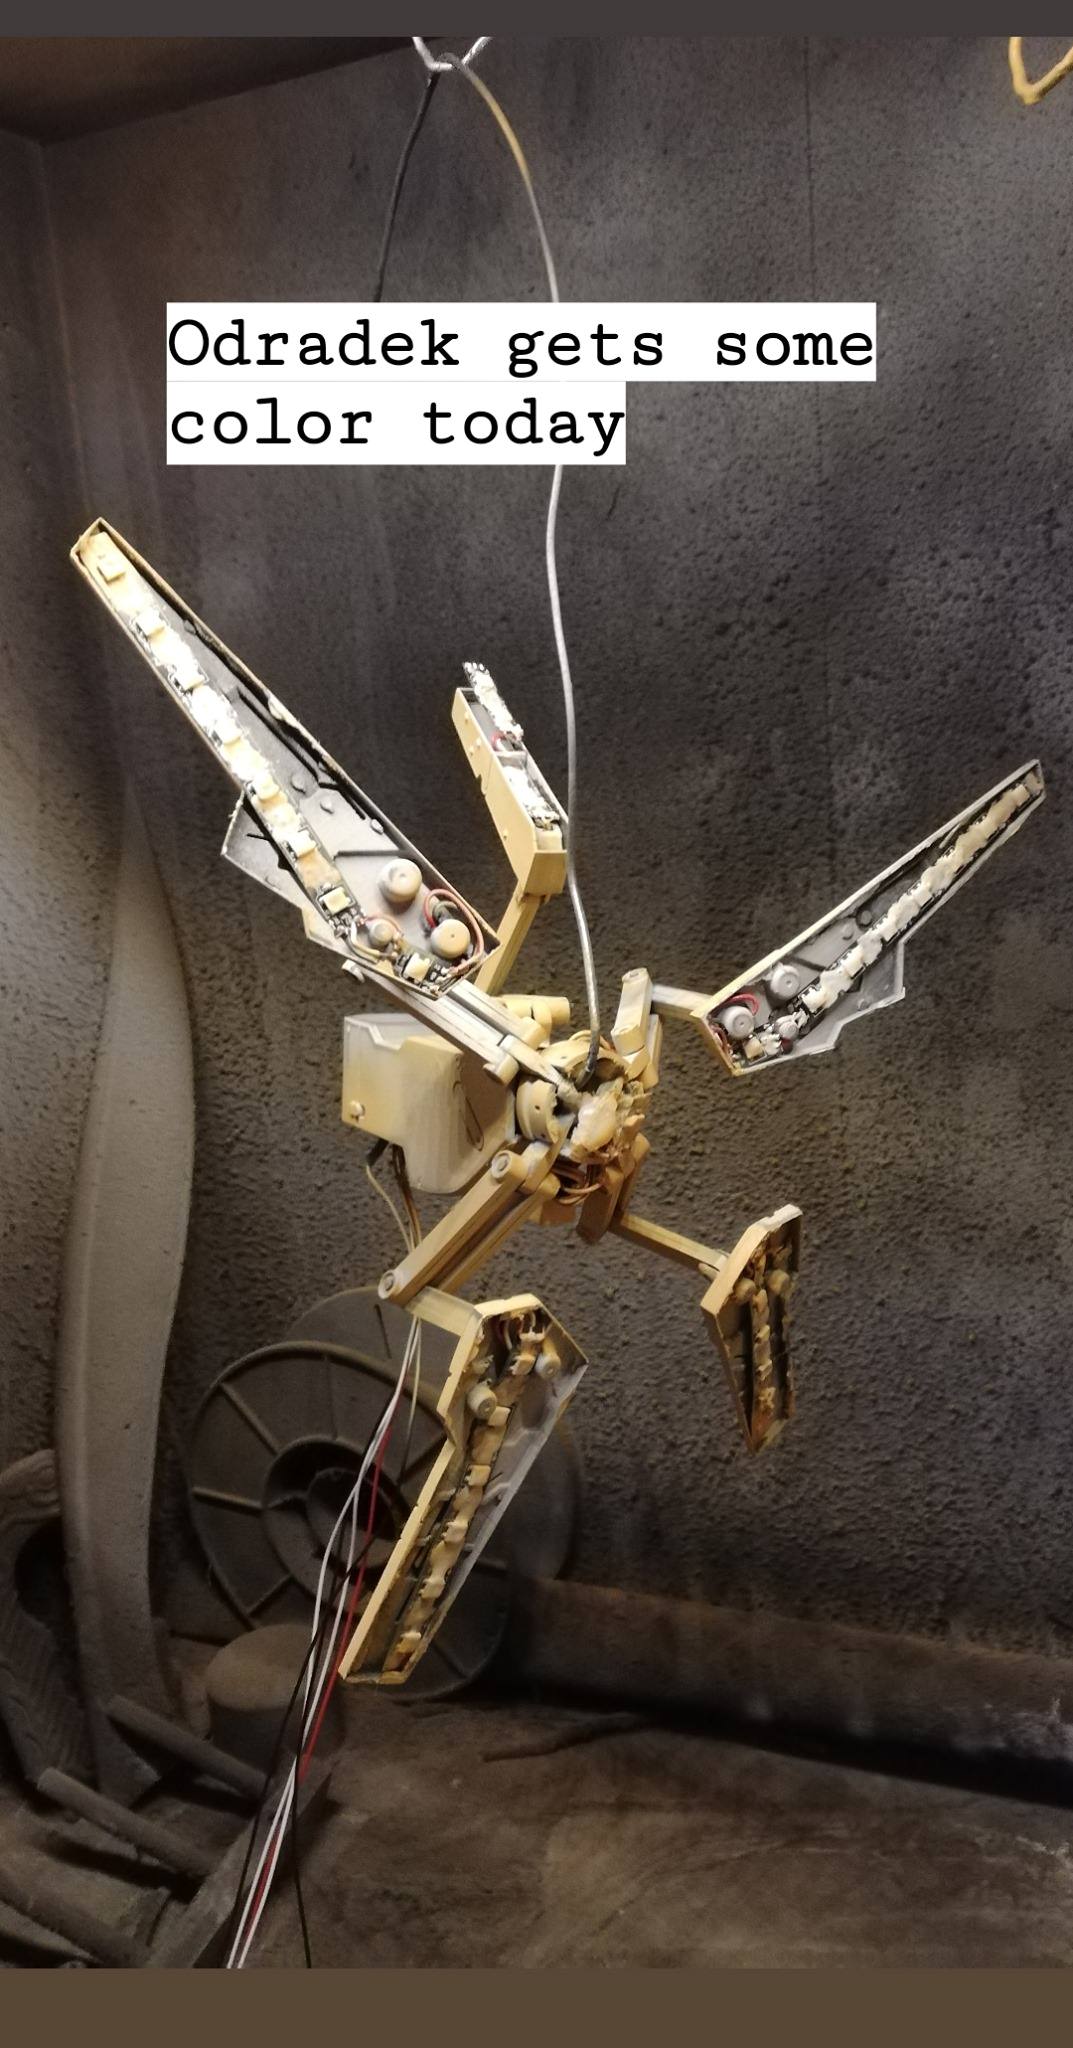
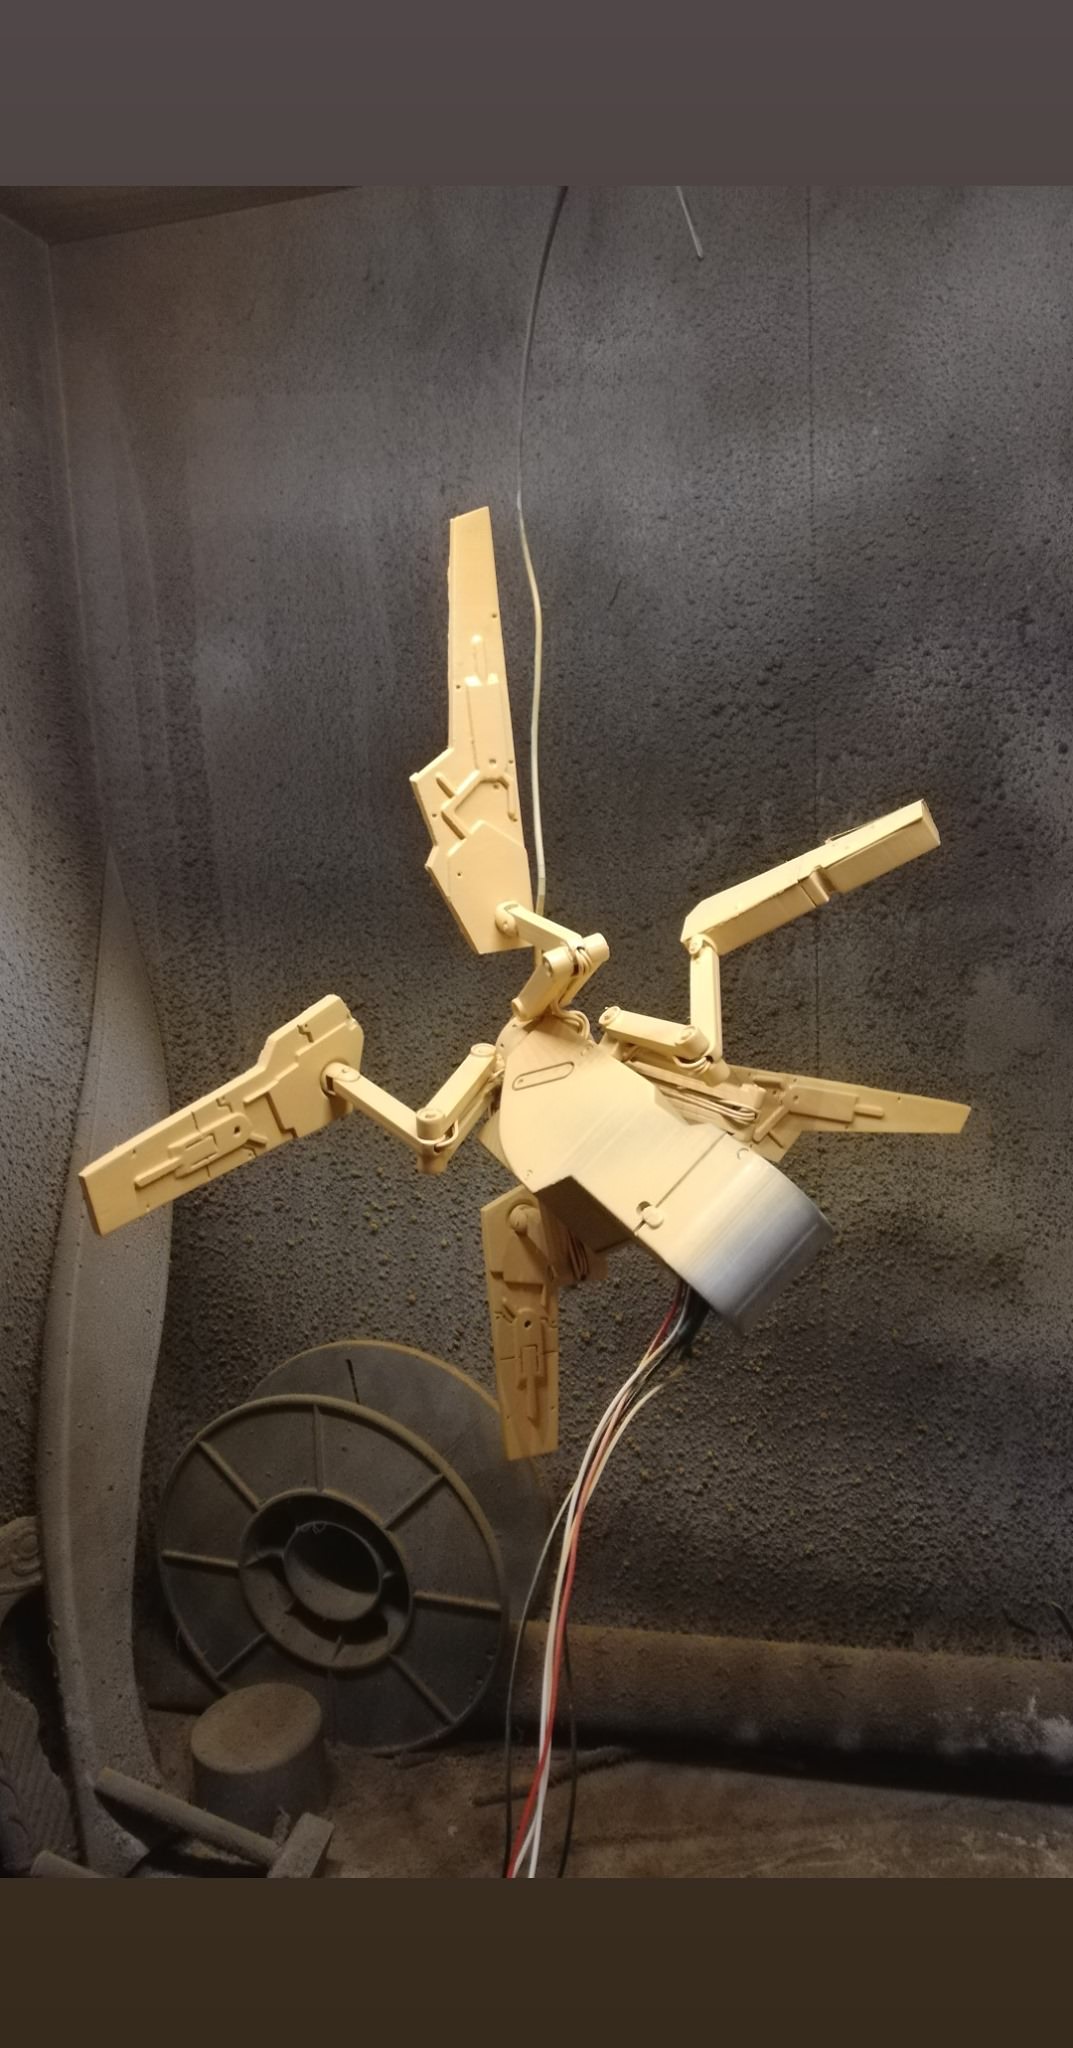


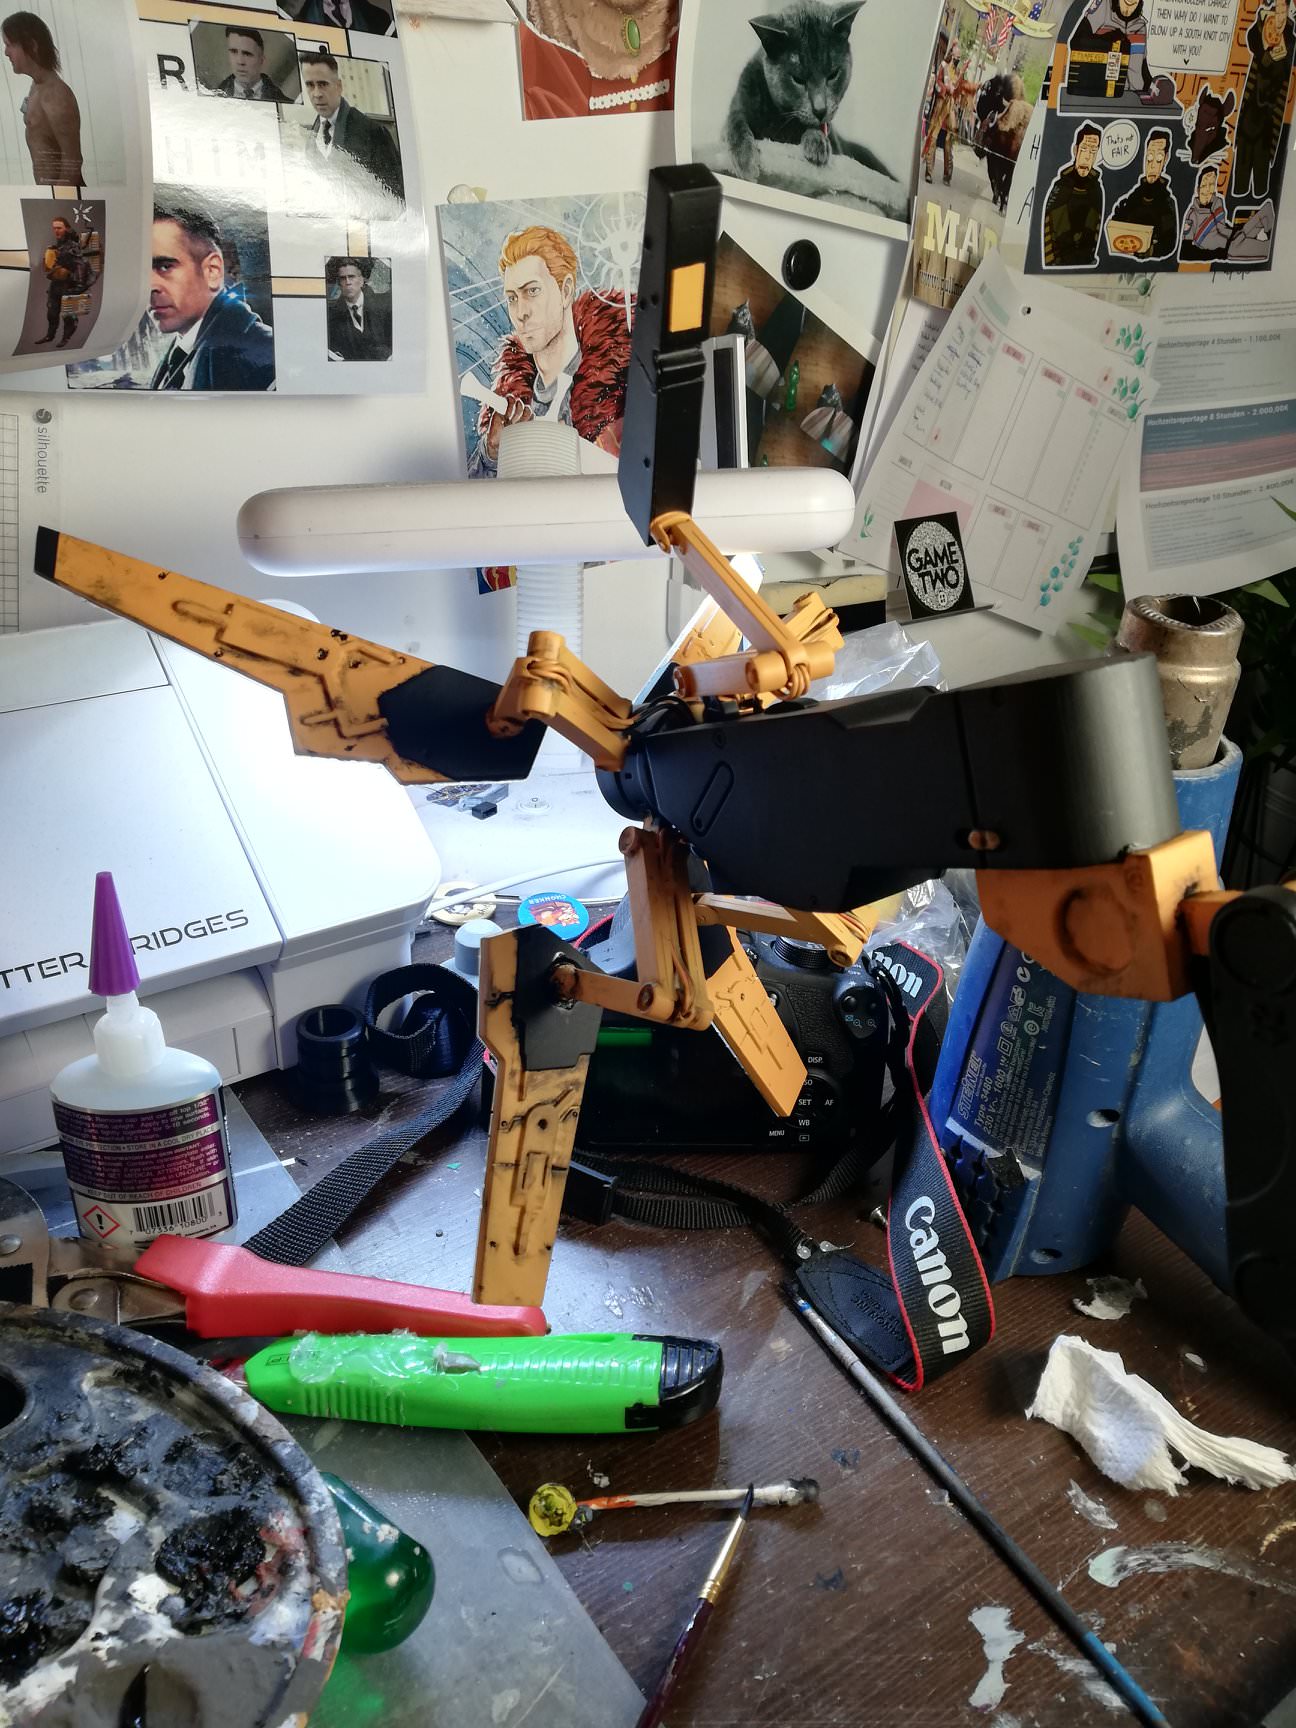
The Odradek is still a work in progress prop – mostly because we want it to be moving and lighting up for conventions. But with Covid-19 and cancelled conventions, we probably have more time to finish it and work out the kinks of the construction.


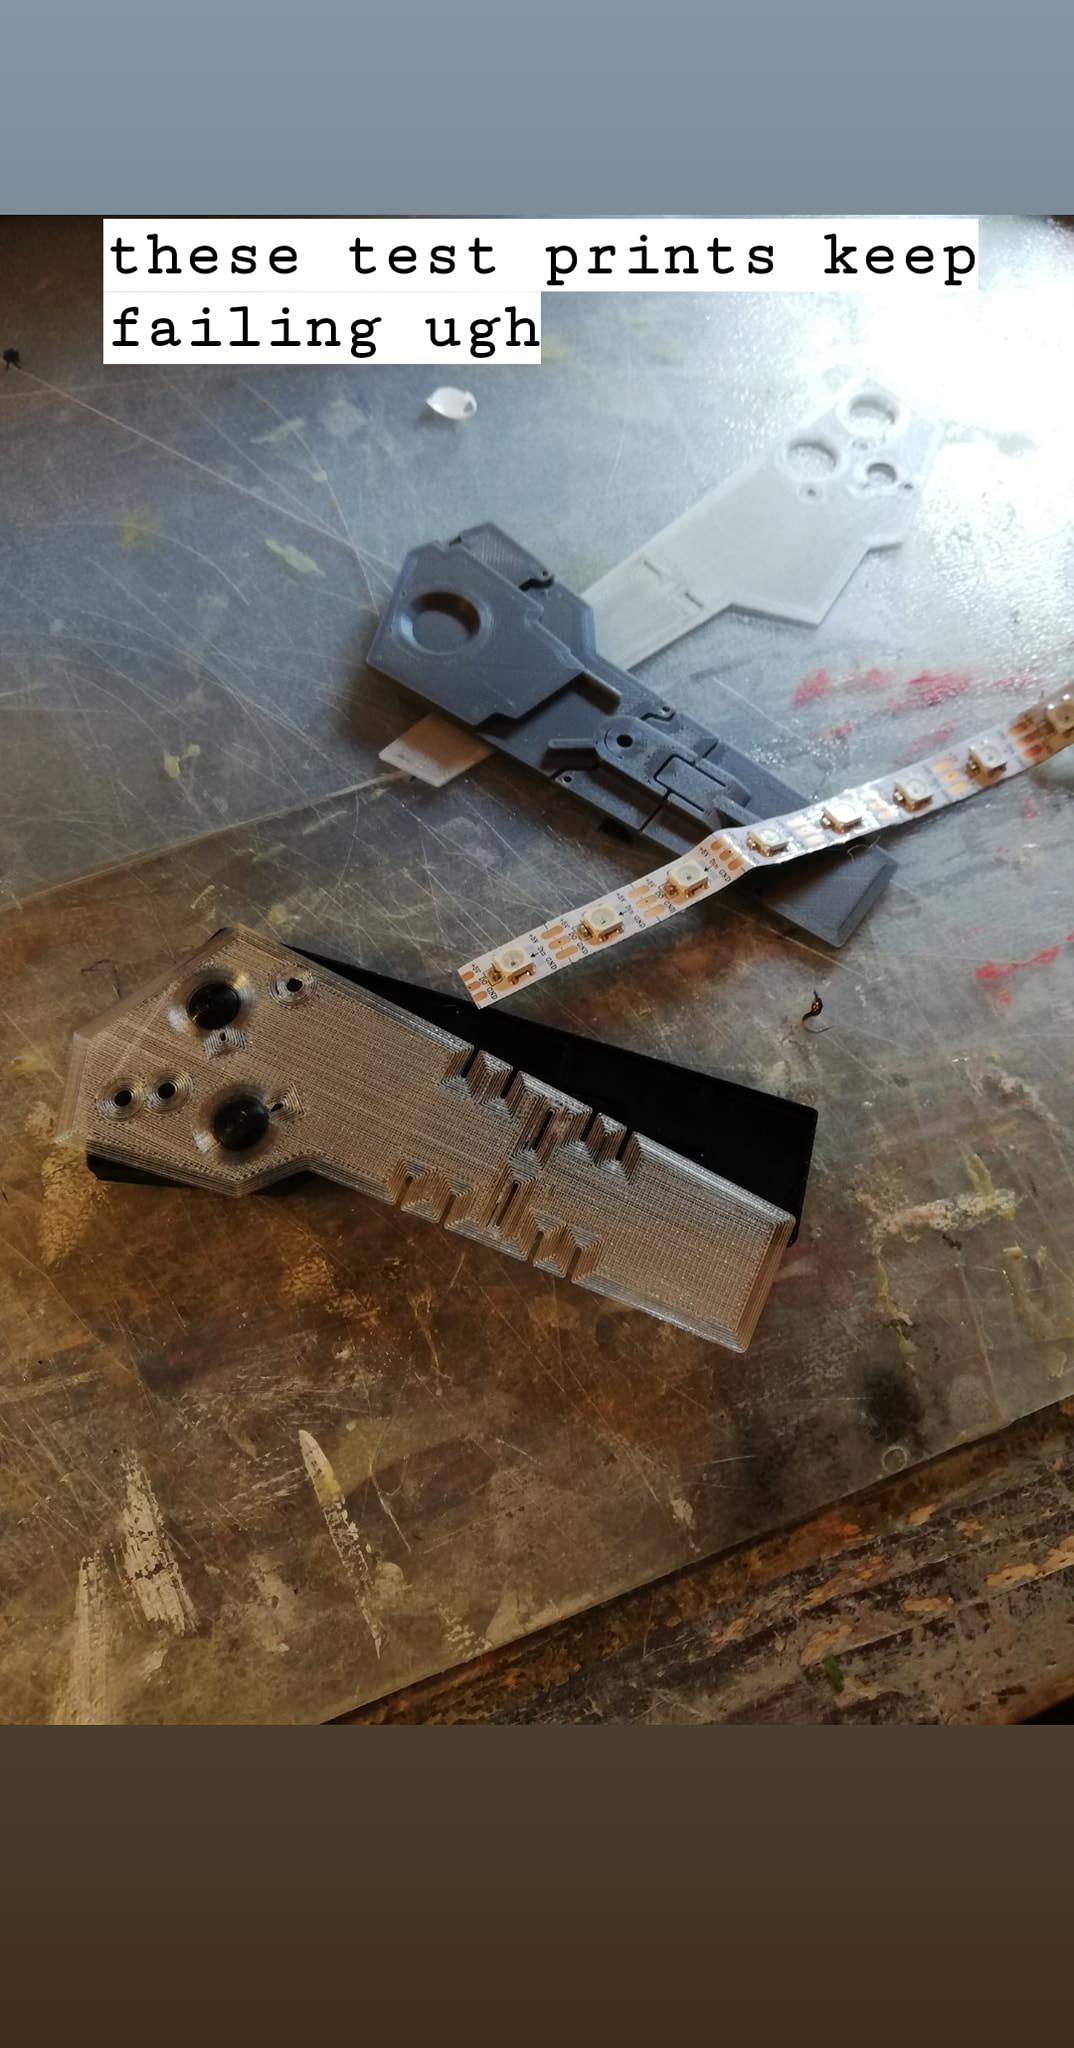
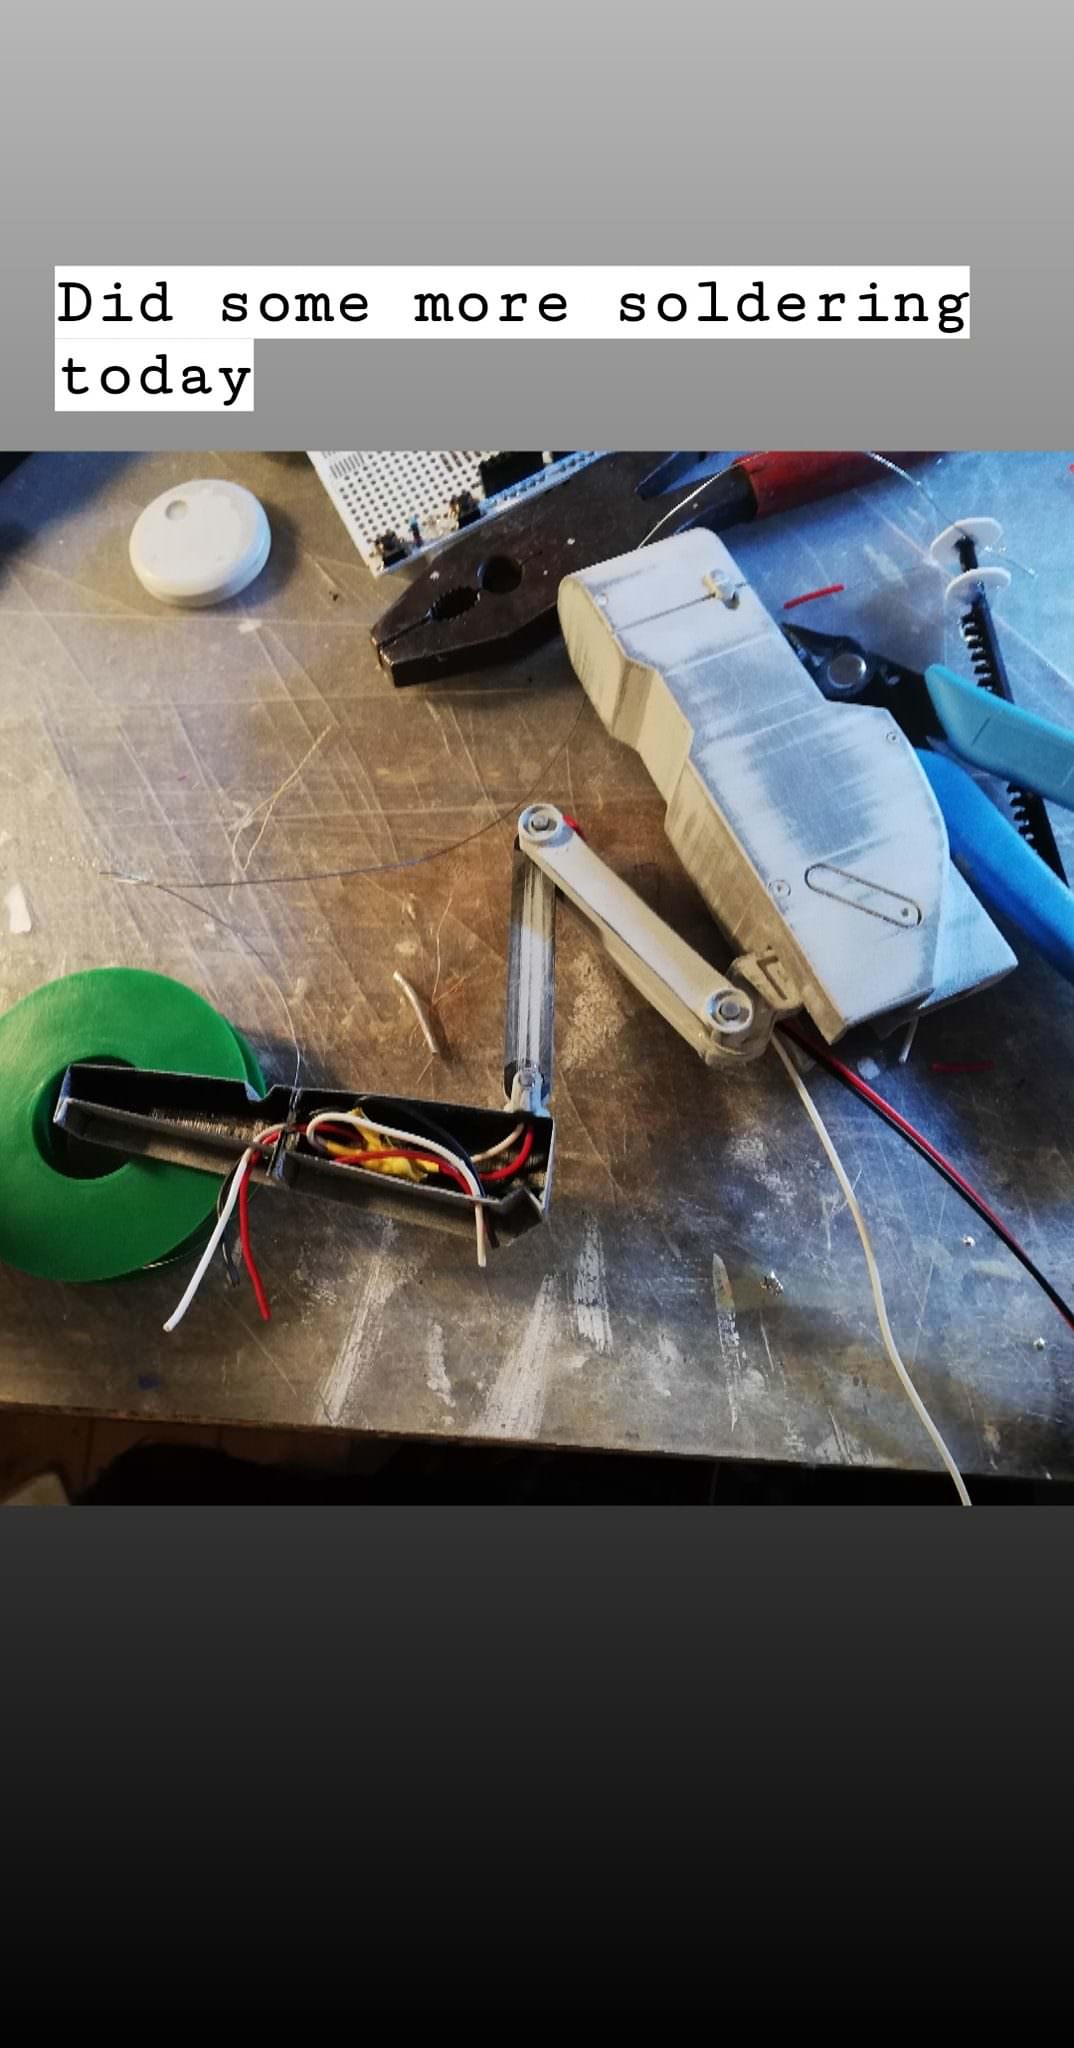
We noticed a few issues with the servo mechanism and the general weight of the Odradek, especially at our first photoshoot. That’s something that we’re still in the process of figuring out and we will probably replace some parts with foam, since ironically the whole construction of the Odradek is too fragile to even really wear it to a convention. The arms will break off if you only just look at them wrong.
Again, we started the construction of the Odradek with drawing the file in Fusion360. This whole process however consisted of a lot of trial and error, since many pieces needed to be rescaled for the electronics and servo to fit. We didn’t take too many photos of the servo mechanism, as everything is still super experimental and we’ll probably redo this part. And also, yeah, that’s a bunch of hotglue in the middle of the construction, such professional.
So, we hope you enjoyed the read! If there’s anything unclear about any of this, feel free to ask and leave us a comment or note. This costume took us over six months to make and some parts are still not finished – so yeah, there are probably some parts we forgot to explain.
Thanks for reading!
I’ve been planning all the details for my own Sam cosplay and I have to tell you this is a literal godsend! It’s really got me motivated to work on my own and I know your tutorial is going to be so much help! Thank you so much!